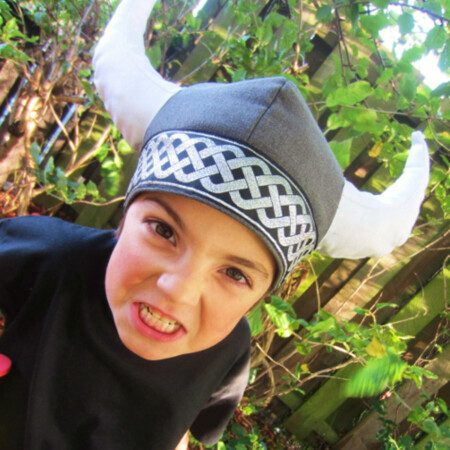
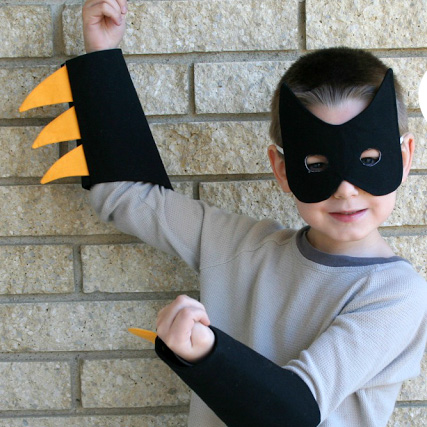
Imagine stepping into the vibrant world of lucha libre, where every el luchador is defined not just by their moves, but by their iconic headpiece. Now, channeling the spirit of Nacho Libre isn’t about buying a mask, but crafting it with your own hands. Introducing our DIY nacho libre mask guide that will transform you from a mere fan to a mask-making maestro. Using the simplest of materials and a sprinkle of determination, this sewing tutorial is your golden ticket to the wrestling ring. Ready to craft your way to legendary status? Let the mask-making begin or check out some of my other favorite Halloween costume sewing tutorials like the DIY Viking Helmet, the Bat Mask Tutorial, or the DIY Mr. Potato Head Costume.
What is Mexican Wrestling?
Mexican wrestling, popularly known as Lucha Libre, is a vibrant spectacle that captures the heart and soul of Mexican culture. Characterized by colorful masks, flamboyant outfits, and acrobatic maneuvers, it’s not just a sport – it’s a theatrical performance.
Nacho Libre, the iconic film, offered a comedic glimpse into this world, but real-life Lucha Libre is a revered tradition. The battles in the ring aren’t just about strength and agility; they weave tales of good versus evil, much like the stories in classic literature.
Wrestlers, known as ‘luchadores’, take on larger-than-life personas. Their masks, vital to their identity, hold immense significance. To unmask an opponent is the ultimate dishonor. In fact, the mask is so central that many luchadores are buried in them!
While Nacho Libre may have introduced many to the comedic side of Mexican wrestling, the real-world Lucha Libre is about honor, passion, and a commitment to preserving a rich tradition. Whether you’re watching a match in Mexico City’s grand arenas or a local town’s makeshift ring, the energy is palpable. Lucha Libre is more than just wrestling; it’s a cultural phenomenon, a dance, and a legacy combined.
Putting the DIY Mexican Wrestler Costume Together
Stepping into the ring this Halloween? Embrace the dynamic allure of el luchador! Crafting that perfect Nacho Libre vibe isn’t as intricate as a wrestling clinch. Let’s break it down:
The Showstopper: El Luchador Mask
- Go vibrant: Think bold colors and flamboyant patterns.
- Options: Craft a homemade mask or snag one from a specialty store. See instructions below for how to sew your own el luchador mask.
Essential Attire from Your Closet:
- High-Waisted Trousers: Aim for something that screams ‘retro wrestler.’
- Red Cape: The flamier, the better. It’s all about making an entrance.
- Knee-High Boots: For that authentic luchador stance.
Elevate the Look:
- Cummerbund: Perfect for accentuating that luchador waist.
- Flesh-Colored Shirt: Gives the illusion of a buff, bare-chested wrestler.
The Finishing Touches:
- Attitude: Remember, being an el luchador is more than just the gear. It’s a strut, a swagger, a vivacious vitality!
- Accessories: Consider a championship belt, or even temporary tattoos for added flair.
With these pointers, you’ll not only complete your Nacho Libre costume but undoubtedly be the most spirited el luchador at any Halloween fiesta! So, gear up and let the wrestling antics begin.
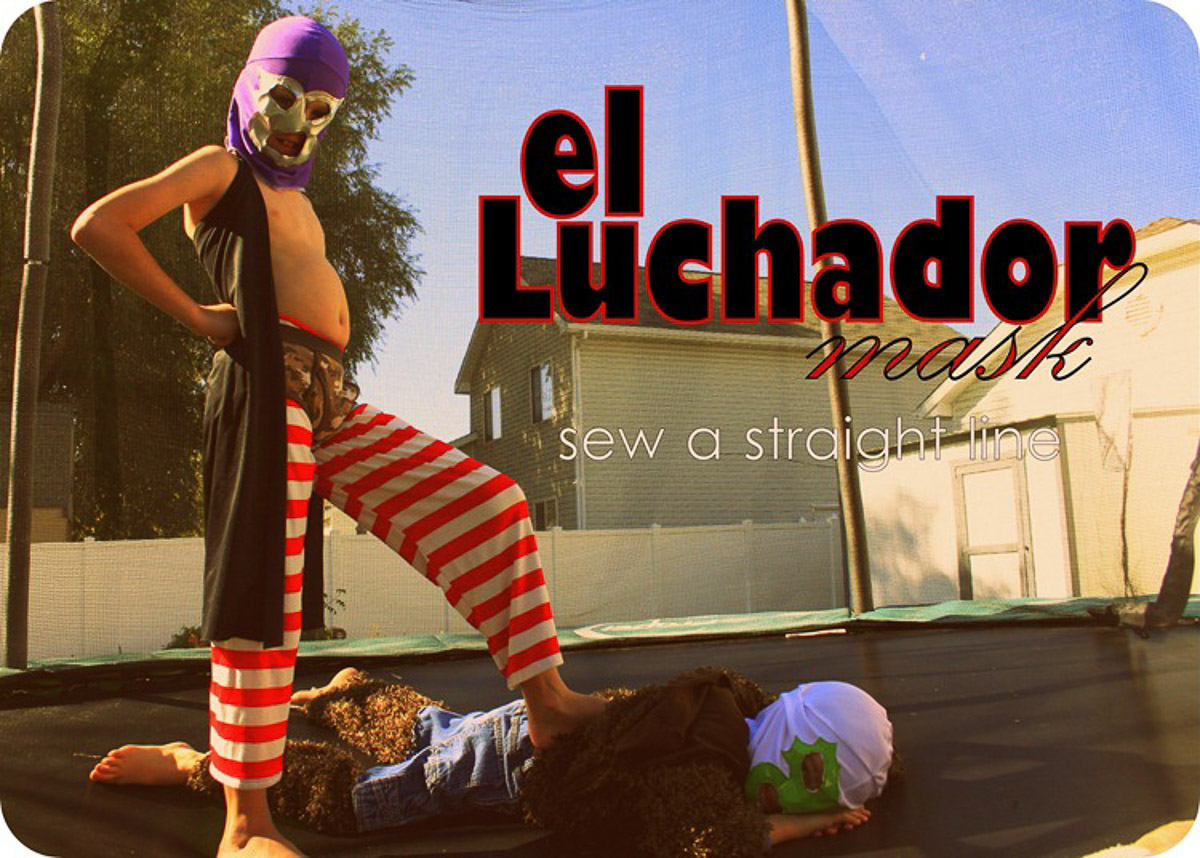
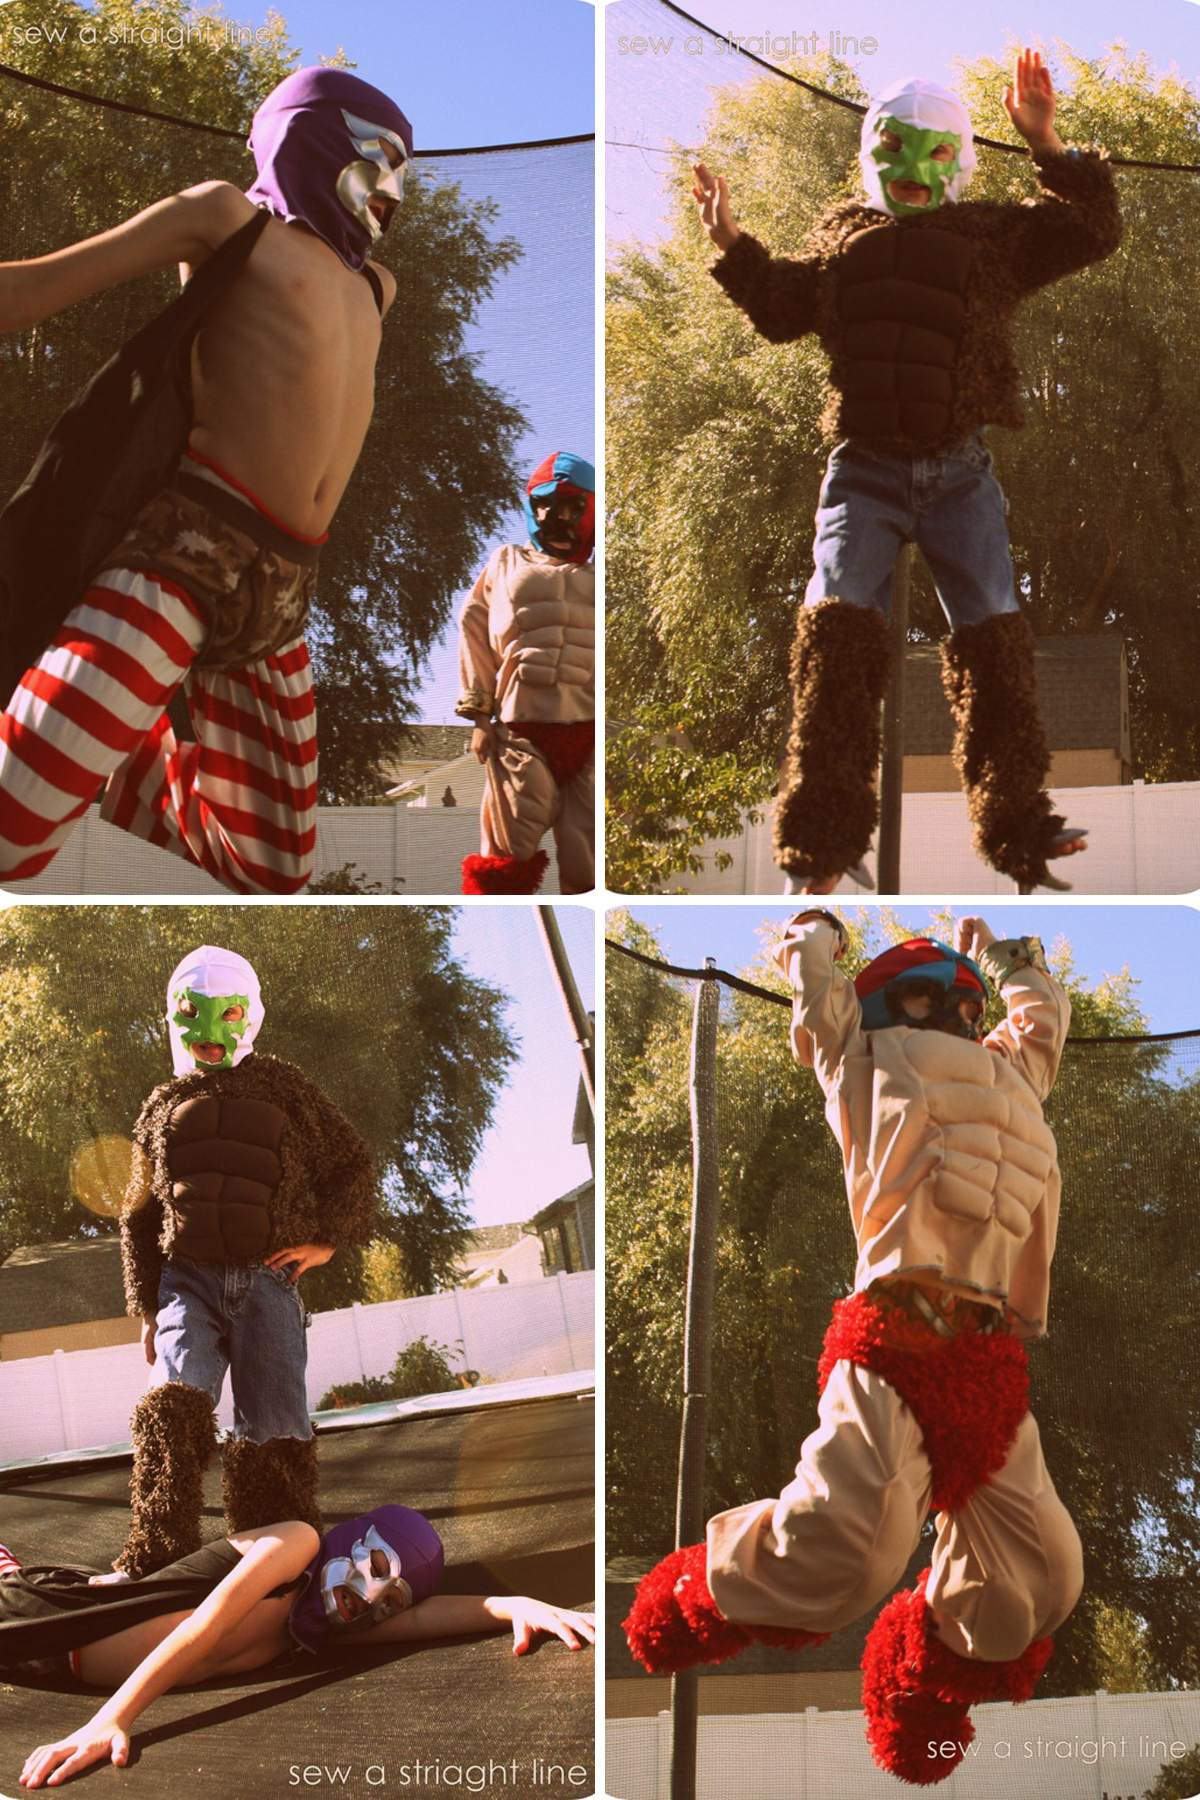
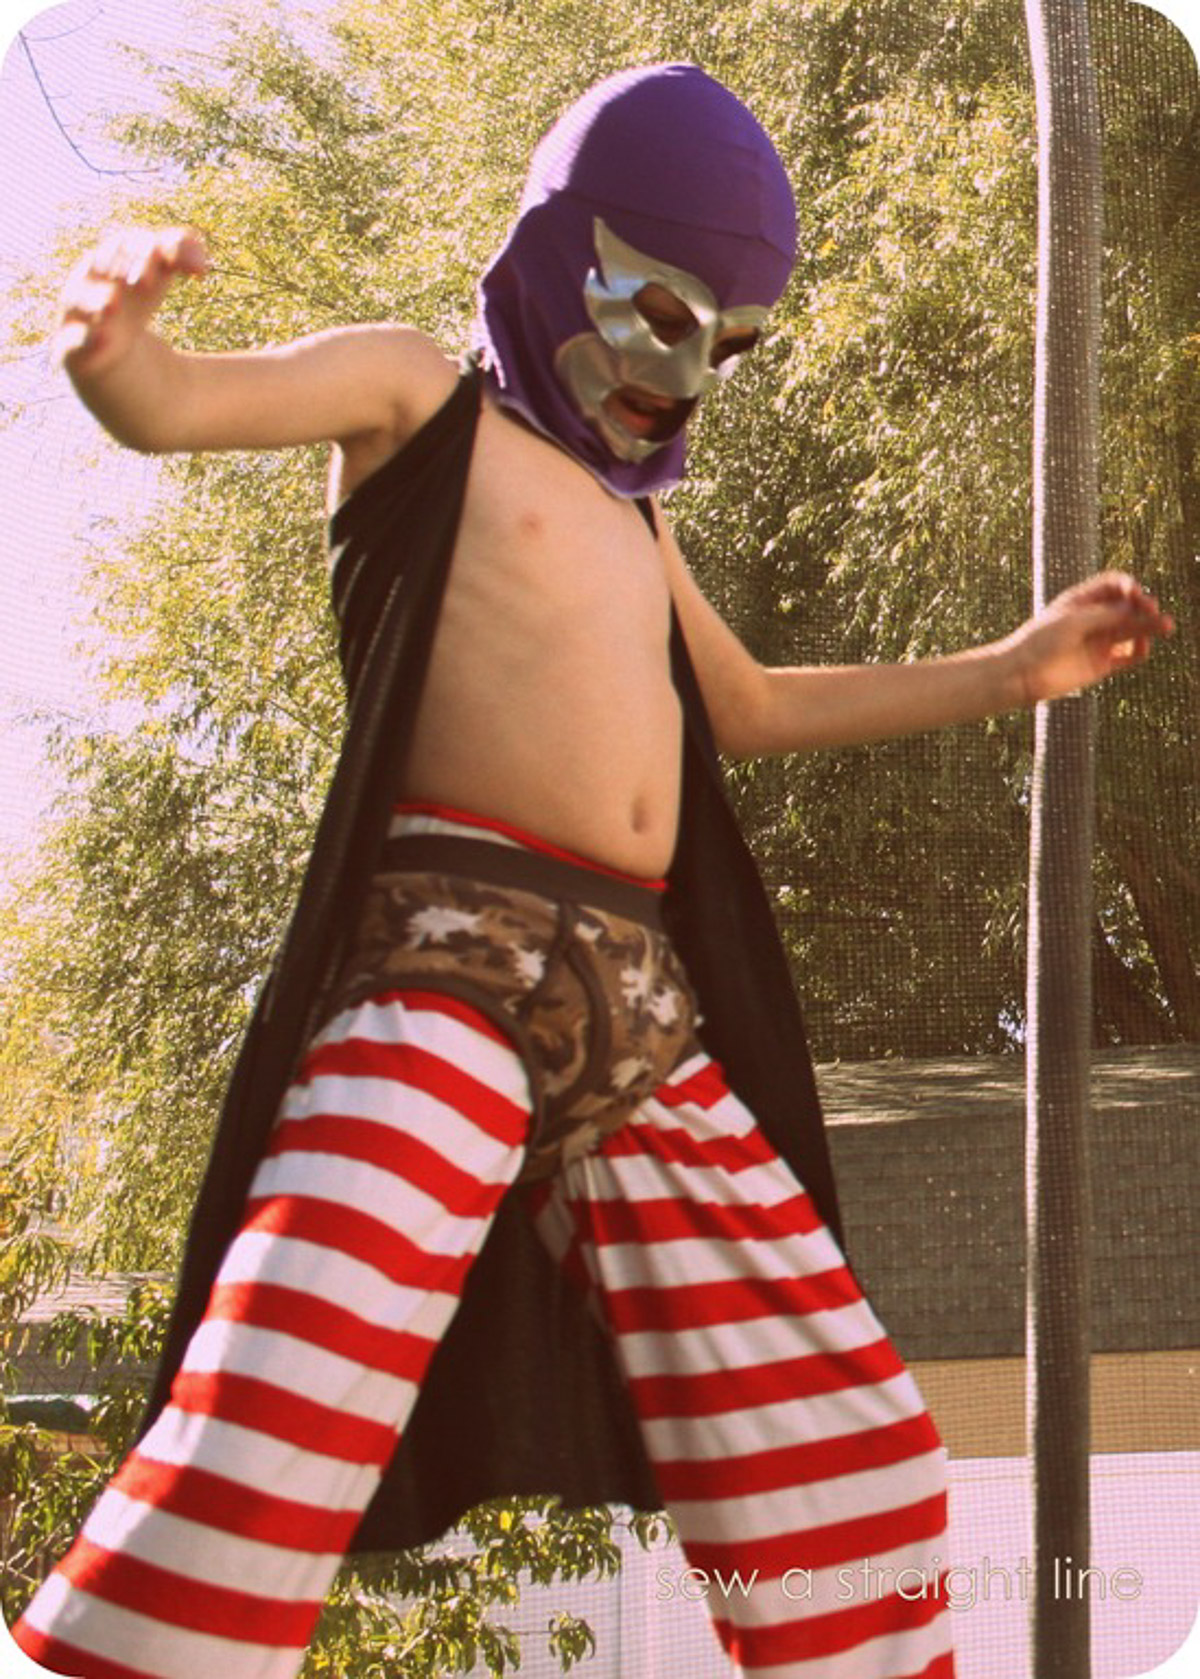
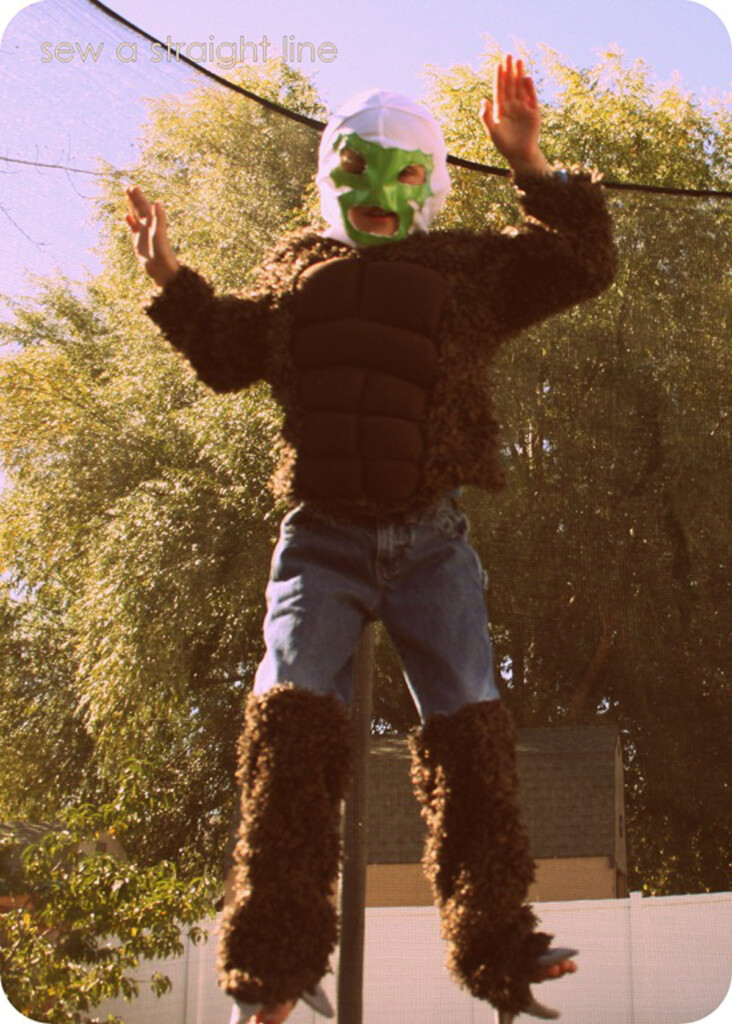
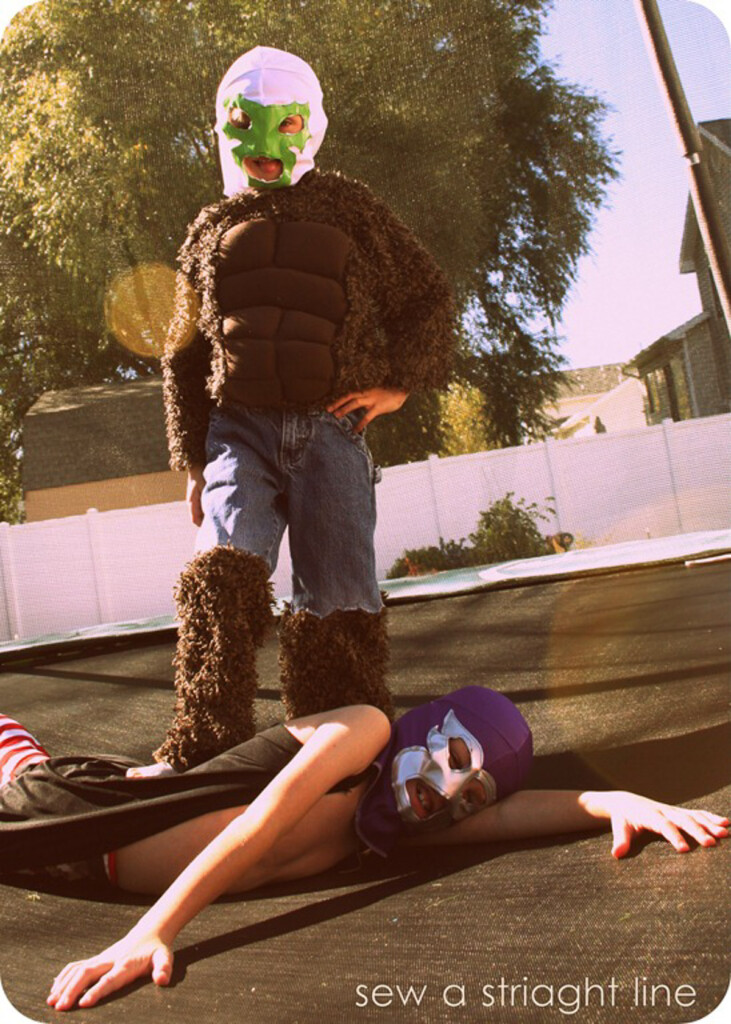
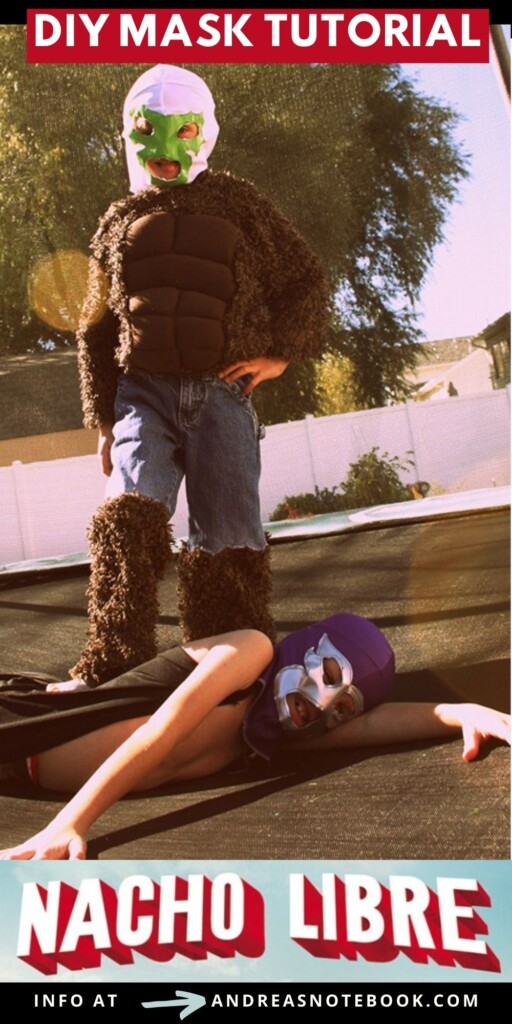
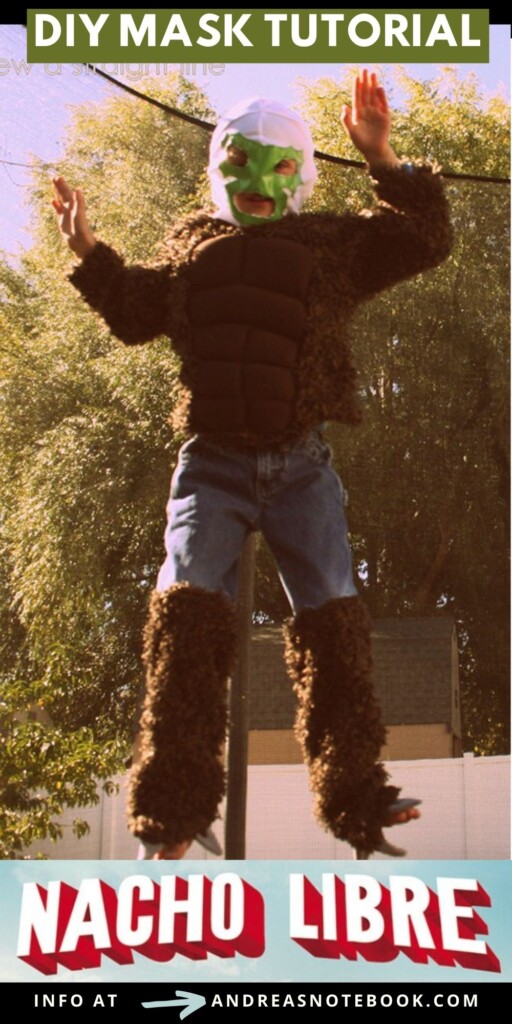
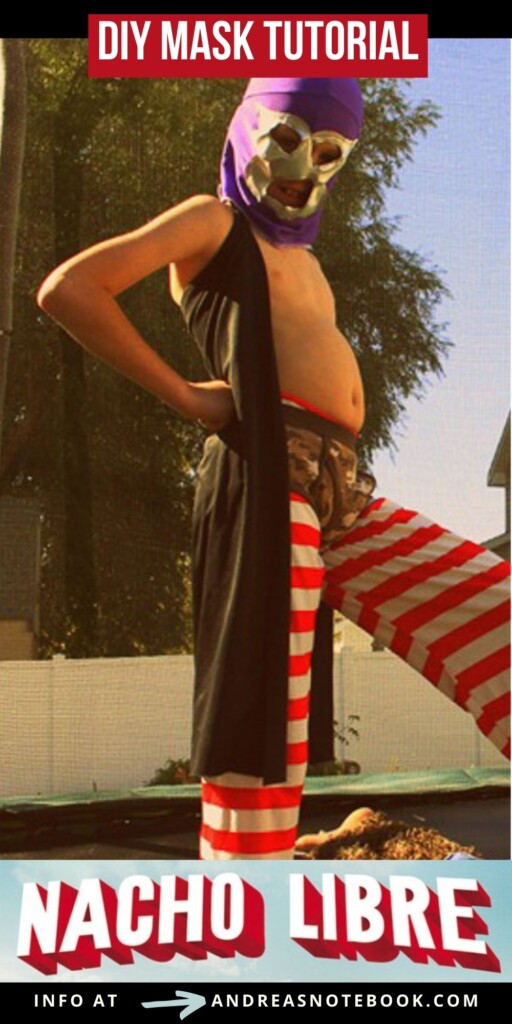
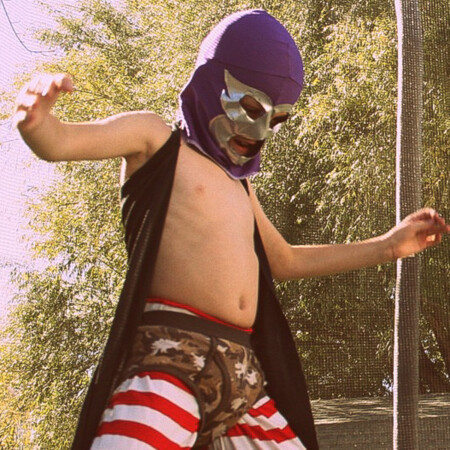
You are in for a treat. These costumes are. amazing. Sabra from the former blog, Sew a Straight Line, is simply a magician with fabric. She’s here to show you her amazing Nacho Libre costumes and she even has a tutorial for el Luchador mask!
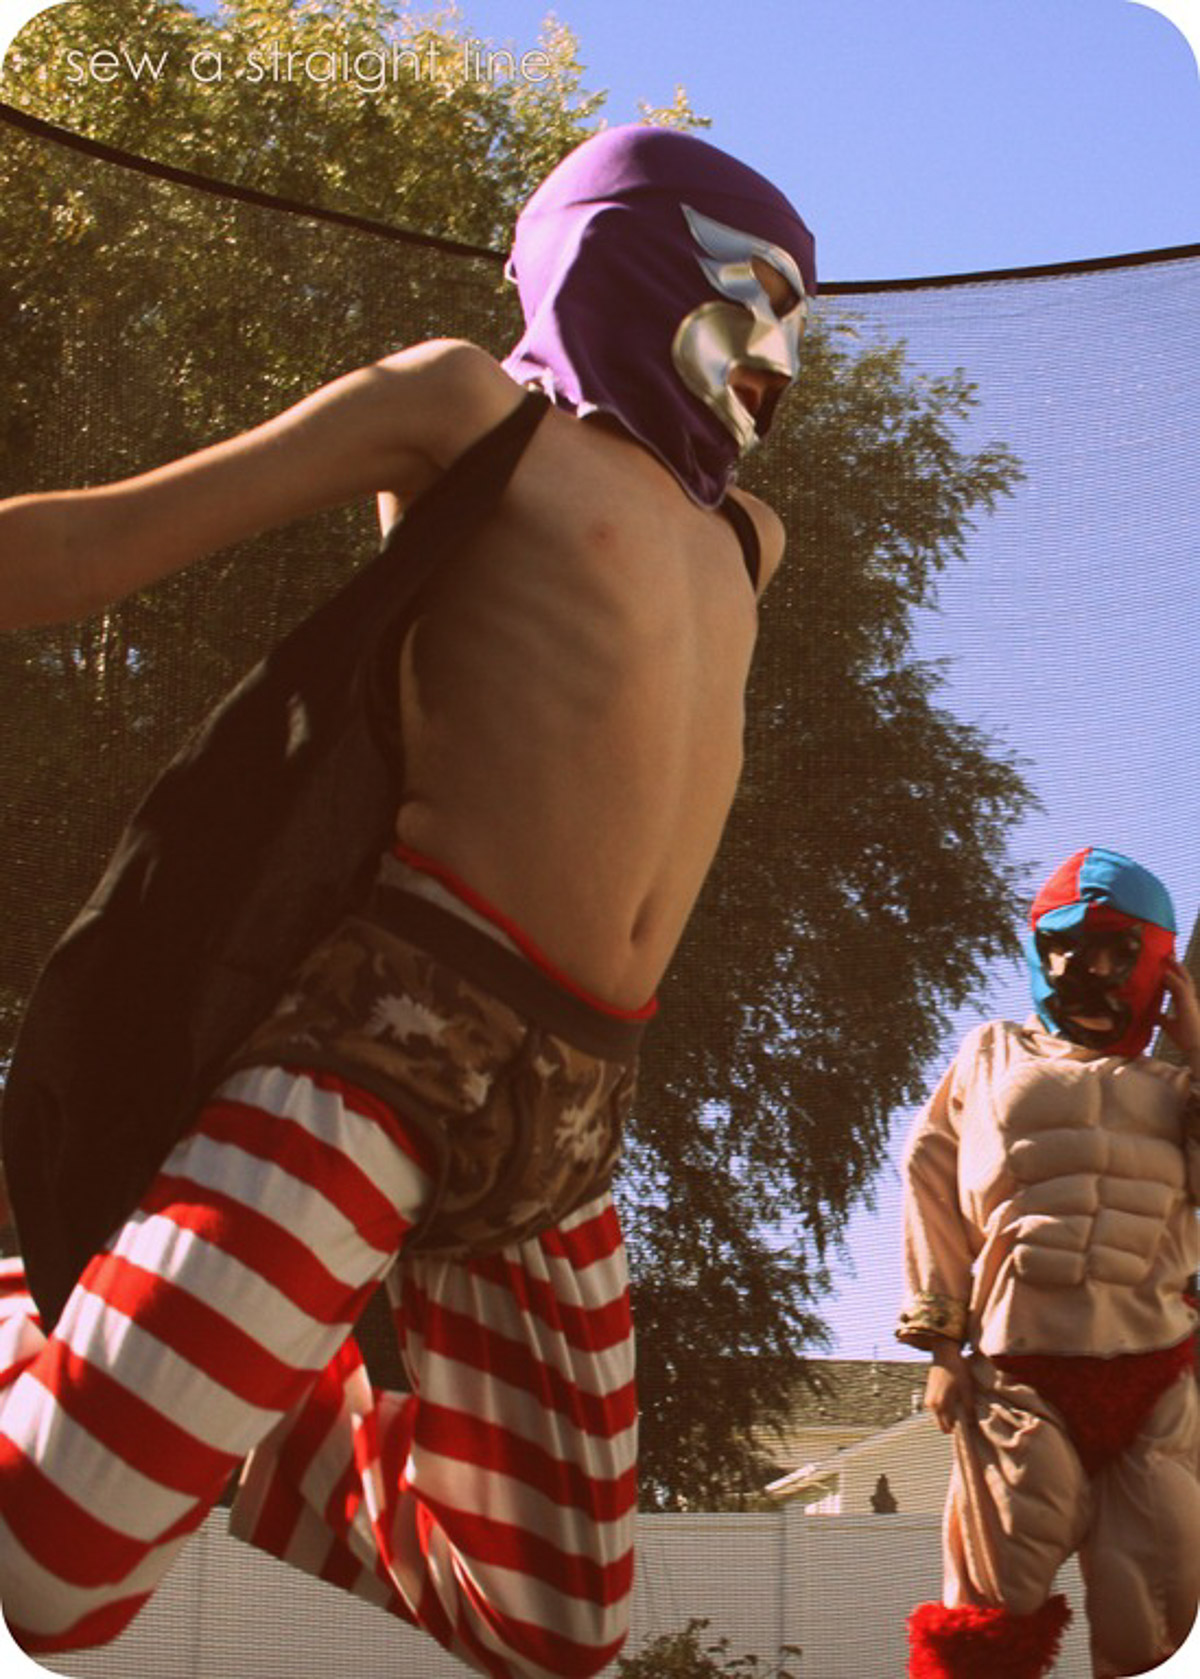
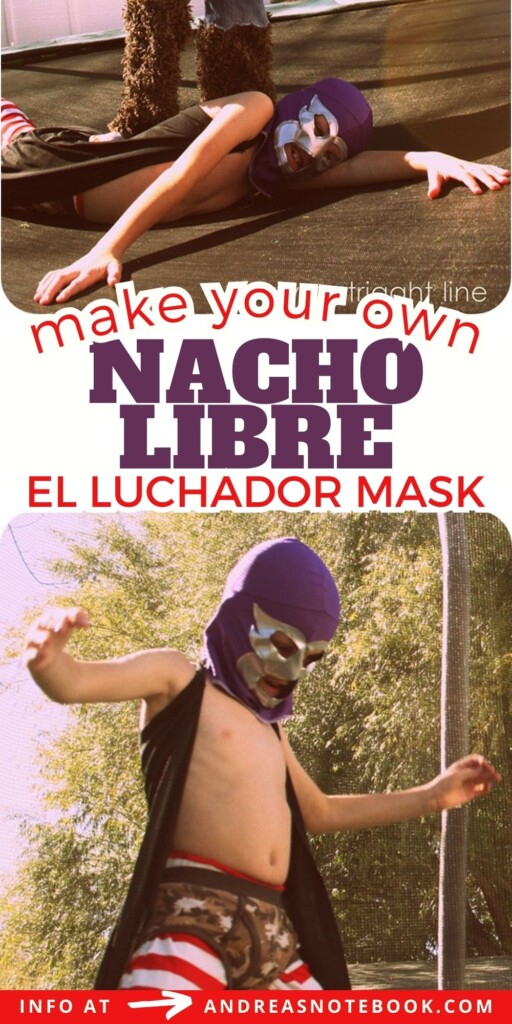
This past summer my kids watched Nacho Libre approximately 7.3 million times. My four-year old now refers to tortilla chips as The Lord’s Chips. All day long we hear “Eagle powers, come to me, please!”, and every meal is complemented by “mmm, good toast.” So, in honor of Nacho and my sons’ obsession with him and Esqueleto, they designed, and I made them each their own luchador mask.
Gather Supplies
Grab these supplies from your local fabric store or shop online. You want the knit fabric to be very stretchy and soft. Keep in mind it will be on the face. Prewash your fabric.
- ½ yard dancewear knit
- 1//8 yard pleather
- Self Drafted Pattern Pieces (see instructions below)
Draft The Pattern
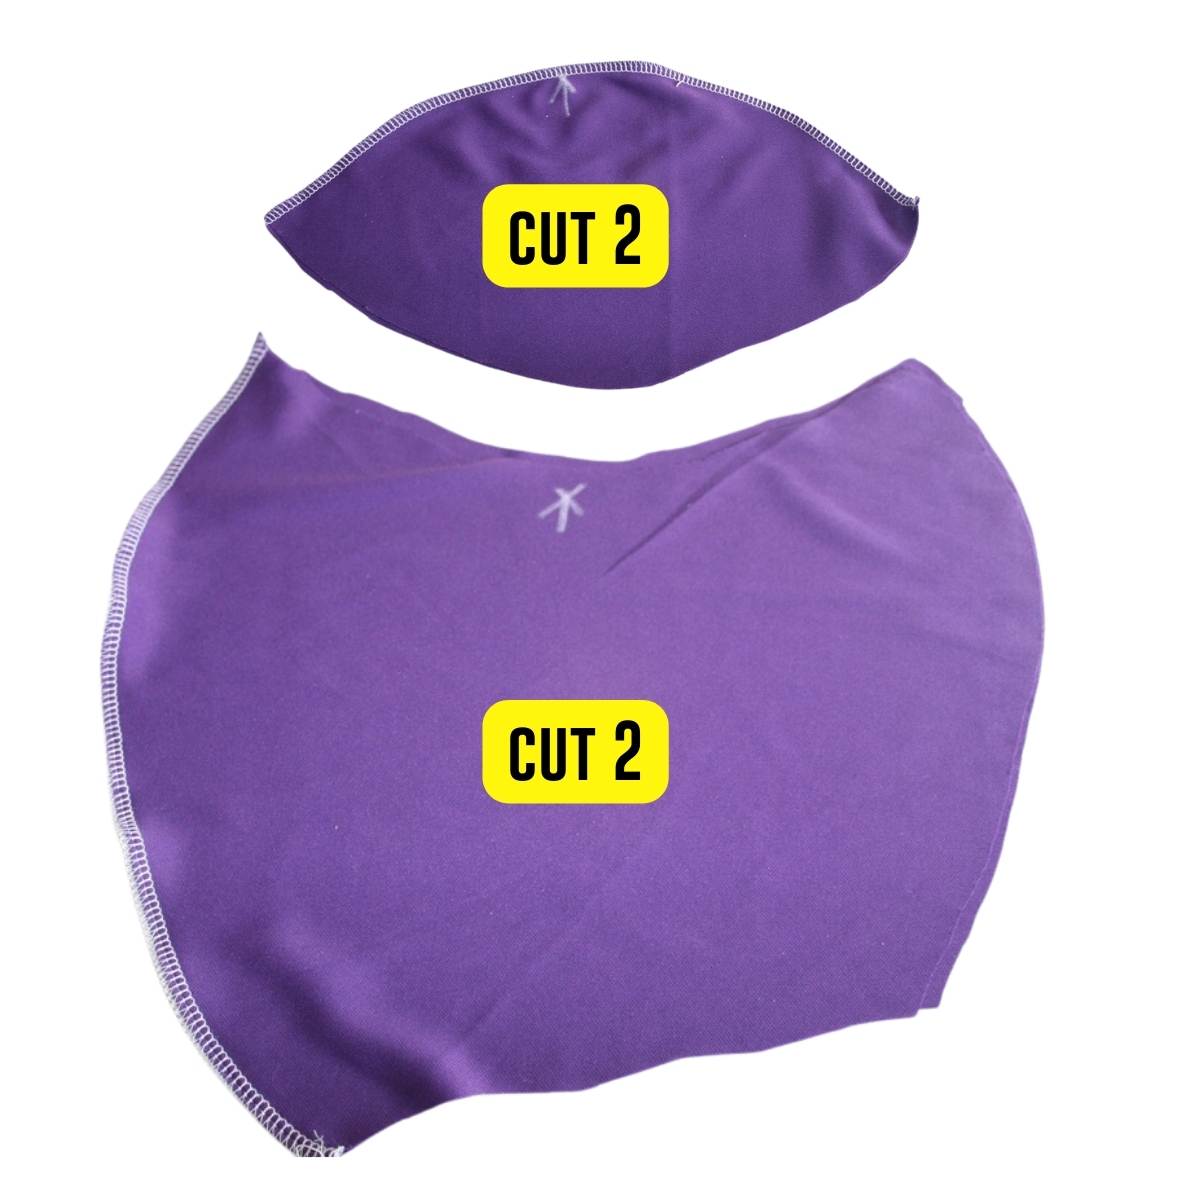
To draft your own DIY El Luchador headpiece you’ll need to cut three pieces from the dancewear knit. Two pieces will be for each side of the mask and two pieces for the top.
To determine the width of your pieces you’ll want to measure the circumference of your head and the height of your neck and head. Cut the pieces in the shape seen below. The top curve of the side pieces should match up with the curve of the top piece. Cut these out of paper first, then trace onto your fabric and cut out.
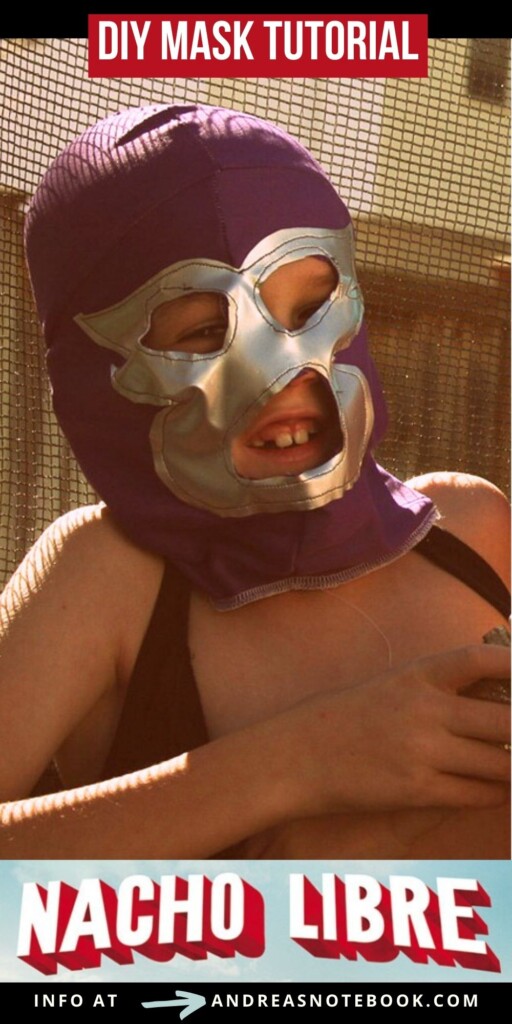
Next, create the pattern for the leather part of the mask. This is where you’ll put the eye and mouth holes. Cut this out of paper. See an example below.
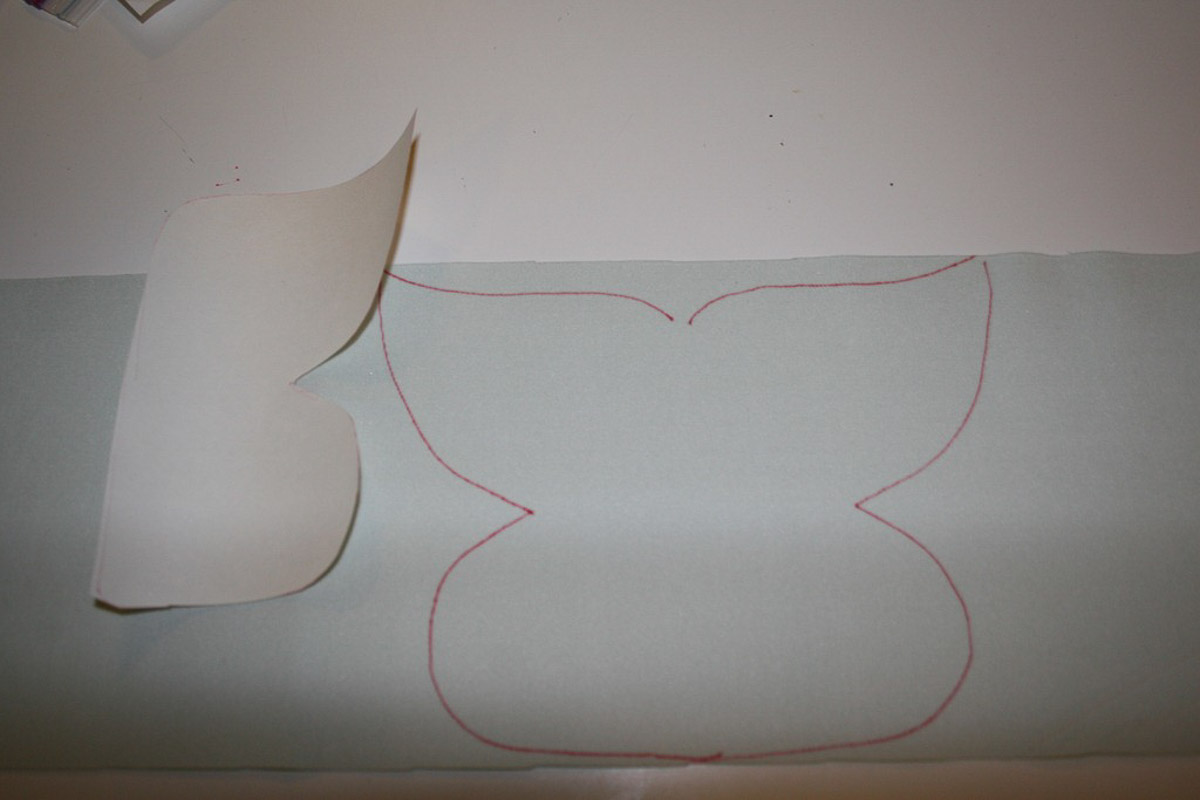
Trace the basic face shape onto the wrong side of the pleather.
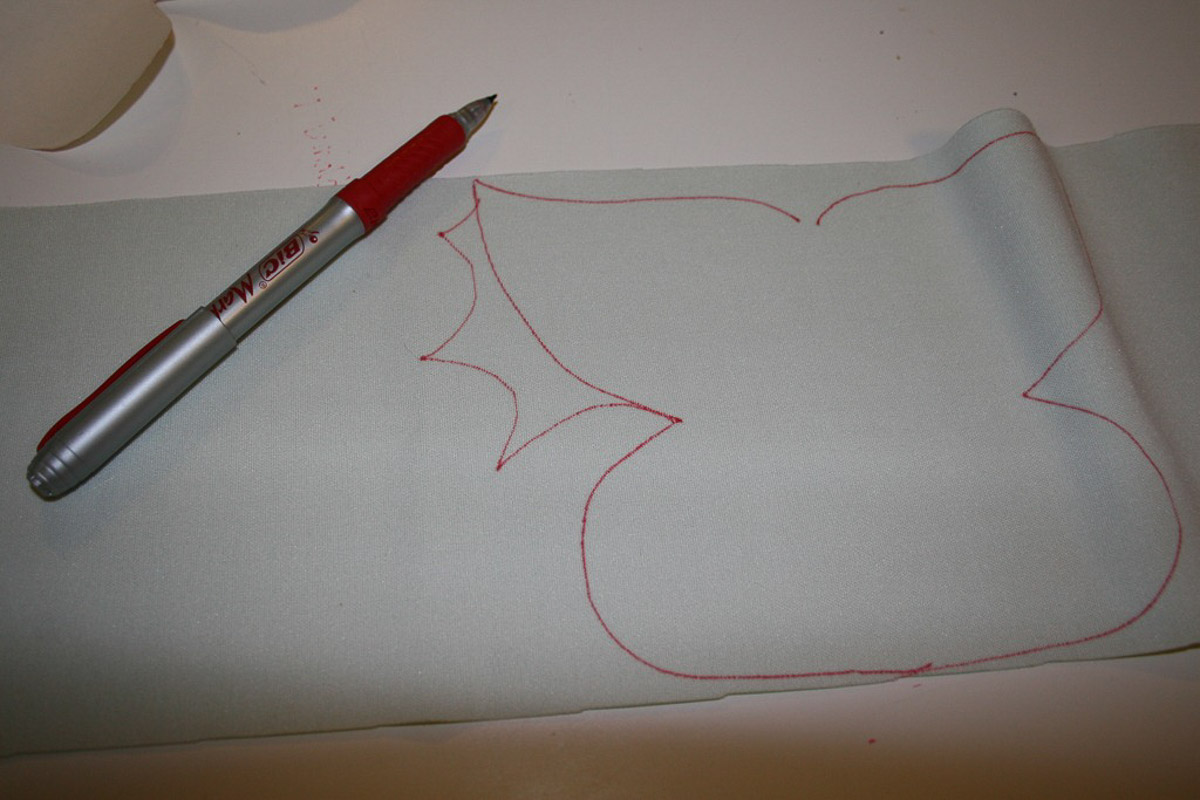
Add design elements and change the face as you, or your luchador want. For a symmetrical face, cut on the fold.
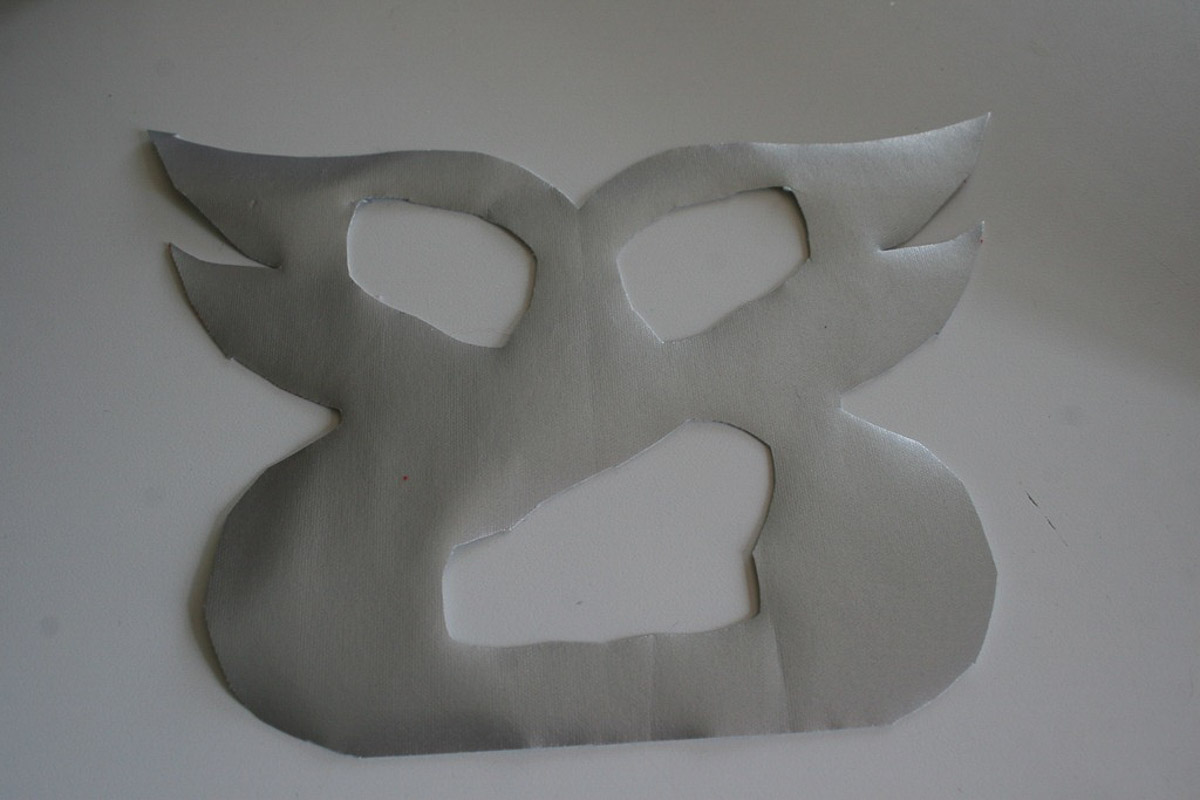
I let my kids decide on their individual eye and mouth holes. Cut out the holes and set face aside.
Sew A Nacho Libre Mask
Now that you have gathered supplies and drafted your pattern, it’s time to begin sewing the mask together. Follow the step-by-step instructions below to sew up your cute Nacho Libre headpiece.
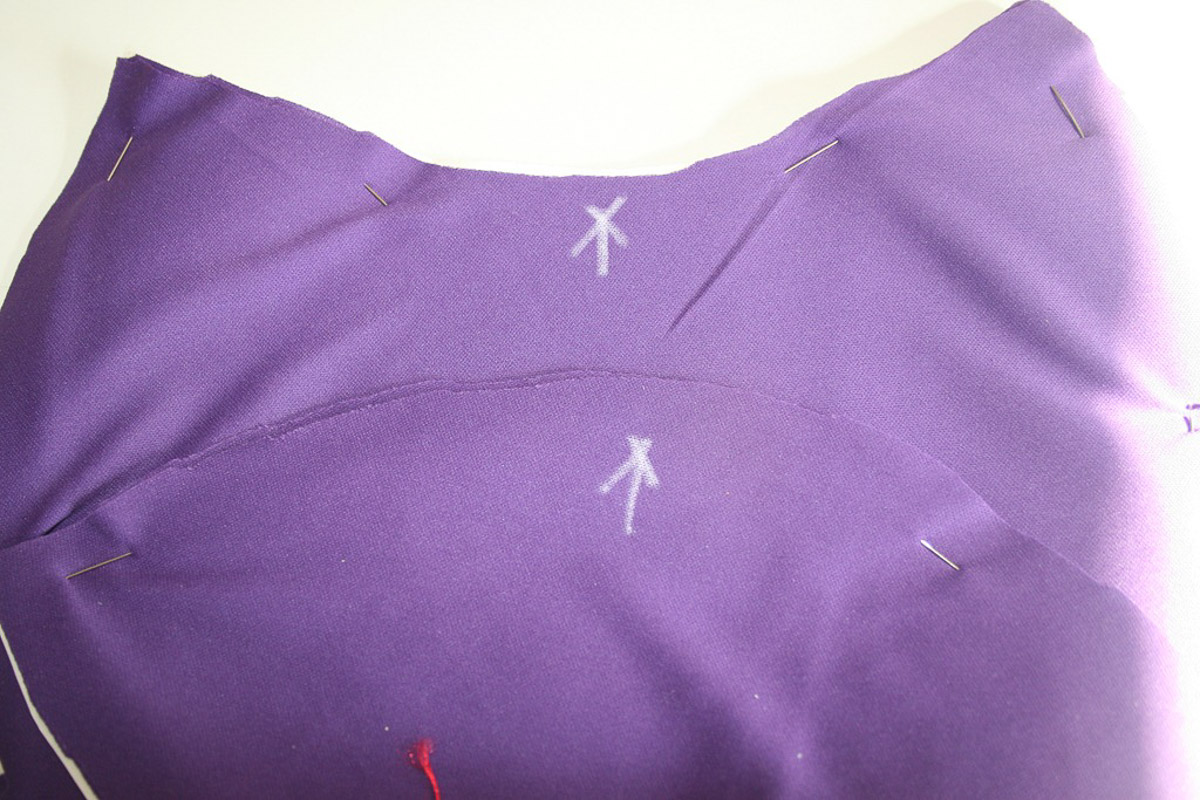
Step 1: After cutting out the head pieces, mark the top, as indicated on the pattern, of each piece.
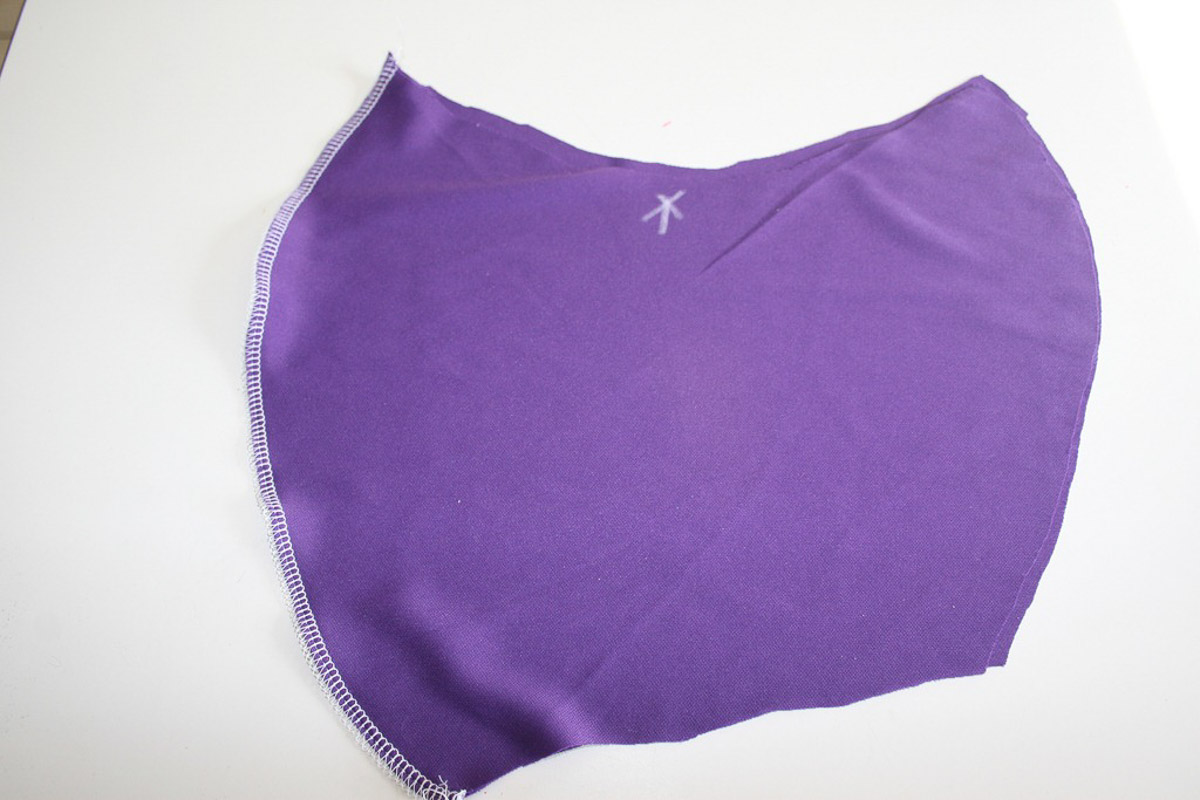
Step 2: Right sides together, sew the front seams of the Head Sides. Use a serger or a regular sewing machine with a zig zag stitch.
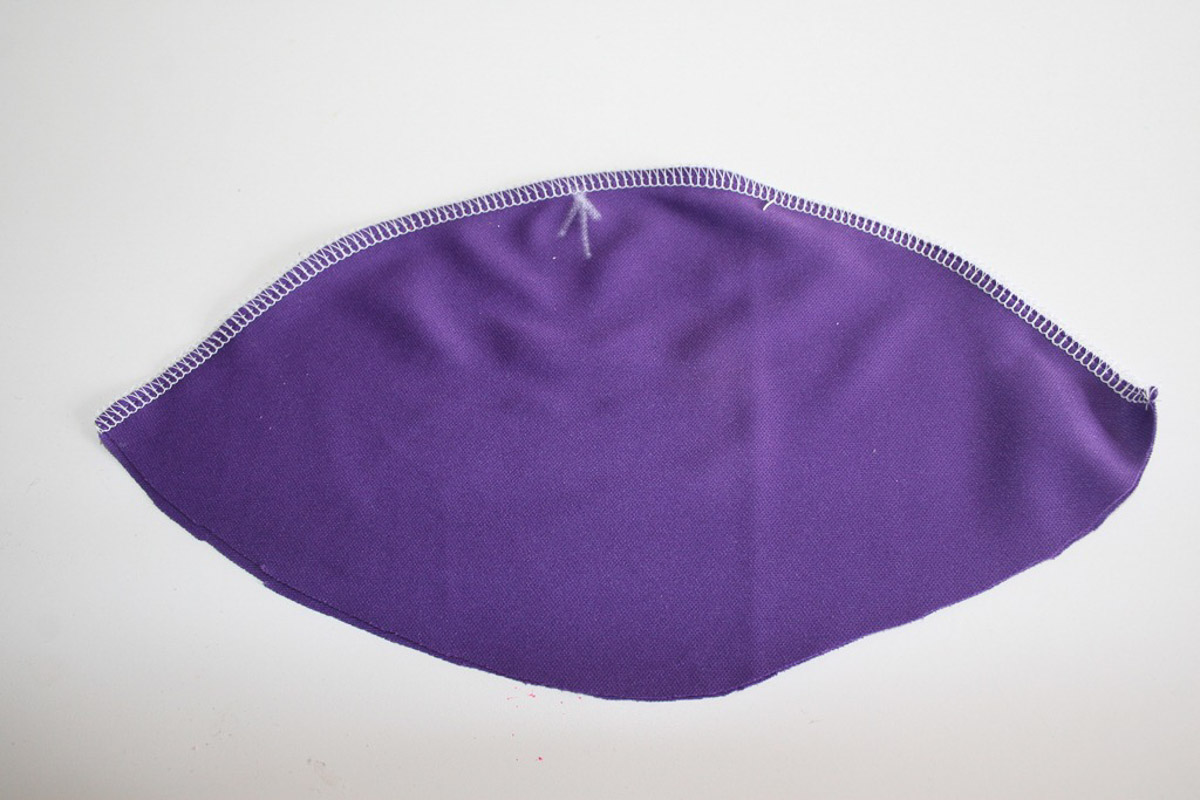
Step 3: Right sides together, sew the top of the Head Top.

Step 4: Pin the face in place on the right side of Head Sides front, using the center seam to line things up. Do your best to iron out all the wrinkles so it’s lined up nicely.
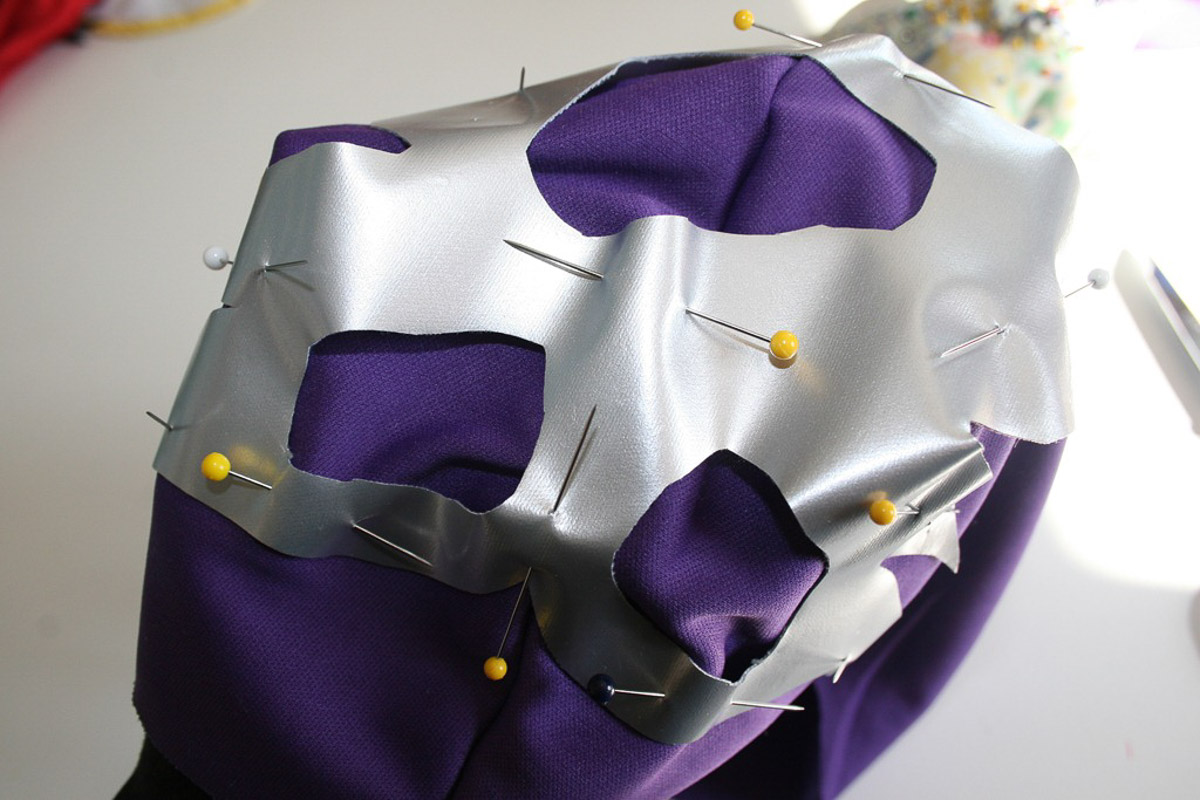
Step 5: This pinning is the hardest part of the whole deal, promise. I found it easiest to place the Head Sides on a rounded surface and pin the face on that way.
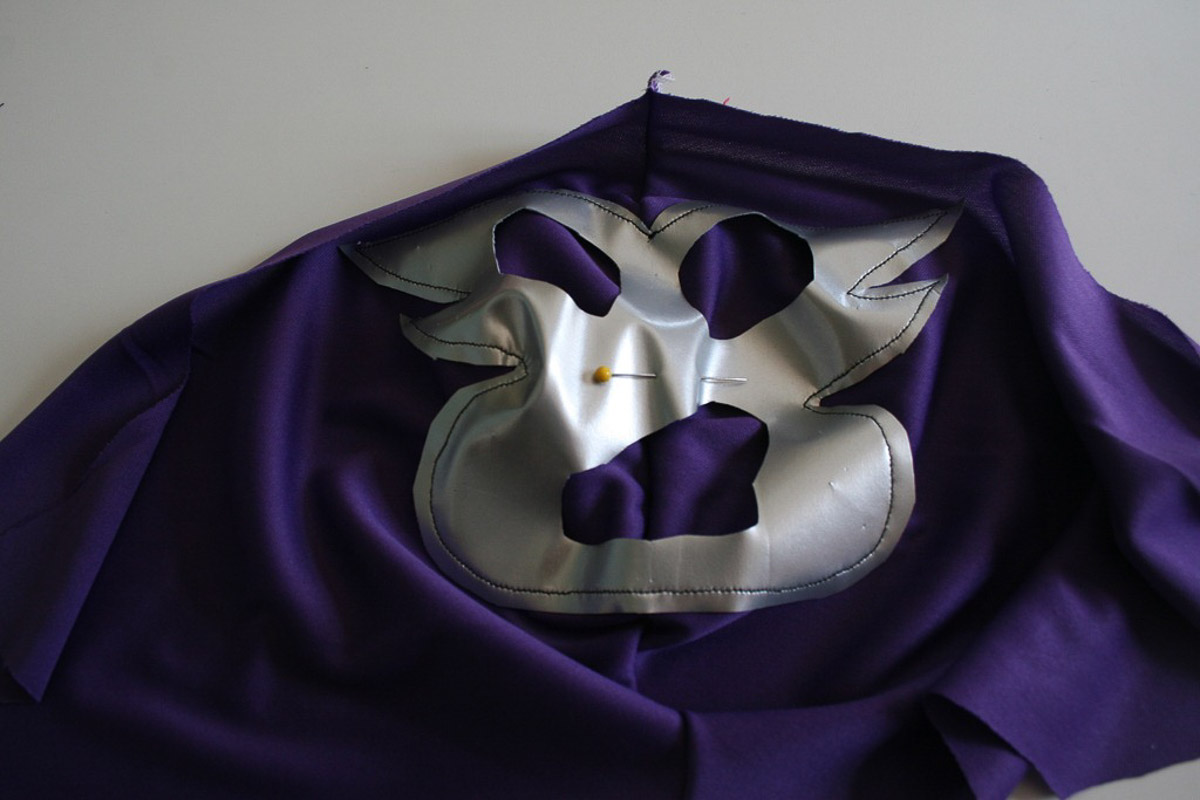
Step 6: Stitch all along the outside edges of the face, about ⅛ inch inch from the edge of the pleather. You may want to use a leather needle so the needle goes through the pleather easier.
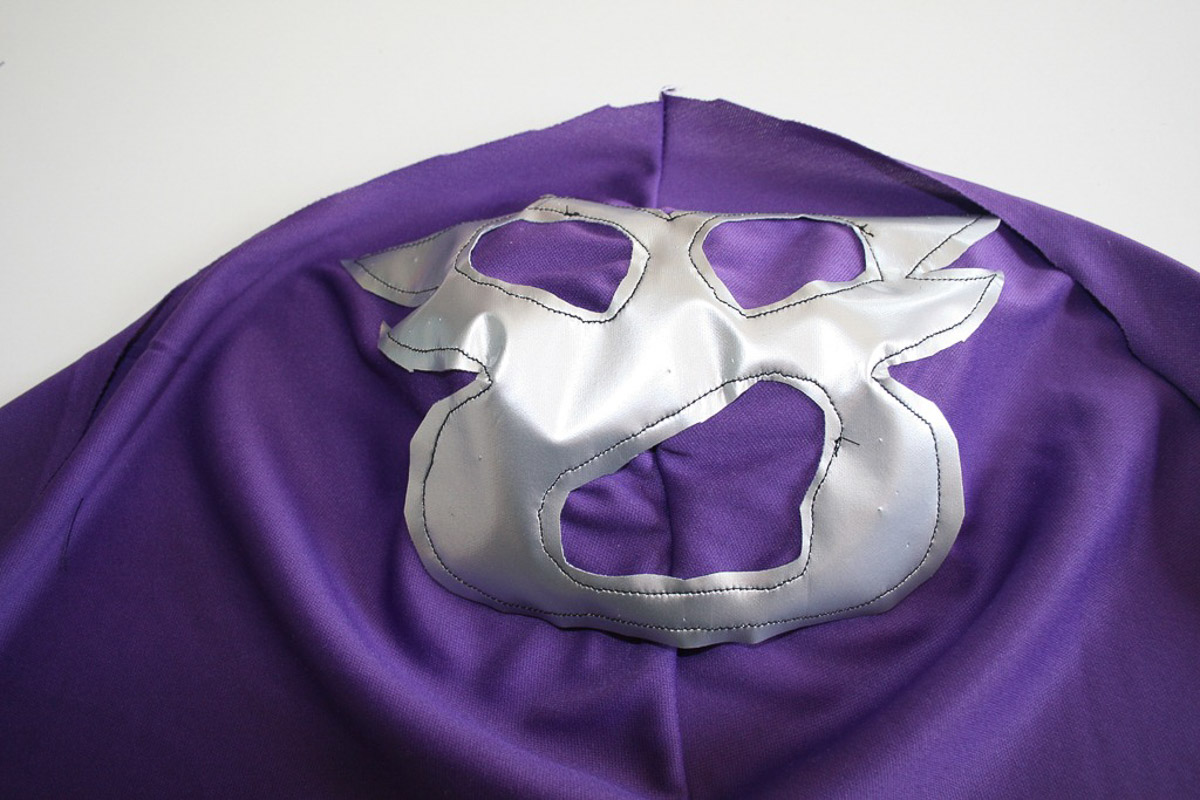
Step 7: Then sew all along the edges of the face holes, about ⅛ inch from edge. Just like you did with the outside edge.
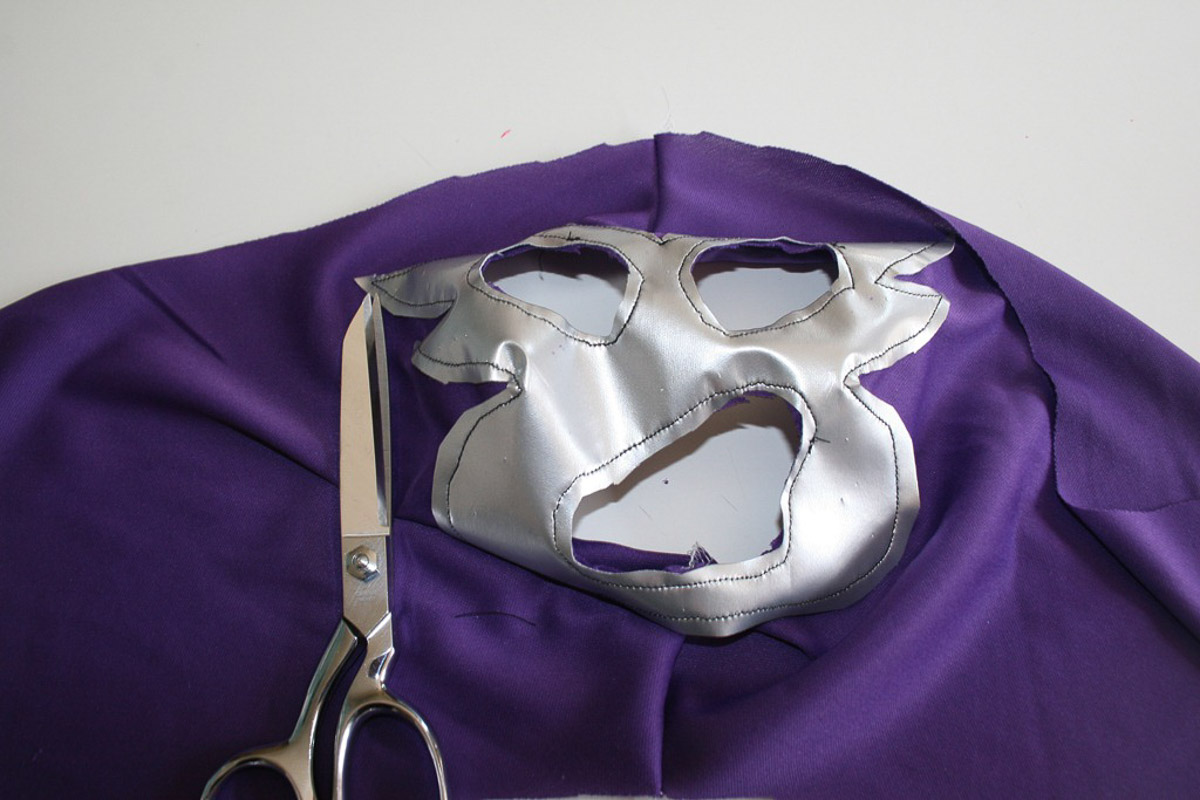
Step 8: Cut the holes out of the fabric, following the edges of the face.Try to cut right along your pleather.
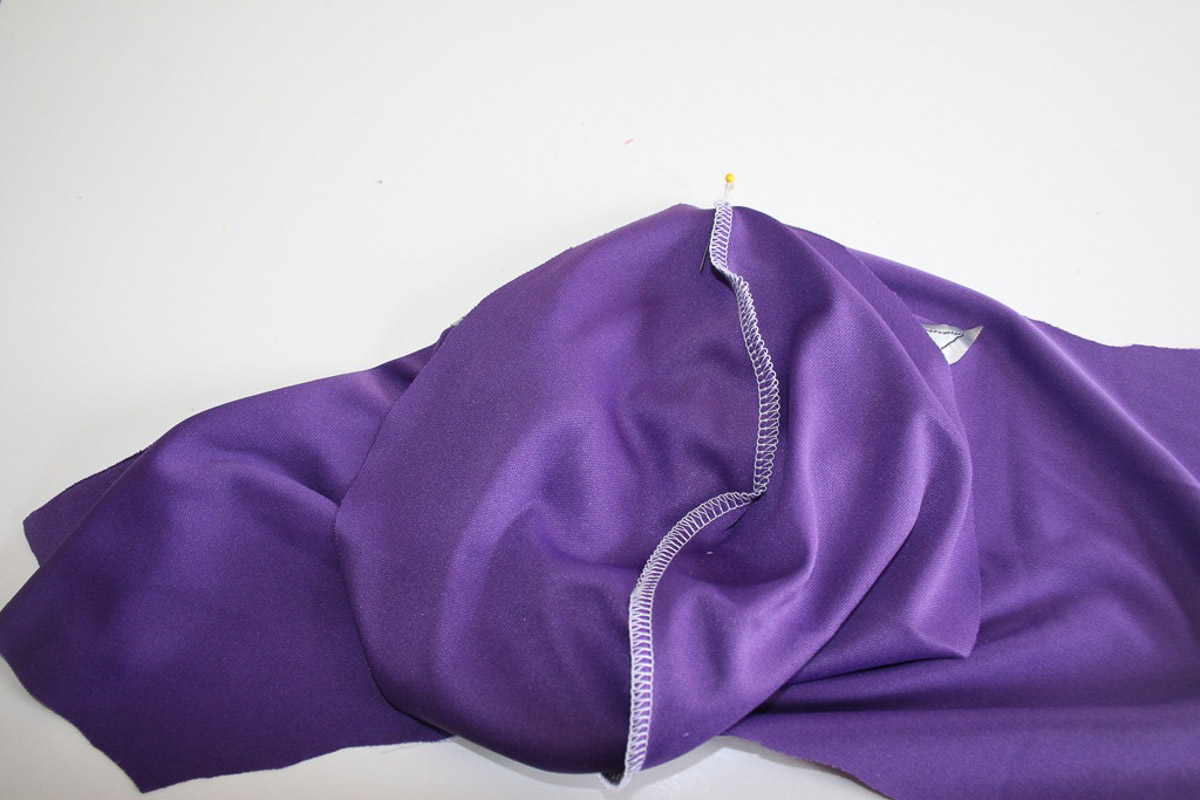
Step 9: With the right sides together, sew the Head Top to the Head sides, matching center front seams. Try not to stretch the fabric while you sew.
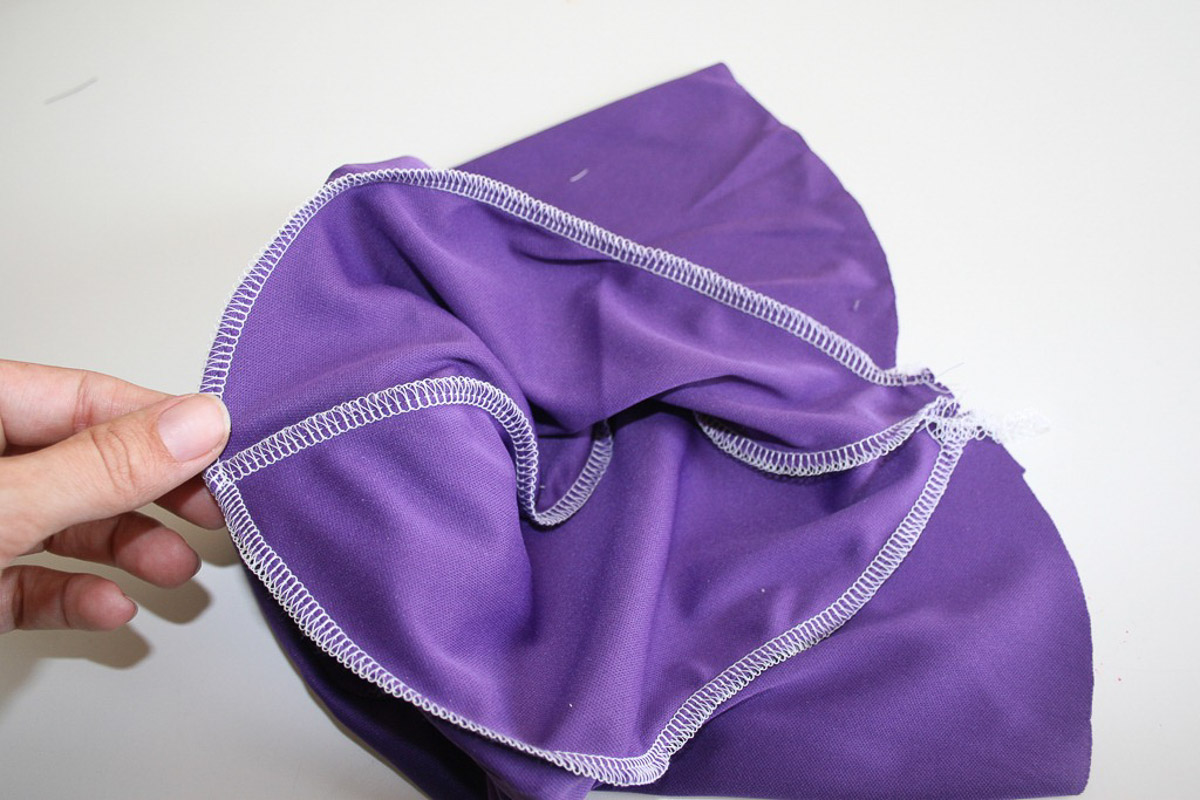
Step 10: Align right sides together, sew the back of the Head Sides, catching the back corners of the Head Top to enclose.
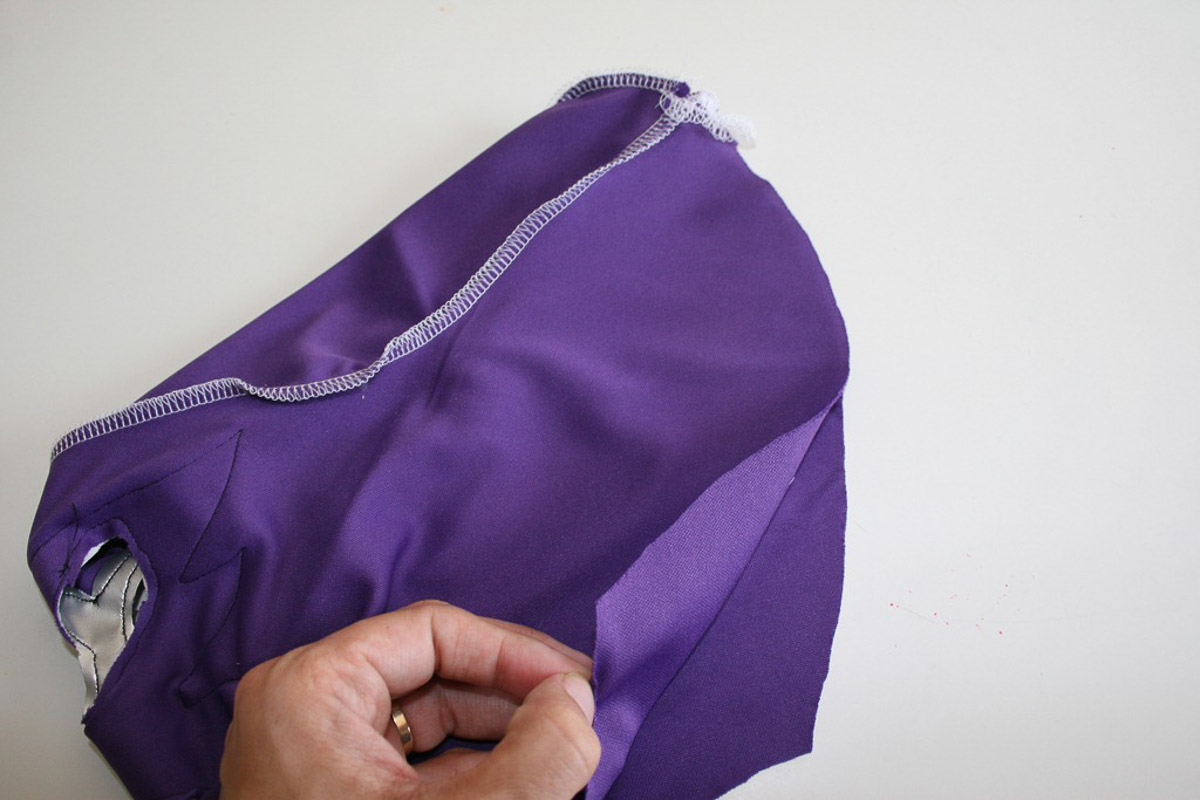
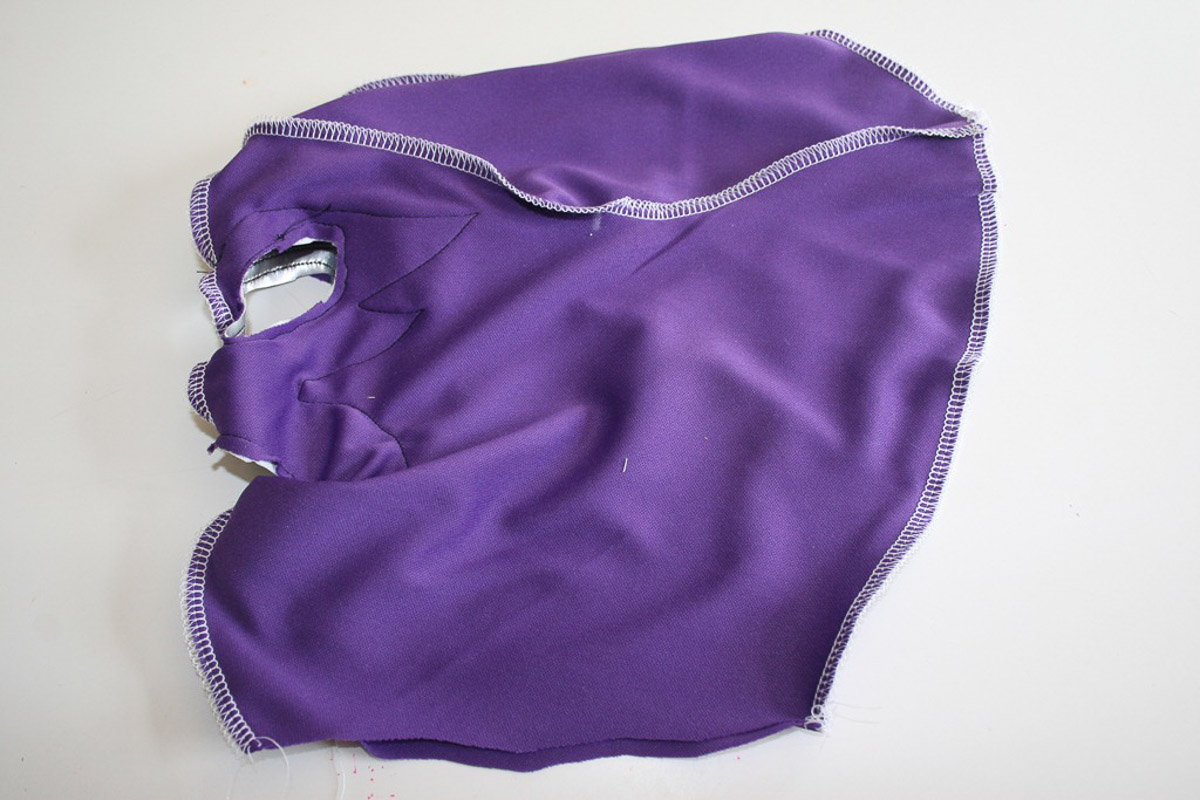
Step 11: Finish the bottom with either a rolled hem or a simple serged/zig-zagged edge. Your knit should not unravel but a finished edge will look better.
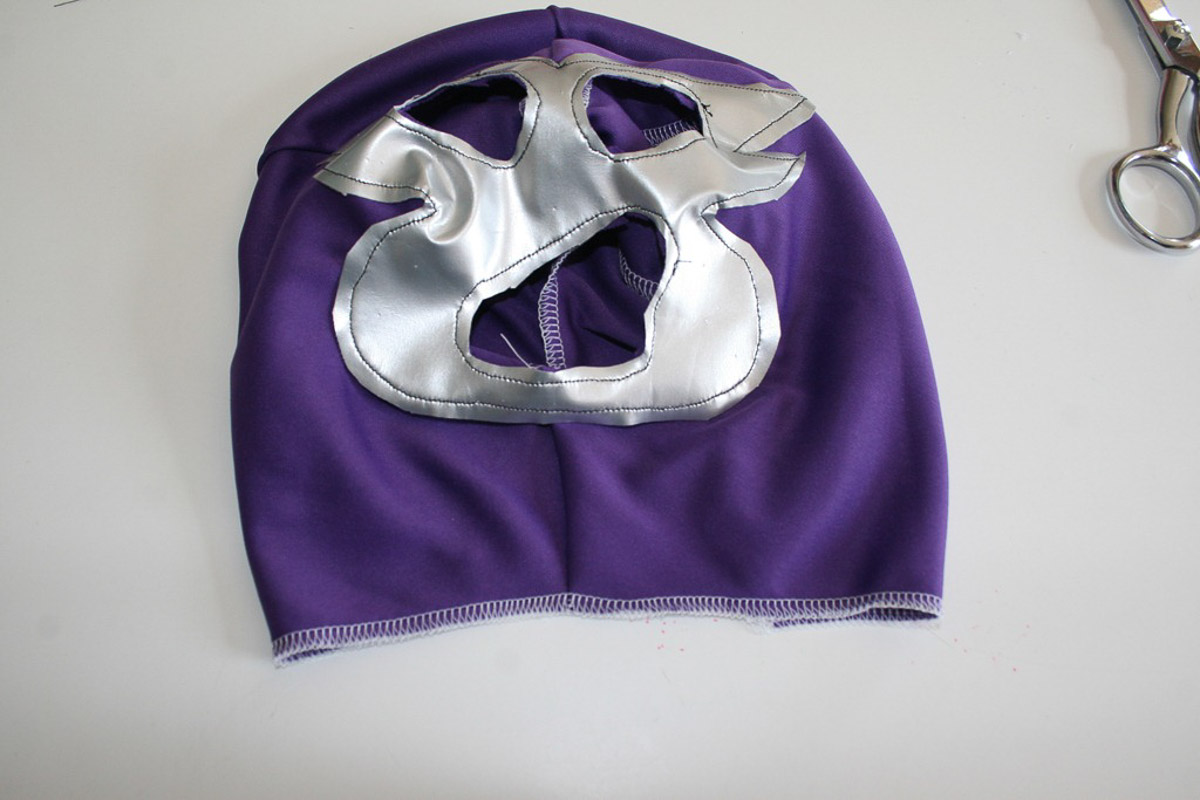
Slap it on your luchador and throw that kid in the ring!






Comments & Reviews
Megan says
Are these pattern pieces still available somewhere? The Dropbox link is not working.