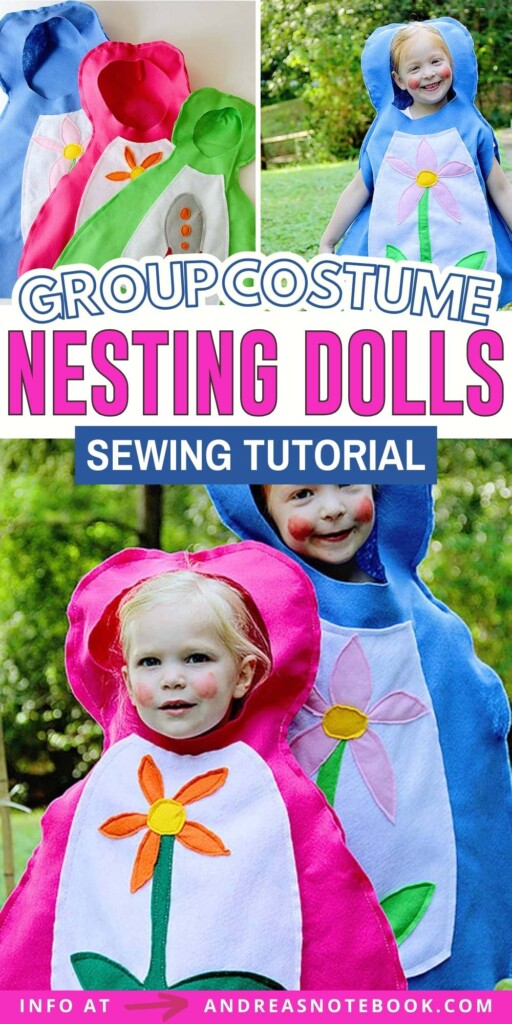

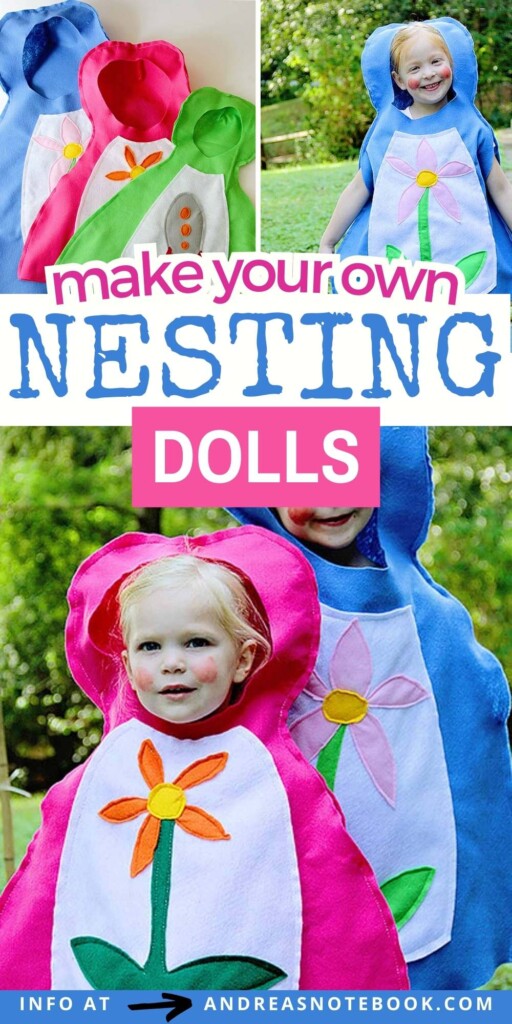
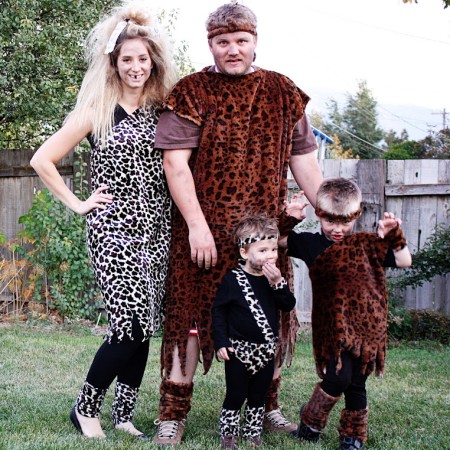
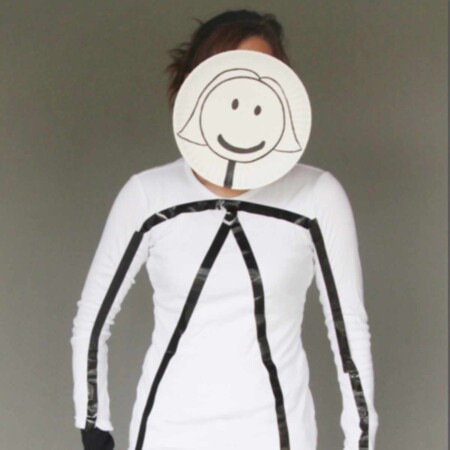
Step into the charming world of Russian nesting dolls with our DIY nesting doll costume sewing tutorial. These adorable matryoshka dolls have captured hearts worldwide with their unique design. Whether you’re looking for an individual costume or a fantastic group costume or family costume idea, our step-by-step guide will help you create an eye-catching ensemble. Basic sewing skills required. Step-by-step instructions will help you create your very own matryoshka-inspired outfit. Get ready to impress at costume parties, holiday events, or Halloween gatherings. For more group costume ideas see visit DIY Dorothy and Wizard of Oz Costumes, DIY Caveman Family Costumes, or DIY Luke Skywalker and Star Wars Costumes.

Look at those adorable little trick or treaters!
This DIY Russian nesting dolls costume sewing tutorial was originally created by Jessica from Me Sew Crazy (blog no longer available) for a costume blog tour in 2012 and has been updated.
Making costumes? Not my favorite. *Gasp*
Which is why I like things to be super simple, super easy, and of course cute whenever possible! And when they coordinate, it is like an added bonus.
That’s when I came up with Russian dolls for our DIY Halloween costumes.
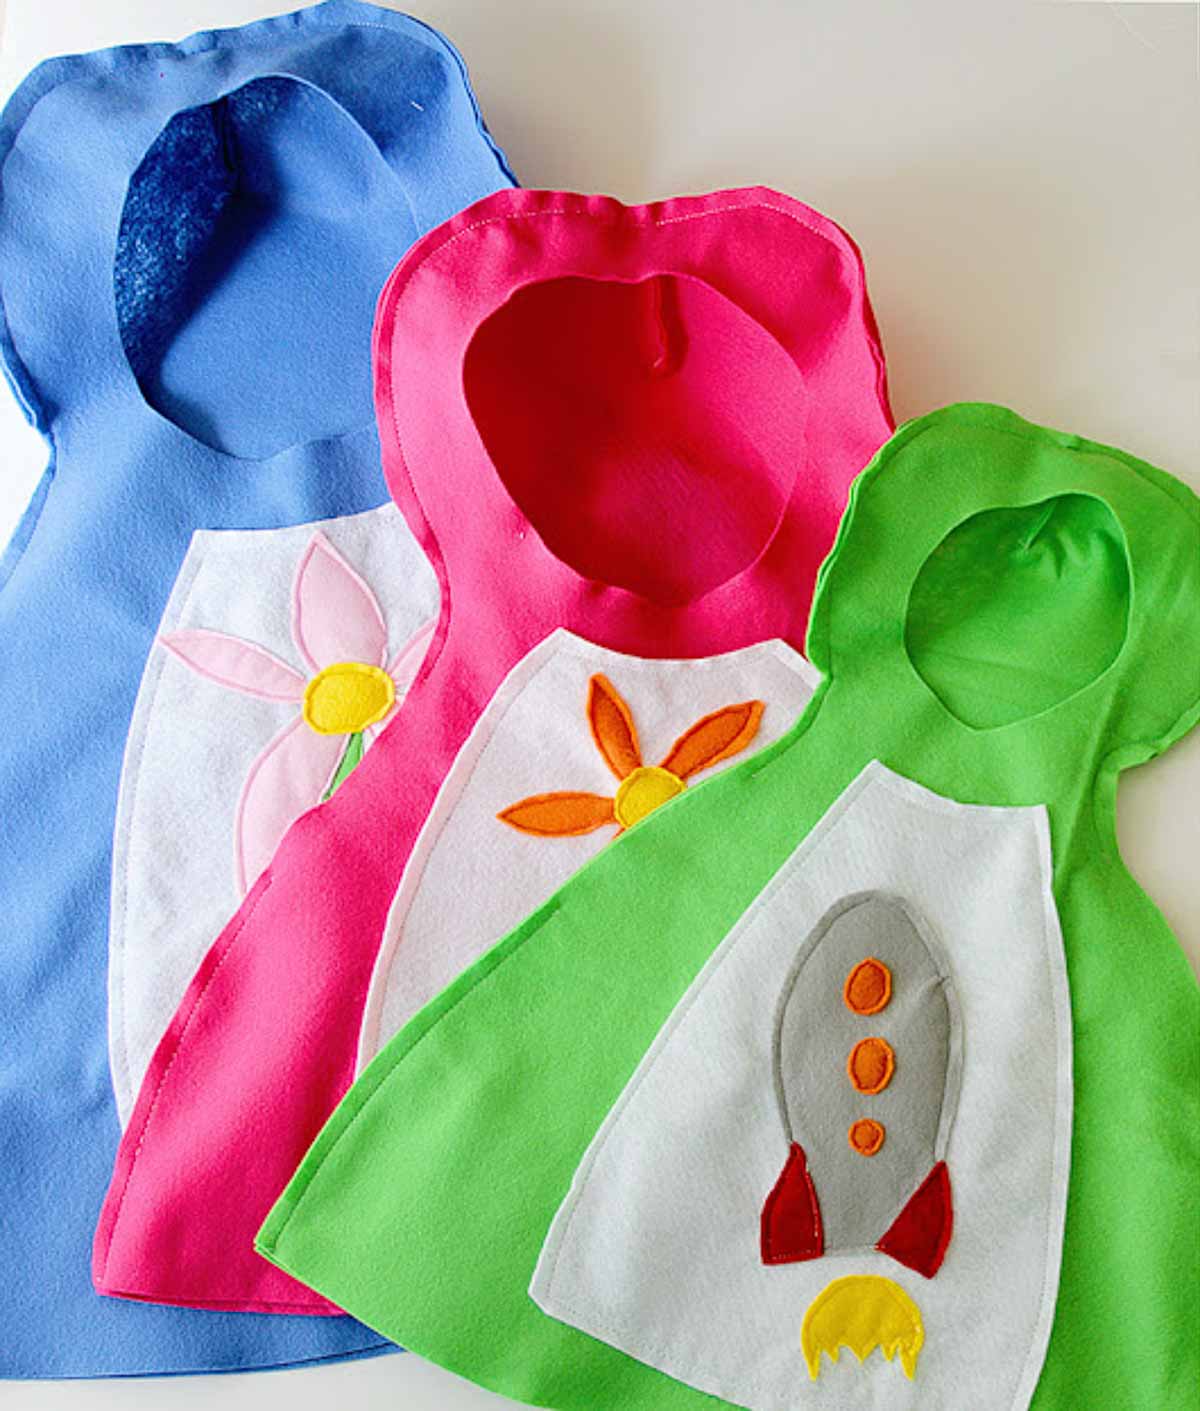
I have 3 kids all under the age of six, of course they would be cute in coordinating nesting doll costumes! And hey – I put a rocket on the front of Ben’s after all. Lol.
Why I Love This Easy Nesting Dolls Costume
Difficulty: This tutorial requires basic sewing skills. You need to be able to sew a straight line and sew a curve. The pattern drafting and cutting are easy! If you don’t sew you could even use a little hot glue in a hot glue gun or even a stapler to complete this Halloween costume.
Time: From start to finish this will take you 2-3 hours.
Versatility: This idea could help you create a lot of different types of costumes! It’s easy to sew and easy to wear. Consider making a bowling pin or your favorite sports ball!
Size: This hat does not have a pattern. You’ll make your own based off of your child’s measurements. It can be made for a little girl or little boy in any size. You could even make in an adult size.
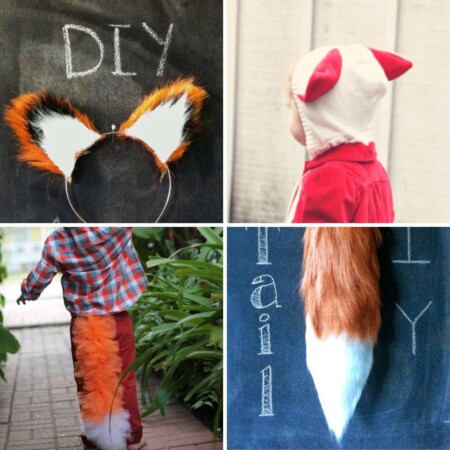
More Family Costume Ideas
Love crafting Halloween costumes for the family? Check out all these DIY costume ideas!

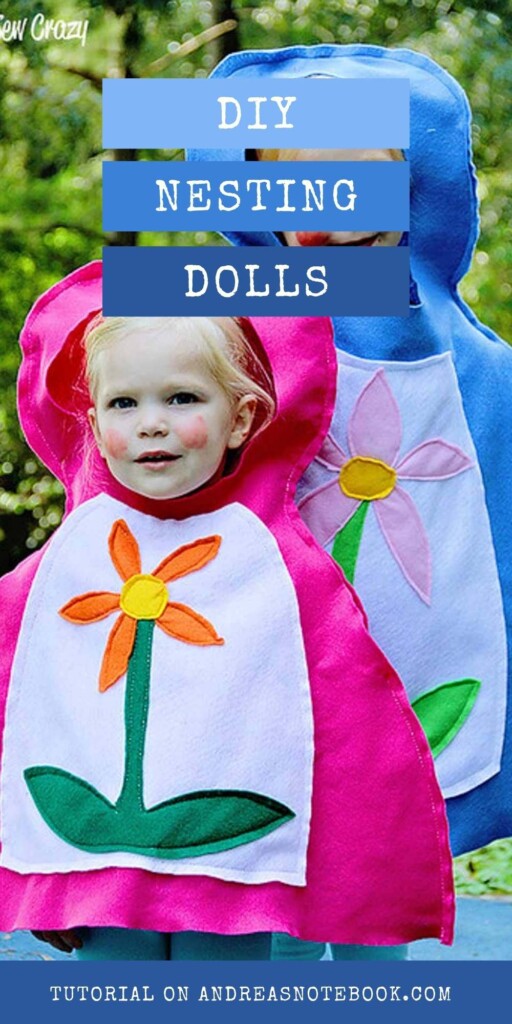
Now I know what you are saying…but there are no arms on a nesting doll!
Don’t worry, I made armholes. Furthermore, if your kids don’t like to wear things on their head as much as mine, the top can fold back and work like a hood when they are being fussy.
Gather Supplies
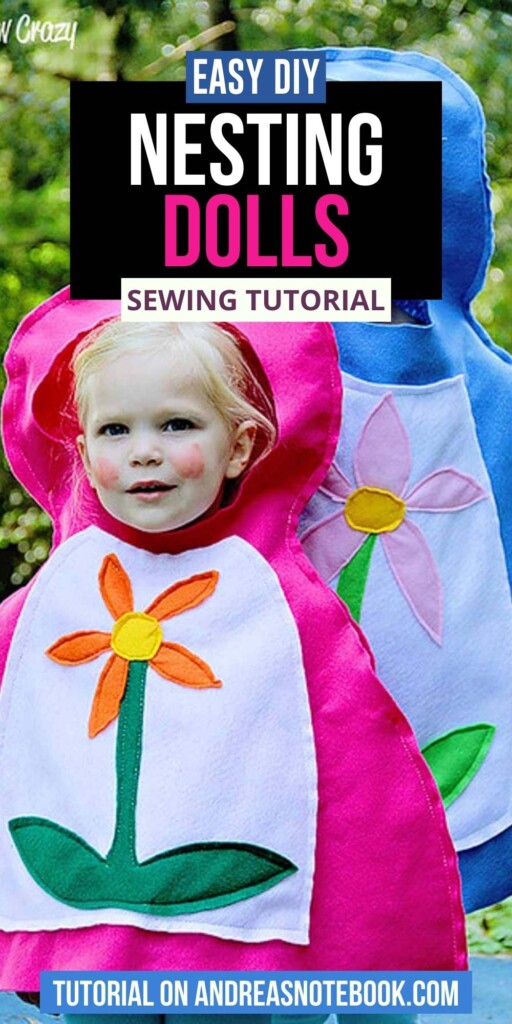
First off, you will need to get the large felt sold by the yard at fabric stores. It is really cheap, and perfect for this costume. 1 yard is all you will need, and you will have plenty leftover. For the front belly embellishments, get ½ yard of white felt, and some of the paper sized felt in whatever colors you like. I made all three of my children’s costumes for around $15. Not bad.
Felt: Buy the type of felt sold on a bolt at your local fabric store. You can also buy felt by the yard at online fabric stores. Cheap craft felt works great for this. If you want a longer lasting, higher quality nesting doll costume you can buy more expensive wool felt.
- 1 yard of the main fabric is enough for most sizes.
- ½ yard of white felt
- small pieces of felt in various colors for your belly applique (we did a flower pattern). You can buy the individual rectangle of felt for this part.
Fusible Interfacing (Optional): You can use fusible interfacing to help aid in sewing on the applique if you choose.
Sewing Machine: Unless you’re opting for assembling by glue, you’ll need your sewing machine and thread.
Fabric Scissors: Good sharp scissors are necessary for cutting felt.
Create The Pattern
You will need some very basic measurements of your child in order to cut your pieces properly. I had each child stand next to my ruler for a second and eyeballed it.
Don’t make your costume too long, you don’t want your child tripping as they run around at night getting candy!
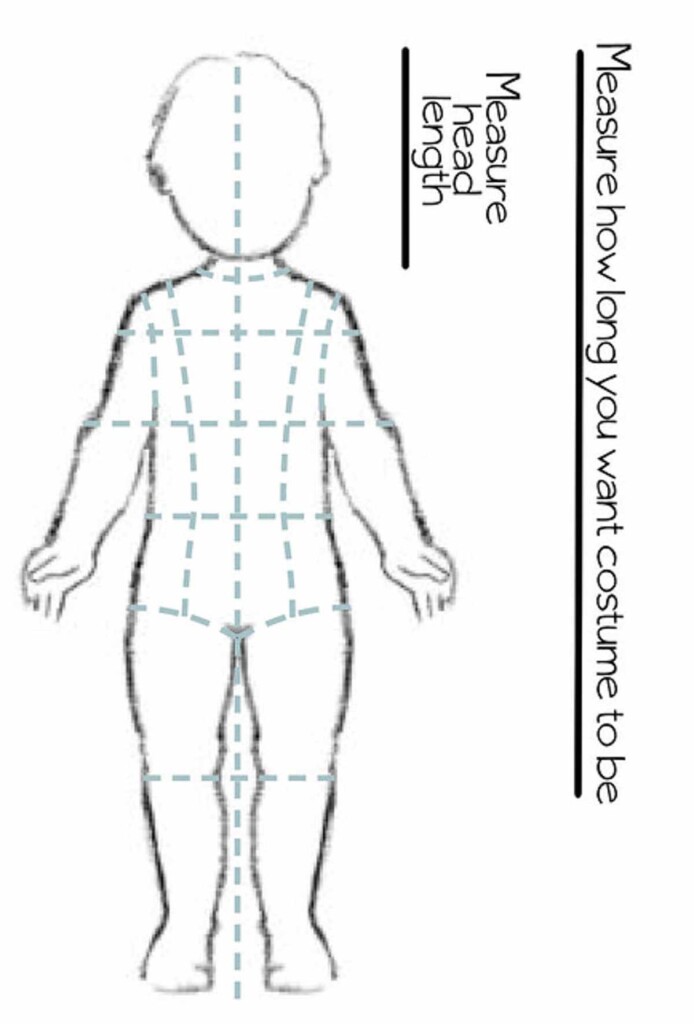
Once you have your basic head and overall length measurement, you can start creating your pattern directly onto your felt fabric.
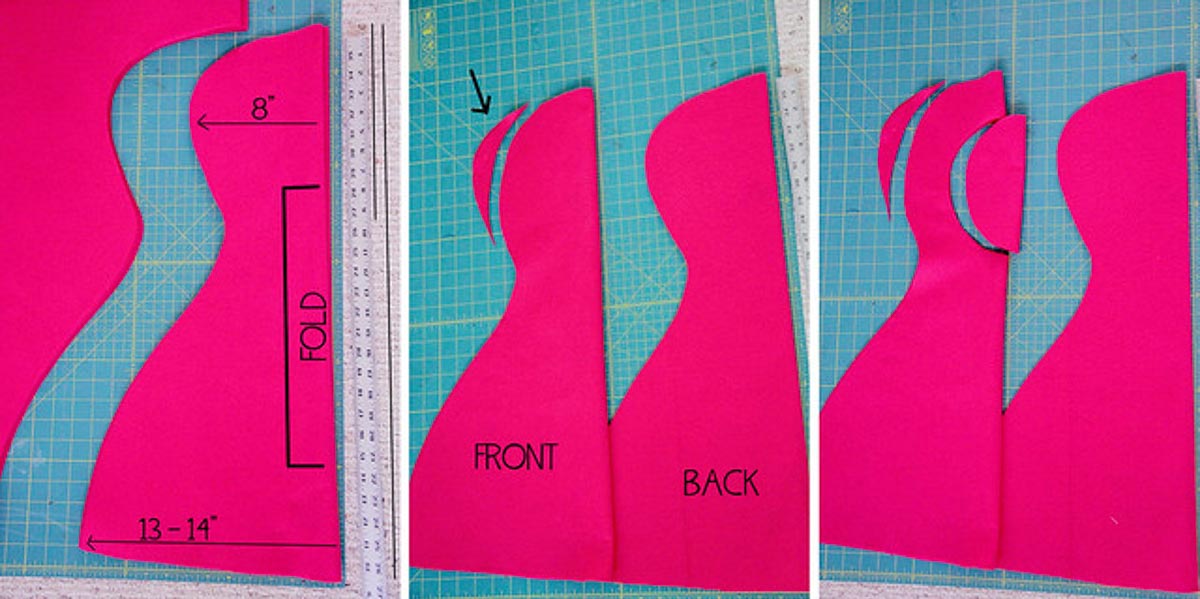
Step 1: Fold main felt piece in half. Cut (2) large nesting doll shaped pieces of felt fabric on the fold using the head length measurement + 1-inch + the overall desired height measurement.
Step 2: For the front pattern piece, cut off a little of the excess fabric from the side of the head.
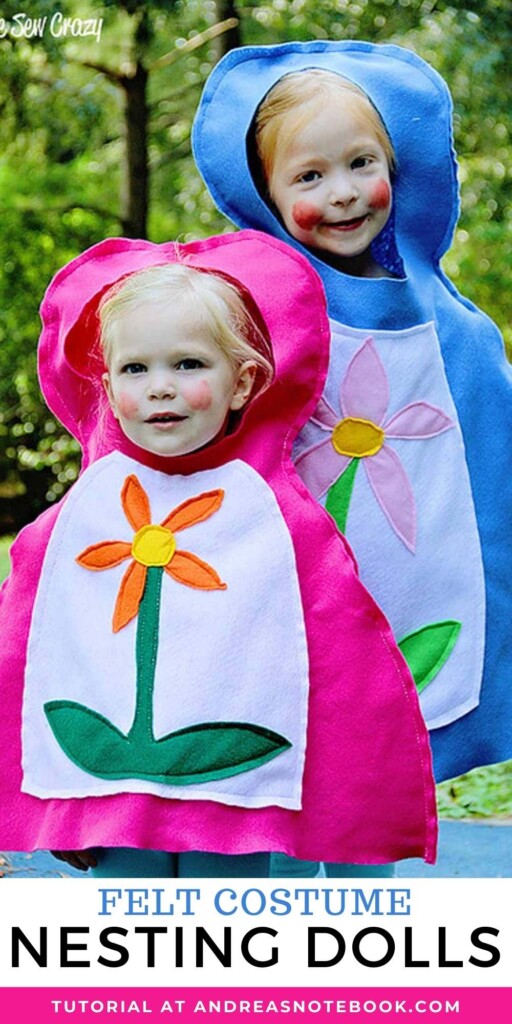
Step 3: Cut out a circle for the face. If you cut a large circle the nesting doll costume will have a hood. If you cut a smaller circle just the face will show out of the costume. This is up to you.
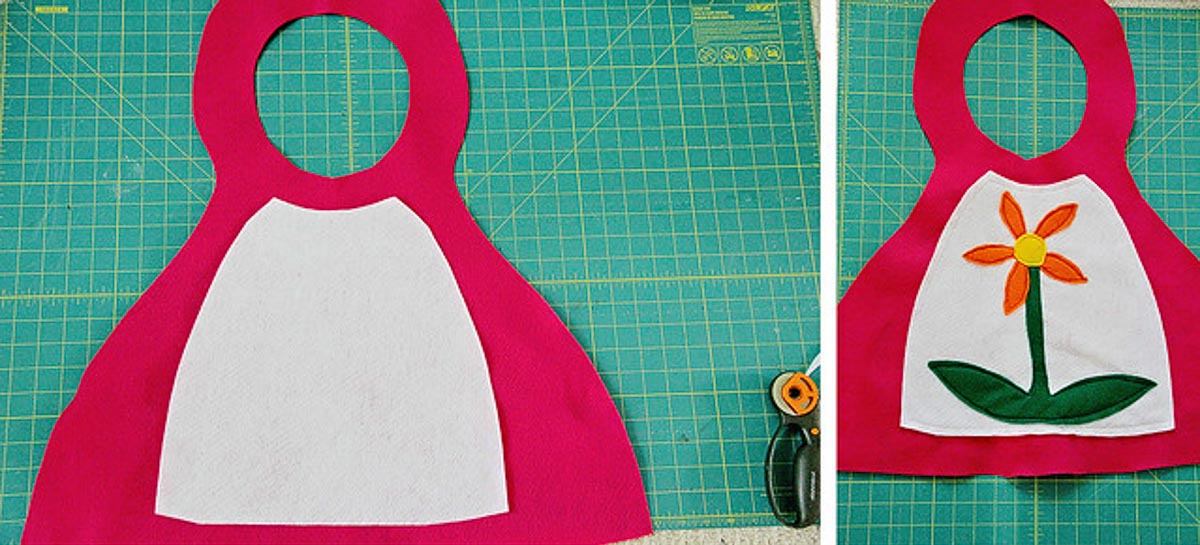
Step 4: Lay the front of your nesting doll flat. Cut out a white tunny piece to fit on the front of the nesting doll. Cut out small felt pieces in the shape of the applique you want.
Step 5: Attach the tummy piece and applique decorative pieces. You can do this using fabric glue, hot glue or by simply topstitching around the edges of the pieces. If you sew, I recommend using pins to pin in place or ironing on fusible web interfacing and ironing on, then top stitching around the edges.
Assemble The Nesting Doll
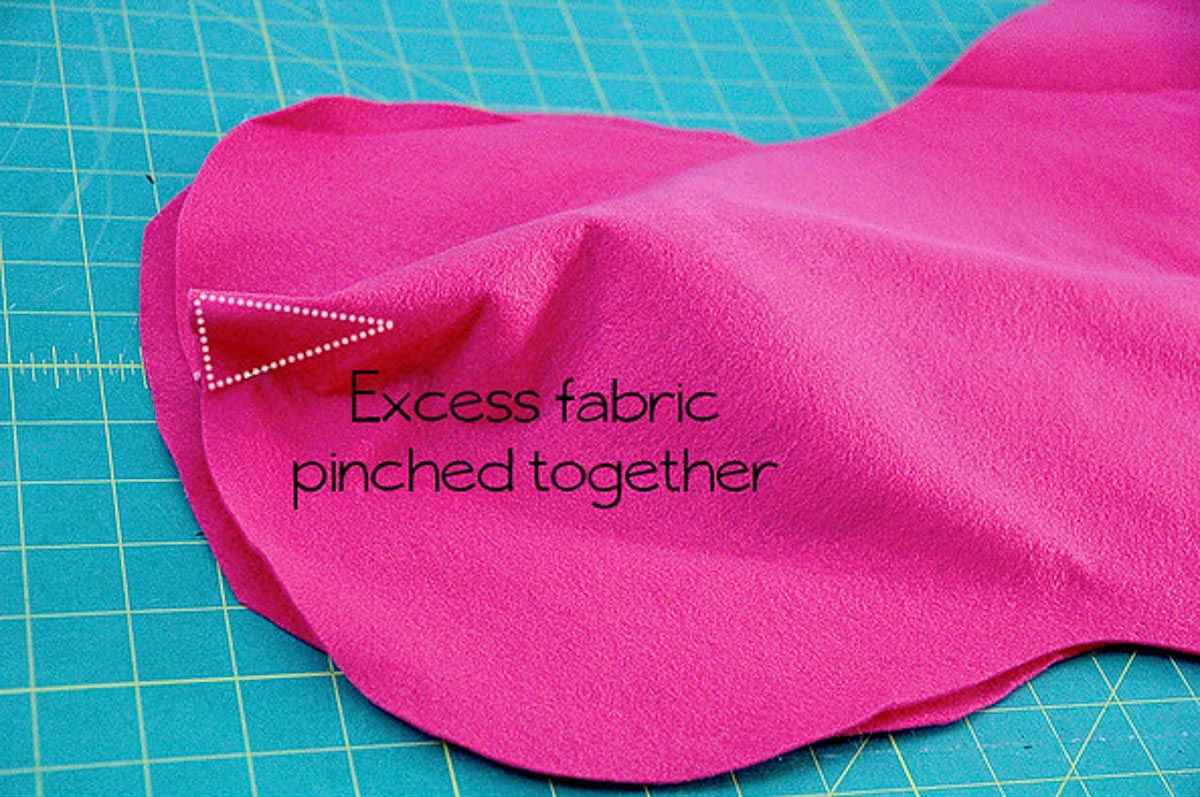
Step 1: Pin The Dart
Place the back of the pattern piece on the top of the front pattern piece, right sides together. Match up the outside head edges. You will see that the back is larger than the front. Meet the excess head fabric in the top center and pinch together. Pin to secure.
The head dart will help the costume to fit around your child’s head a bit better. You can easily use a stapler to replace the sewn seam if you don’t sew. (Perfectionists remember – this is a costume. Staples work).
Step 2: Sew The Dart
Once pinned or marked, fold the back piece in half, right sides together. Sew a line of stitches to secure the pinched fabric, creating a dart in the head piece. Cut off excess fabric, leaving a ¼-inch to ½-inch seam allowance. See photo below.

Step 3: Sew Side Seams
Place the back and front pieces wrong sides together. Mark where you want to leave the sides open for the armholes. Make sure they’re big enough to comfortably accommodate your child’s arms. Stitch from the bottom of the doll up the side to the bottom of the arm hole. Then sew from the top of the arm hole around the top of the head and over to the top of the other arm hole. Then sew from the bottom of the arm hole to the bottom of the nesting doll. Do not sew along the bottom.
Exposed Seams vs Hidden Seams
For this costume we left the seams exposed. This is a quick and easy costume tutorial. If you are sewing a costume you want to last longer, sew the front and back pieces with the right sides together. After you’ve sewn the seams, clip the curves and turn your Matryoshka doll right side out.
What did my kids like most about these costumes?
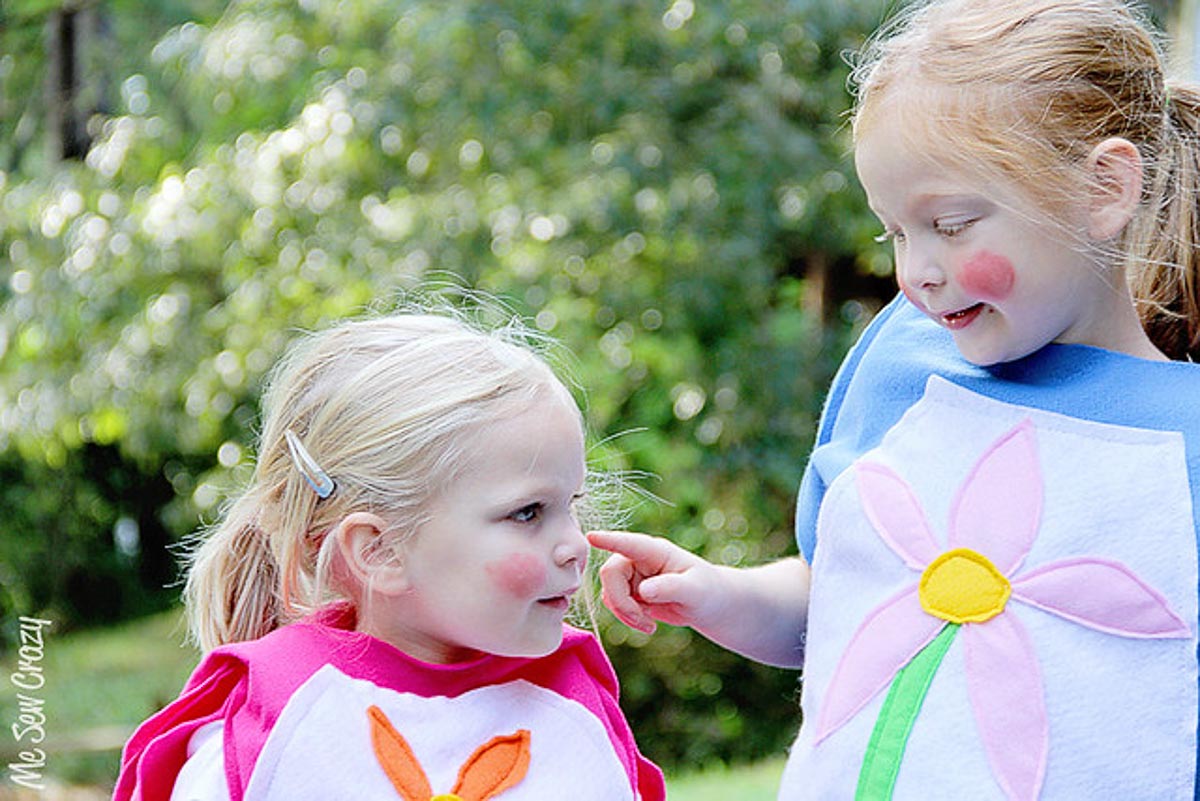
The fact that they got lipstick put on their face, they were so excited to be wearing mommy’s make-up.
Thanks so much for having me Andrea. I have loved what everyone has created so far, and cannot wait to see what’s next! We’re off to go trick or treating!
Frequently Asked Questions (FAQs)
Wear your regular clothes! Some black leggings or even jeans and a long sleeve shirt work great.
Russian nesting dolls, also known as Matryoshka dolls, are called “Russian nesting dolls” because they originated in Russia and are a significant part of Russian folk art and culture. The term “nesting” comes from the dolls’ unique design, where a set of wooden dolls of decreasing sizes can be placed one inside the other. These dolls are often beautifully painted, and each doll typically separates at the middle to reveal a smaller doll inside.
The name “Matryoshka” itself is a Russian female first name and is derived from the Latin word “mater,” meaning mother. The name symbolizes fertility and motherhood, making it a fitting name for these dolls that contain a series of smaller dolls within them, with each representing a “mother” doll.
Russian nesting dolls have become iconic symbols of Russian culture and craftsmanship, and their name reflects their Russian origin and the distinctive nesting design that sets them apart from other types of dolls.
Absolutely! If you prefer, create templates of your pattern pieces on paper before cutting your fabric. This will help ensure you’re cutting them the right size. You can use a small piece of cardboard or the back of wrapping paper.
More Homemade Halloween Costumes
If you loved this DIY nesting dolls costume, you’ll love these other easy DIY costumes.


Comments & Reviews
Alida says
Sooo cute and unique! I love them!
Jessica Abbott says
Thanks so much for having me Andrea! Has been such a fun Series to follow along with 🙂
Kristie says
Love this. Thanks for shairng!
Beverly {Flamingo Toes} says
Oh my gosh this is too cute!!! I love these!
Stef says
These just make me smile. How clever and cute! I love the girls’ rosy cheeks, too!
TheRussianStore says
Awe, so cute, and so much you can do with design and style!
Amber Jewelry Glam says
Piece of Art. Very nice.
paula says
I don’t know how I found this but it’s adorable. I’ve pinned it to make for my grandkids next year.