Are you ready to step into the enchanting world of Oz and become the star of your next costume party? Look no further than this DIY Dorothy costume tutorial! With a touch of creativity and a sprinkle of magic, you’ll transform into the iconic character who captured our hearts while following the yellow brick road in her sparkling ruby slippers. This step-by-step guide will make sewing your own DIY Wizard of Oz costume a breeze. It’s time to slip on those red glitter shoes and embark on your DIY Halloween costume journey! Or check out this DIY Rapunzel Dress Costume or DIY Belle Dress.
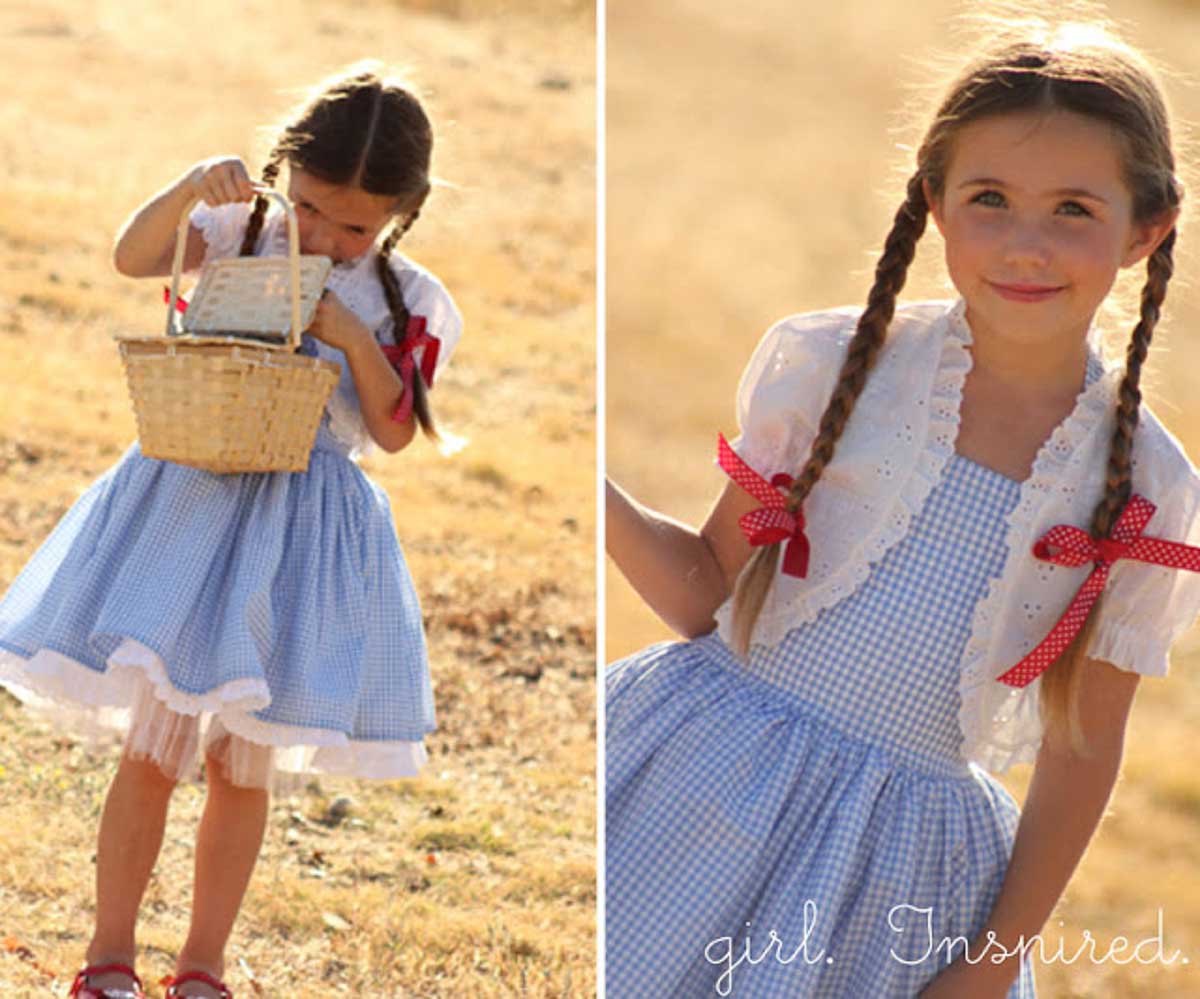
Why I Love This Dorothy Costume DIY
Difficulty: This is a a moderate skill level sewing tutorial. It’s best if you’ve sewn a simple garment before.
Time: From start to finish you’ll have this dress completed in 2 to 4 hours, depending on skill level.
Versatility: I love how adorable this dress looks when it’s completed. She’ll be able to wear this dress after Halloween. A blue dress can be worn anywhere!
Size: This dress does not have a pattern. You’ll make your own based off of your child’s body measurements. It can be made for a little girl in any size.
No time to sew a costume? This Dorothy dress is adorable!
Creating Magical Family Wizard of Oz Costumes: A Step-by-Step Guide
Are you ready to embark on a magical journey to the Land of Oz with your family? Crafting Wizard of Oz costumes for your clan can be a fun and memorable experience. Follow this straightforward guide to bring the beloved characters to life and make this Halloween or any costume event an enchanting adventure.
Choose Your Characters:
- Cowardly Lion: The embodiment of courage, the Cowardly Lion wears a brown jumpsuit and a curly mane headpiece.
- Wicked Witch of the West: Go wicked with a black dress, pointed hat, and broomstick.
- Good Witch: Radiate goodness in a shimmering white gown, a glittery wand, and a sparkling tiara.
- Tin Man: For the heartwarming Tin Man, silver clothing and a funnel hat are key.
- Dorothy: Classic blue gingham dress and those iconic ruby slippers. Keep reading for the DIY Dorothy costume tutorial!
- Scarecrow: Embrace your inner wisdom with a scarecrow look – ragged clothing and straw accents.
- Flying Monkey: Go mischievous with wings and monkey-like accessories.
- Little Dog: Let your pet join the adventure as Toto, or carry a plush toy version.
Accessorize with Pizzazz:
- The Cowardly Lion can sport a courage medal and a lion’s tail.
- Equip the Wicked Witch with a cackling broomstick.
- The Good Witch needs her sparkling wand and radiant smile.
- The Tin Man should carry a rusted axe.
- Dorothy requires a basket with a stuffed Toto.
- The Flying Monkey should carry a toy monkey.
- For the Scarecrow, a diploma can be a charming accessory.
Coordinate Colors and Details: For a harmonious group look, ensure that costumes complement each other in terms of colors and theme. Share ideas and creative input to perfect the ensemble.
Creating family Wizard of Oz costumes can be as enjoyable as the adventure itself. So, gather your supplies, unleash your creativity, and set out on a magical journey down the yellow brick road with your loved ones.
More Girly Costume Tutorials
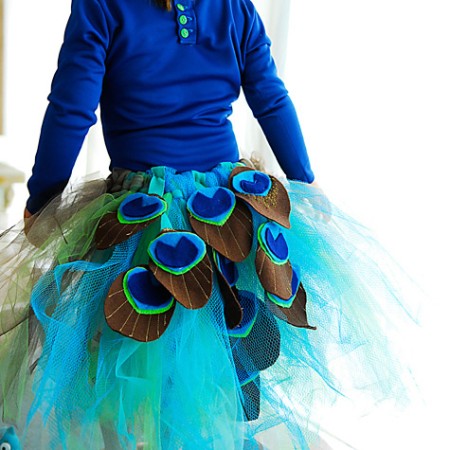
From peacock tutus tutorials to fairy wand tutorials, there’s something for every girly girl.
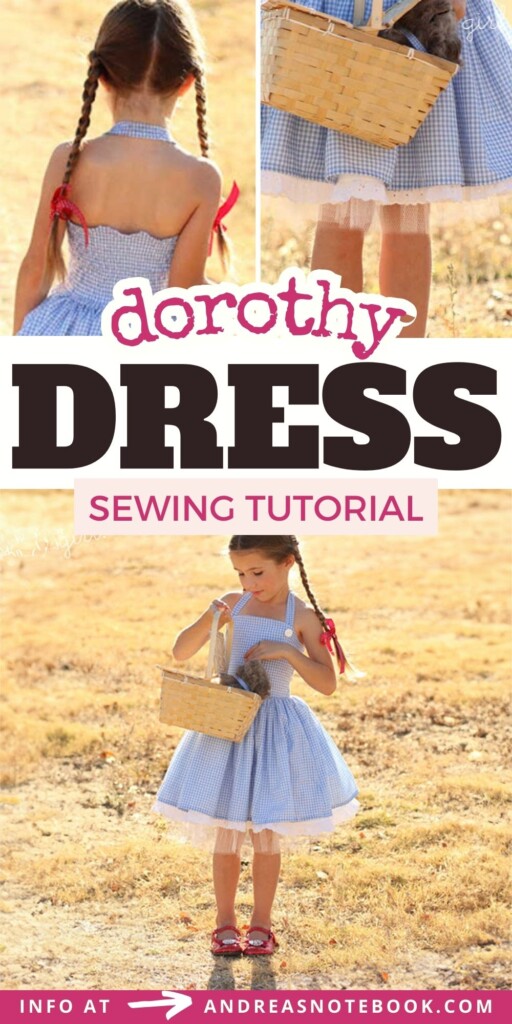
This Dorothy Halloween costume DIY was created by Stef at girl. Inspired for a DIY Halloween costume series in 2012.
Gather Supplies
Head to your local fabric store or check out online fabric stores. I suggest doing your measuring to figure out how much fabric you will need before shopping.The exact amounts of fabric will depend on the size of the dress you are sewing.
- 1-2 yards of lightweight blue gingham fabric
- 1-2 yards of lightweight white lining fabric
- coordinating thread
- 2 buttons
- elastic thread for shirring
- lace trim (optional)
Step-by-Step Instructions
Measure
To create your pattern you will need three measurements:
- chest
- underarm to waist
- waist to hemline
Create The Pattern
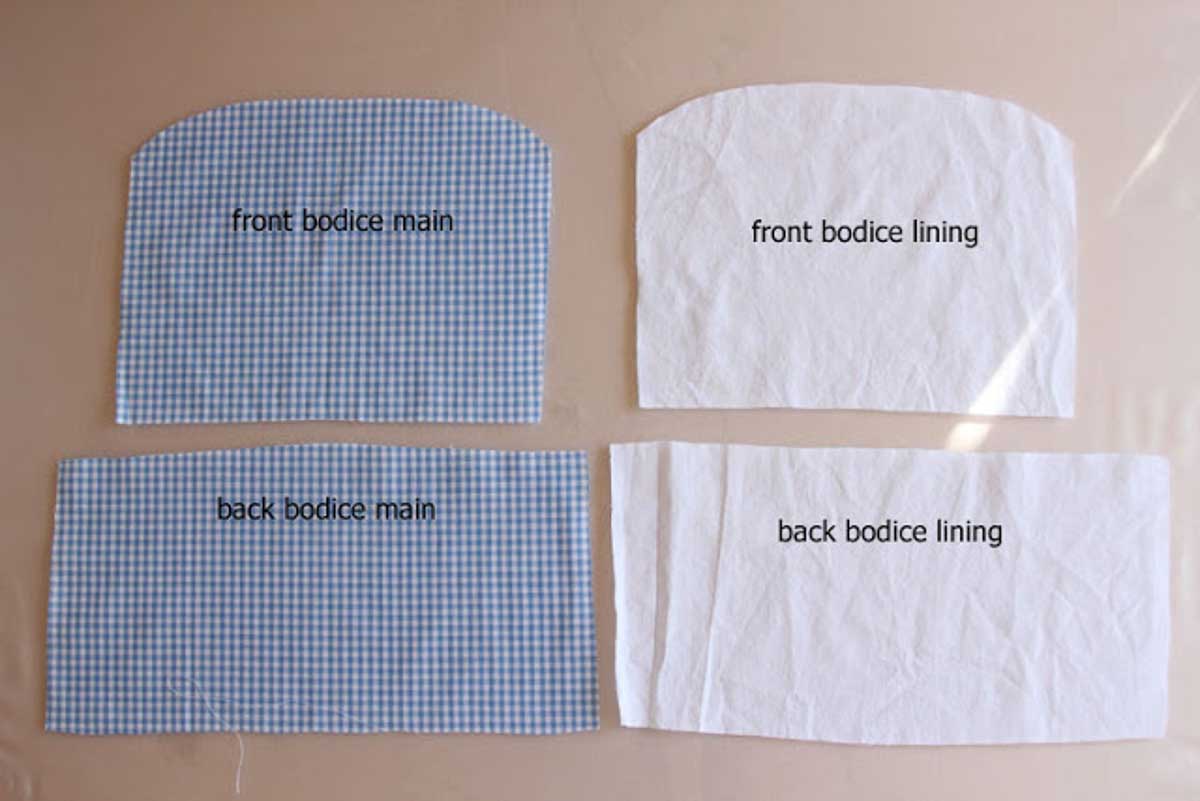
Once you have your measurements you can either create your pattern on paper or just cut directly on fabric. You will be cutting the same pieces in the outer fabric and the lining fabric.
Front Bodice Width: The front bodice piece width should be half the width of the chest measurement + ½″ (¼″ seam allowance on each side).
Front Bodice Height: To find the height of the bodice piece, measure from the underarm to the waist, factor in ¼″ seam allowance on the top and ½″ seam allowance at the waist. The top of this podice piece will have a smooth curve up to the center. See examples in image below.
Back Bodice: For the back of the bodice and lining, you will cut a simple rectangle that is the same width as the bodice front + 2 inches if you are going to add shirring as I did AND the length should be just the length from underarm to waist plus a total of ¾″ seam allowance.
Skirt: I wanted a really full skirt so I cut two pieces selvage to selvage for the main skirt and two pieces selvage to selvage for the lining. The length for the pieces was determined by measuring from my daughter’s waist to just above her knee, with added 2″ length for seam allowances.
Sew The Dress
It’s time to assemble the dress for your DIY Dorothy costume!
Bodice:
- With your outer fabric, lay the bodice front and back right sides together.
- Sew along each side with a ¼″ seam allowance.
- Repeat with the bodice front and back of the lining fabric.
Skirt:
- With your outer fabric, lay the skir pieces right sides together.
- Sew along each side with a ¼″ seam allowance. This will for a large tube.
- Repeat with the lining fabric.
Attach Skirt To Bodice:
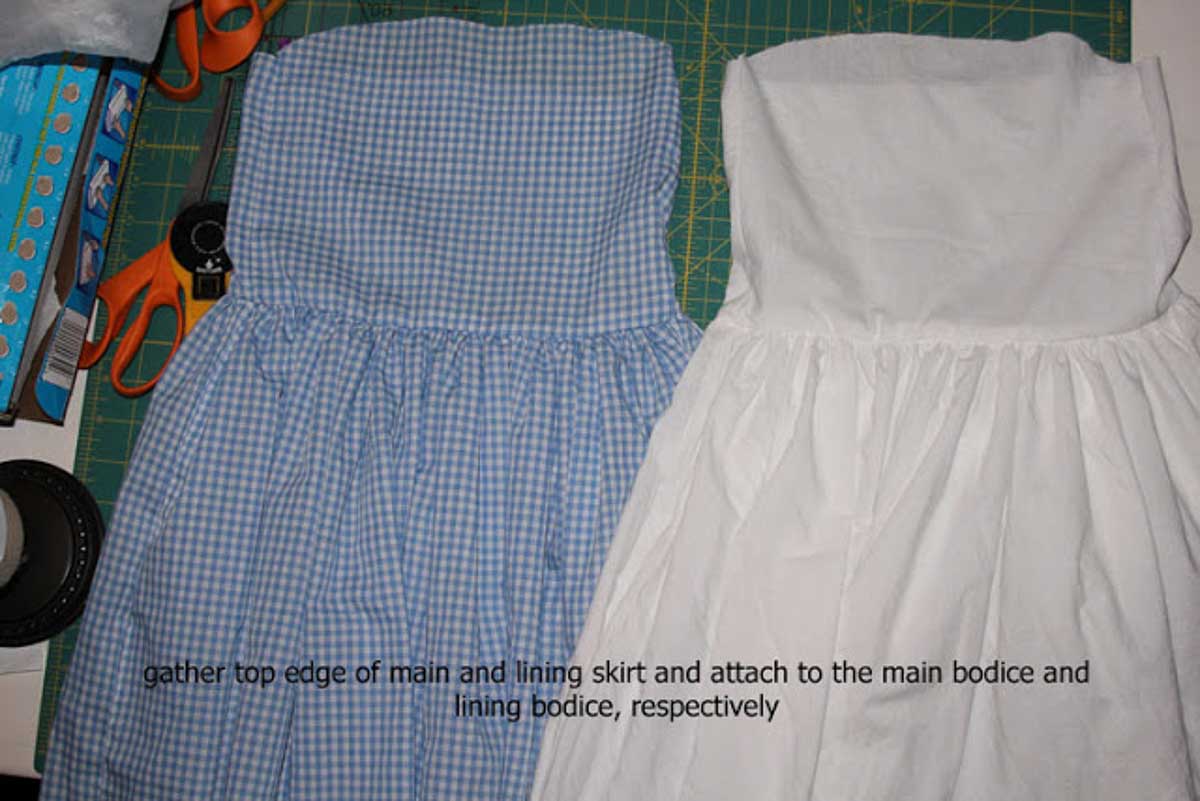
- Use a running stitch to sew along the top edge of the skirt pieces of the outer fabric to form a gather. Gently pull one thread and gather the skirt until it is the same diameter as the bottom of the bodice top.
- Repeat with the lining fabric.
- With the outer fabric, place the bodice top and the skirt together with right sides of the fabric facing. The bottom of the bodice and top of the skirt should be lined up. Pin.
- Sew the bodice to the skirt using a ½″ seam allowance.
- Repeat with the lining.
Sew Lining To Dress:
Now, we’re going to join together the dress and lining and finish the top edge of the bodice all in one easy step.
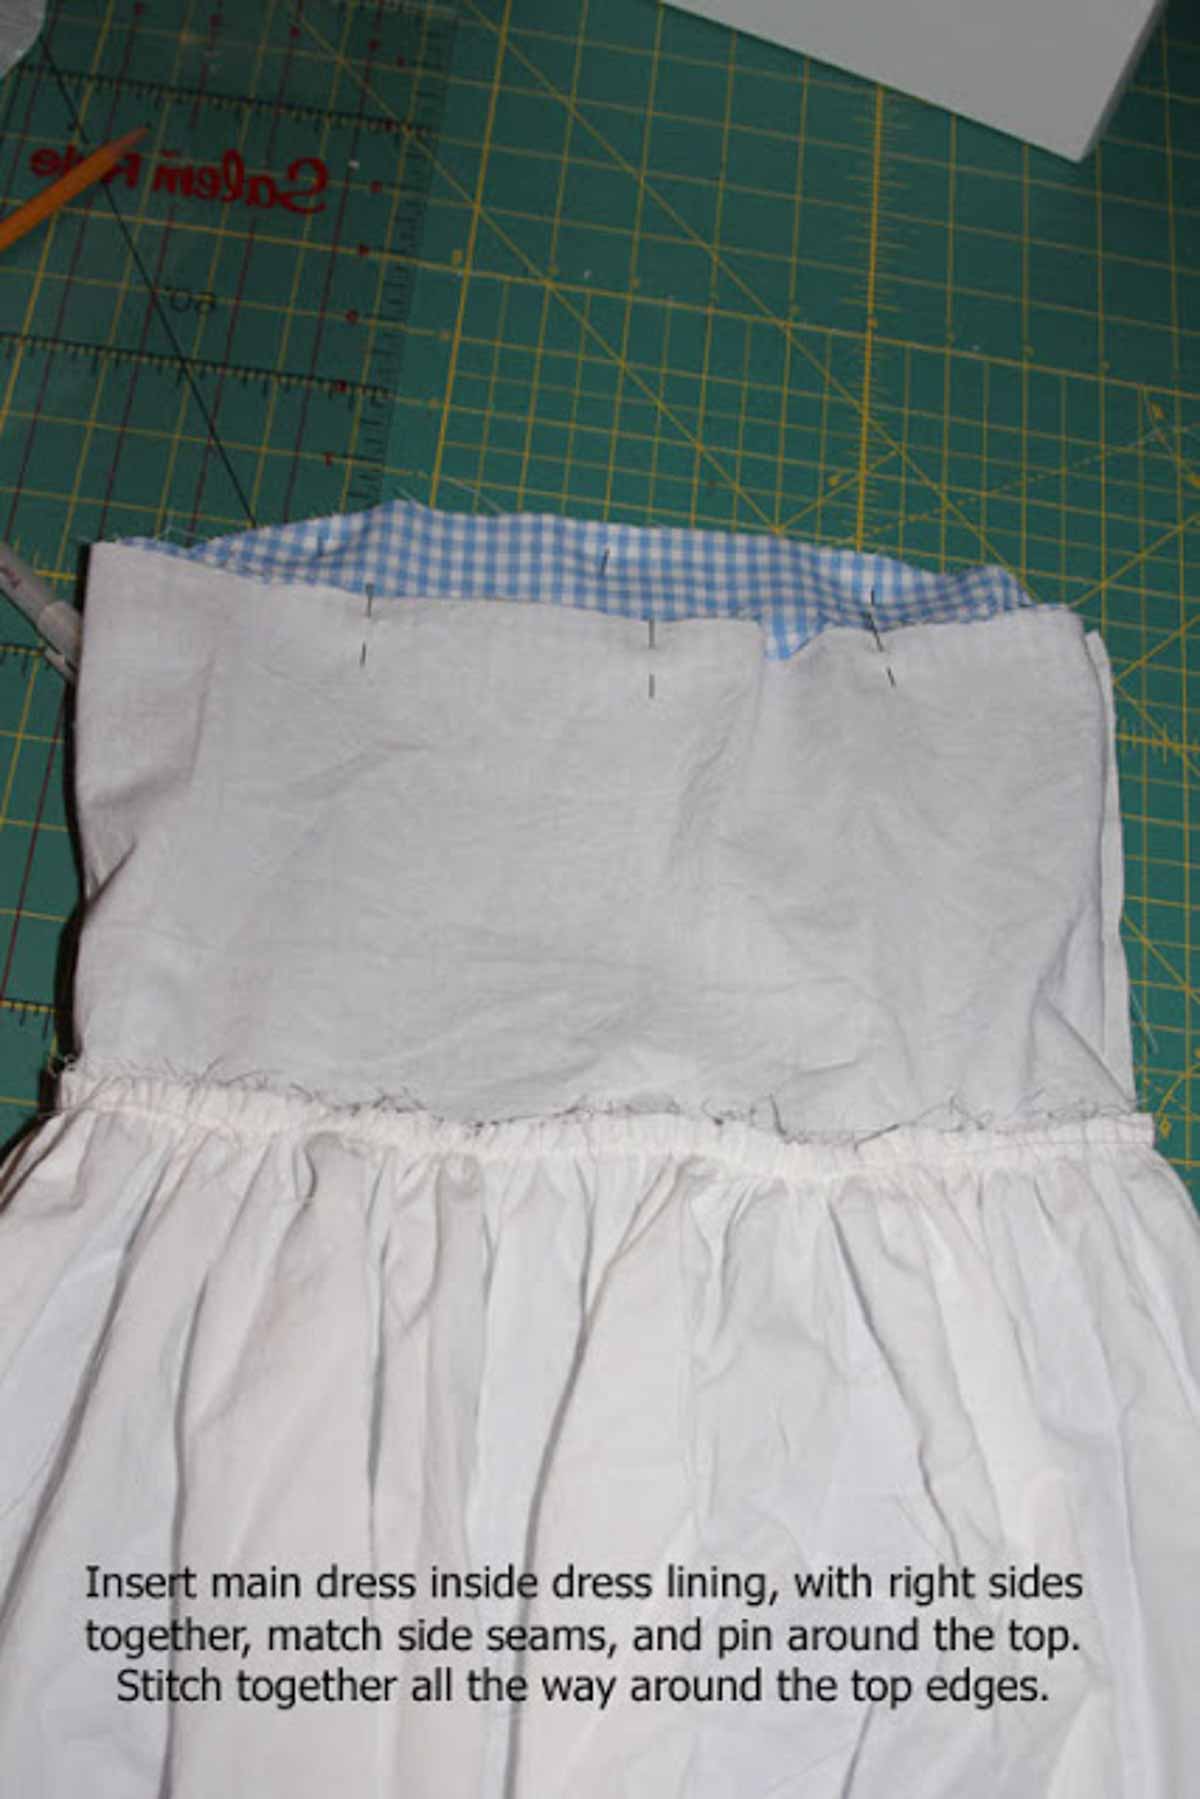
- Insert the outer fabric inside the dress lining with the right sides together. Match the side seams and pin all around the top.
- Sew all around the top of the bodice using a ¼″ seam allowance.
Shirr The Dress:
If you are making a stretchy little dress that is easy to get on and off, you can use this shirring method.
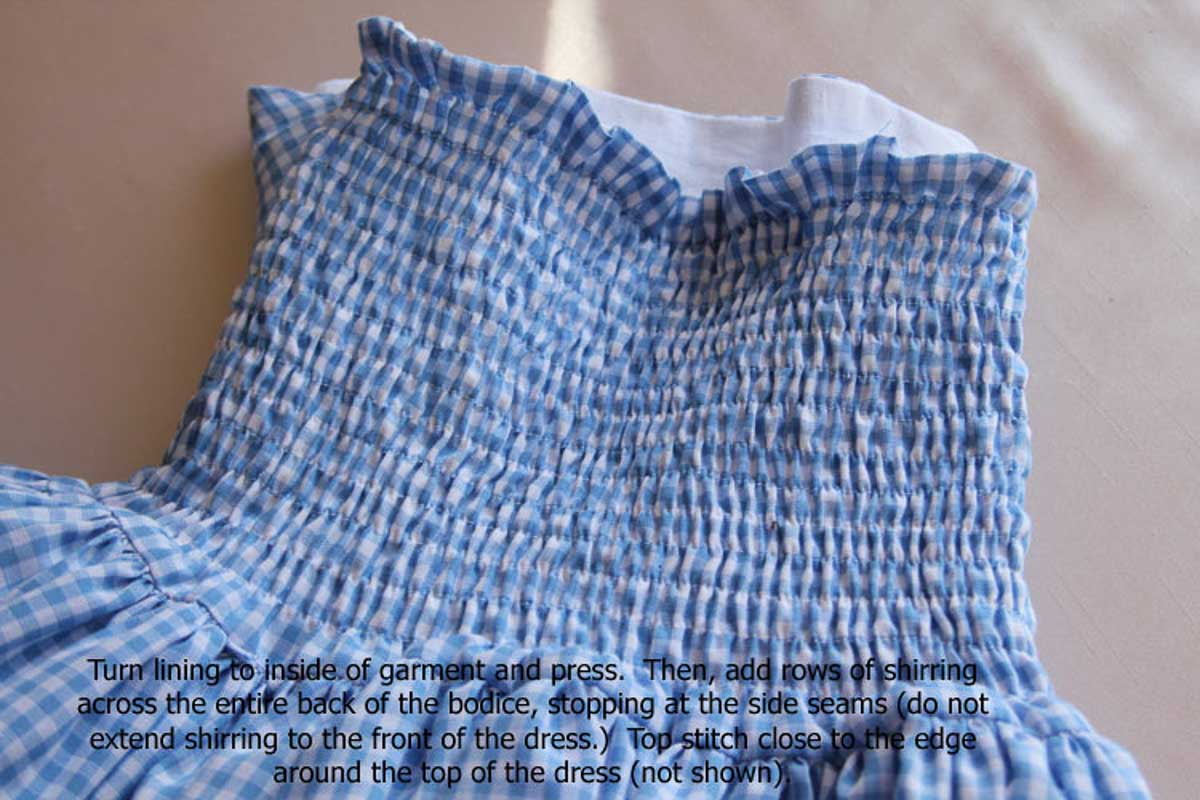
- Turn the lining to inside the
- Hand wind your bobbin with elastic thread.
- Sew rows of shirring on the back of the dress bodice. See tutorial linked below for help with shirring.
Unlocking the Art of Shirring: A Sewing Marvel
Ever wondered how to achieve those elegant, gathered fabric designs that seem almost magical? Enter the world of shirring, a sewing technique that can transform your projects. Shirring involves stitching rows of parallel lines using a regular sewing machine and special elastic thread. Here’s a quick rundown of this captivating method:
- Elastic Thread Power: Shirring relies on elastic thread, which gathers the fabric as it contracts.
- Parallel Precision: Sew multiple rows of parallel stitching lines.
- Tension Matters: Adjust your sewing machine’s tension to allow the elastic thread to do its magic.
- Endless Possibilities: Shirring is perfect for creating stretchy bodices, cuffs, or decorative accents on clothing and accessories.
So, whether you’re looking to add a touch of elegance to your garments or explore new sewing horizons, shirring is a technique worth mastering. Watch your fabric come to life with beautifully gathered textures, all thanks to the wonders of shirring!
If you’re not familiar with shirring, it really is a cinch! You can read more about it in my shirring tutorial.
Add The Halter and Buttons:
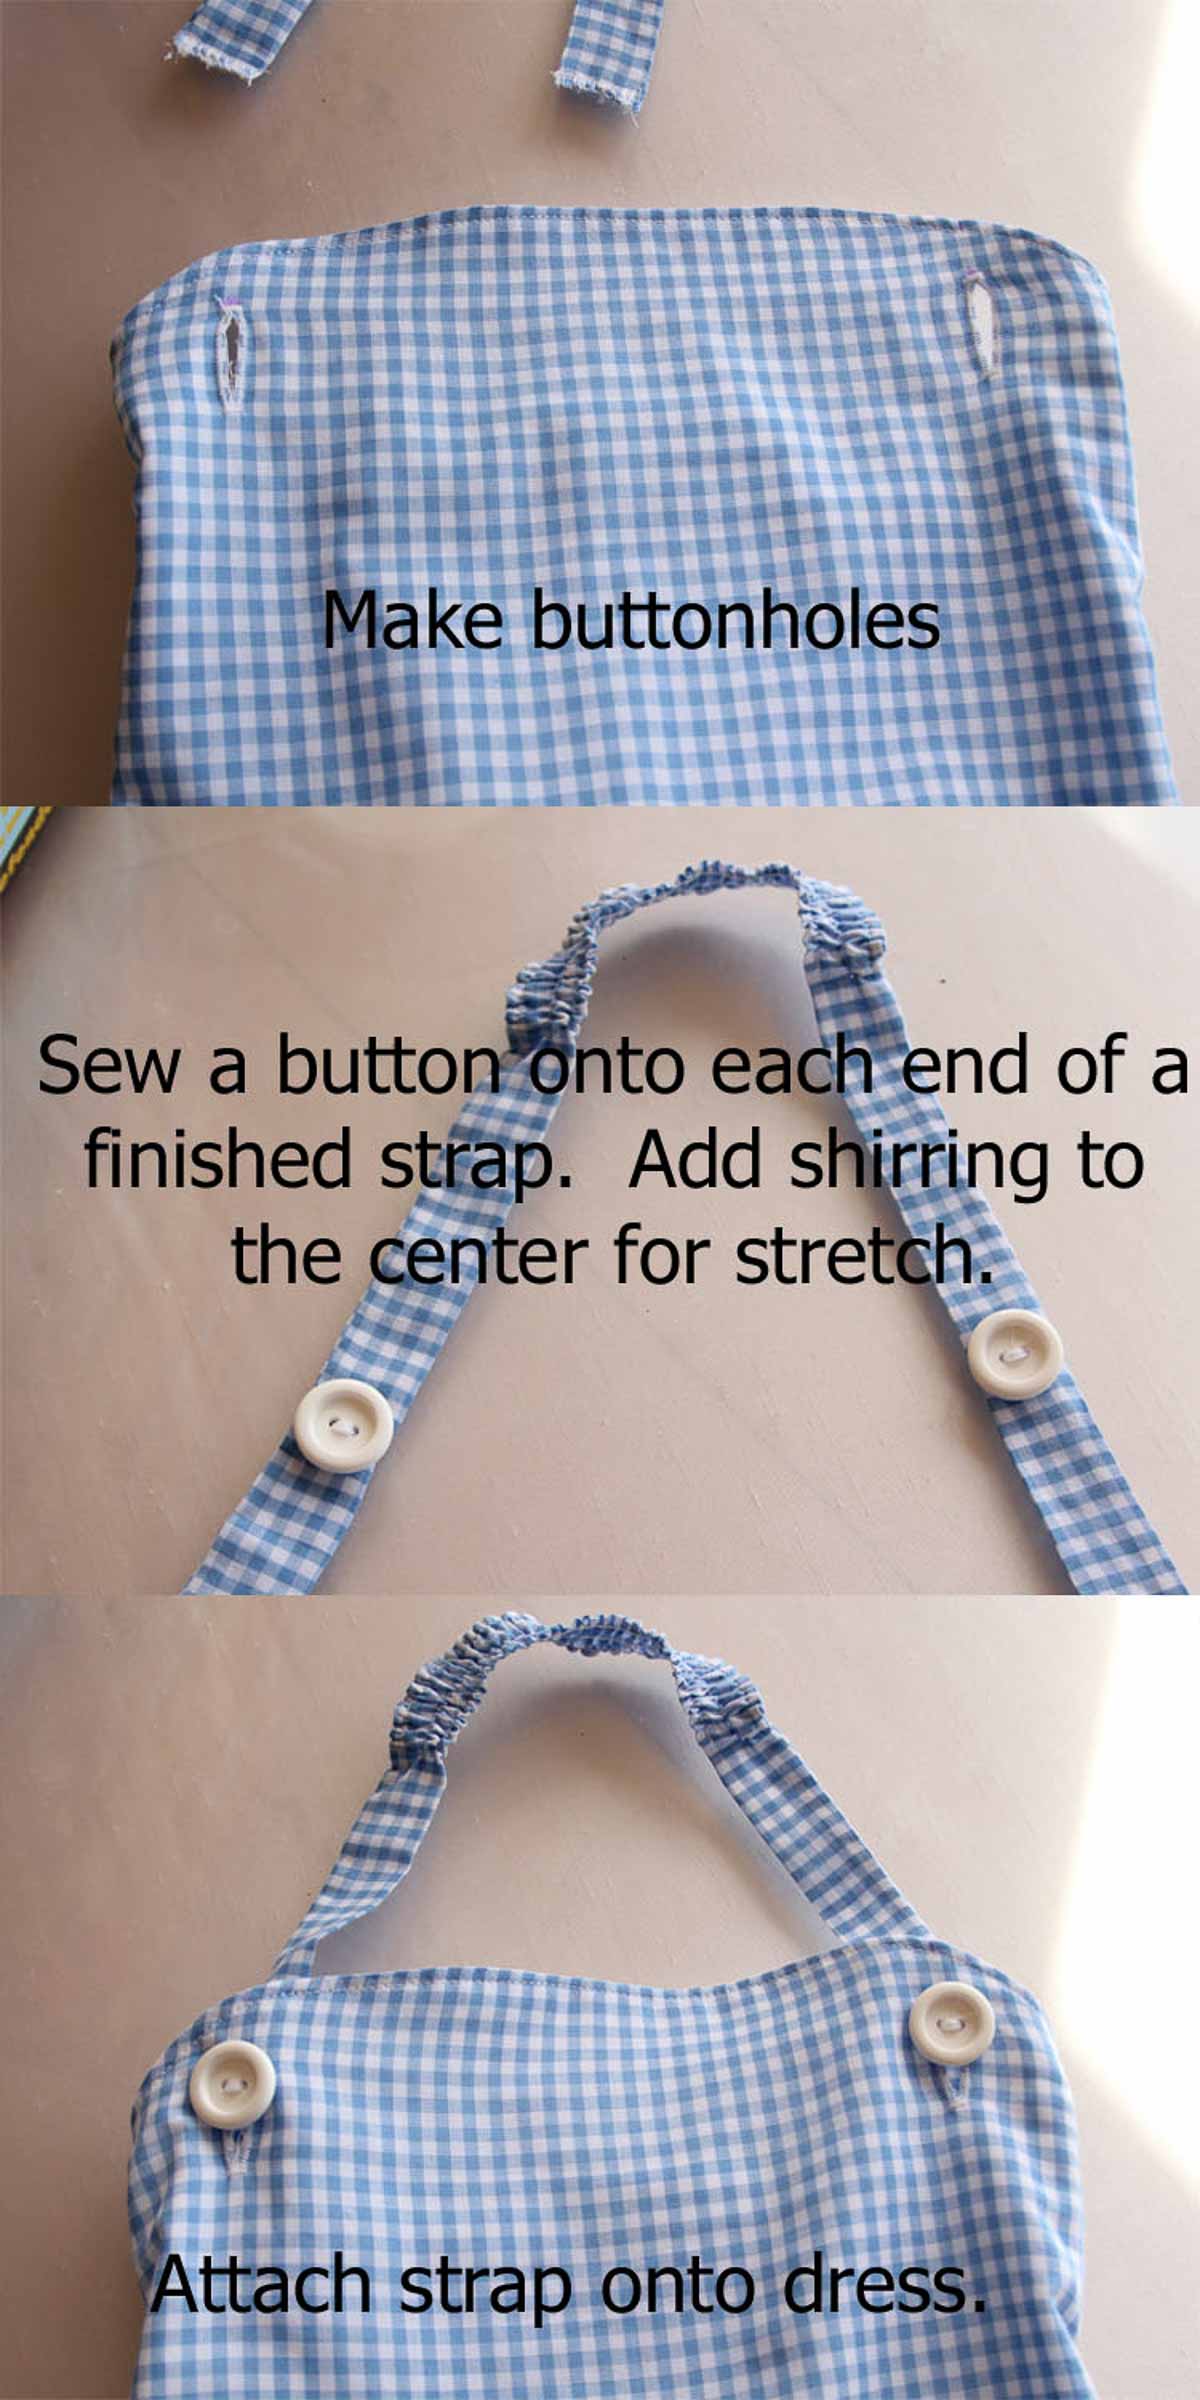
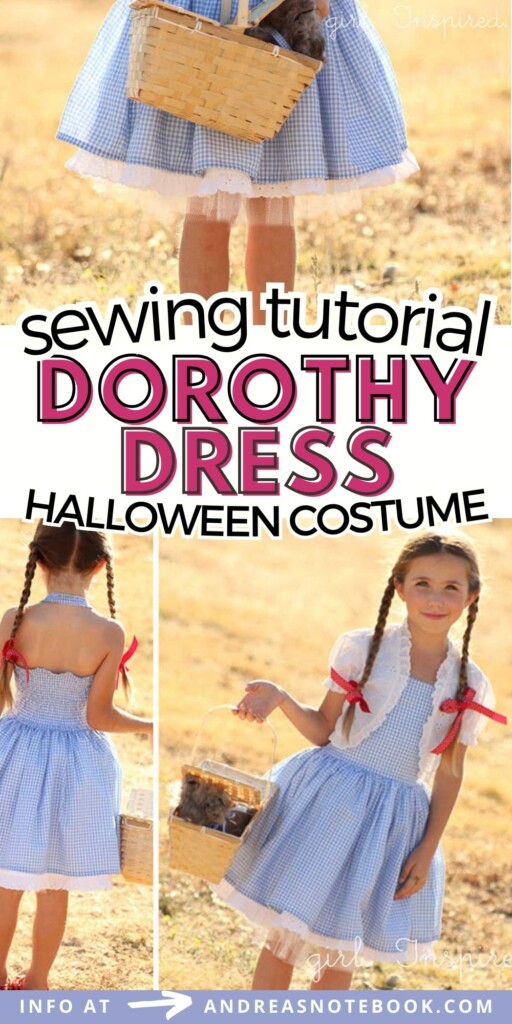
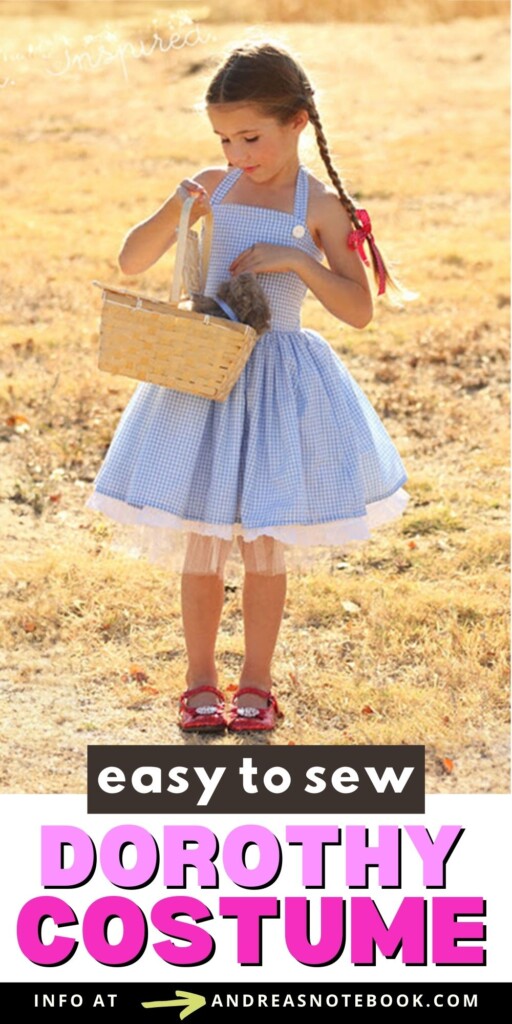
This dress has a fun twist on the neck halter and buttons! The buttons are attached to the neck halter. So cute, practical and fun.
- Measure and mark where you want your buttonholes.
- Using your sewing machine, sew button holes and use your seam ripper to carefully open them up.
- Measure how long you want your neck halter length and width to be. For the width, multiply X2 and ad ½″ for seam allowance. NOTE: This neck halter in the photos has elastic in the middle. If you want to do this you will need to add additional length to your strap.
- Fold neck halter together along the long length. Press and pin.
- Sew ¼″ seam allowance down the raw edge.
- Turn the neck halter right side out. Press.
- Sew the two raw ends to prevent unraveling.
- Sew buttons to the neck halter.
Sew Hems:
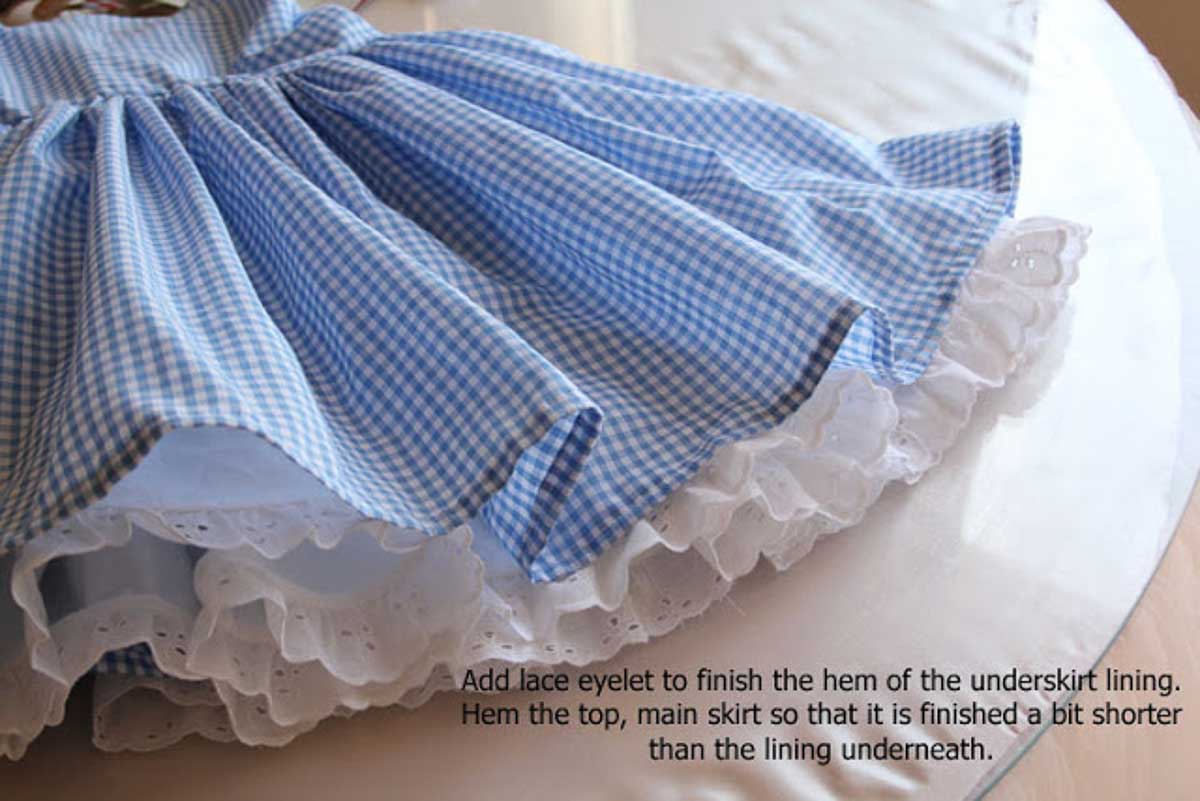
Finally, you’re going to finish your hems. I loved the idea of having the fluffy petticoat look underneath the main dress. I had a hard time deciding whether or not to add ric rac around the main dress hem or to add stripes with red trim toward the bottom of the skirt; in the end, I just did a plain hem and then added some nice old-fashioned eyelet trim to the hem of the underskirt.
- Turn and press the outer fabric hem under ¼″. Turn and press under ½″.
- Topstitch the hem closed along the edge.
- Repeat with the lining fabric.
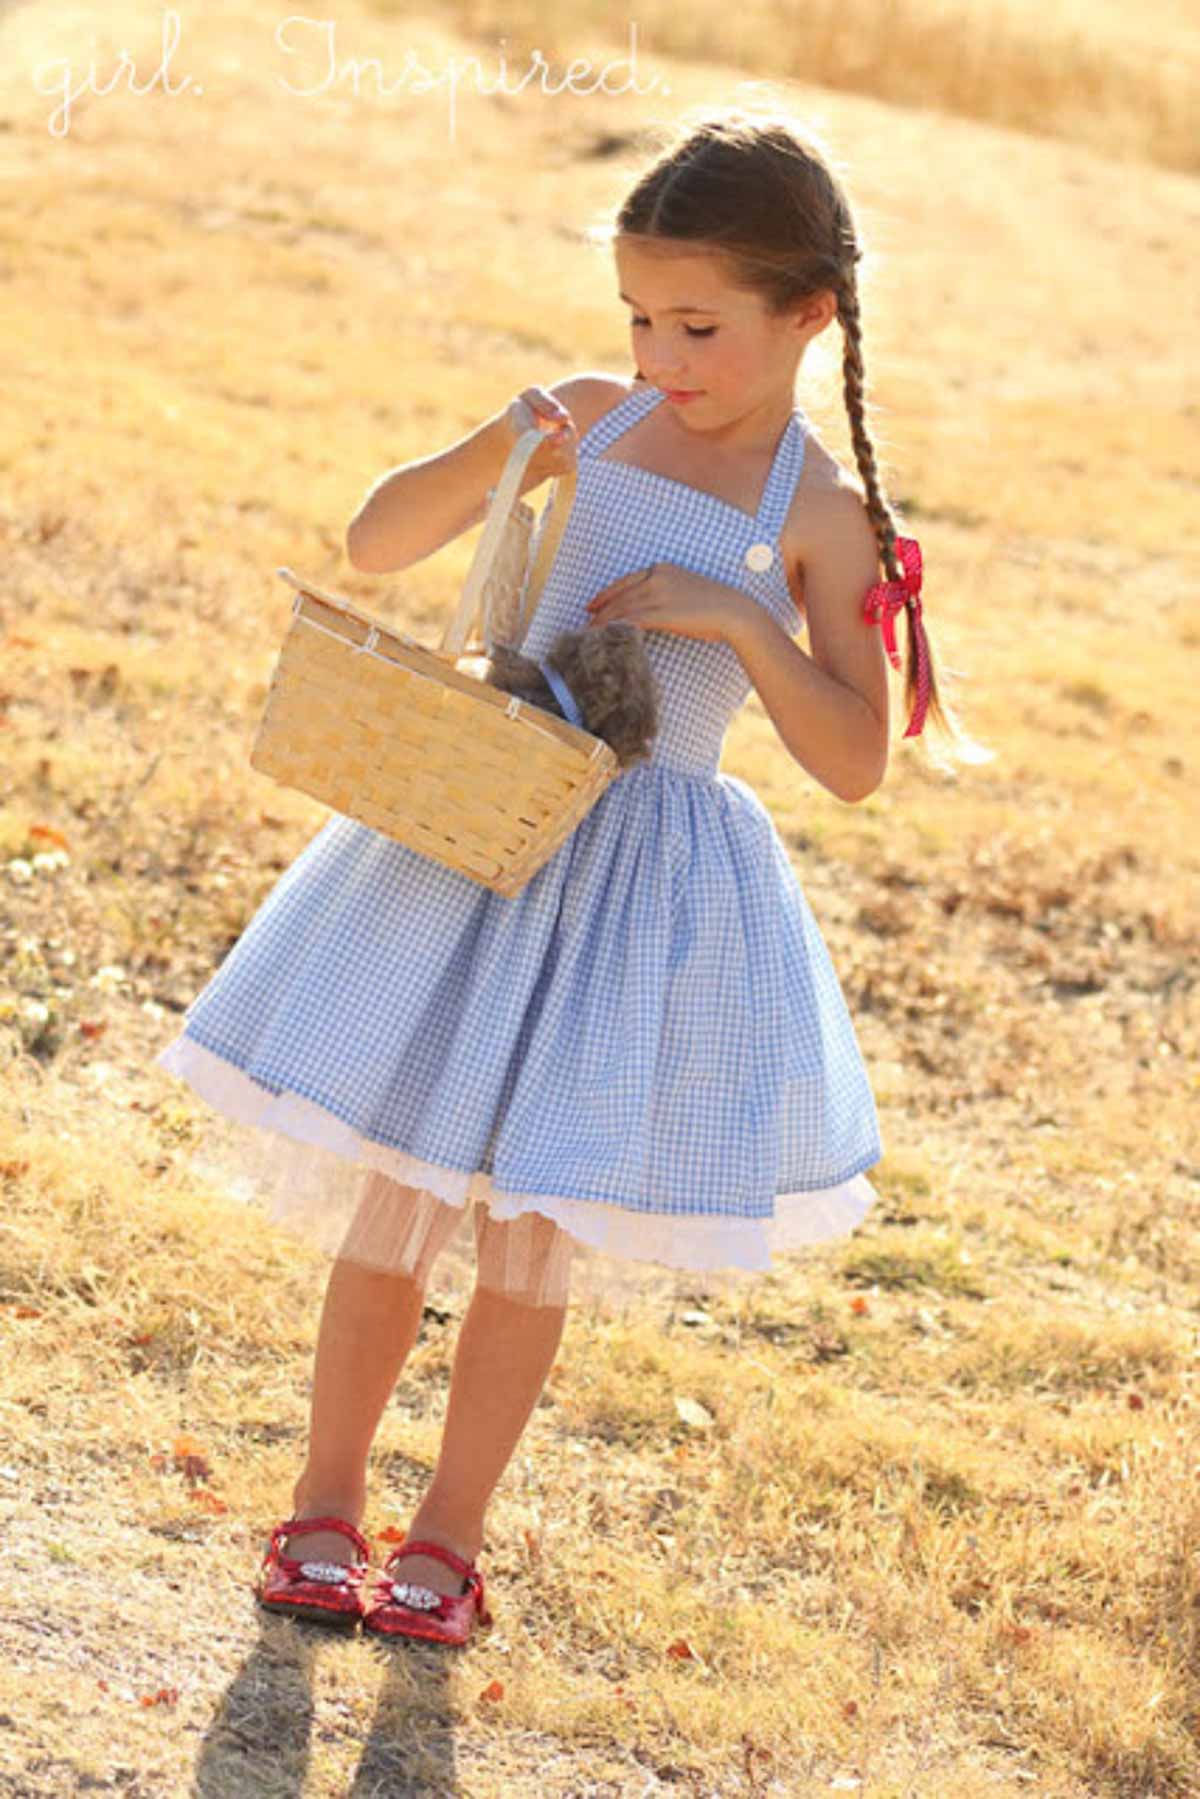
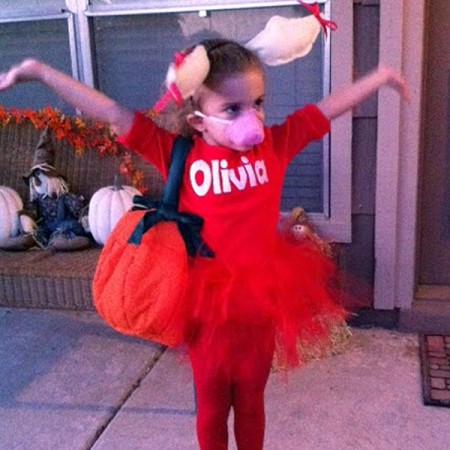
And that’s it! I put the dress over a tulle pettiskirt for extra fluff and added a little white eyelet bolero that was mine when I was a little girl. Target stocked the glittery red shoes and Toto in basket, thank goodness. I have to say, I’m so glad I took the time to make this costume and my Olivia is, too!
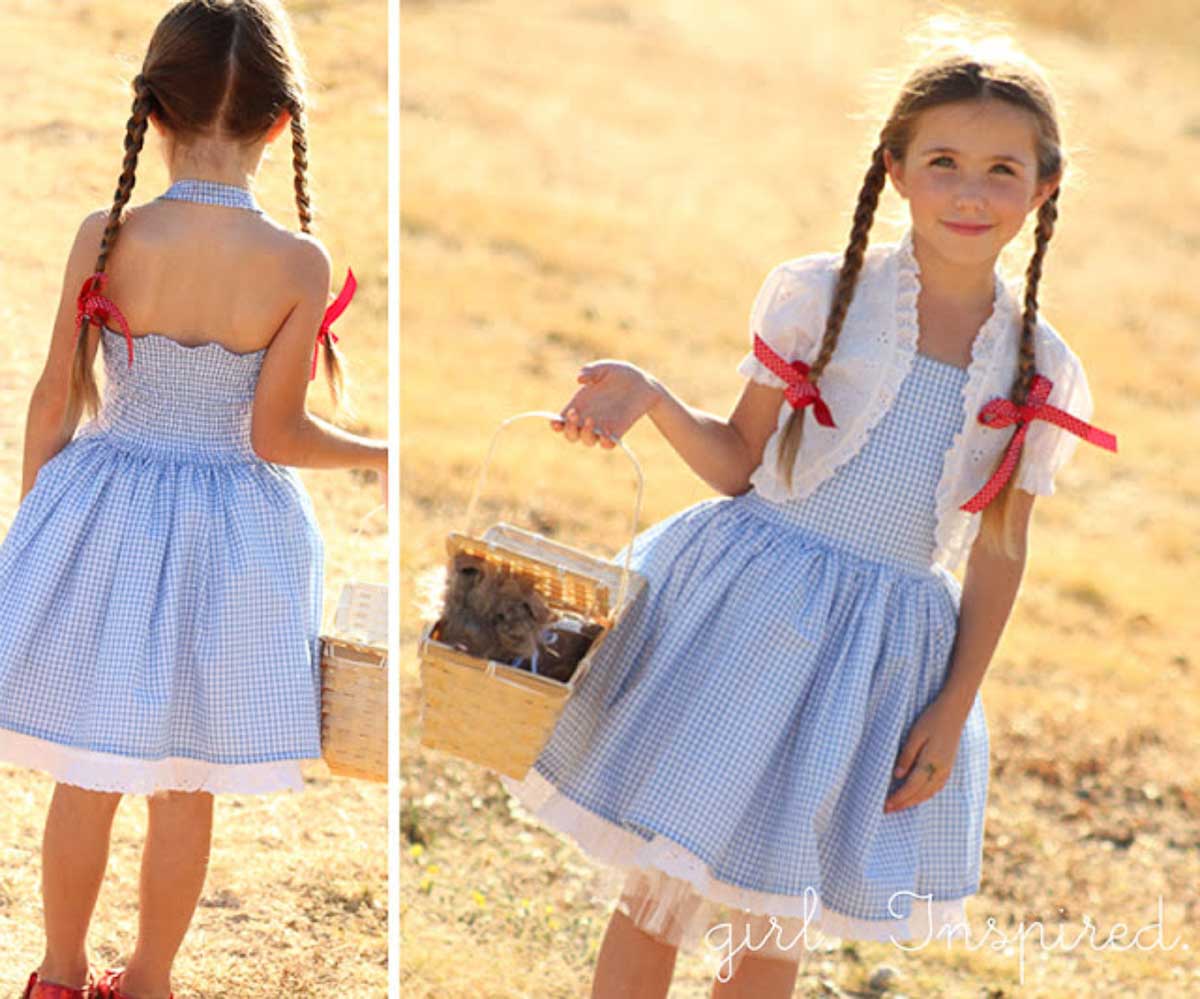
Thanks for having me, Andrea! I am loving this Handmade Costume Series. There is just so much fun creativity going on! Happy Halloween!
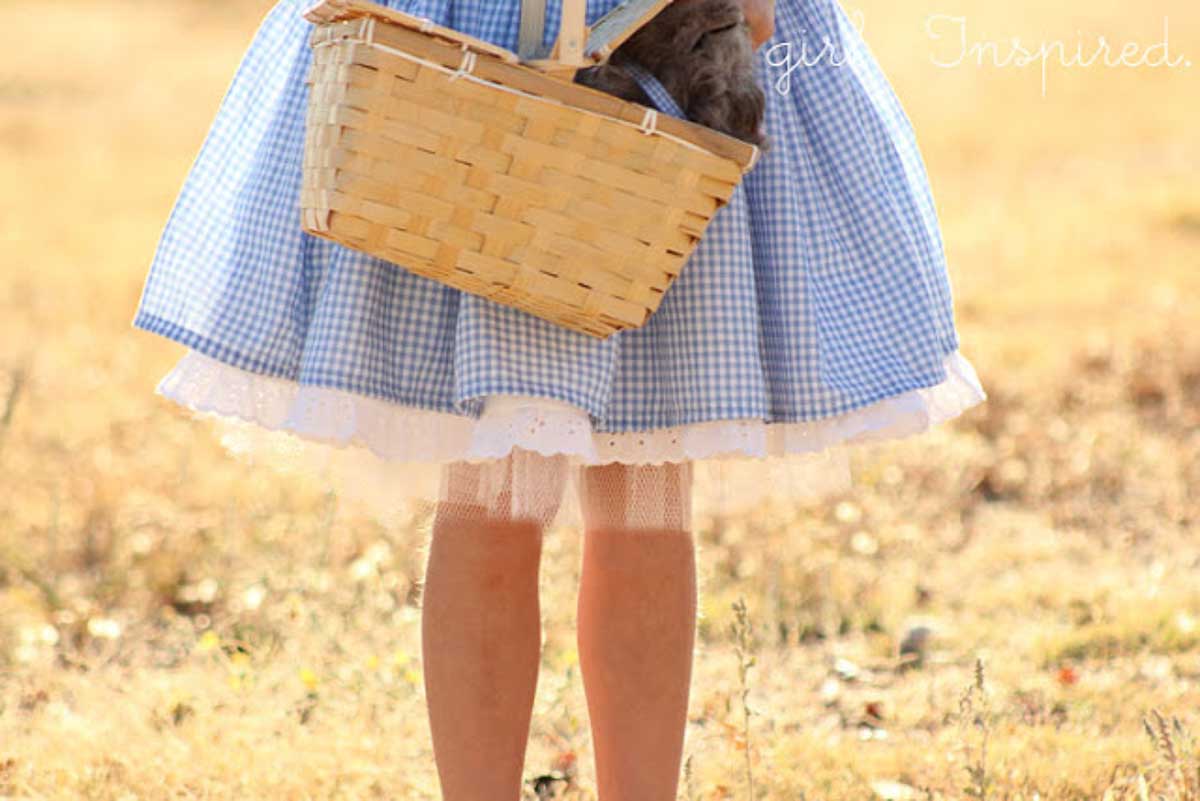
No! You do not have to put a petticoat under this DIY Dorothy dress. We love how it looks with a little extra volume but it isn’t essential.
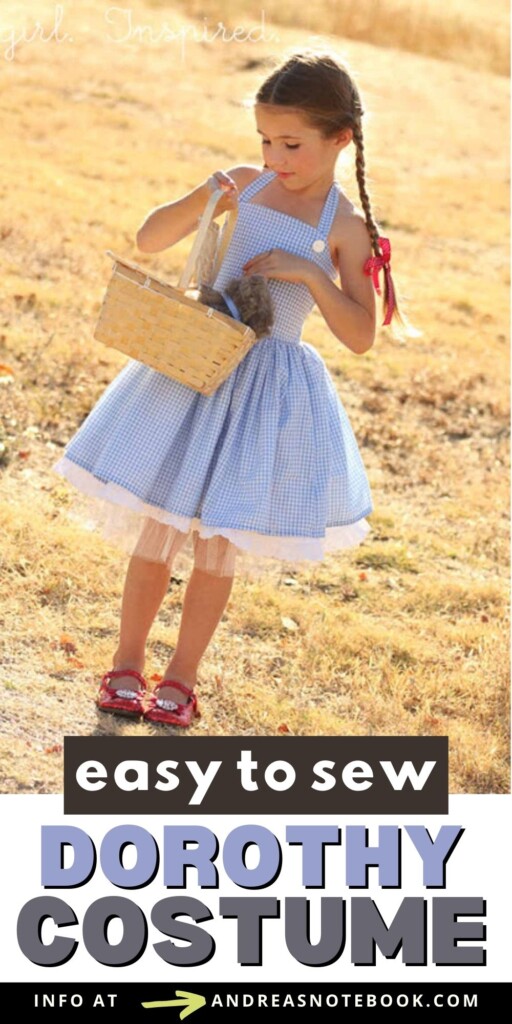
We think that no Dorothy costume is complete without red shoes or a little dog! If you want to go above and beyond, get a basket with a handle and some bows on your braids.
You can make this dress without shirring! It should be made a little loose so it can easily be slipped on and off. You might want to put a white shirt with puffy sleeves underneath to complete the outfit.
Comments & Reviews
Rachel says
she did such a great job !
Kirsten@lovespunstudio says
This is my favorite Dorothy costume EVER! I love the simplicity of it!!!
Jennifer says
Is there a good tutorial for making the tulle petti?
Alyssa says
Can I buy this?!
Andrea @ The Train To Crazy says
You could ask Stef but I'm pretty sure she doesn't do custom orders.
Whitney says
You never mentioned how much fabric you bought in the beginning. I would like to use your how to for an adult but am unsure how much fabric I need.