Dreaming of floating like a little butterfly or needing the perfect halloween costume that stands out? Unleash the magic of DIY butterfly wings crafted from hand dyed silk, and be the showstopper of any enchanted gathering. No more generic store-bought wings when you can create something exquisite with simple supplies. Or make DIY No Sew Iridescent Fairy Wings, or Easy DIY Ladybug Wings.
The allure of hand-dyed silk gives an ethereal touch, making each flutter of your wings a visual symphony. These aren’t just any fairy wings; they are a testament to your craftsmanship and a beacon for every DIY enthusiast. Whether you’re crafting for yourself or for the little butterfly in your life, this tutorial will guide you step-by-step. Transform your handmade costume dreams into a captivating reality. Let’s soar together into the realm of delicate patterns, vibrant colors, and the beauty of handmade artistry.
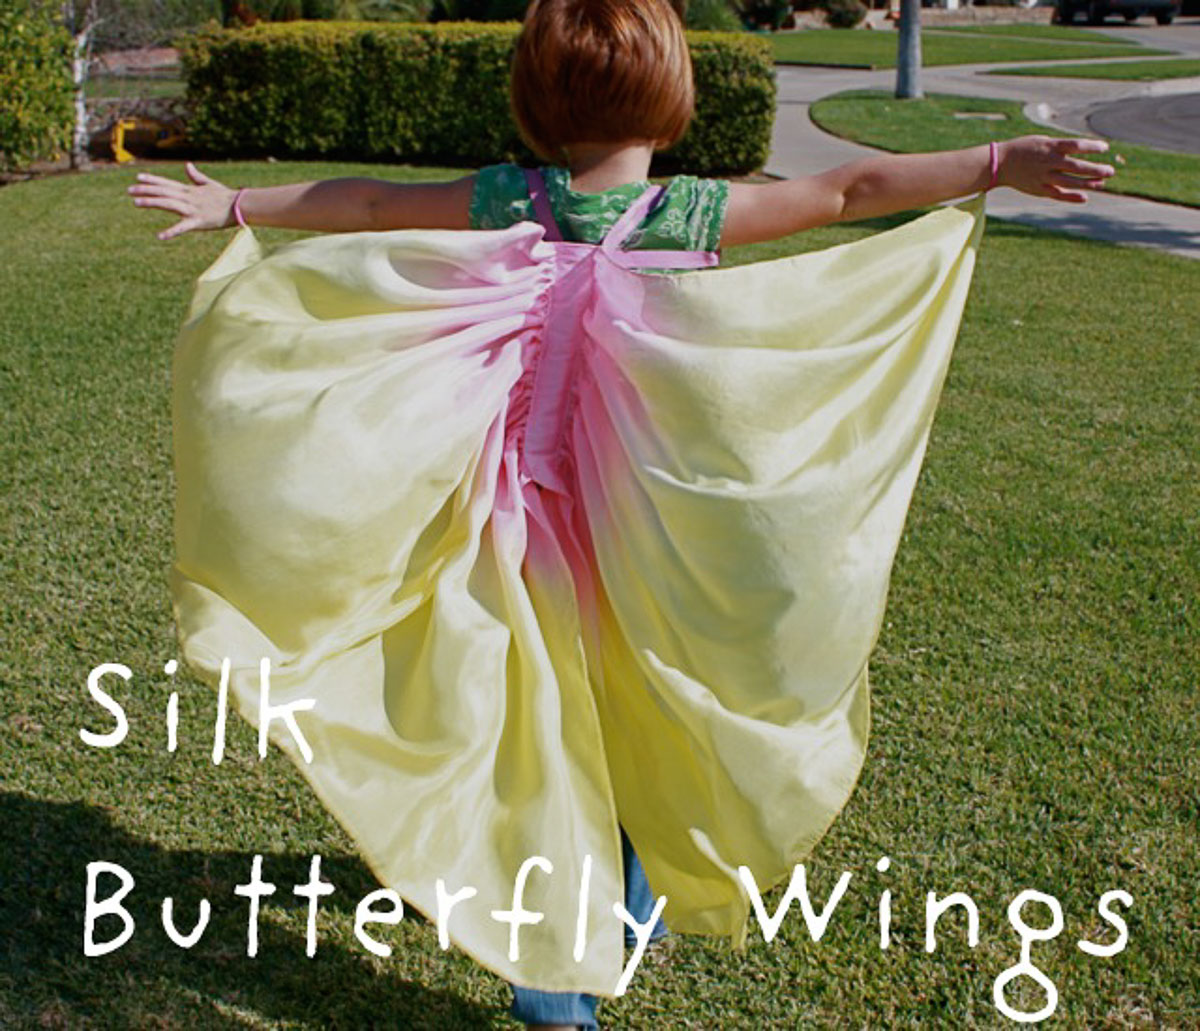
What To Wear With Silk Butterfly Wings
Ah, the majestic butterfly wings costume you’ve crafted! Now, the challenge is, what does a budding lepidopterist wear with their DIY butterfly wings to flutter around in style?
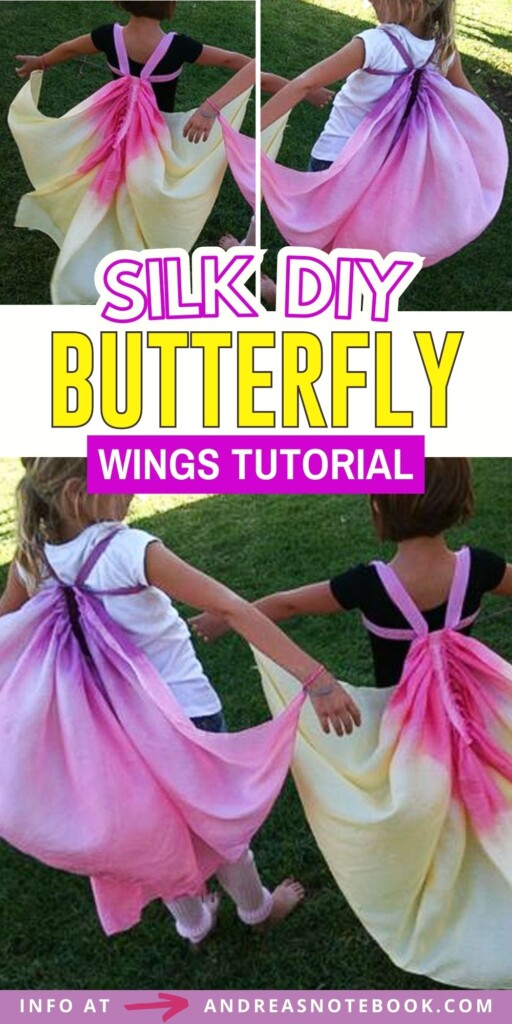
- Black Leggings – It’s like the little black dress of the insect world. These are versatile, comfortable, and blend seamlessly with any wing pattern. They’re the base canvas for your butterfly art.
- Black Shirt – A black shirt to match the leggings is perfect!
- Coordinated Tunic or Dress: Match or contrast the colors of your set of wings. If you’re rocking a monarch butterfly costume, think burnt orange or deep black.
- Antennae Headband: What’s a butterfly without its feelers? Create or purchase a cute headband with wiggly antennae.
- Fairy-like Footwear: Ballet flats or sparkly sandals. After all, you wouldn’t want heavy boots grounding your flight!
- Glittery Makeup: Emphasize your eyes with shimmering hues to mimic the mesmerizing patterns of your wings.
This ensemble ensures that your handmade costumes don’t just flutter, they soar! So, little butterflies, it’s time to metamorphosize and emerge as the most enchanting creature at the garden party.
Where To Wear Butterfly Wings
Imagine you’ve just crafted a pair of DIY butterfly wings so stunning, they deserve more than a single strut down the living room. But where, oh where, should these beautiful wings make their grand debut?
Well, let’s take flight and explore the destinations worthy of such craftsmanship:
- Birthday Party: There’s no better place to flaunt your freshly-made wings than at a vibrant birthday bash. Whether you’re the guest of honor or a cherished attendee, these wings will make sure you’re the talk of the party.
- Halloween Extravaganza: It’s the time of year when creatures of all sorts come out to play. Why be a plain Jane when you can flutter around as the most exquisite butterfly in the neighborhood? It’s trick-or-treating with style!
- Dress Up Days: Every day can be a fairy-tale if you want it to be. Don those beautiful wings for a day out in the park, and let the world marvel at your vibrant display.
- Theatrical Debut in a School Play: Every drama needs its standout character. What if that character was adorned in DIY butterfly wings? A surefire way to get a standing ovation!
- Themed Events: From nature walks to butterfly exhibits, there are events galore that call for winged wonders. Be the highlight with your homemade creation.
- Family Costume Parties: Convince your family members to join in on the fun. With everyone in various winged ensembles, you’ll be the most enchanting flock at any gathering.
- Personal Photoshoots: These aren’t just any wings; they’re a work of art! Set up a backdrop in your garden or head to a scenic location. Capture the magic, and let your favorite things shine through in every snapshot.
In essence, the possibilities are endless. From casual hangouts to grand events, any place is perfect to flaunt your DIY butterfly wings. Remember, it’s not just about the wings; it’s about the spirit with which you wear them. So, wing it with confidence and fly high!
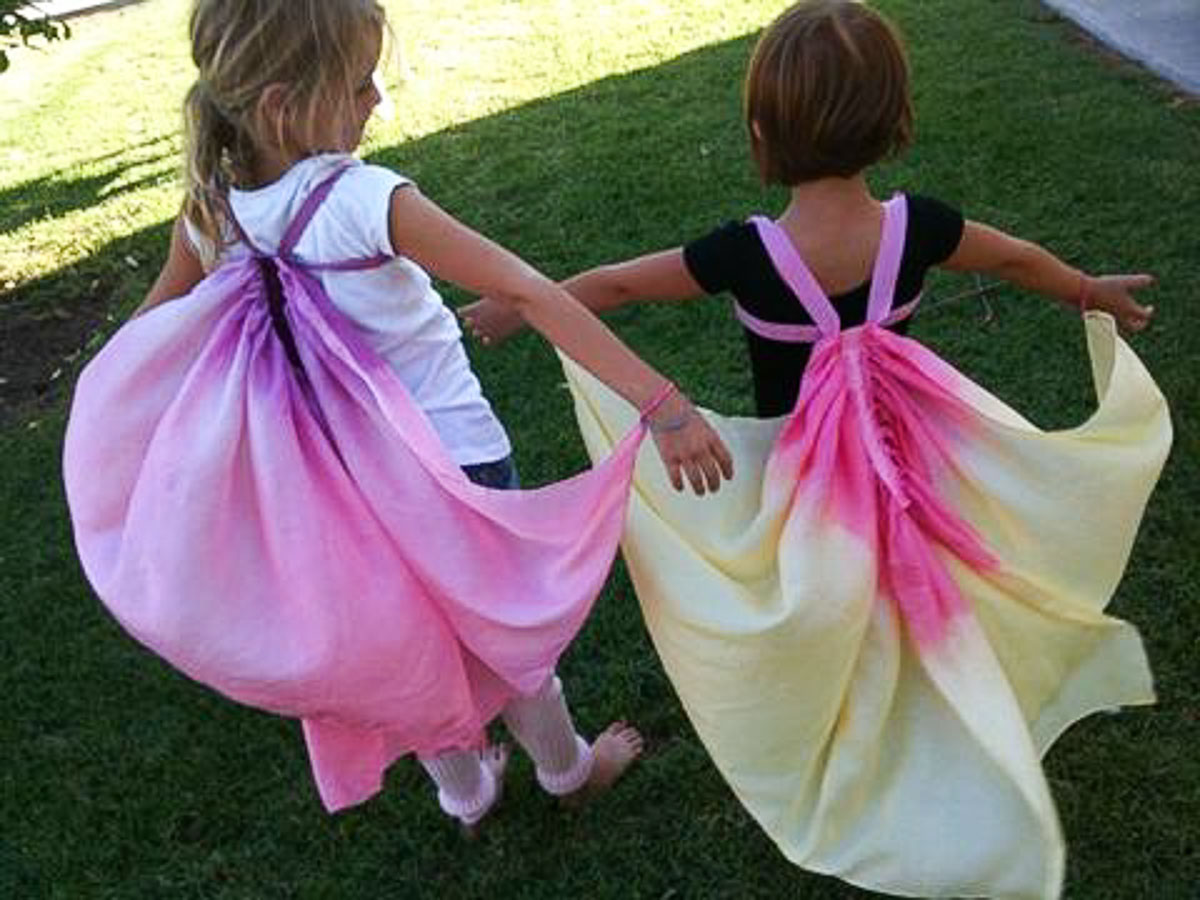
More Adorable Girly Costumes
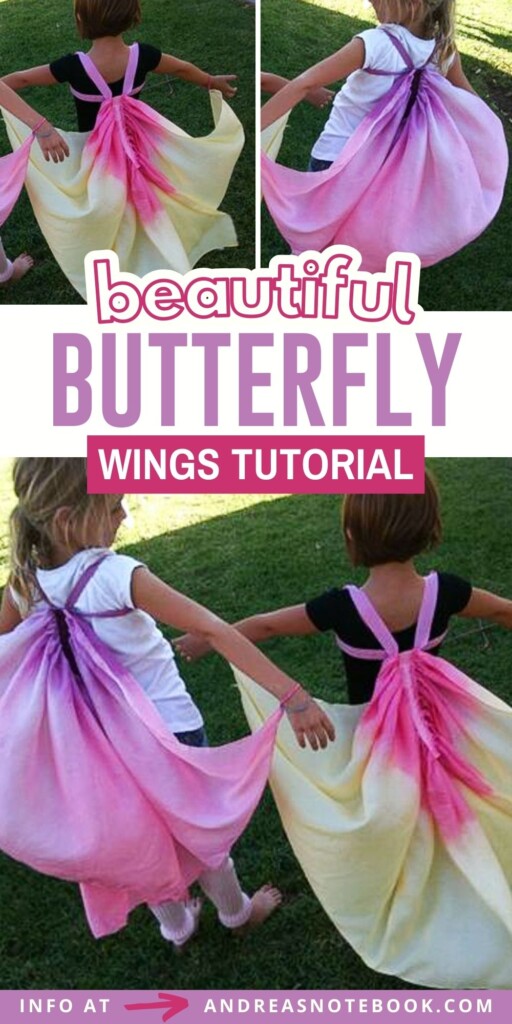
Hello all! I’m Carrie from This Mama Makes Stuff, where I blog about refashioning & running, raising comapssionate kids & crocheting, thrifting and triathlons. I am so happy to be part of Andrea’s Handmade Dress-up Series (and I love that I got to meet her in person last week)! Dressing up is a year-round activity in our house and these wings have been a favorite for years. Unlike wire wings that can get bent up pretty easily, these ones can be stuffed into the dress up box and still look great for years of dress-up fun. Kids also love the way the fabric feels when you “fly”.
Gather Supplies
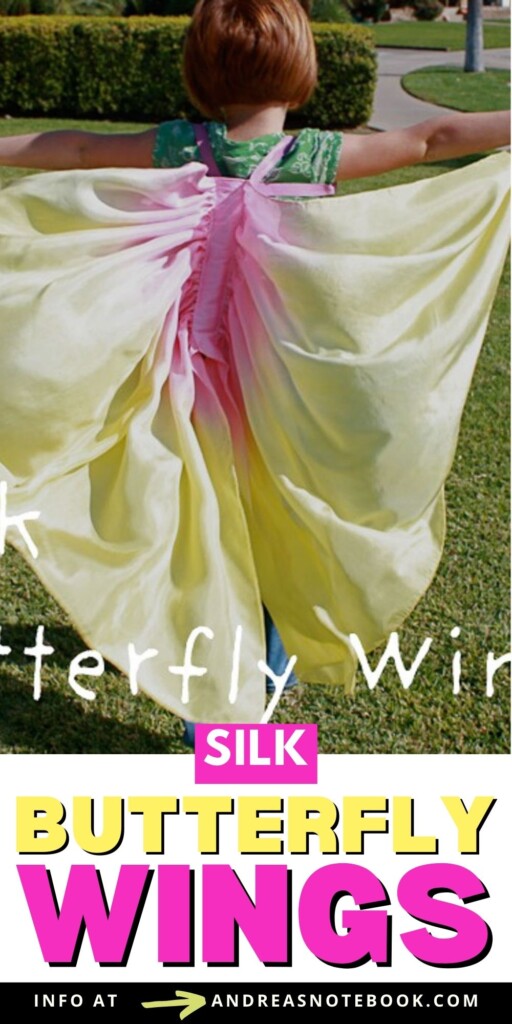
Inspired by silk wings I saw in a catalog, these butterfly wings are a favorite item in the dress-up box. These specific wings will fit most kids ages 2-8.
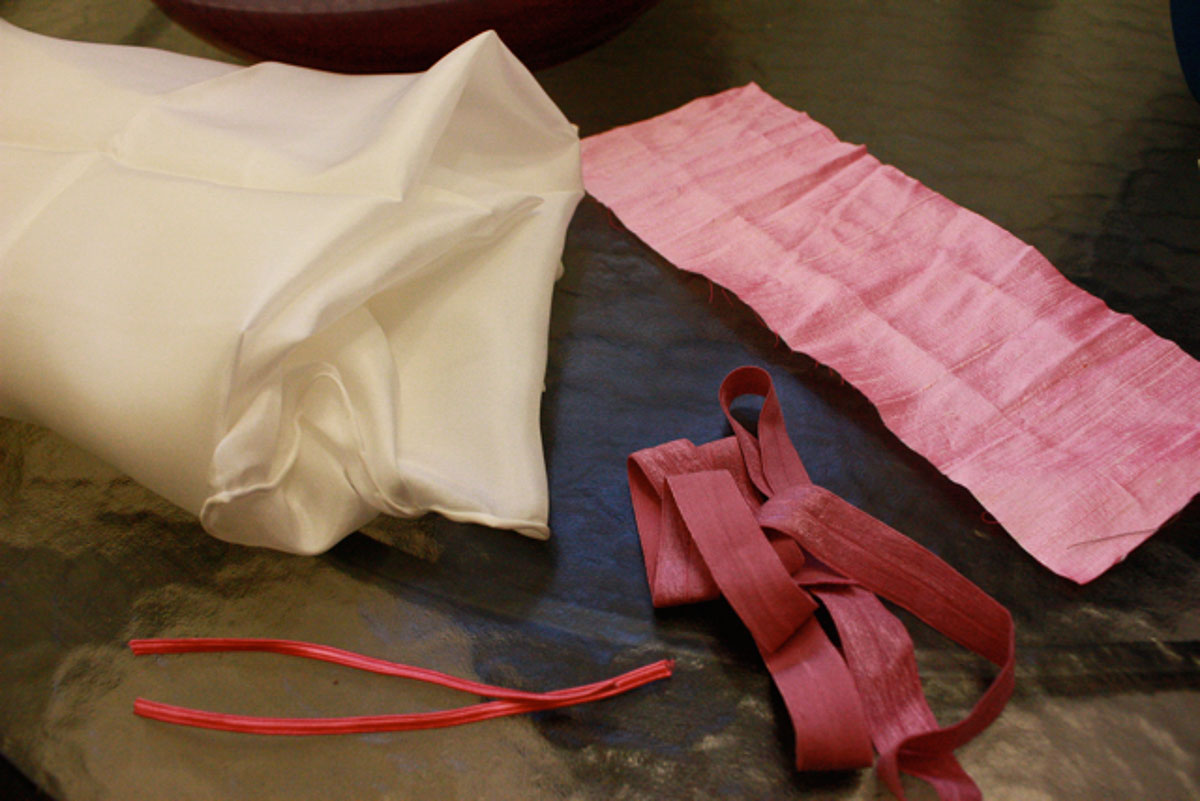
You can find most of these supplies in your local craft store or online.
- 44″ square silk scarf (Dharma Trading Co) (get white fabric so it can be dyed)
- 36″ piece of elastic for straps
- two 5 ½″ pieces of elastic for wrist bands (you could also use fabric rubber bands, in a pinch)
- 10 ½″ x 3 ½″ piece of fabric
- Dye for the scarf : See below for suggestions for dye
Dye The Silk
RIT dye, though not the best, is definitely the most readily available. Your local fabric store might have more options.
The first step, or two-toned wing designs, gather scarf in the middle. The place where your hand is, is where the center of the wings will be. Where you attach the elastic arm straps.
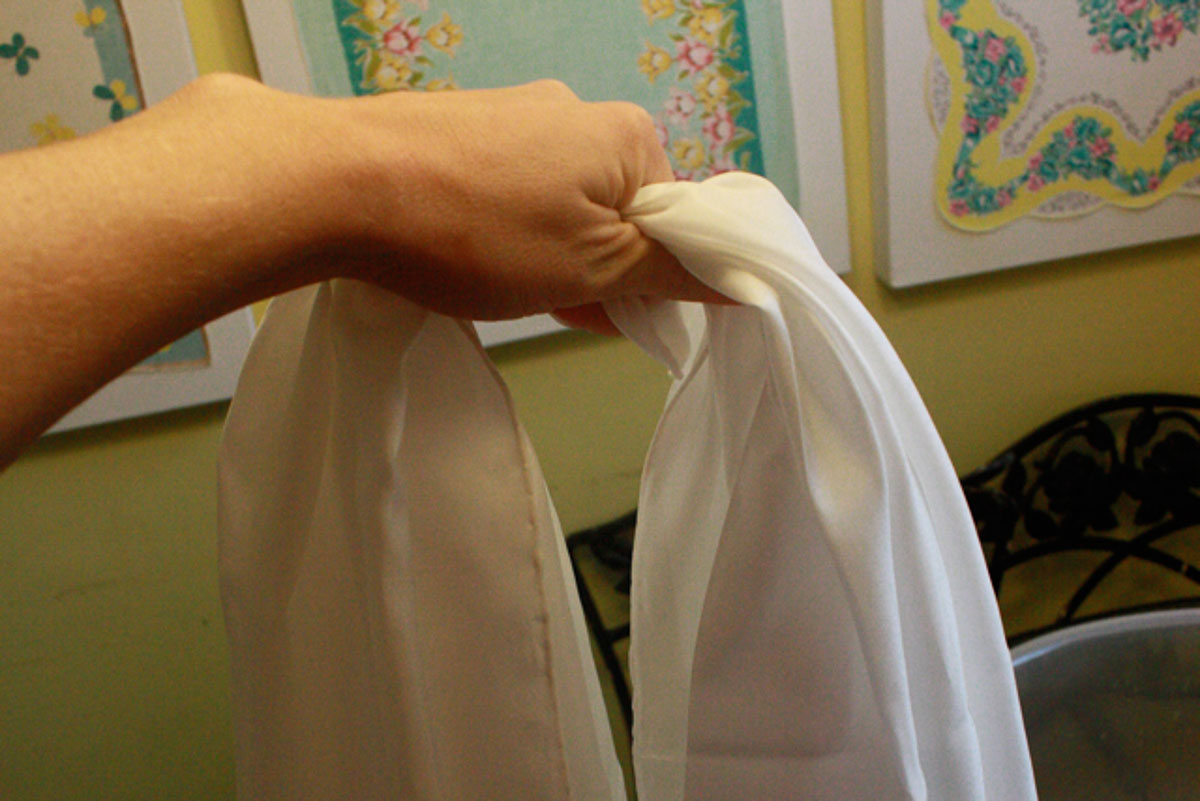
Fold in half and dip in color 1. You will be dipping the folded edge into the dye. This is the top of the wings. Or the center part of the wings. The top of each wing will be the same color.
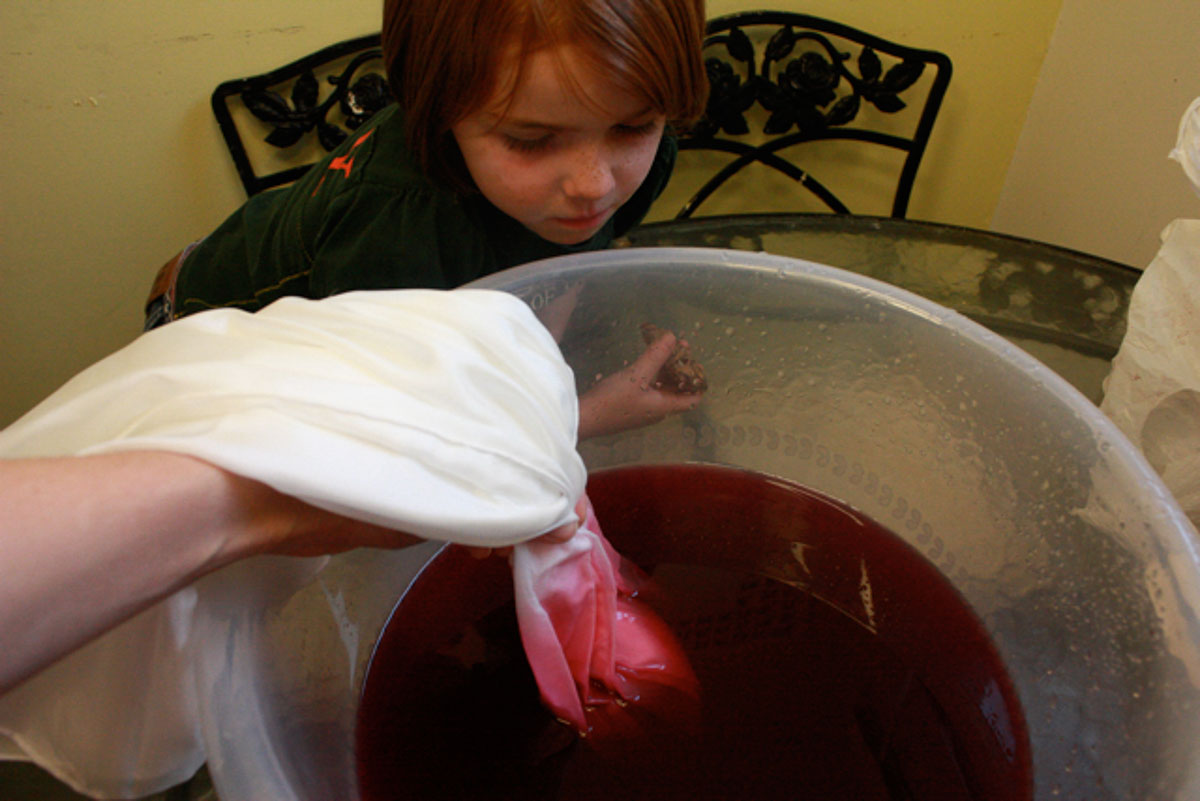
Then dip outside edge in color 2. This color will be on the outside of the wing. Or the ends of the wing.
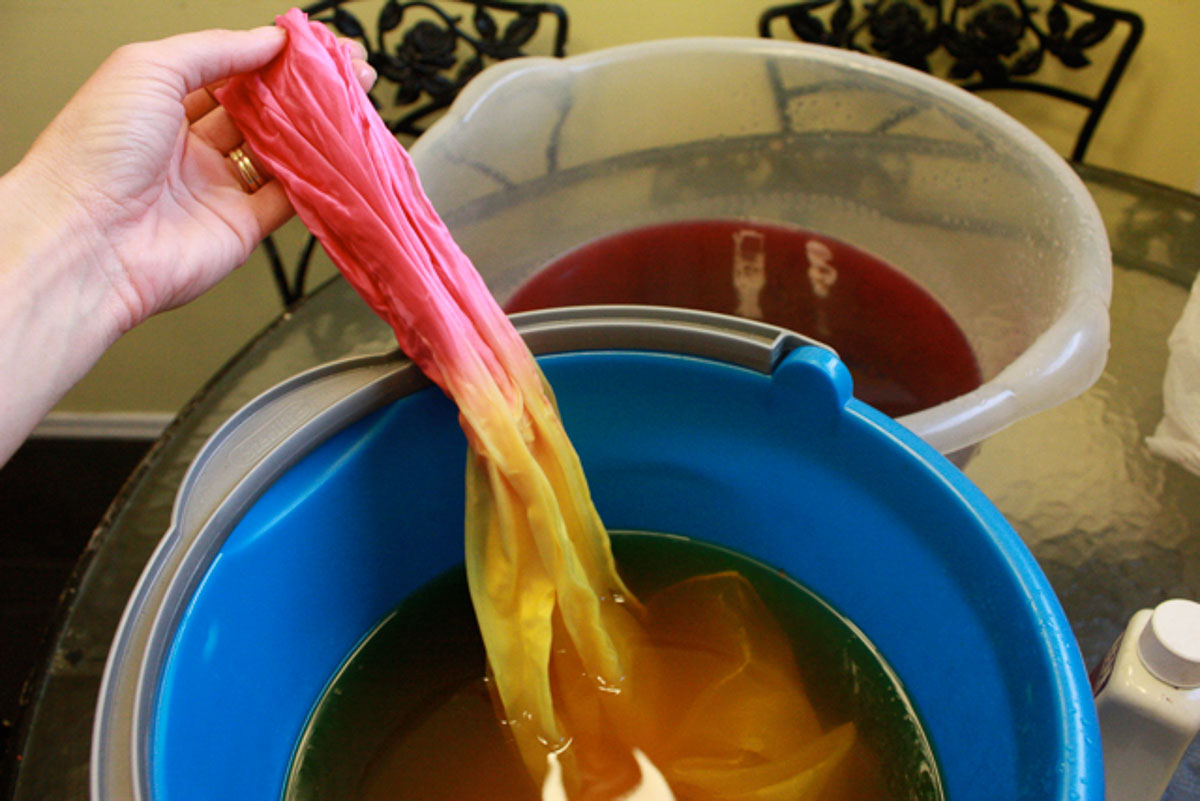
Rinse and dry scarf as instructed on dye instructions.
Tips For Dying Silk Scarves
Dyeing silk scarves for your silk butterfly wings? Talk about elevating your fashion game! But, before you get lost in a sea of colors and patterns, let’s get some tips straight to make sure your masterpiece turns out flawlessly.
- Prep Your Silk: Always wash the silk before dyeing. It removes any residue or sizing that can affect the dye absorption.
- Hot or Cold?: Opt for cold-water fabric dye for silk. Hot water can damage the fabric’s delicate structure.
- Keep It Even: Soak the silk thoroughly before adding dye. This ensures even distribution and prevents splotchy areas.
- Stir, Stir, Stir!: Constantly move the fabric in the dye bath to ensure consistent color.
- Timing is Key: Don’t rush. Give your silk scarves ample time in the dye, but don’t leave them in too long, or the color might darken more than desired.
- Rinse Right: Post dyeing, rinse the fabric in cold water until the water runs clear. It ensures excess dye doesn’t stick around to ruin your day (or your outfit).
- Dry Delicately: Lay the scarf flat or hang it to dry. No wringing – you don’t want to crinkle its elegance.
Armed with these savvy tips, you’re poised to give your silk scarves a hue-tastic makeover. Dye on, craft crusader, dye on!
Sew The Butterfly Wings
You’ll need an iron and ironing board as well as your sewing machine and some pins for the next steps.
Once dry, iron crease down center of scarf.
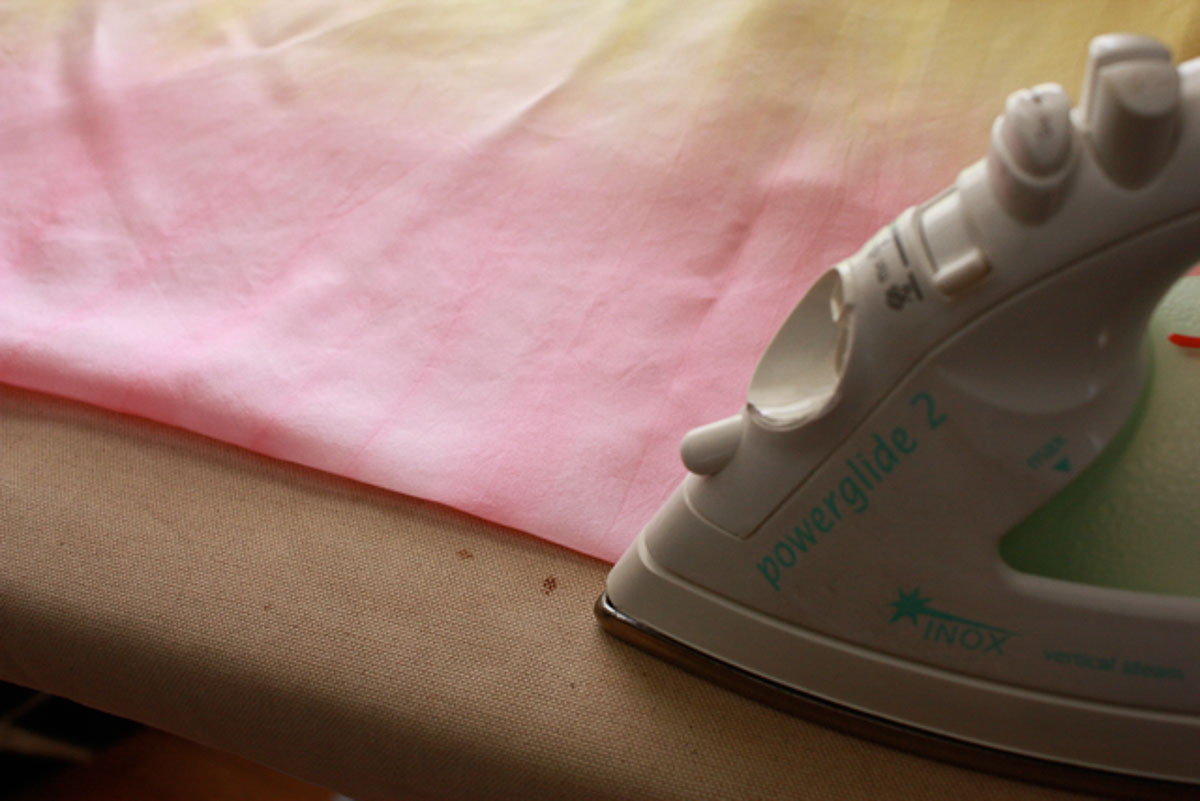
Sew gathering stitch down the crease line you just made- edge to edge. A gathering stitch is a long running stitch. Do not backstitch on the ends.
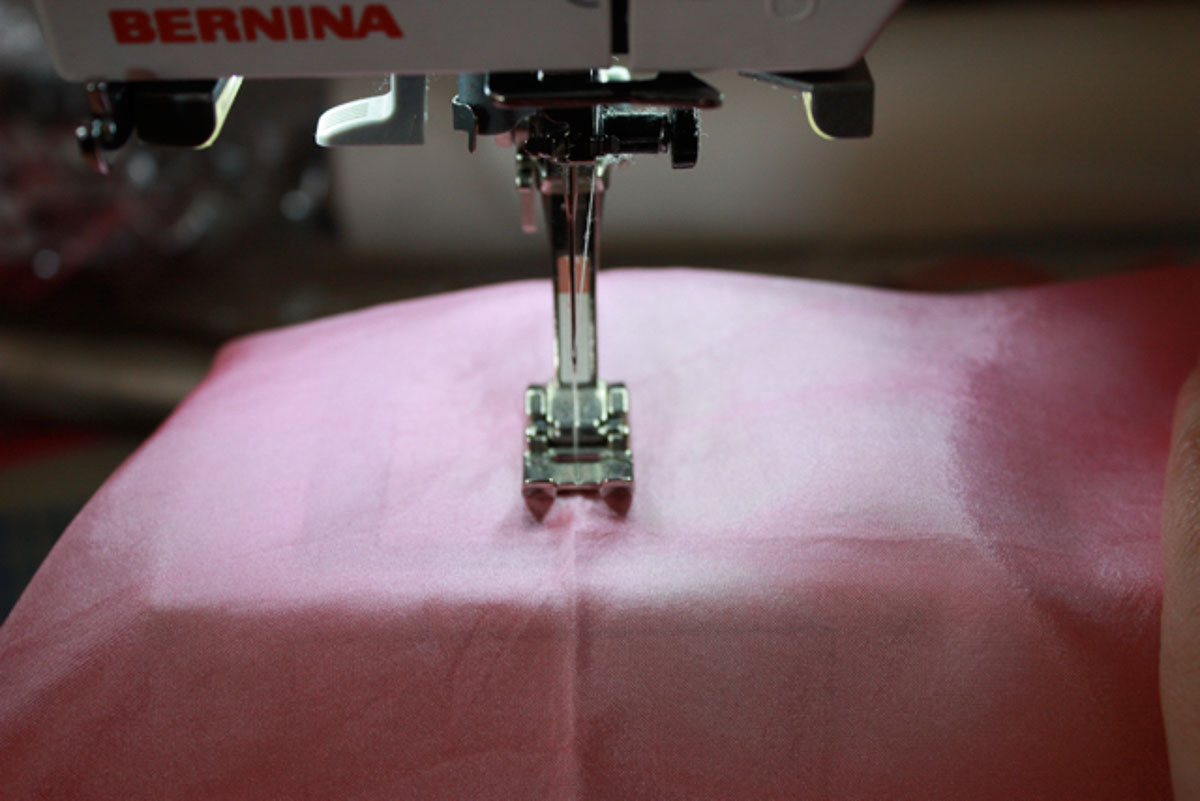
Add 2 more rows of gathering stitches on each side of original stitch.
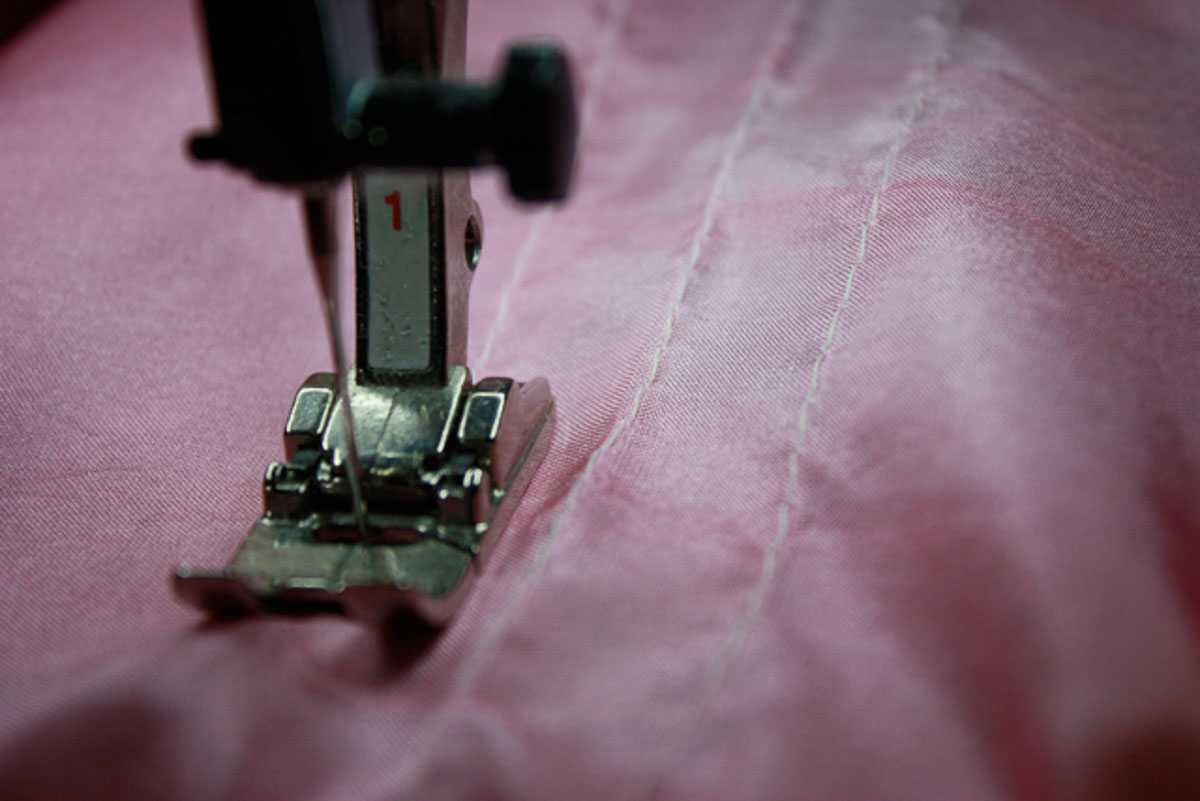
If you have a fine machine needle, place stitch lines ¾” away from center. If you don’t, place stitches ½” away from center (this is what I did).
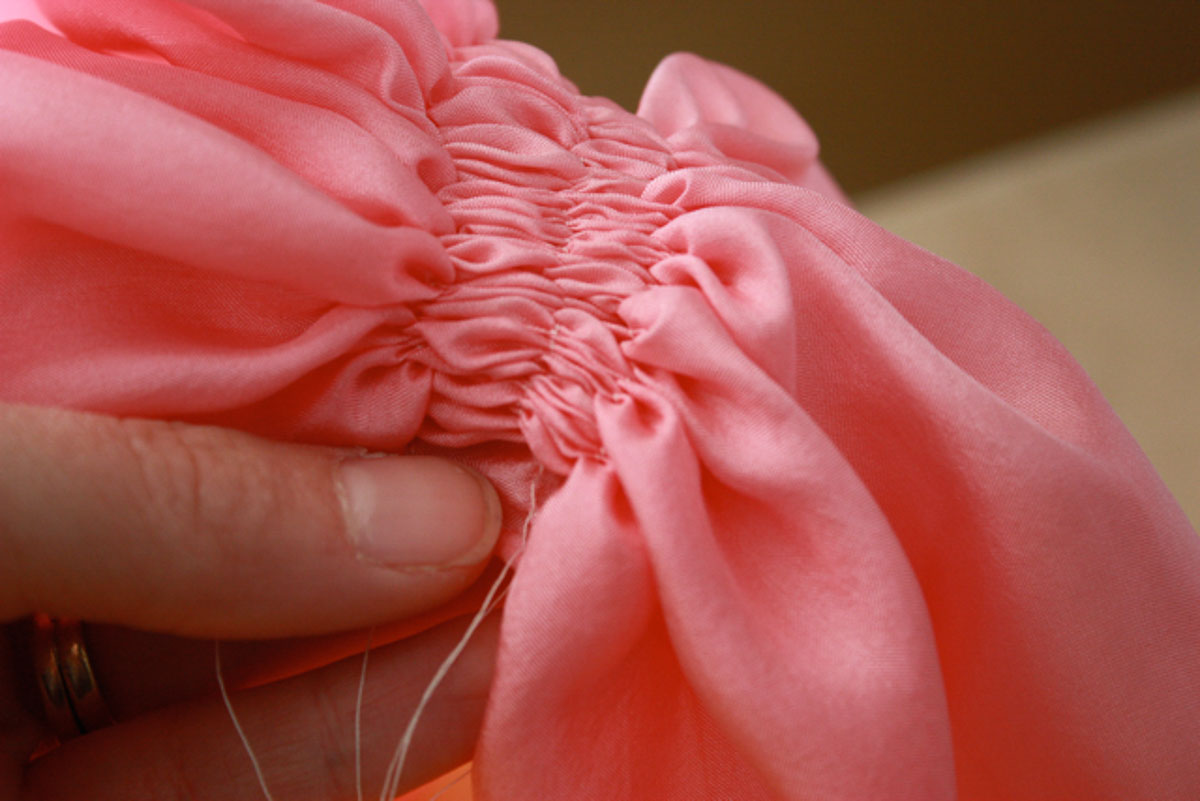
Gather all three stitches by gently pulling on the bottom thread.
Take piece of fabric and fold over raw edges to form “body”.
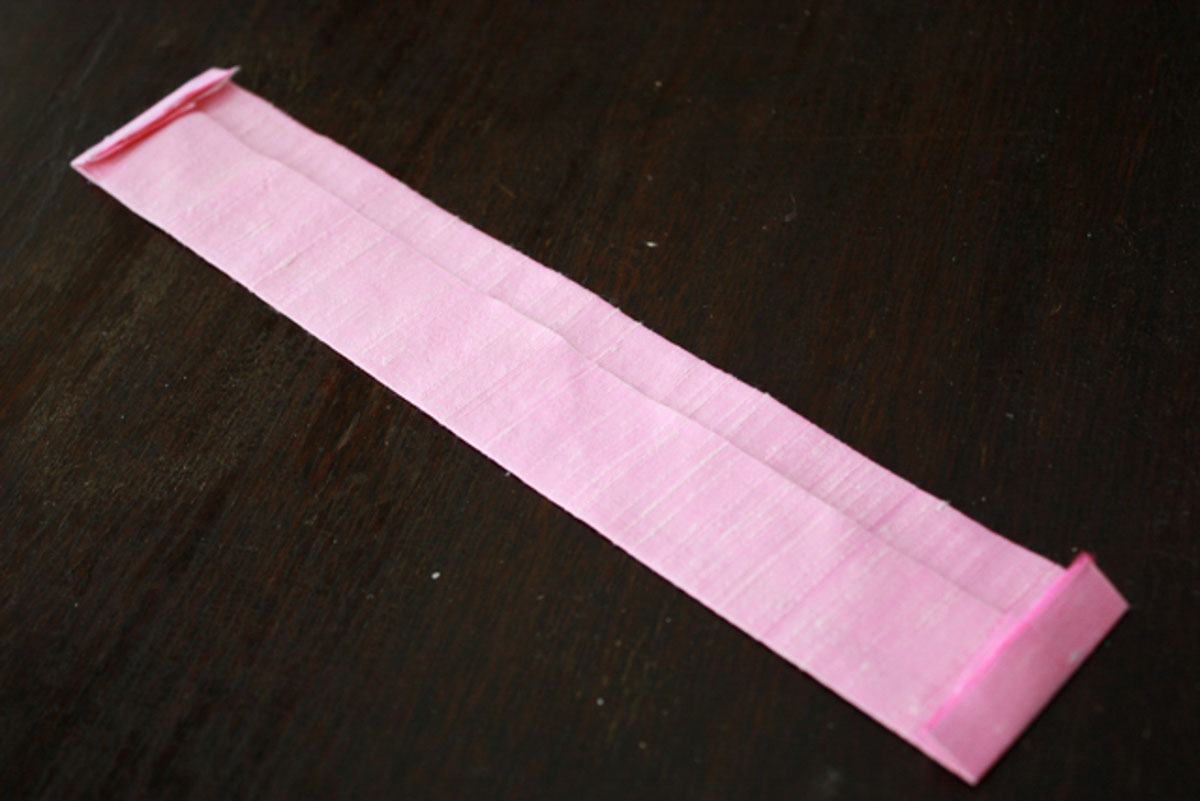
Finished body should equal 10″ x 1 ½”. You can also use a wide piece of heavy ribbon for the body, folding under each raw end. This should be the length and width of the butterfly body where the gathered stitches are.
Pin body to gathered center of wings.
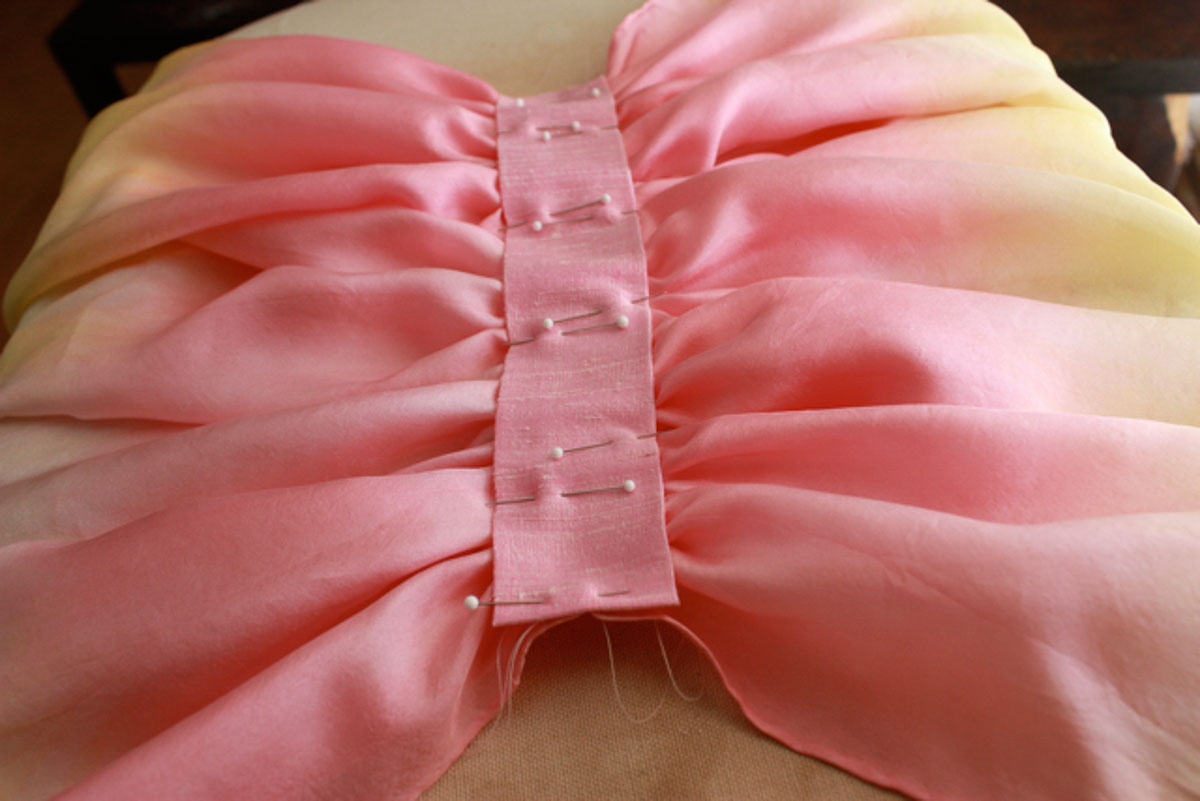
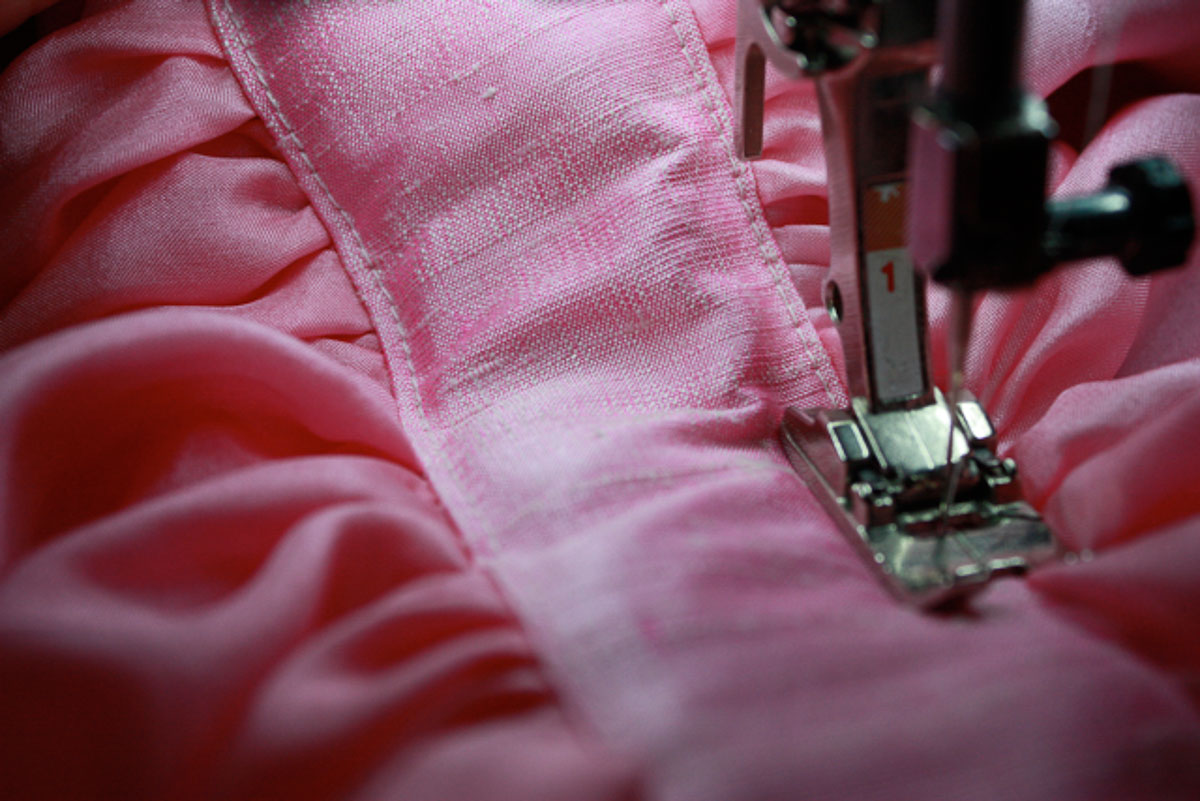
Edge stitch body in place around the entire piece of fabric (or ribbon). This topstitching will look the best if you go slowly and keep the presser food down.
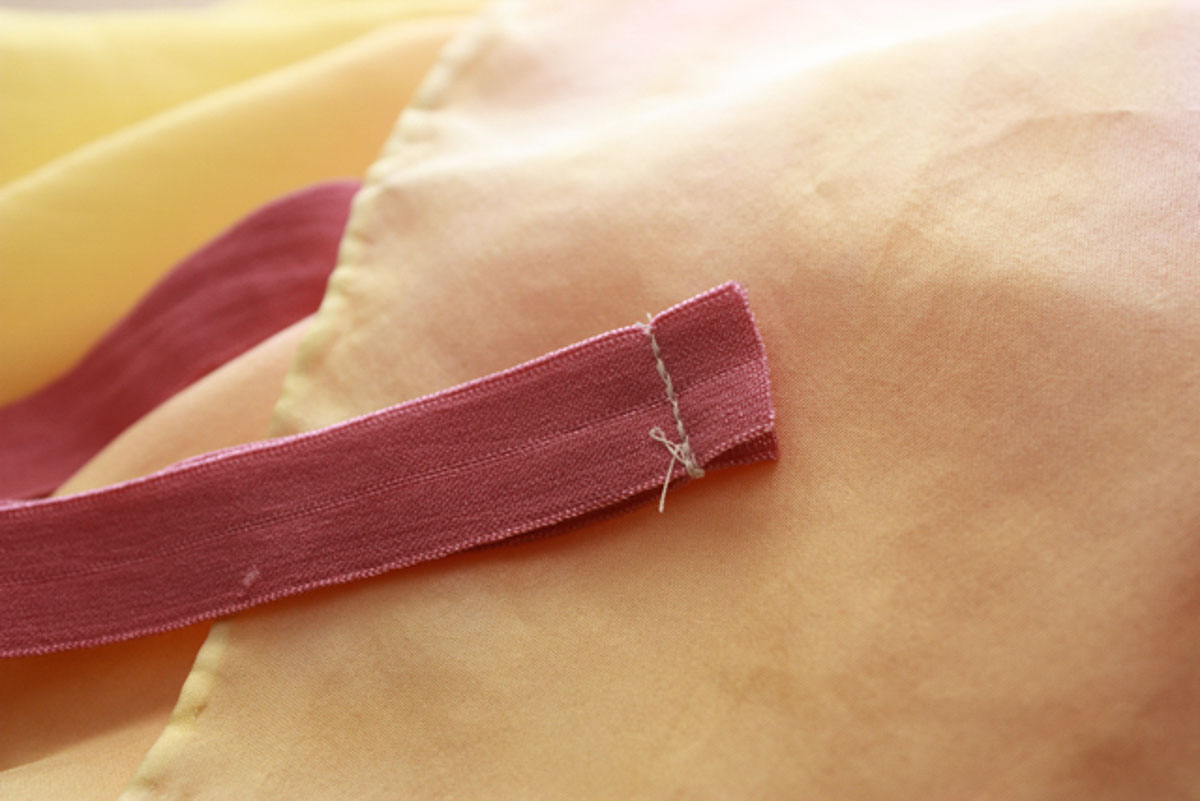
Sew 36″ piece of strap elastic together to form loop.
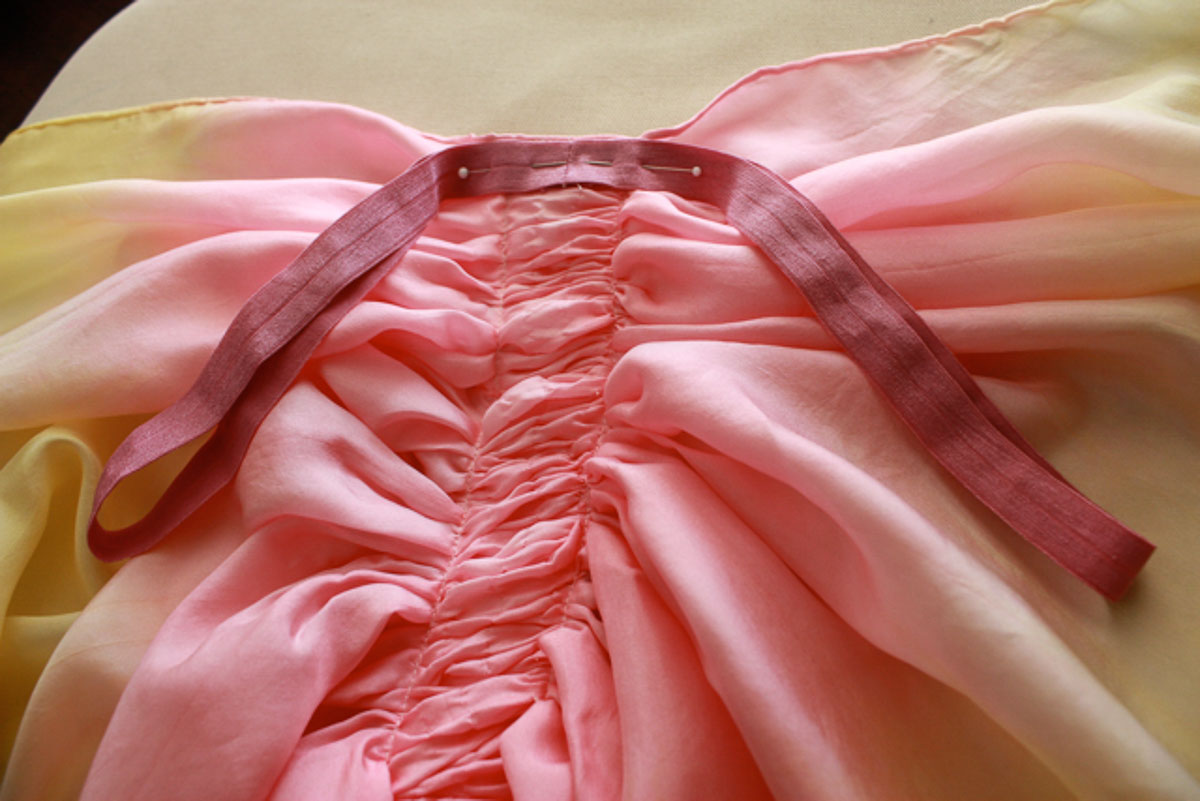
Pin flattened loop to top, center of wings.
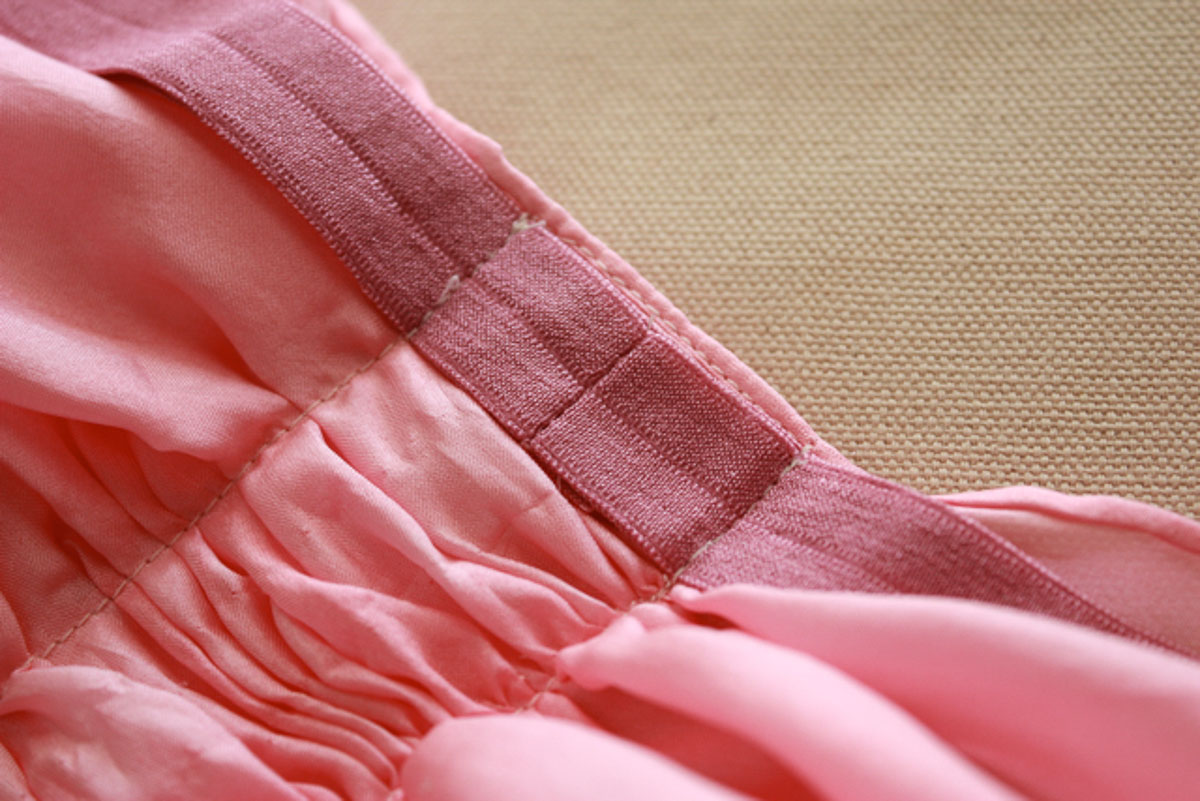
Stitch straps in place following same stitch lines as “body”.
Add wristloops to top corners of wings (sides of wings where the hands will be)
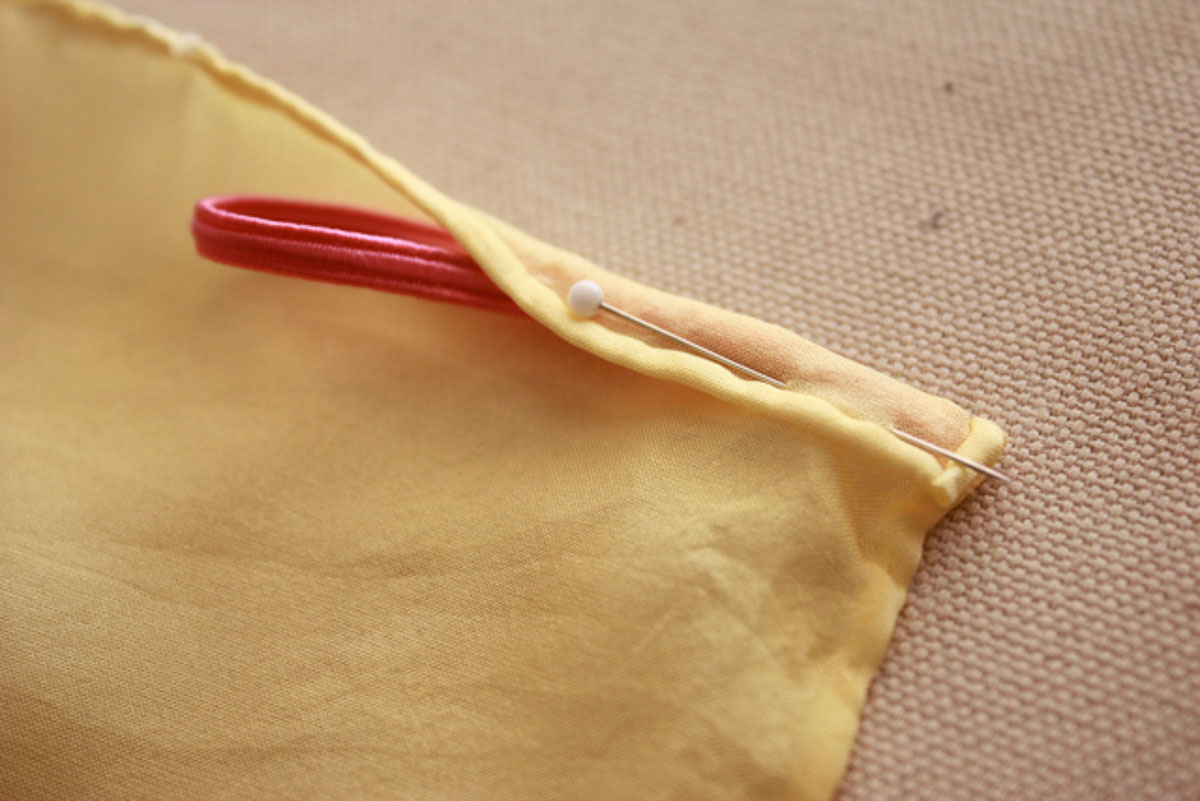
To do this, lay arm loops on right side, matching edges, rolling over top of wing. Pin in place.
Stitch wrist loop in place on each top corner.
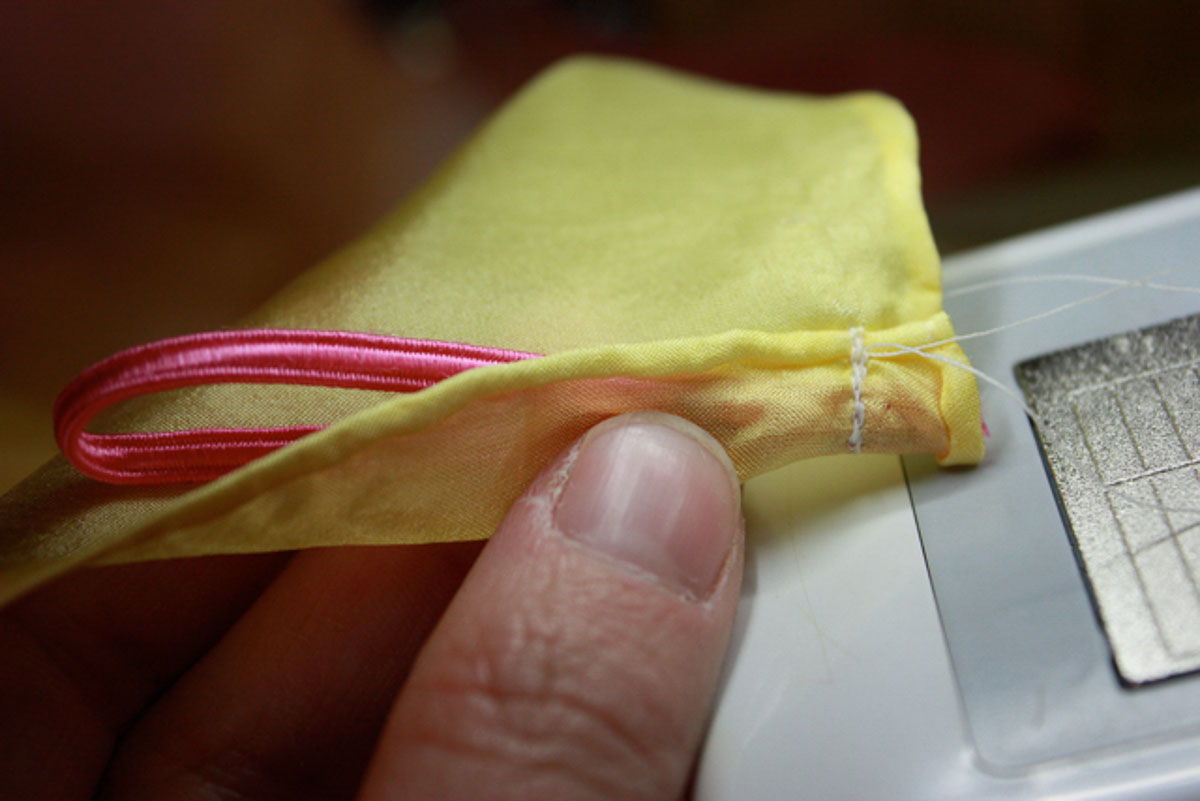
Pull loop to outside and see the nice clean finish!
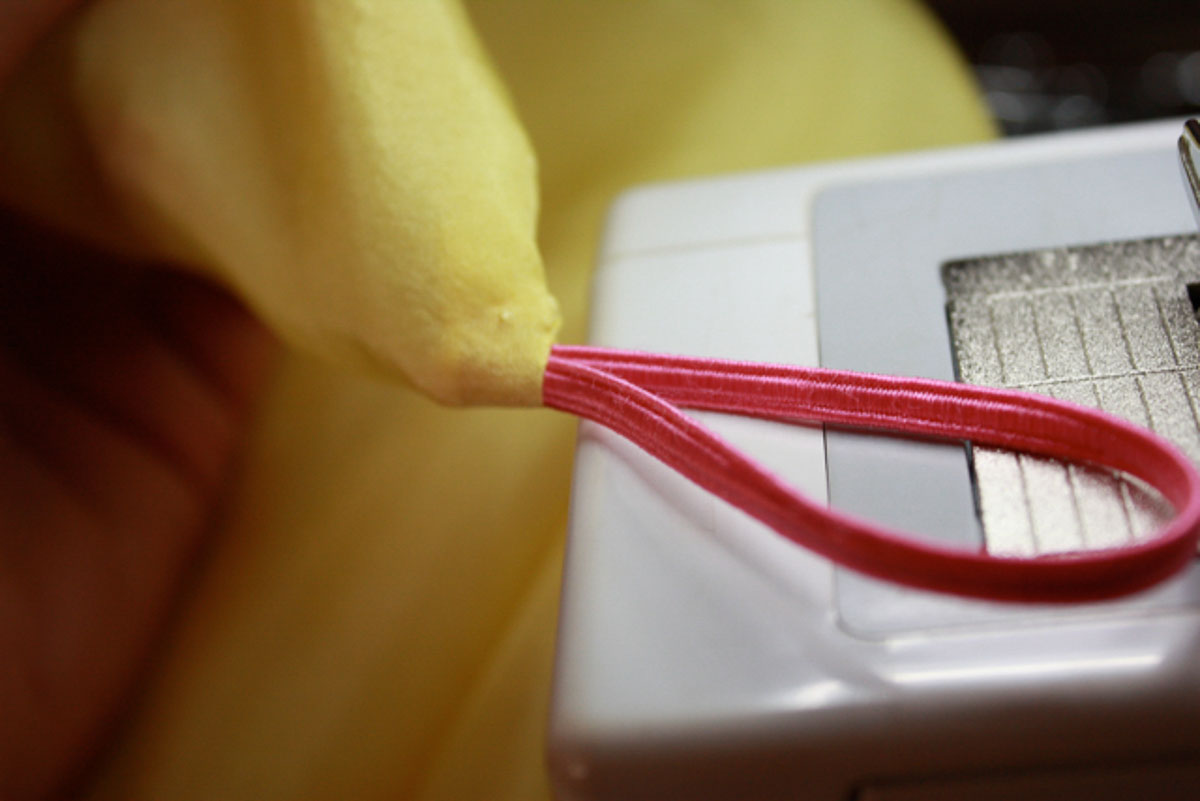
Now you’re ready to fly away! Now that you’re a pro, make a second set of wings! The second wing project will be smooth sailing!

Comments & Reviews
Wag Doll says
So pretty!
imabadmom says
Love this! A must for my ‘gramma has fun stuff’ collection!