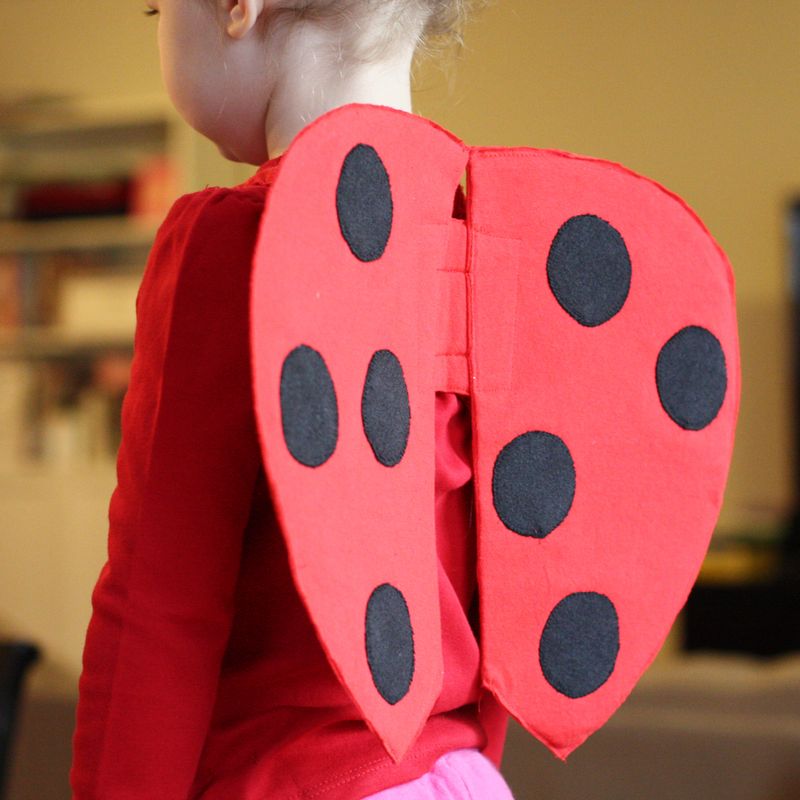
My daughter changed her mind about her Halloween costume 3 days before Halloween. I searched for ladybug costume ideas and came up with a few cute examples. I couldn’t find anything that was quick and easy and used what I had around the house so I invented my own. This method could be used for any type of dress up wings and took less than an hour to make. Most of the materials were repurposed.
What you will need:
1 old red t-shirt (or red knit, felt or fleece fabric)
1 small piece of black fabric (or old t-shirt or sweater)
28″ of elastic (I used ½″ width)
Old cereal box
Heavy stabilizer, or something equivalent.
Wonder under or similar for applique
Making the wings
Trace the shape of the wings onto the cereal box. Cut out one wing then use that as a template to trace the other wing so they are exactly the same shape. My wings were basically a semi-circle with a bit of a change up at the bottom. You could use a plain semi-circle and be just fine though.
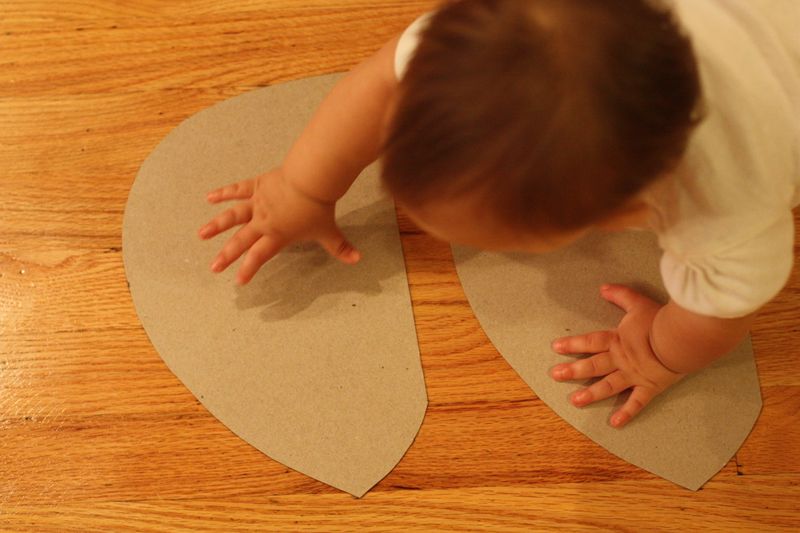
Then use your cardboard as a template for your fabric. Using a pen (a fabric pen is preferred but it really doesn’t matter) trace the shape of your wings onto your fabric. I used a men’s XL t-shirt and had plenty of fabric. I put the template’s straight edge on the fold so I only had to make one cut for each wing.
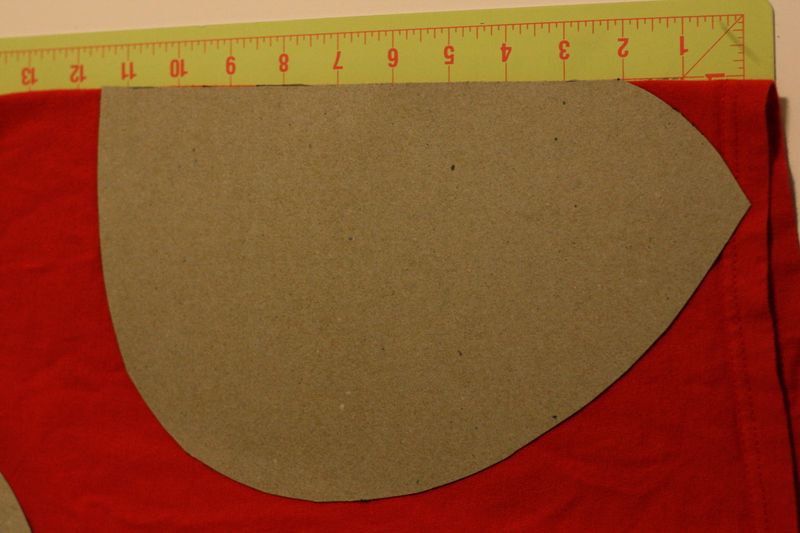
DO NOT CUT ALONG YOUR MARKED LINE! Cut at least a half an inch around your marked line. You will be sewing directly on that line you drew.
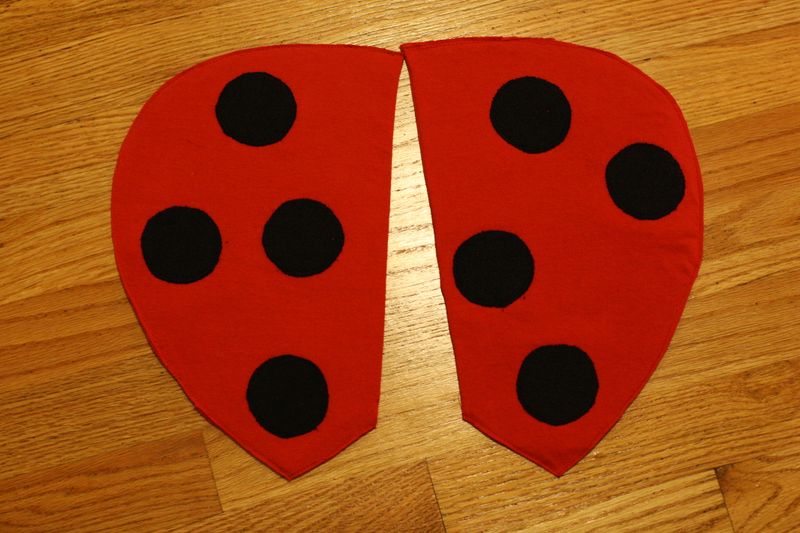
Trace 8 small circles onto your wonder under. I used a kids’ cup as my template. Iron the wonder under onto your black fabric. Cut out the circles and iron them on your red wing fabric. Note: The first time I did this I was not paying enough attention and put the dots on the front of one of the wings and the back of the other. Oops. Pay attention.
Sew around the edge of the circles with a zigzag stitch. I recommend using a tear away stabilizer on the back of the fabric if you are using knits to prevent puckering. If you don’t have a stabilizer any old scrap of fabric will work. Just cut out a piece a bit larger than your circle and put it on the underside of the fabric.
Next, fold the wing fabric, wrong sides together and put the cardboard sandwiched in between. I sewed the wings up around the edges, sewing on my marked line) and then trimmed the fabric.
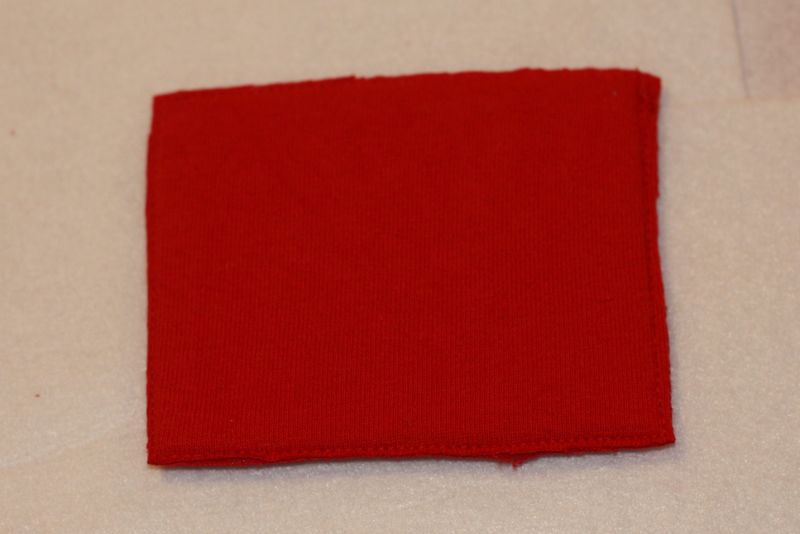
Next cut 2 rectangular pieces of the red fabric and 2 pieces of the heavy stabilizer. In a pinch, lightweight cardboard could work instead of the stabilizer. It won’t be as flexible but it will keep the wings from sagging. In reality, no kid would know the difference.
Put the stabilizer in between the red fabric and sew around the edges. Trim the edges close to the seam.
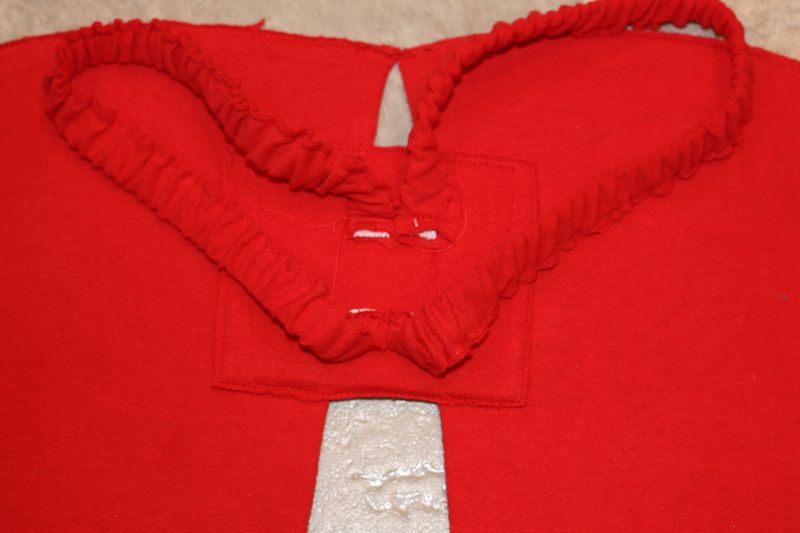
Next cut the elastic into two 14″ pieces. I made a casing for my elastic but that isn’t necessary.
Now lay the wings down, dot side down and place this connector piece in between them where you want. Position the elastic and then sew it all together. This is how I placed mine.
That’s it! You’re done. Now you have ladybug wings!
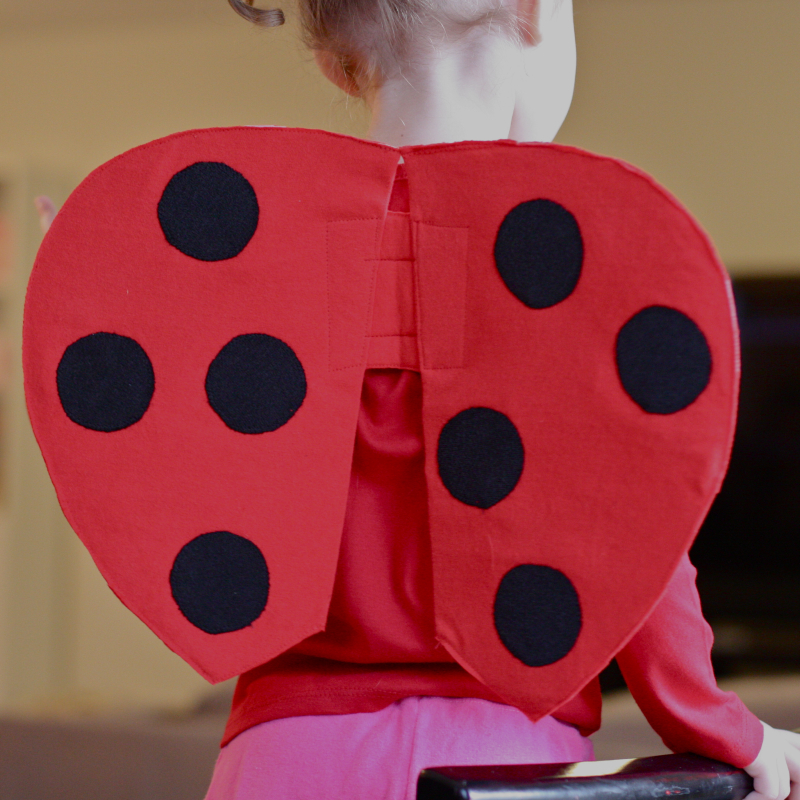
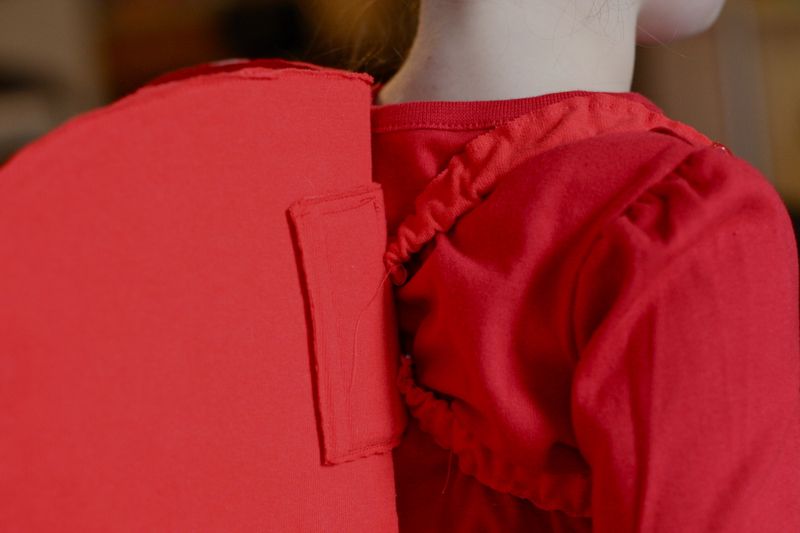
UPDATE: These wings have held up very well under daily use for a year! All the store bought wings we’ve owned have never lasted so long! I’ve made butterfly wings with this method as well. I’m sure bat wings would be a hit too!