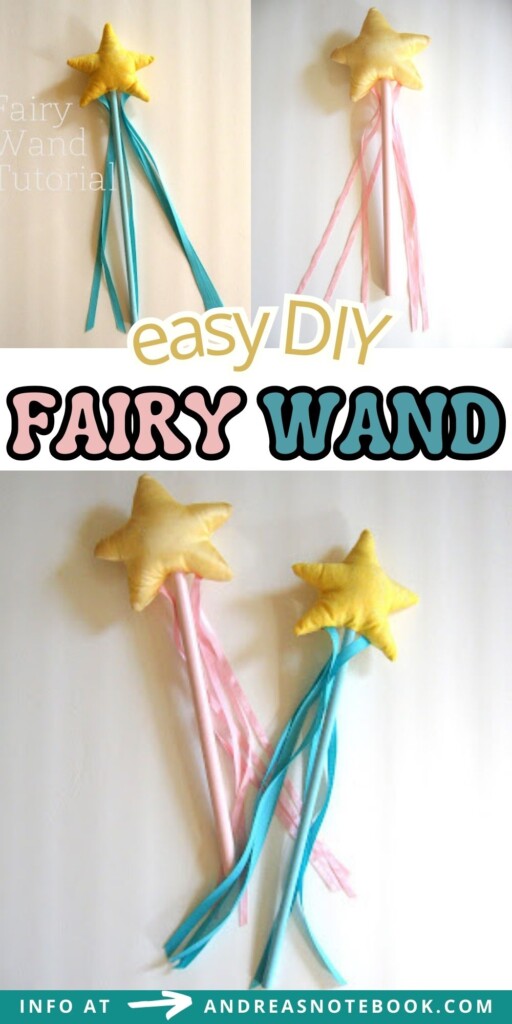
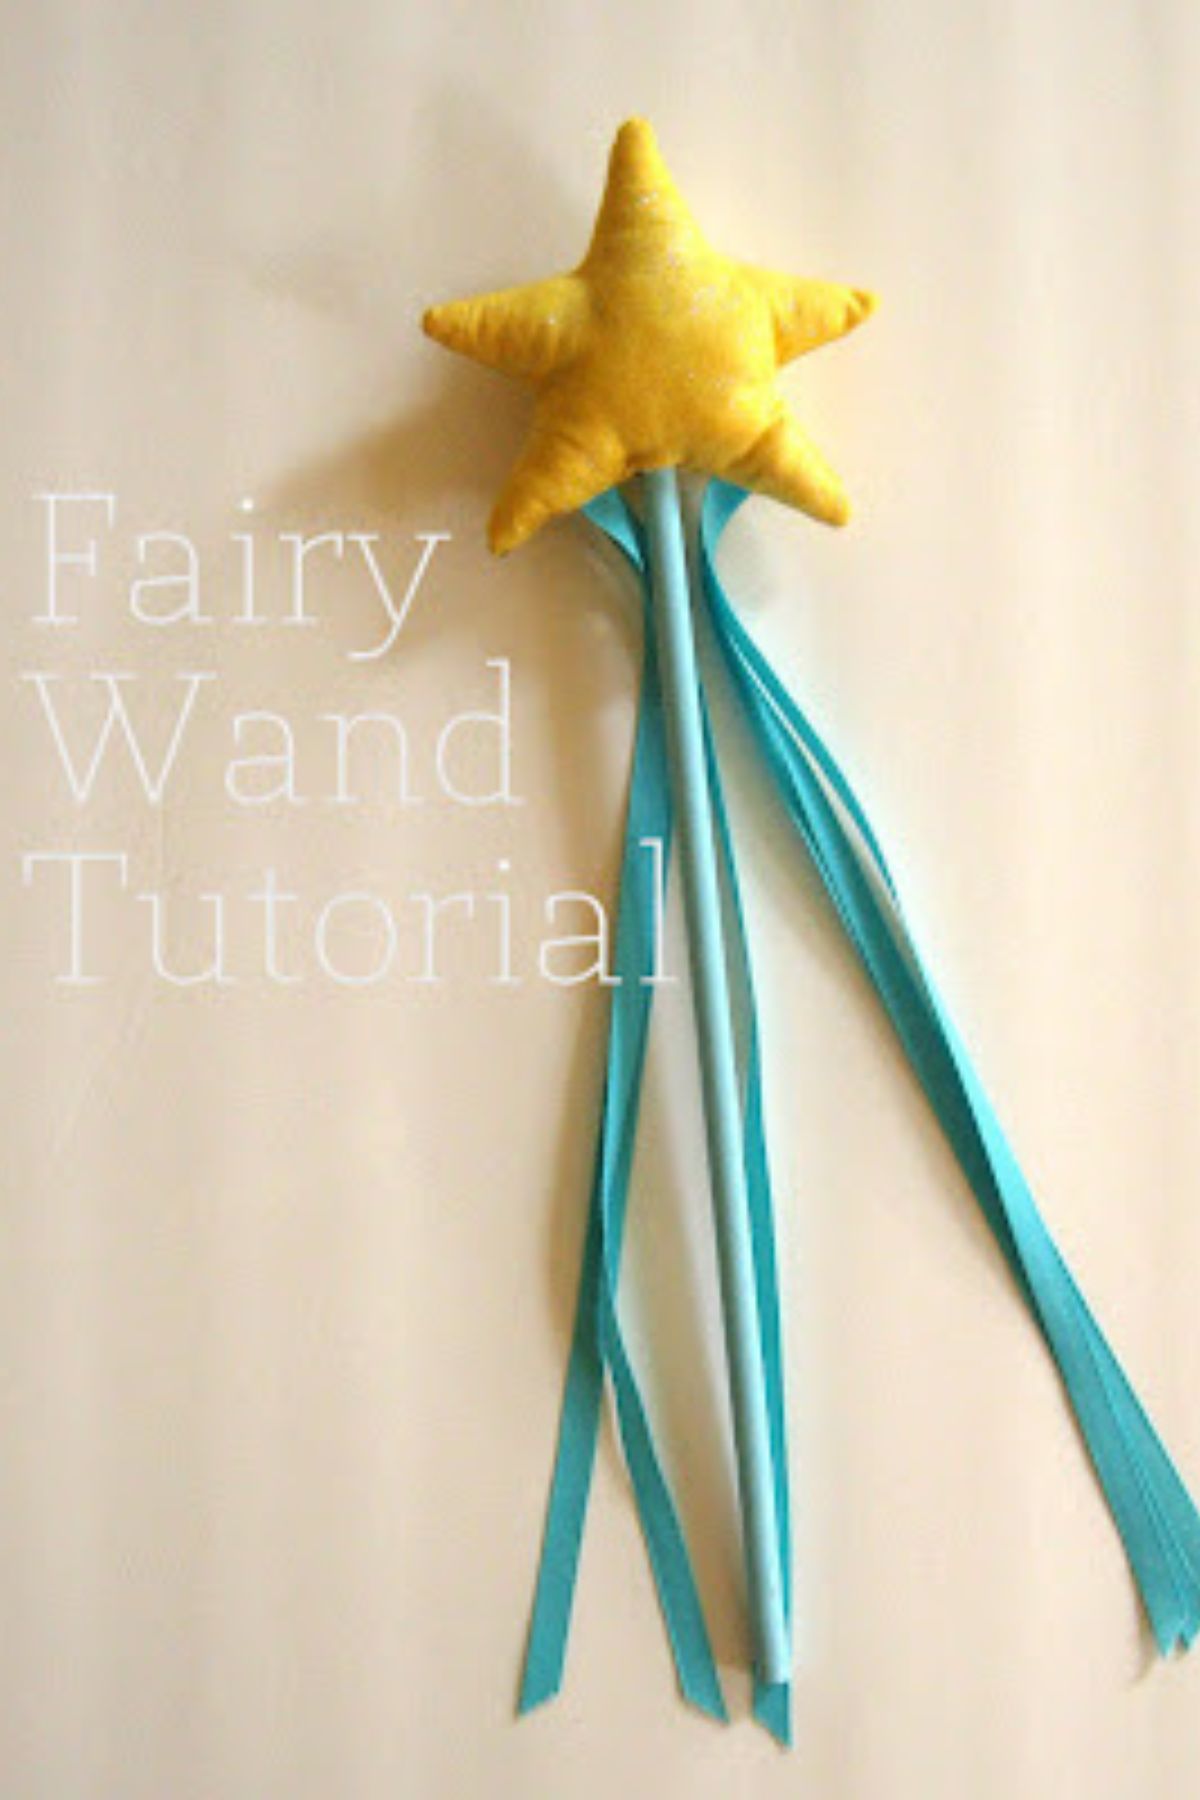
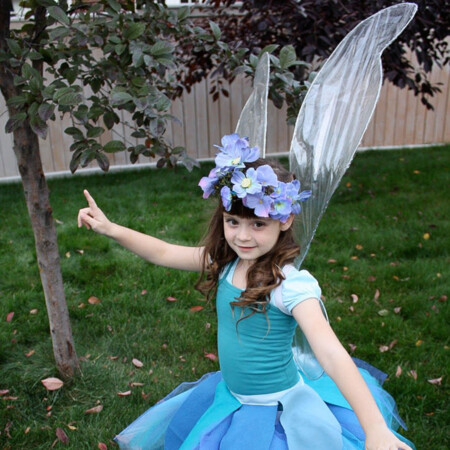
Unleashing the enchantment of magic wands just became simpler! Welcome to a hands-on tutorial that’s all about creating your very own DIY fairy wand. With just a few household items and a sprinkle of creativity, you’ll discover how to make a wand that’ll be the envy of all fairy folks out there. Whether you’re prepping for a themed party or nurturing imaginative play, this guide, backed with step-by-step photos, will be your magic spell. Ready to wave some DIY magic? Pair this cute fairy wand with the Princess Braid Hair Tutorial, DIY No Sew Fairy Wings and the Simple DIY Halloween Treat Bag and you’re ready for Halloween night!
Uses For Fairy Wands
Easy DIY fairy wands aren’t just charming accessories; they serve many fun purposes and are versatile in their appeal. Here’s when you might want to consider using one:
- Imaginative Play: Encouraging kids of all ages to unleash their creativity and embark on magical adventures.
- Halloween Costume: Enhancing a fairy costume or princess wands can complement various outfits, making you the star of the night.
- Birthday Parties: Not just as great birthday party favors, but also as activities where kids can craft their magic fairy wands.
- Gifts: They make great gifts, especially for the little fairy enthusiasts in your life, sparking joy and creativity.
- Costume Prop: Whether it’s for a school event or a playdate, it’s an accessory that elevates a simple look.
- Fairy Themed Birthday Party: Beyond just party favors, they can be part of games, crafts, or decorations.
With so many moments and events where a fairy wand can be the highlight, it’s no wonder they are cherished by many. Whether you’re waving it around, casting ‘spells’, or just holding it, a fairy wand is more than just a stick with glitter; it’s a tool for endless fun and imagination.
My name is Chris, and I am the lady behind Pickup Some Creativity. I write about my love for creating, and try to spend a little time each day making something. I believe creating is a divinely instilled quality we’re born with, we just have to find the medium that works best for us! Today I’m sharing a tutorial for making a beautiful fairy wand…the perfect accessory for the little fairy princess in your life.
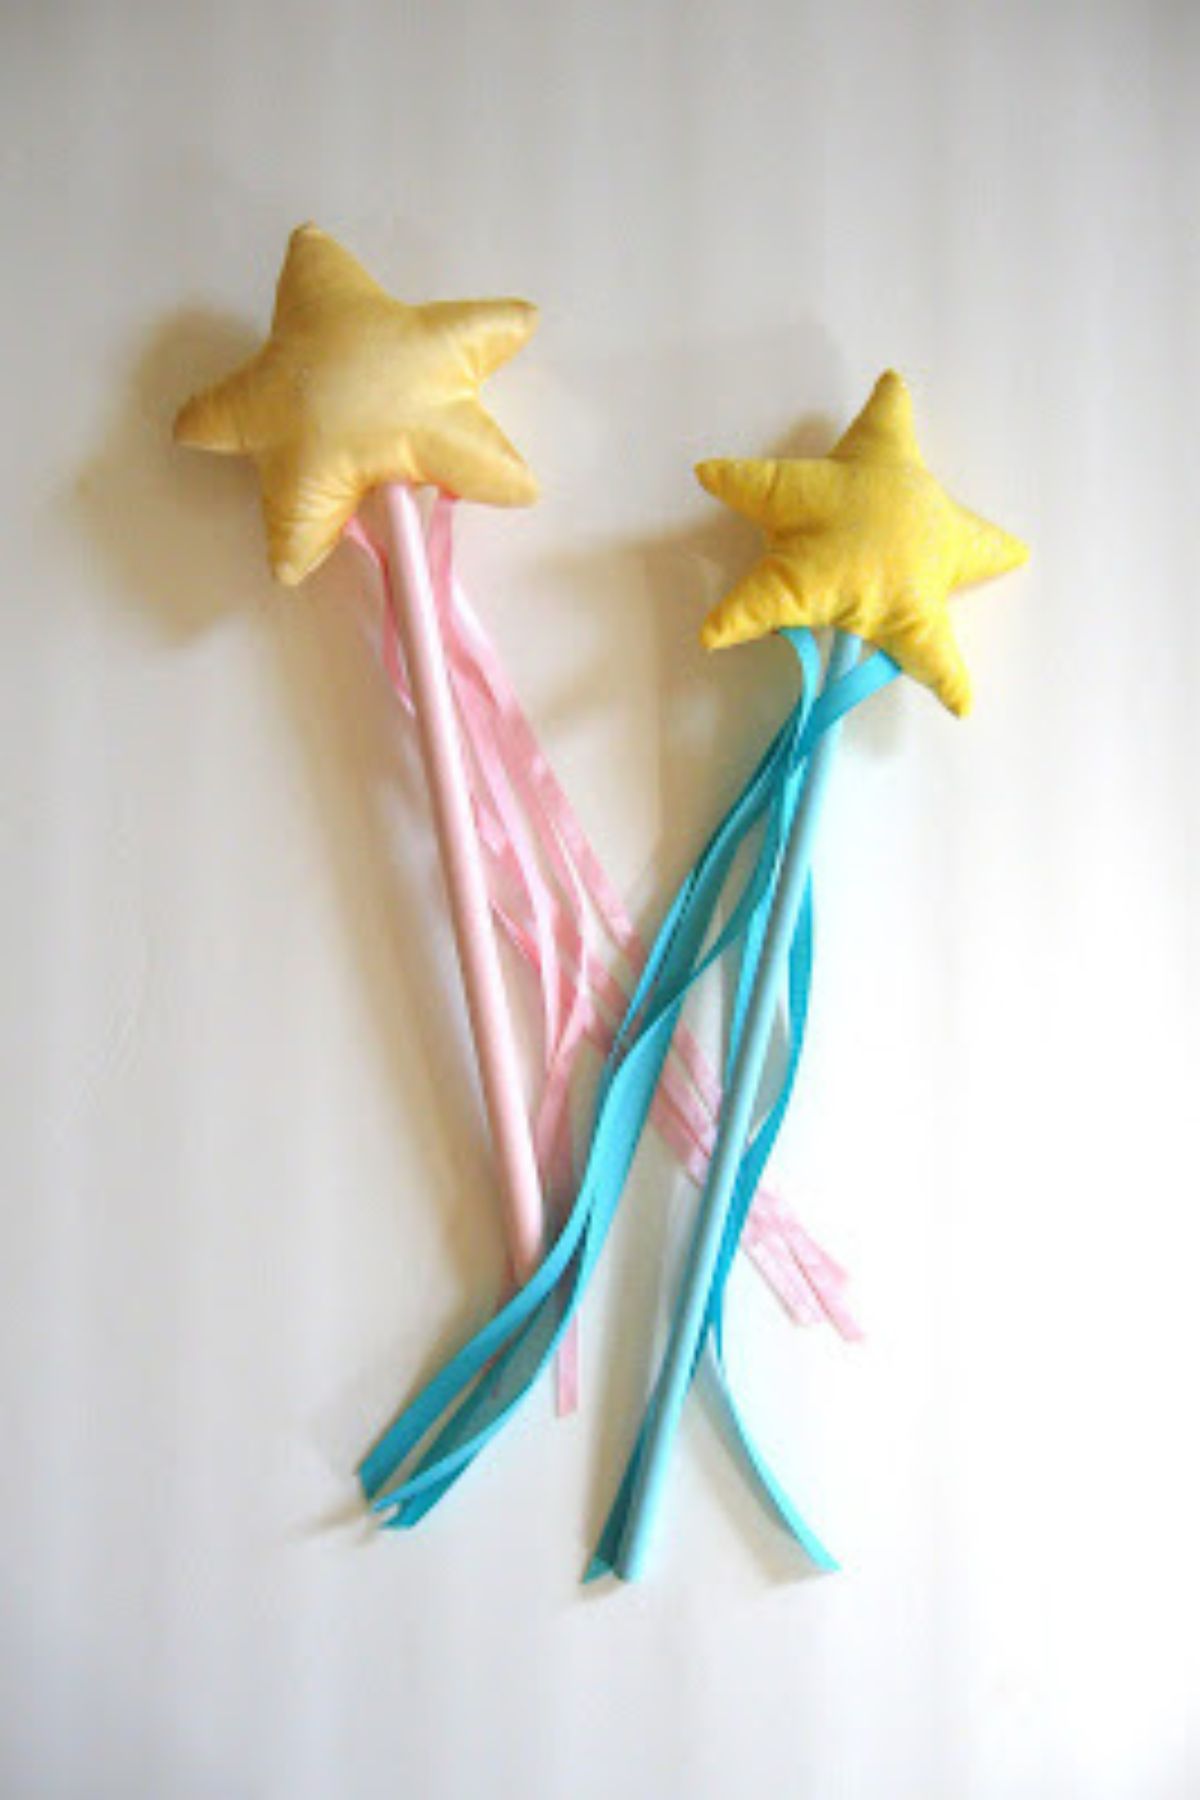
Inspired by a fun pretend play fairy princess kit my daughter received several years ago, I made a matching wand for my baby. Here’s the inspiration wand:
Gather Supplies
Gather your supplies for this easy DIY fairy wand. Supplies can all be found at your local craft store or online.
- Template: download it HERE.
- Fabric scraps: two 5″x5″ squares in the same fabric
- Sparkly fabric paint (fabric glitter glue): to make fabric sparkly (optional)
- Spray paint: of your color choice for the wand handle. You can aso brush on acrylic paint if you prefer.
- Ribbon: ½″ wide ribbon, grosgrain ribbon or satin ribbon. You will need about 7 feet of ribbon (6 strands of ribbon).
- Matching thread: Your thread will not be visible so you do not need an exact match.
- Stick: ½″ diameter wooden dowel works well
- Stuffing: Cluster fluff type stuffing
- Glue: Fabric glue or hot glue gun
- Sewing tools: scissors, seam ripper, pins or pattern weight, and sewing machine, and helpful to have…pinking shears, my new favorite tool.
Instructions
Follow along for step-by-step instructions on how to make this easy fairy wand craft. Corresponding images and instructions are included. Make as many magic wands and you want! Your little girl or little boy will love having these for their fairy costume or call them princess wands for their royal highness.
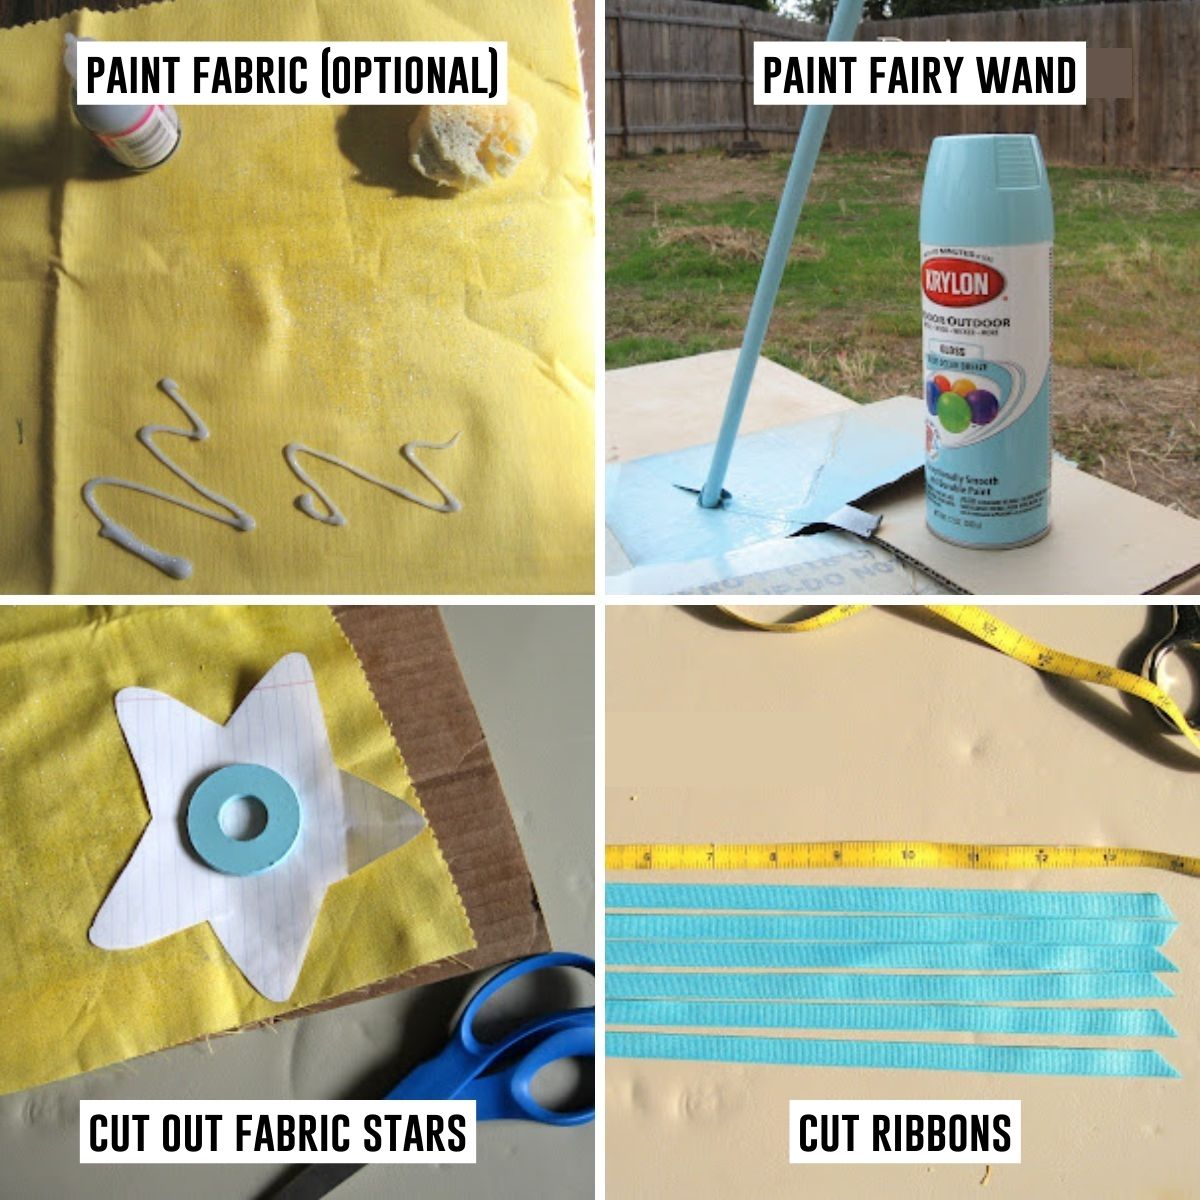
Step One: Paint
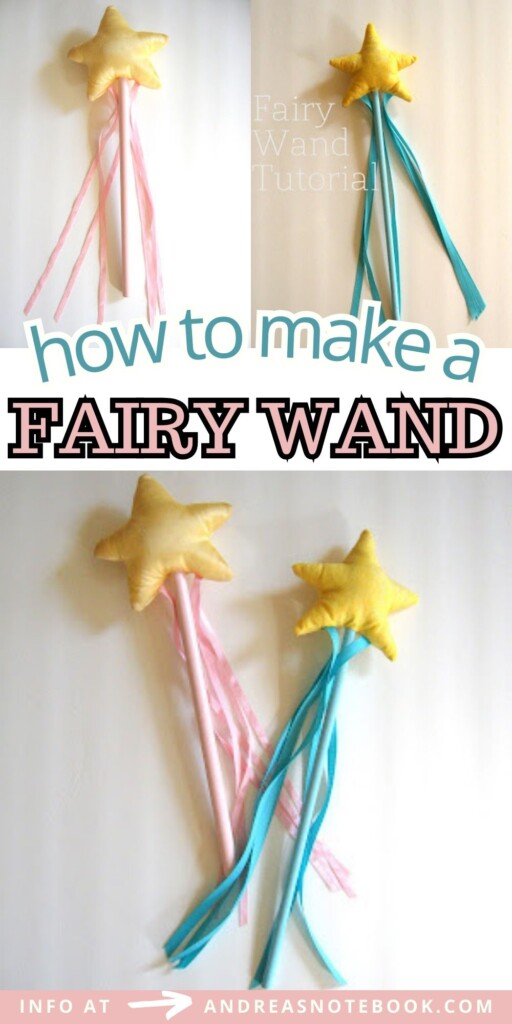
My inspiration wand’s star was shiny satin, but I needed to use materials on hand. So, I painted gold colored fabric with sparkly fabric paint. I think the result was almost better than the original I modeled my wand after.
Use a sponge to make sure the glitter glue paint was very thin. Allow to dry.
Spray paint the dowel Use spray paint outside on top of a large piece of cardboard or paint cloth. It will take 2 or 3 coats to cover completely. Allow to dry.
Step two. Cut out your star and streamers
Lay your two fabric pieces right sides together. Cut out the star template you downloaded and place on top of the fabric. Use something to hold the pattern in place. Trace the star onto the fabric or just cut around the pattern piece.
Cut six streamer ribbons, each about 14″ long. Make sure the ends are cut on a diagonal to prevent fraying.
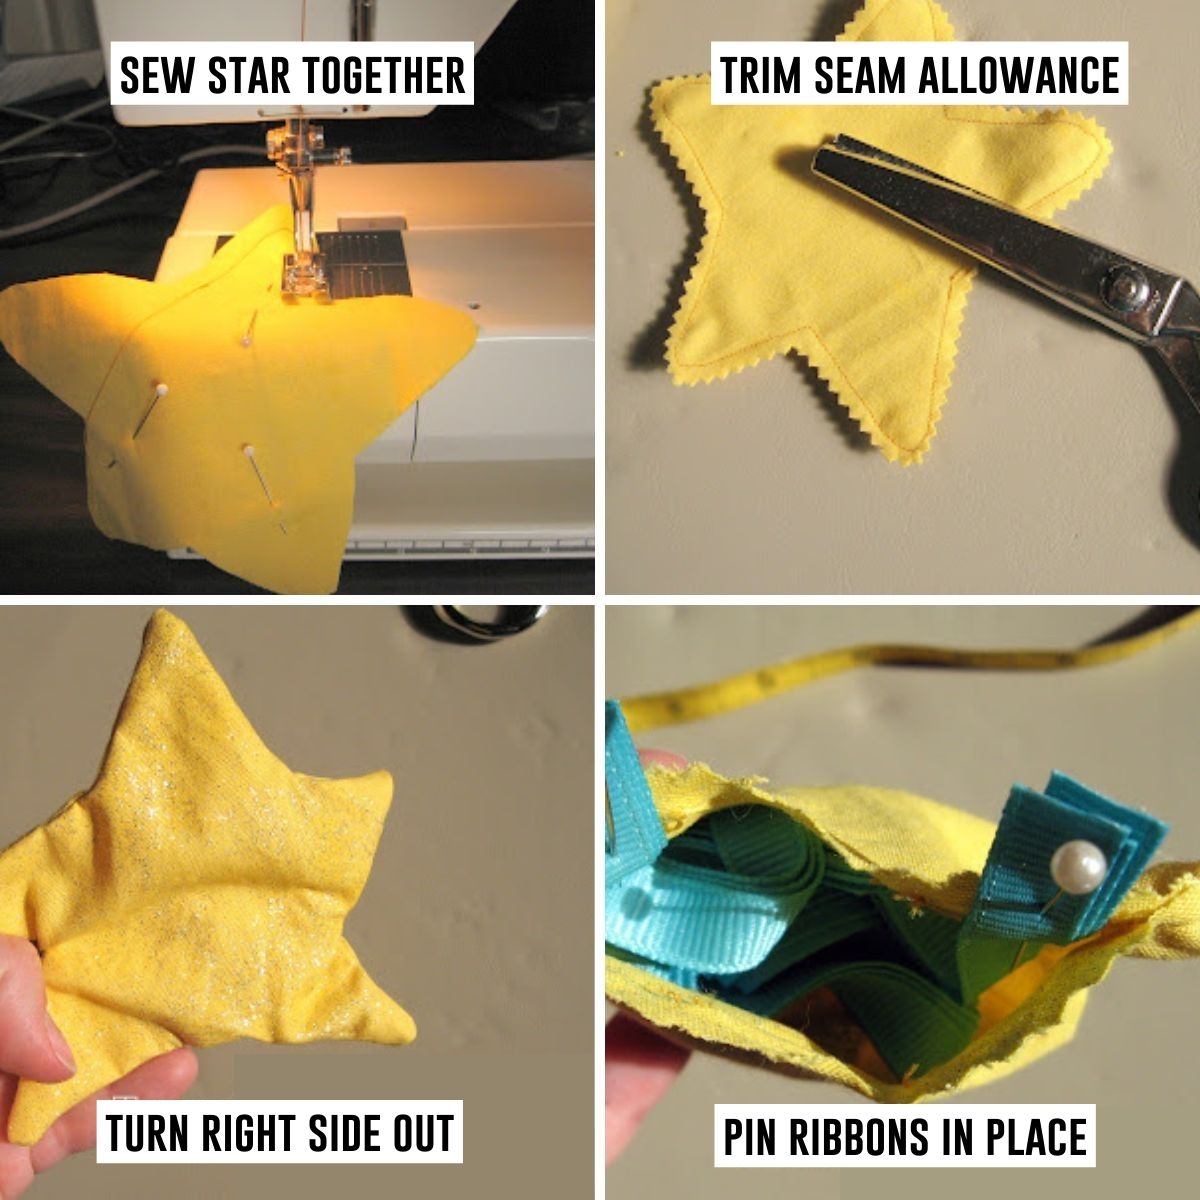
Step Three: sew and stuff your star
With right sides together, pin your star together. Note: Pin your ribbons inside the star at the bottom (see image below). I did this out of order but recommend pinning the streamers in this step. The ribbon will be inside the star at this point so that they are outside of the star once it’s sewn. The ends of the ribbon should line up with the edge of the star. They will be sewn into the seam allowance. All 6 pieces of ribbon should be inside the star shape.
Sew around the the edges leaving an opening in the bottom for turning right side out and your dowel.
After you sew your star, you’ll want to trim your seams. I recommend you pink the edges with pinking shears.
Boy, did I feel sheepish when I realized I’d forgotten the all-important streamers! I had to pick out the seam, and then carefully pin the ribbons in place. When you make yours, pin the streamers in the seam before you sew. I’d pin the ribbons into the center of the star to keep them out of the rest of the seams.
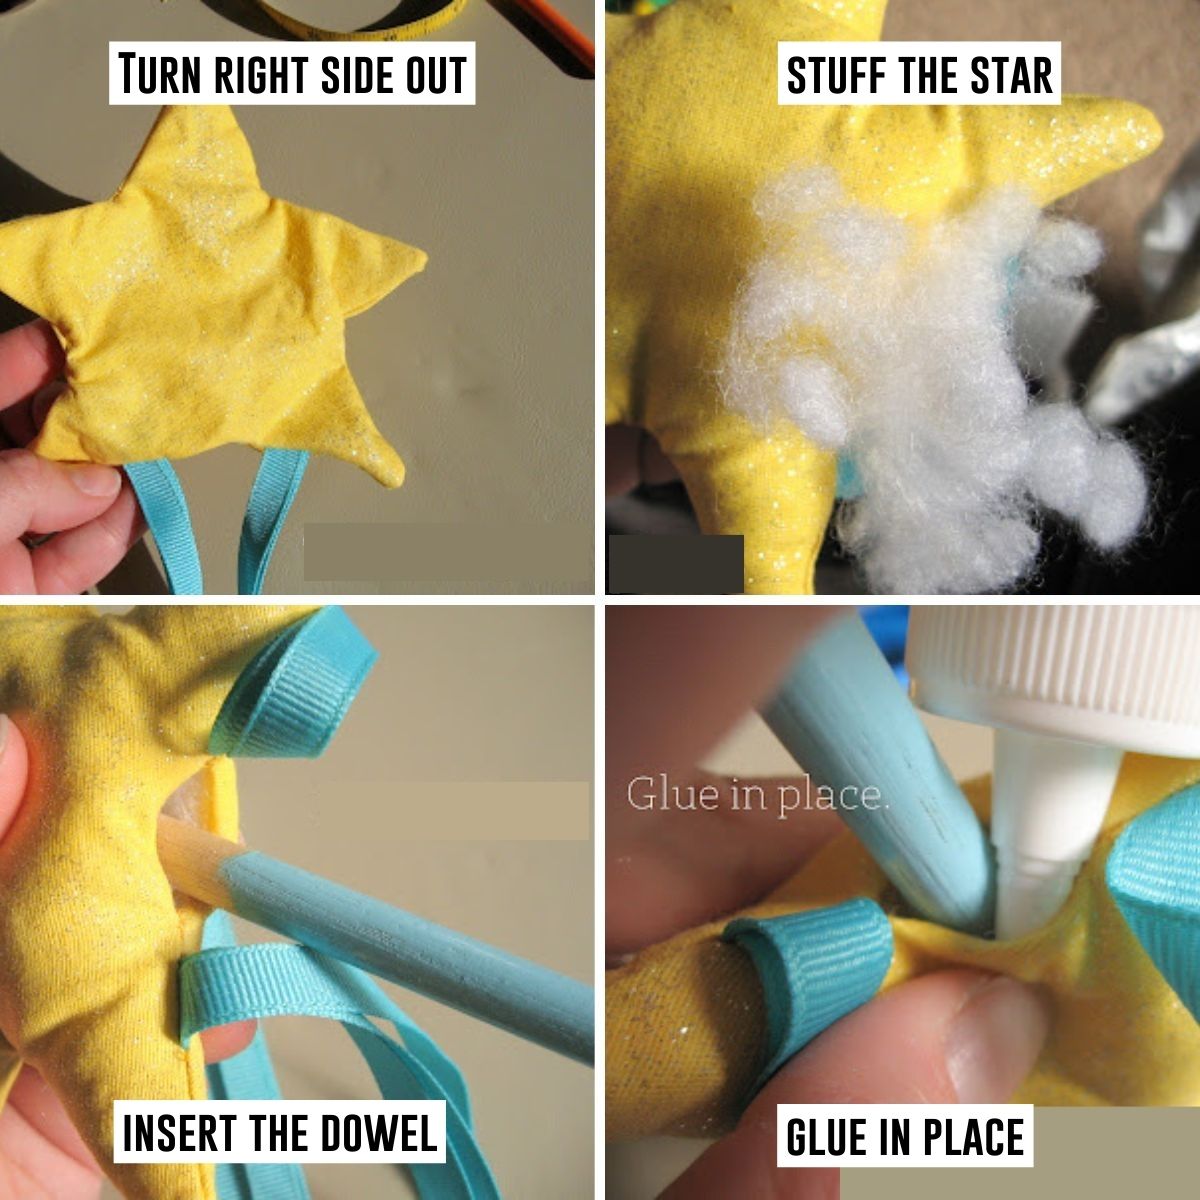
Step Four: Insert and glue the dowel into the star
Turn your star right side out with the streamers outside the star.
Use your stuffing to stuff the star full. The more you stuff, the better the star will look.
Insert the top of the dowel into the opening of the star.
Glue DIY fairy wand opening closed, making sure to glue the tip of the dowel as well. I used fabric glue for my star, but hot glue with a glue gun would work well too.
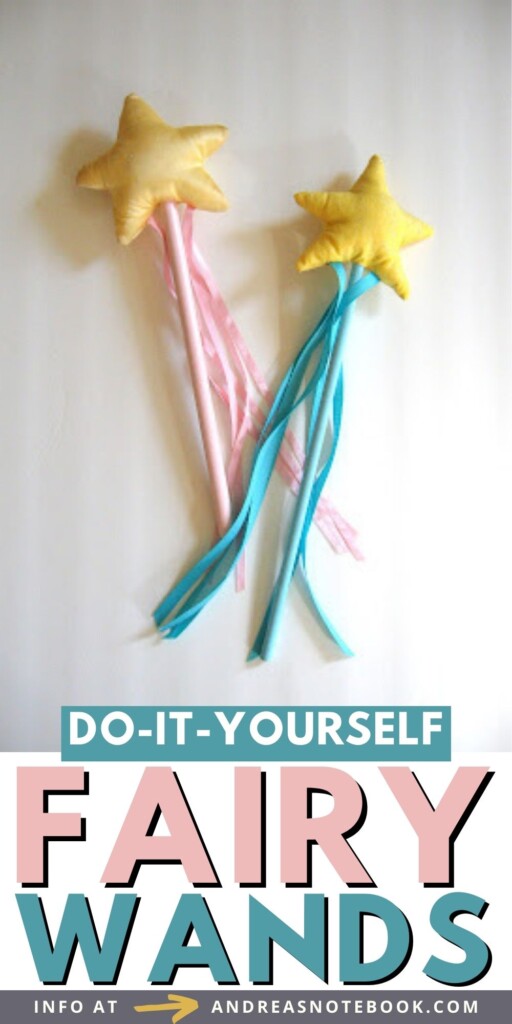
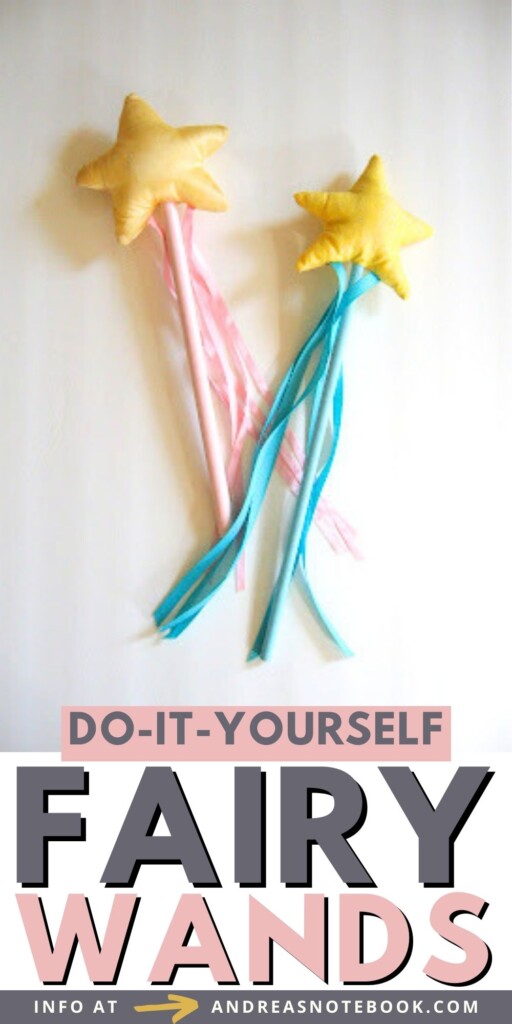
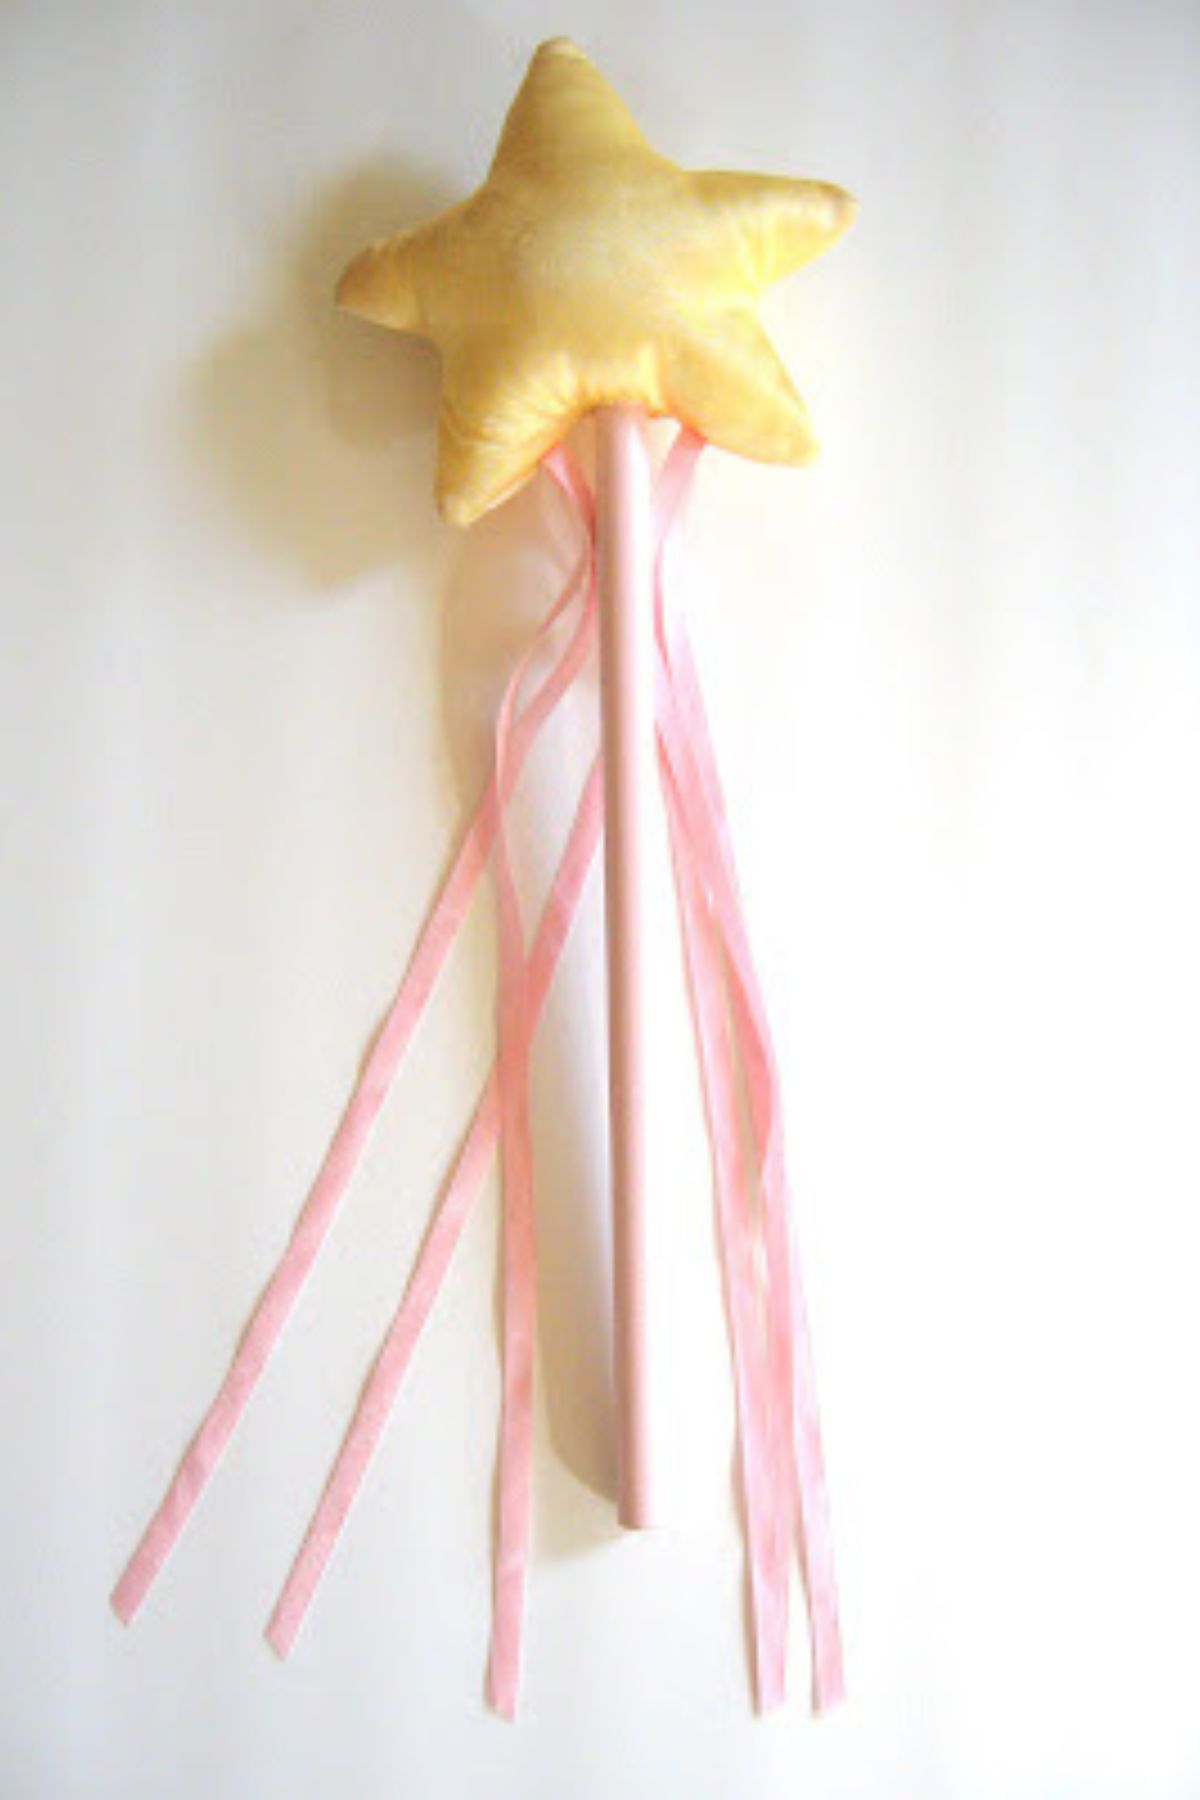
Project complete! I’m so happy with how the wand turned out, and so is my daughter.
More Fairy Crafts
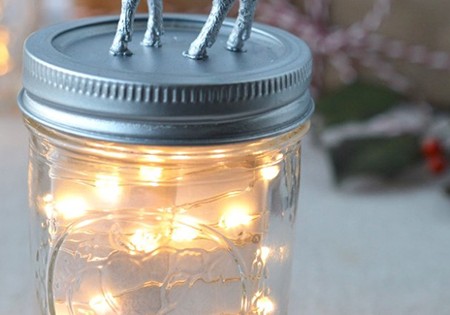
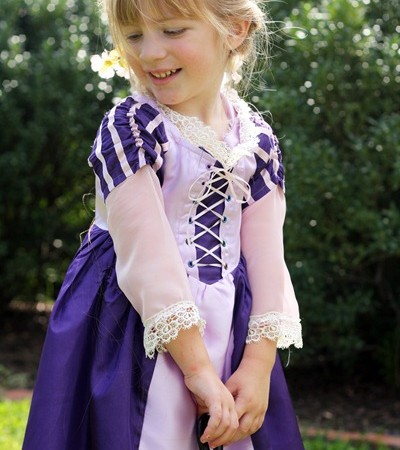
If your little fairy loves the diy fairy wand you might want to try making one of these!

My blog includes several free tutorials, free patterns, and I also have a small etsy shop. I am tickled to be included in Andrea’s Handmade Halloween series, and love her emphasis on wearable designs.
Comments & Reviews
Chris says
Thanks so much for featuring my wand tutorial, Andrea. I’m so happy to have been included.
KJ@letsgoflyakite says
Chris’ puffy star wands are adorable, children love the texture. This project idea would also make a lovely addition to a fairy princess bithday/tea party!
This is a great series, handmade costumes are the best, and so memorable.
Gwen @ Gwenny Penny says
These are adorable, and my girls would love them. I love the ribbons dangling down. Great tutorial, Chris 🙂
Ellen says
thanks for sharing!
lily167 says
This is a really good article. I think this is one of the best entries I’ve ever read. Your work is outstanding and motivating. I appreciate you. papa’s freezeria game
Niveah says
Made for my little fairy! It was a hit.