Do you remember Peaches n' Cream Barbie? Narelle from Cook Clean Craft made a fantastic dress up costume based on that Barbie. Sew one for your little girl with her easy dress tutorial. We now have dozens of costume tutorials here for the Handmade Costume Series so don't forget to check them all out!
Hi, I’m Narelle from Cook Clean Craft, sharing household tips, recipes and fun crafts, including sewing, cardboard and crochet.
Our house is seriously lacking in dress up clothes, so this series was just the motivation I needed. Thinking back to my childhood, who did I want to dress up as? Barbie, and there was no Barbie more pretty or elegant than Peaches’n’Cream.
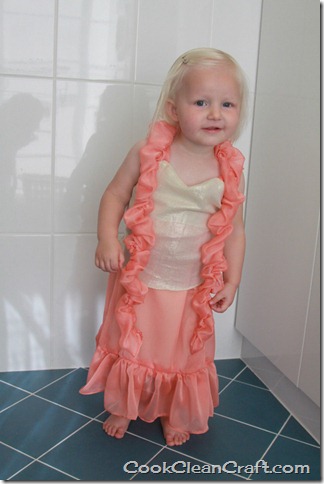
So here’s the toddler dress-up version:
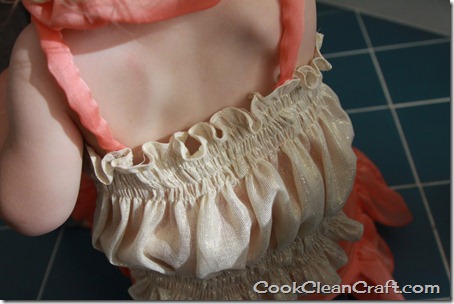
I’m a bit of a lazy parent, so to make it easier for the kids to get in and out of the costume by themselves, I made it as a top and skirt rather than a dress. I shirred the back of the bodice so no buttons or zips (or Velcro, if I was being faithful to the original!).
I made it for my almost 2 year old, but it’s big enough for my 3.5 year old to fit in it easily (no photos of him wearing it though – my husband would kill me!). I’d call it a size 4 (but still with lots of stretch!). The skirt is pulled up to her armpits – no growing out of this quickly!
For more photos (including some bloopers), head over to Cook Clean Craft. Here’s how I made it:
Materials
1 yard peach chiffon (or tulle/netting)
½ yard light gold lurex (what a great name! Or similar sparkly. glamorous fabric)
½ yard of lining (I used a knit fabric from my stash)
18” of 1” wide elastic
Elastic thread for shirring
Thread, scissors, sewing machine etc
Procedure
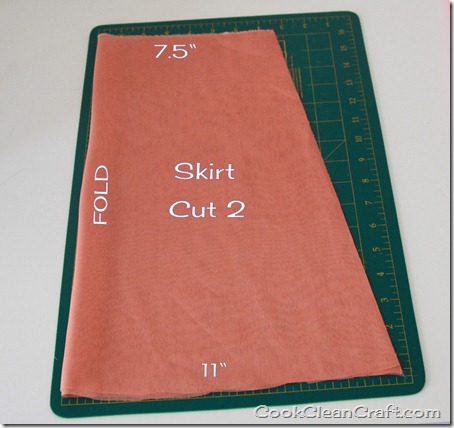
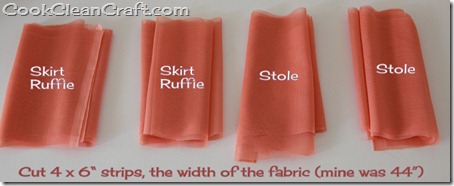
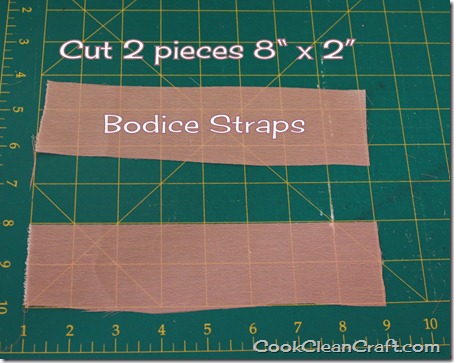
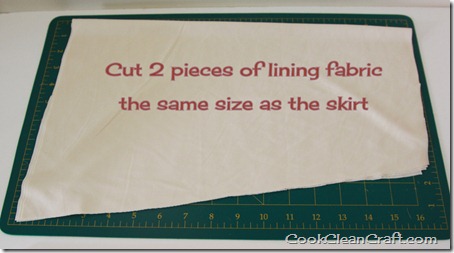
Cut the following pieces:
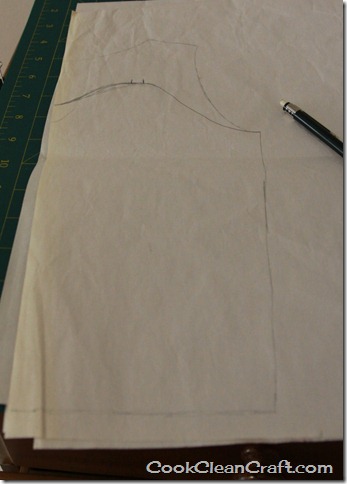
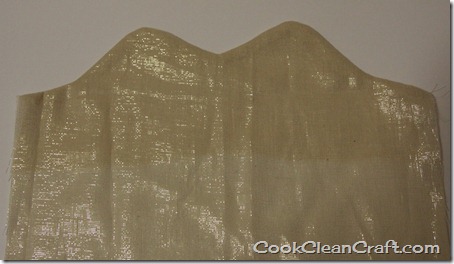
For the bodice, I traced around a T-shirt, and then sketched where I wanted the top of the bodice:
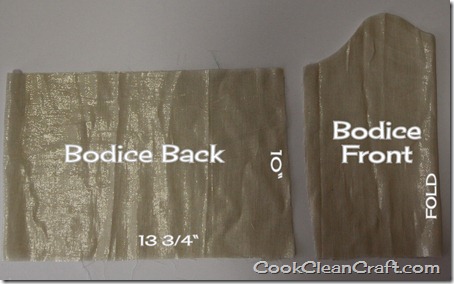
For the back bodice, I just cut out a rectangle the same height as the side seam:
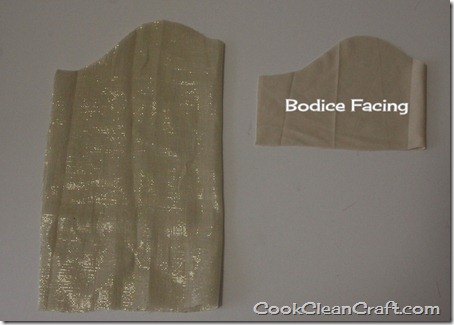
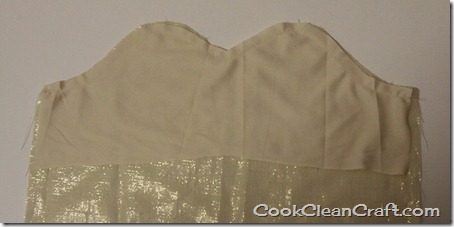
For the bodice facing, I traced the bodice and stopped it about 2 inches below the armpit:
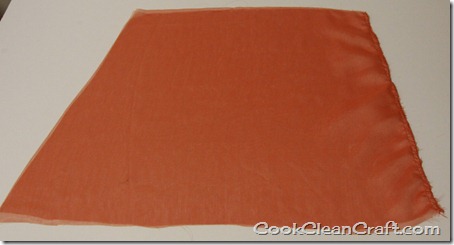
Sew one side seam of the skirt outer. Chiffon frays like crazy so I finished off my seams with a zigzag as I went:
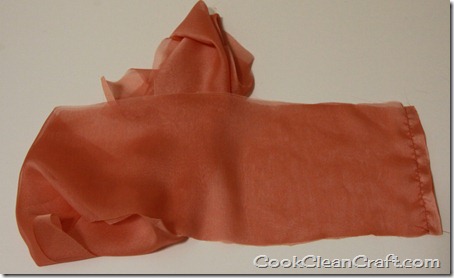
Sew two of the long, thin ruffle sections right sides together at the short end.
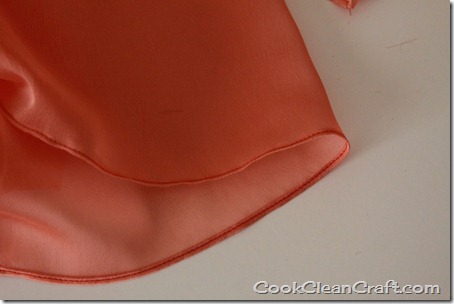
Hem one long side – I used the rolled hem foot for my sewing machine. If your machine doesn’t have one, fold over the fabric twice and sew.
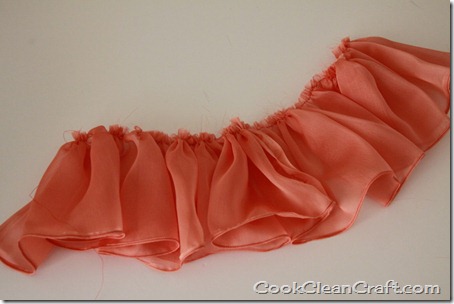
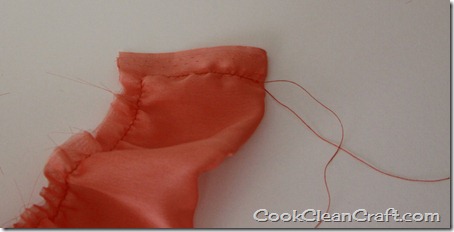
Sew a long basting stitch along the other long side. I used a stitch length of 4.0 and set my tension to 9 to let my sewing machine create nice even ruffles. This fabric ruffled like crazy, so I actually ended pulling the fabric through a bit from the back of the machine to reduce the ruffling.
Ease or tighten the ruffles to match the length of the bottom of the skirt piece, making sure the side seams line up. Sew the ruffle to the bottom of the skirt piece.
Sew the second side seam.
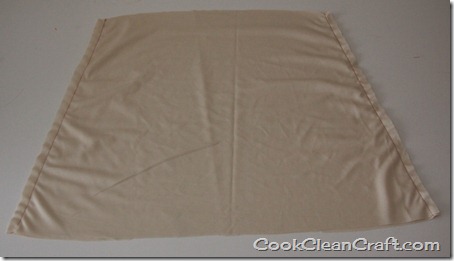
Sew the two side seams for the skirt lining. Since I used a knit fabric, I didn’t finish off the hem of the lining – if you’re using a fabric that frays, hem the bottom of the lining too.
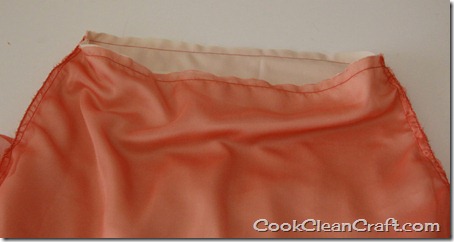
Turn lining right side out. Place inside skirt outer (so that right sides are together) and sew along waist.
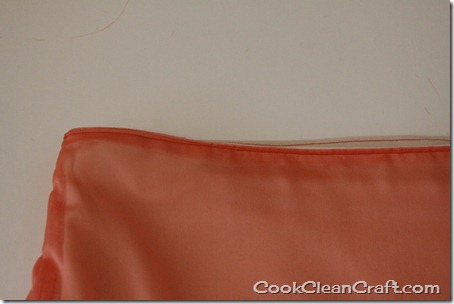
Turn skirt so that the right side is out and the lining is inside and topstitch along waistband.
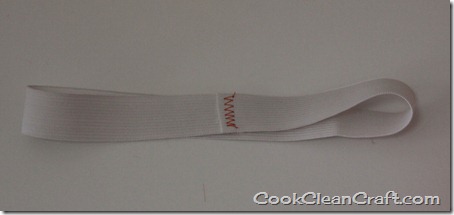
Sew short ends of elastic together to form a circle.
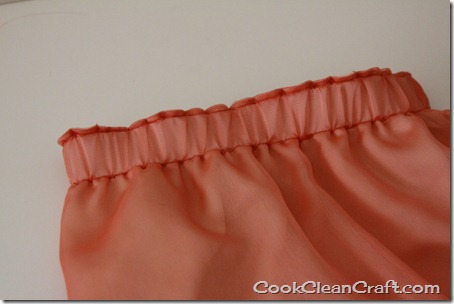
Insert elastic between skirt outer and skirt lining. Sew just below the elastic (and not on the elastic). You will need to stretch the elastic and shuffle the skirt fabric around as you sew.
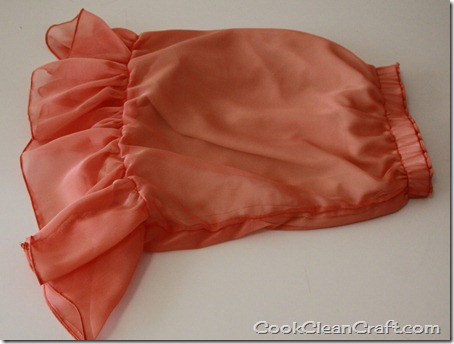
And that’s your skirt!
Now for the bodice:
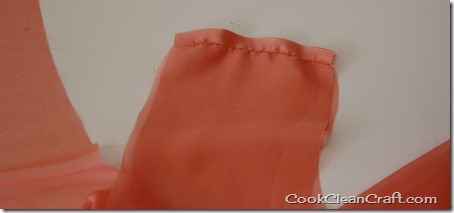
Fold the strap pieces in half lengthwise, with right sides together, and sew along long edge. Turn strap tubes right side out.
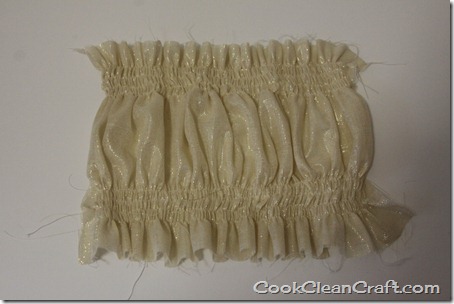
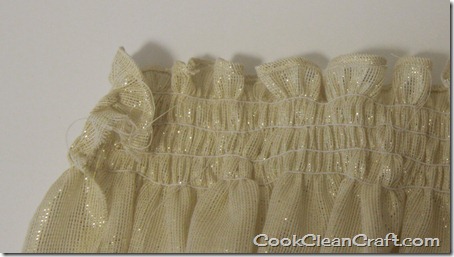
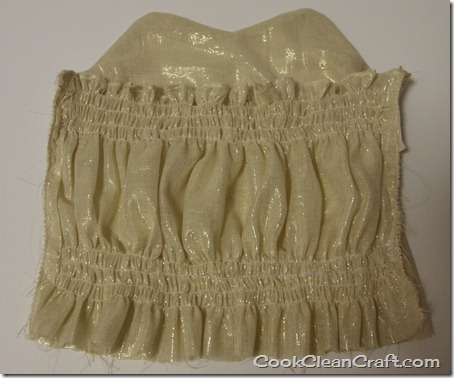
Sew four rows of elastic thread/shirring across the top of the back bodice piece and another four rows across the bottom (I was going to shirr the whole back, but I got bored and I like how it turned out!).
Hem the top of the back piece – probably should have done this before the shirring (but I didn’t want to change the bobbin thread twice – seriously, it’s not that hard, but well, I’m a lazy seamstress!).
With right sides together, pin the front bodice to the front facing/lining. Sandwich the straps between the front and lining at the top of the curves (no pictures because I forgot to do this!). Sew along the top of the bodice piece.
Clip the curves and turn the front right sides out and press (use a pressing cloth if you’re not sure how your fabric is going to go!).
With right sides together, sew the front to the back at the two side seams.
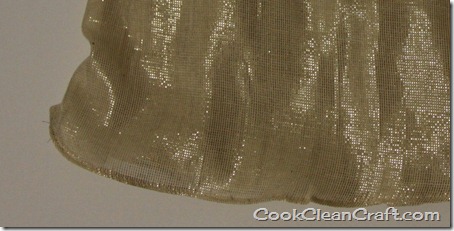
Hem the bottom of the top – I used a rolled hem again, but you can do a normal, double-fold hem if you like.
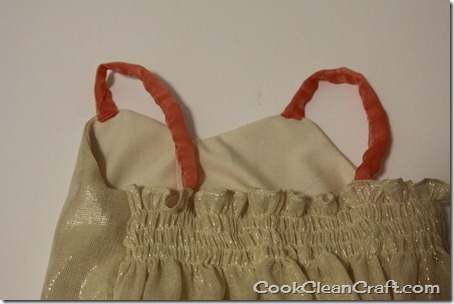
Fold over the raw ends and sew the straps to the back bodice (and the front bodice if you forgot, like me!).
And there’s your top! Finally, for the stole…
Sew the short ends together of the 6” strips.
Fold in half with right sides together and sew across one short end.
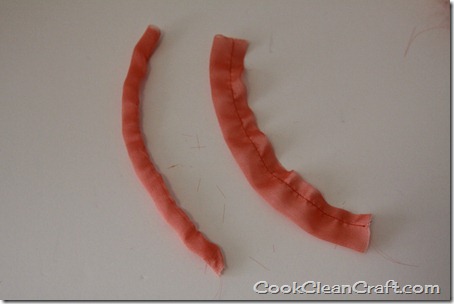
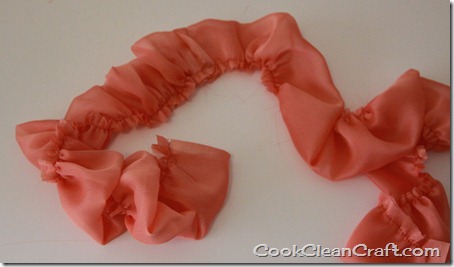
Sew a long basting stitch for gathering along the long edge – once again, I used a stitch length of 4.0 and increased my tension to 9 to get the machine to do the gathering for me.
Sew another row of normal length stitches over the basting stitches to hold the gathers in place. Turn tube right side out.
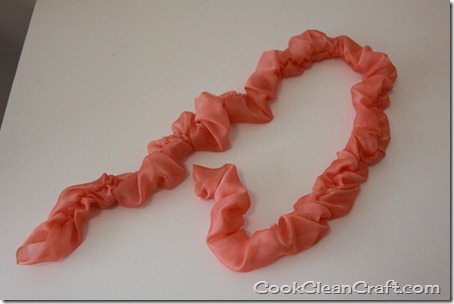
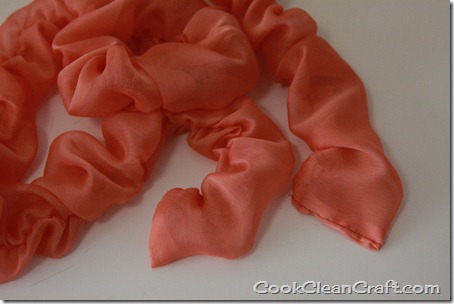
Tuck in the raw edges and sew the opening shut (I did it with my machine, but it would like much nicer hand stitched – it’s for a dress-up costume for an almost 2yo, so I went the lazy and not so pretty option!).
And there you have Peaches and Cream Barbie (or a princess costume, which is what my little girl thinks it is).



Comments & Reviews
Amy Stebbins says
OMG! could she be any cuter! LOVE IT!!!! xoxox
Amy
http://www.amystebbins.com
Michelle says
Oh my goodness! I had that Barbie. She was my all time favorite!
Great job.
~Michelle
Tanya B says
LoL .. I had that Barbie and now my 5 year old plays with it!! Great job recreating her ball gown!
Alida says
Squeeeee!!!! That was my very first, very favorite barbie! LOVE THIS!!!!!
Simple Simon and Company says
Dude, I totally had this Barbie too—and that dress was far and away my favorite of all of my Barbie clothes!
Sky says
Oh my serious throwback! Makes me remember playing with Peaches n’ Cream at my friends house- this turned out amazing! 🙂
Jo says
Oh, My, Goodness! I would recognize this costume without the label! And she’ll be one of a kind wearing it! Great job!