If you’re ready to step through the looking glass and embrace the wonder of Alice In Wonderland, we’ve got the ultimate DIY costume guide for you. Dive into the whimsical world of Wonderland with our DIY Mad Hatter costume, DIY Cheshire Cat costume, and DIY Alice costume tutorials. Whether you’re heading to a costume party or just want to express your love for this classic tale, these projects are perfect for those with basic sewing skills. Let’s embark on a creative journey to create magical Alice In Wonderland costumes that will leave everyone in awe! Need more family costume ideas? Check out these DIY Toy Store Costumes, DIY Star Wars Costumes, DIY Nesting Dolls Costumes or DIY Caveman Costumes.
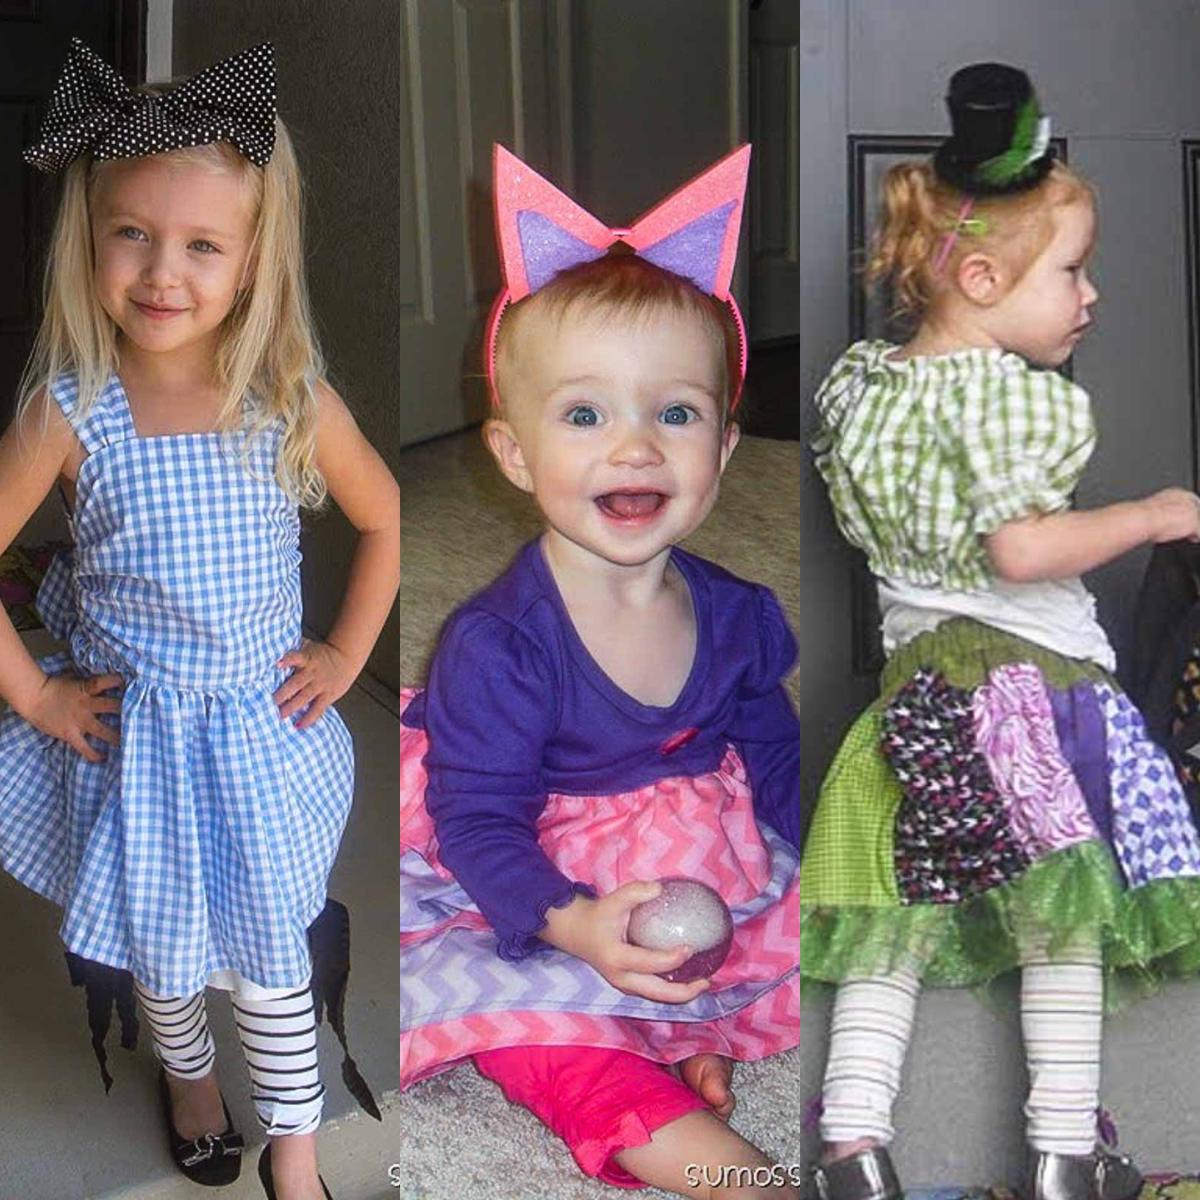
These DIY Alice In Wonderland, Mad Hatter and Cheshire Cat costumes were originally shared by Sumo from Sumo’s Sweet Stuff in 2012. This post has been updated since that time.
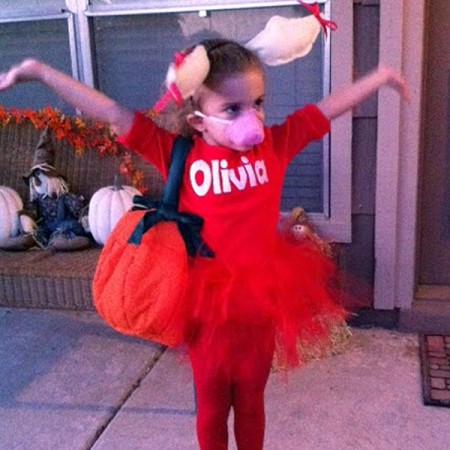
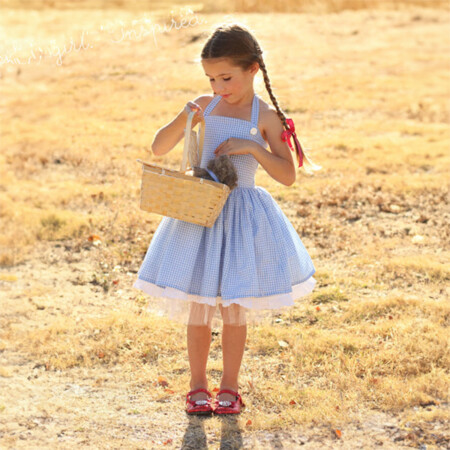
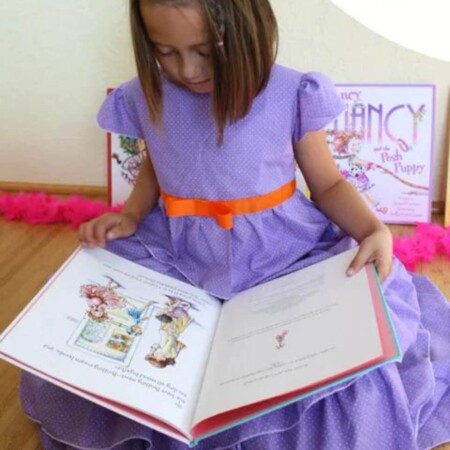
My girls are all pretty young still, so I am able to get away with making them dress in coordinating outfits. I plan on doing it for as long as I can! (You can see more about how I dress them here). Naturally, I wanted their Halloween costumes to coordinate as well. Sometimes it can be tricky finding things for three girls to be together. But after we checked out Alice in Wonderland from the library a couple of months ago, I knew I had their costumes figured out!
More Cute Halloween Costume Tutorials
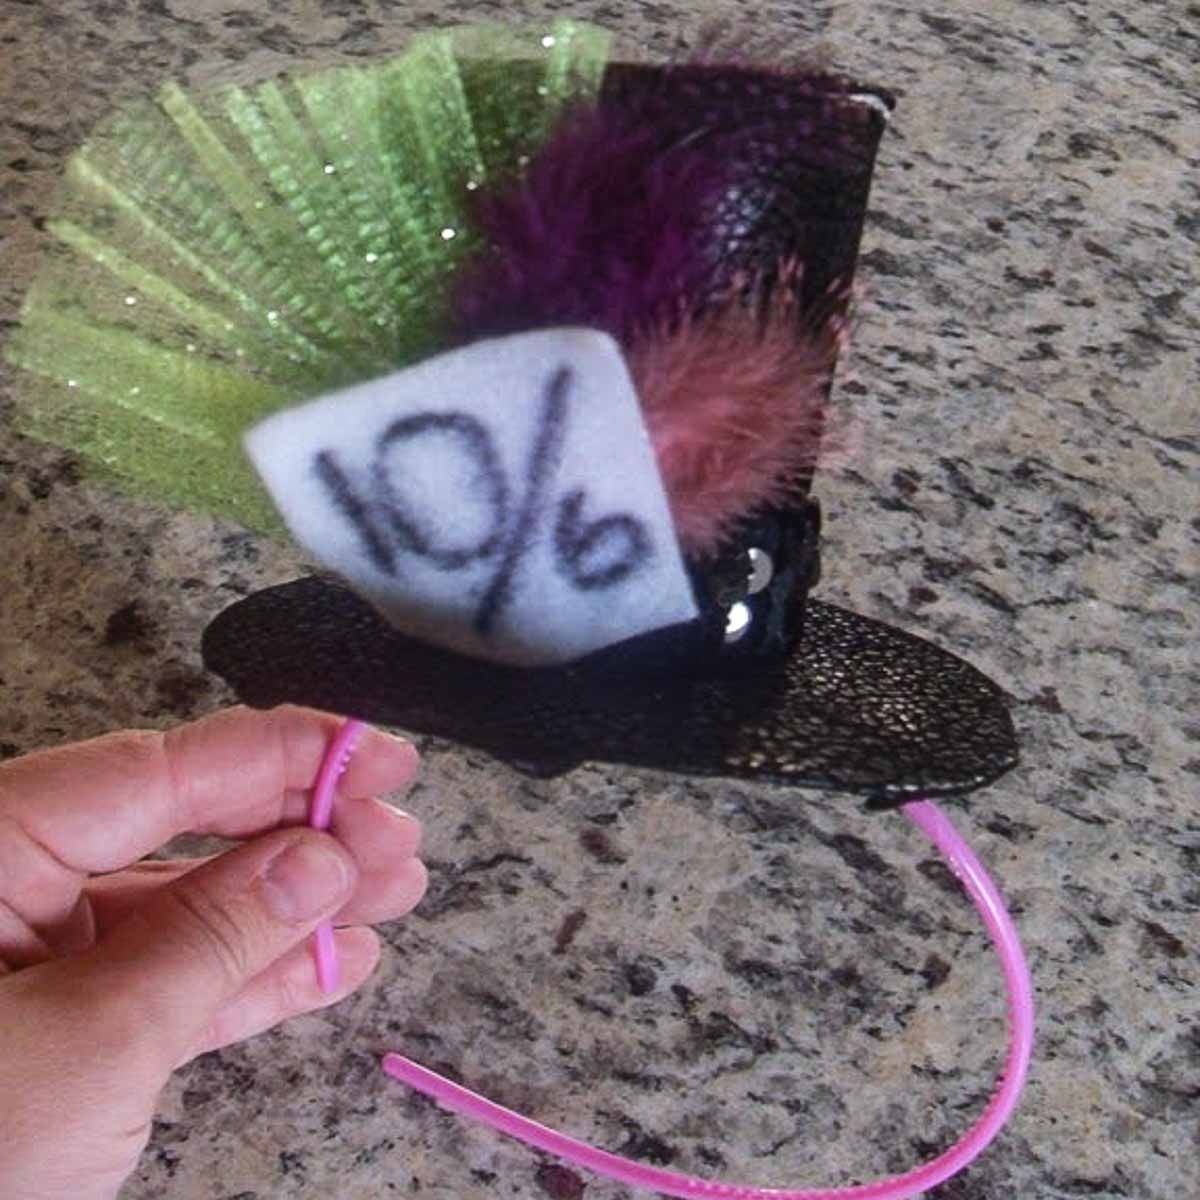
How To Make A Mini Mad Hatter Top Hat
Ready to add a dash of whimsy to your outfit? Creating a mini Mad Hatter top hat on a headband is a delightful DIY project that nods to the whimsical world of Alice in Wonderland. Here’s a step-by-step guide to crafting your own mini top hat:
Materials You’ll Need:
- Mini Top Hat Base: You can find these at local craft stores or online.
- Headband: Opt for a comfortable headband that matches your hair color.
- Decorative Fabric: Choose a pattern or color that suits your Mad Hatter style.
- Ribbons, Feathers, and Trinkets: Gather an assortment of embellishments for a playful touch.
- Hot Glue Gun: Essential for secure assembly.
- Scissors: For cutting fabric and ribbons.
Step 1: Prepare Your Mini Top Hat Base
Start by ensuring your mini top hat is clean and free of any dust or debris.
Step 2: Measure the Headband
Place the headband on your head to determine where you’d like the mini top hat to sit. Mark the position with a small dot using a washable pen.
Step 3: Create a Fabric Band
Cut a strip of decorative fabric wide enough to wrap around the base of the mini top hat. Glue it securely in place.
Step 4: Attach the Headband
Apply hot glue to the marked spot on the headband and press it onto the inside of the mini top hat. Hold it in place until the glue sets.
Step 5: Embellish Your Mini Top Hat
Let your creative juices flow! Add ribbons, feathers, and trinkets to personalize your mini Mad Hatter top hat. Secure them with hot glue.
Step 6: Let It Dry
Allow your mini top hat to dry completely before wearing it.
Now, you have a charming and whimsical accessory that captures the spirit of the Mad Hatter from Alice in Wonderland. Whether it’s for a costume event or simply to add a touch of eccentricity to your day, your mini top hat on a headband is sure to turn heads. Enjoy your DIY adventure in Wonderland!
How To Make A Mad Hatter Patchwork Skirt
Make a cute little ruffled and quilted skirt for your little DIY Mad Hatter costume. You’ll need to be able to sew a straight line and cut a straight line!
Gather Your Materials
- Quilt fabric squares in various colors and patterns.
- 2-inch elastic that fits your waist measurement. (alternatively use a casing and non-roll elastic)
- Basic sewing supplies: scissors, pins, sewing machine, and coordinating thread.
Plan Your Design:
Lay out your fabric squares in the desired pattern to create a visually appealing design.
Sew the Squares:
Sew the fabric squares together, right sides facing each other, to form rows. Then, sew the rows together to create the main skirt panel.
Create the Elastic Waistband:
Measure and cut the elastic to your waist measurement. Sew the ends together to form a loop.
Attach the Waistband:
Lay elastic right sides together with the skirt top. Stretch and pin the elastic so it is evenly distributed through skirt top.
Hem the Skirt:
Fold up the bottom edge of the skirt to your desired length and sew in place to create a neat hem.
Crafting this patchwork square skirt is not only a fun sewing project but also a chance to express your creativity through fabric and design. Embrace your individual style with this delightful DIY skirt tutorial that combines quilt fabric and non-roll elastic for comfort and flair.
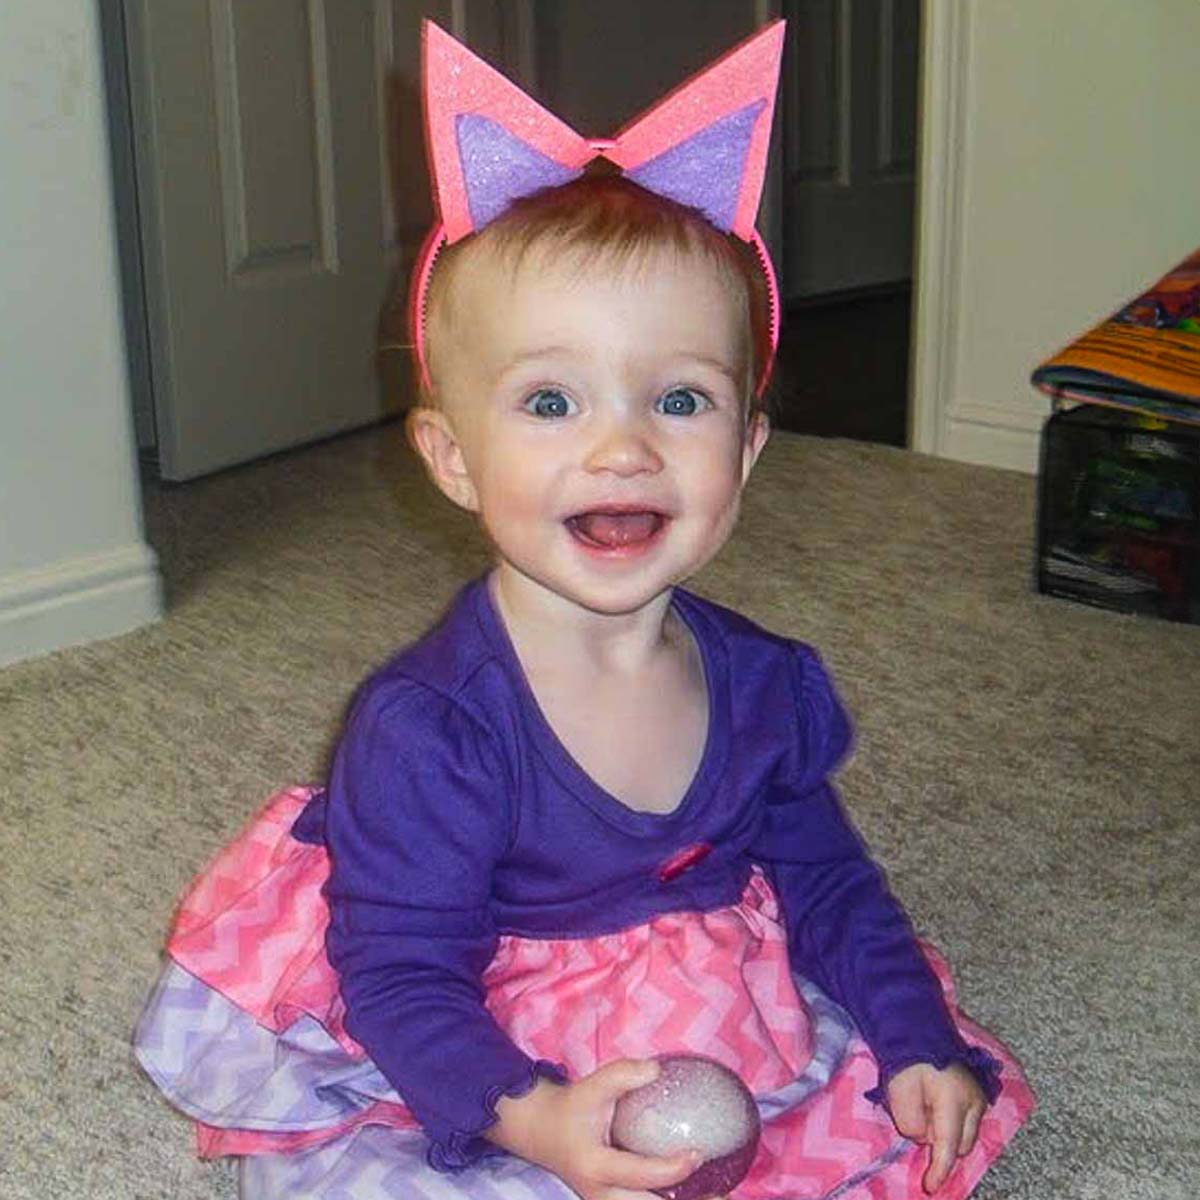
How To Make Cheshire Cat Ears
Want to add a touch of whimsy to your outfit? Creating Cheshire Cat ears with felt and a headband is a fantastic way to embrace your inner feline mischievousness. With a few easy steps, you can have these distinctive ears ready for your next costume party or themed event. Here’s how:
Materials You’ll Need:
- Felt Fabric: Choose a shade that matches the Cheshire Cat’s iconic pink and purple stripes.
- Headband: A plain headband that will serve as the base for your ears.
- Fabric Glue: Make sure it’s suitable for bonding fabric.
Step 1: Create the Ear Templates
Begin by sketching out the shape of the Cheshire Cat ears on a piece of paper. Make sure they have that whimsical, pointed look. Once you’re satisfied with the shape, cut out the templates.
Step 2: Cut the Felt Fabric
Place your ear templates onto the felt fabric and trace around them. You’ll need two identical pieces for each ear. Cut them out neatly.
Step 3: Attach the Ears to the Headband
Apply fabric glue to the bottom of one ear and press it onto the headband. Repeat for the other ear, making sure they’re evenly spaced. Allow the glue to dry completely.
Step 4: Customize Your Ears
Get creative! Use additional felt to create the pink and purple stripes typical of the Cheshire Cat. Cut thin strips and attach them to the ears with fabric glue.
Step 5: Let It Dry
Allow your newly crafted Cheshire Cat ears to dry thoroughly. Once they’re set, your headband is ready to wear.
Now, you’re all set to make a statement at your next costume event or add a dash of whimsy to your day-to-day look. These Cheshire Cat ears are a charming accessory that captures the spirit of this iconic character.
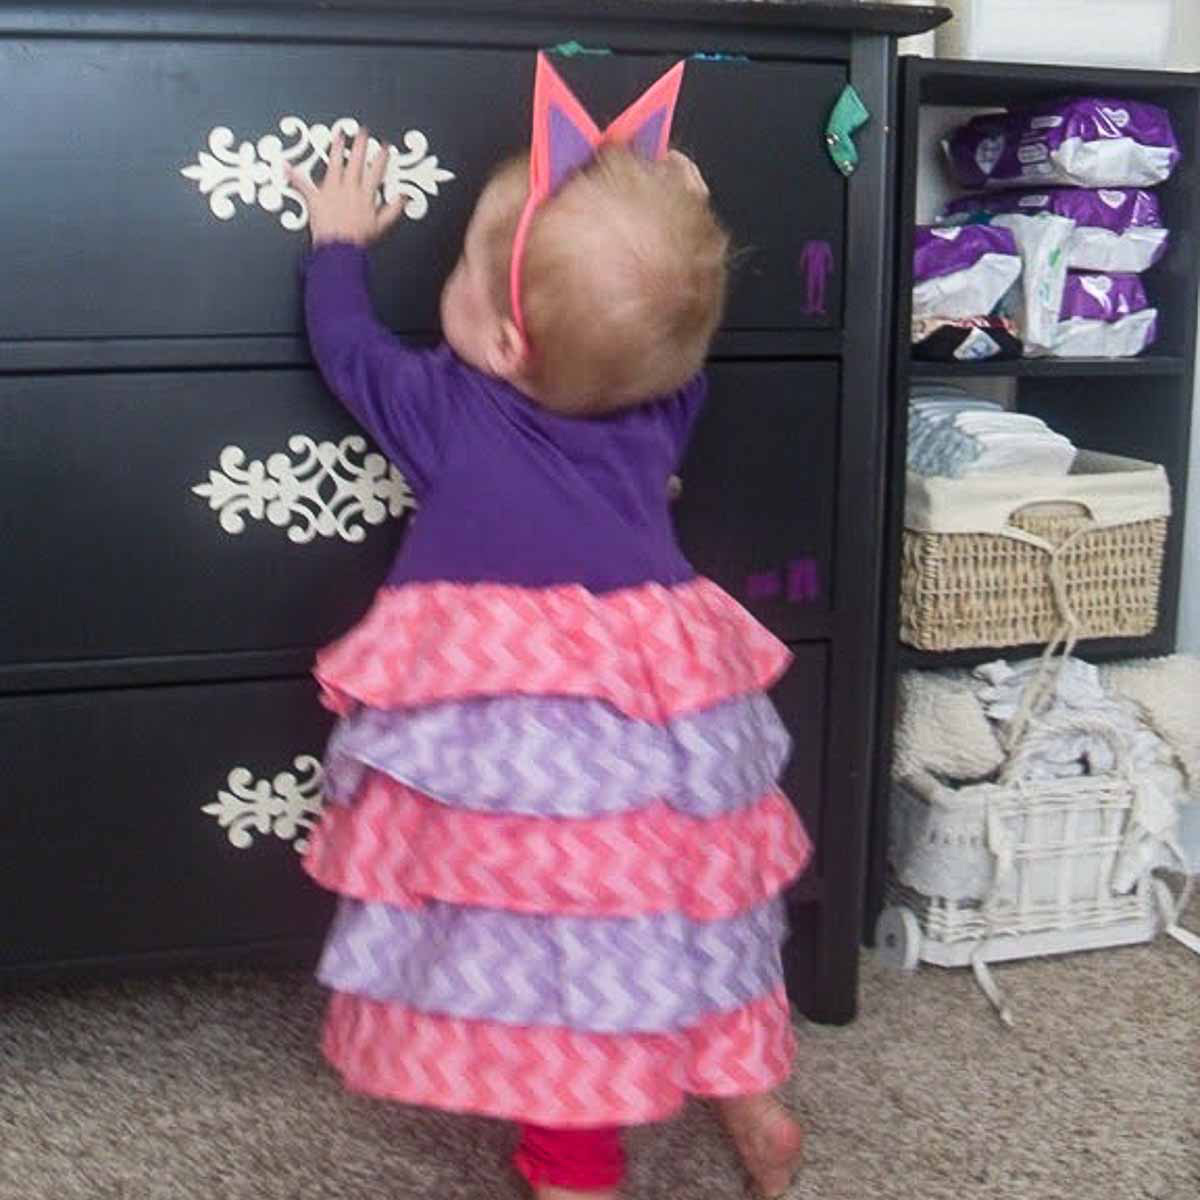
How To Make A Cheshire Cat Ruffle Dress
Are you ready to create an adorable DIY baby ruffle dress that will make your little one look even more precious? With just a few simple steps and some basic sewing skills, you can turn a long sleeve onesie and some quilting cotton fabric into a charming ruffle dress that’s perfect for any occasion. In this guide, we’ll walk you through the process of sewing this cute outfit. No family DIY Alice in Wonderland costume tutorials are complete without a cheshire cat!
Gather Materials:
- A onesie (size of your choice).
- 1 yard each of two coordinating fabrics (you’ll have some leftover).
Let’s Begin:
Step 1: Measure Your Baby. (or toddler)
- Measure from where you want the ruffles to start to where you want them to end on your baby. If your baby is asleep, you can estimate this.
- Decide how many ruffles you want and the width you prefer. For example, if you want 4 ruffles and your measurement is 13.5 inches, round it up to 14 inches. Then, divide 14 by 4 to get 3.5 inches. Here’s how I calculated my ruffle widths: 1st ruffle: 14″ in width, 2nd ruffle: 10.5″ in width (14 – 3.5 = 10.5), 3rd ruffle: 7″ in width (10.5 – 3.5 = 7), 4th ruffle: 3.5″ in width (7 – 3.5 = 3.5)
- Note: I wanted full ruffles, so my ruffle strips were the full length of the yard of fabric.
Step 2: Arrange Your Fabric
- Fold your fabric according to the calculated widths and place them on your onesie (or as close as you can). This helps you determine placement and the appearance of your ruffles.
- Note: After laying out the fabric on the onesie, I decided I only wanted three ruffles. I adjusted the width of my first ruffle to 10.5 inches instead of 14 inches.
Step 3: Cut Your Fabric Strips
Cut your fabric into strips using the measurements you calculated in step 1.
Step 4: Hem Your Strips
Hem each of your fabric strips.
Step 5: Create Ruffles
- Create a basting stitch at the top of each fabric strip.
- Gently pull one of the basting stitch threads to create a ruffle. Repeat this for all of your strips.
Step 6: Sew Strips Together
Place the right sides of the fabric strips together and sew the ends together.
Step 7: Layer and Adjust Ruffles
Turn the ruffles right side out and layer them inside each other. Hold the top of your ruffles and adjust them for your desired look.
Step 8: Pin the Ruffles
Pin the tops of the ruffles together.
Step 9: Attach Ruffles to the Onesie
Carefully sew the ruffles onto the onesie, ensuring not to sew the onesie to itself. Note: You can use elastic thread in your bobbin for easier on/off.
Congratulations, you’re all done! Great job on creating this adorable ruffled onesie.
Alice In Wonderland Costume
If you’ve loved these DIY alice in wonderland costume tutorials so far you’ll love this Alice costume!
For my little Alice, I went with the Fiona dress from Violette Field Threads. I’m in love with everything about this dress: the bustle, the bloomers, the big sash. It’s so adorable!
I made her big bow headband using this tutorial from See Kate Sew.
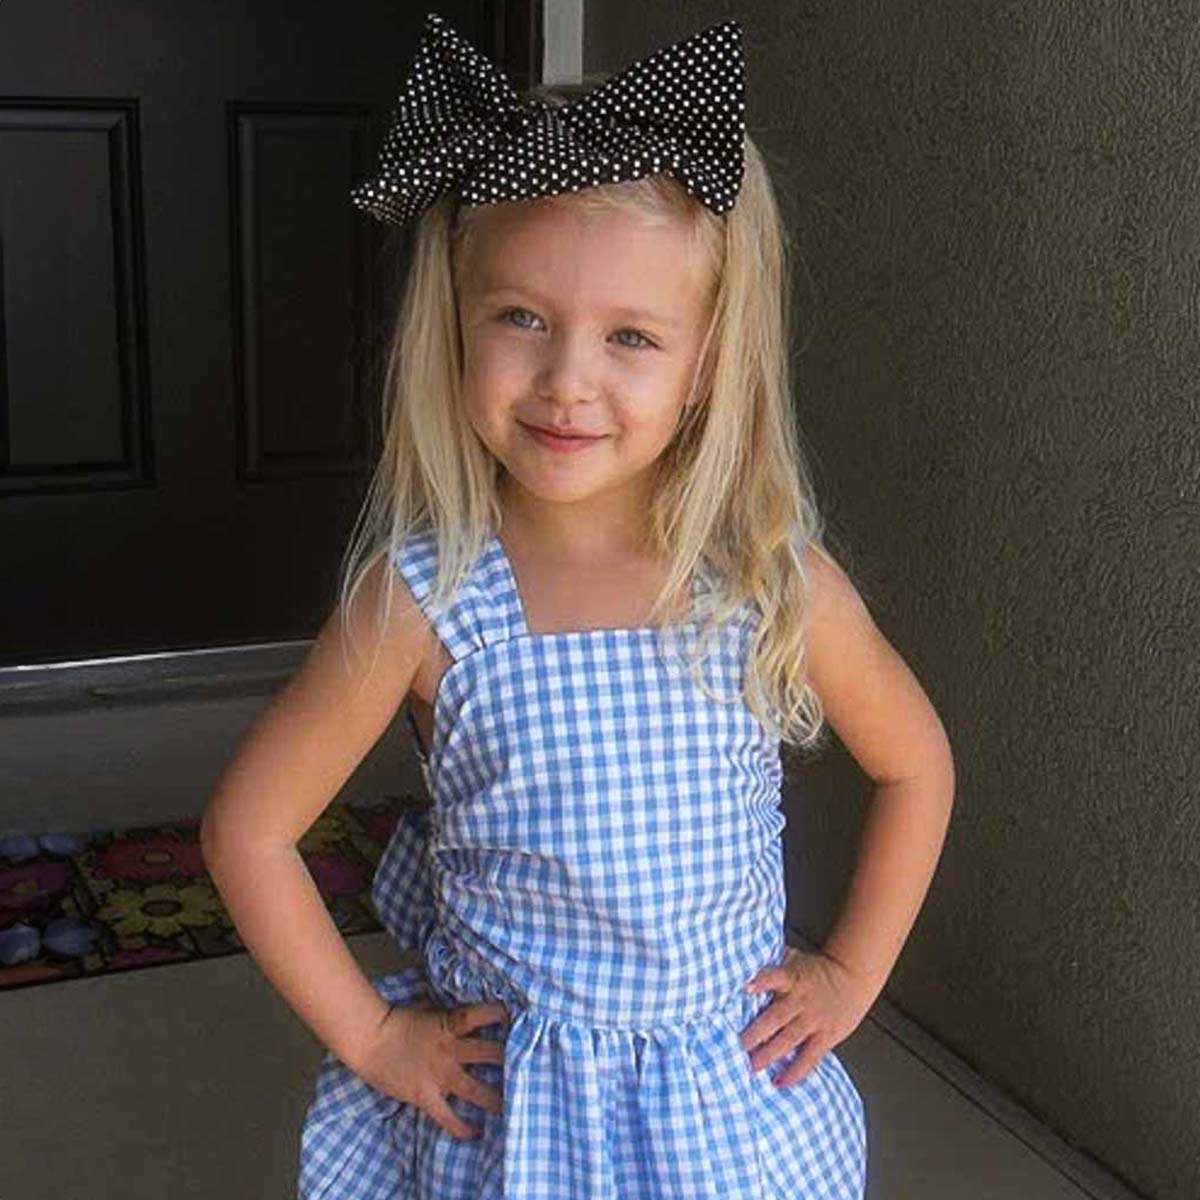
So there you have it! Three adorable girls in three adorable costumes – and all things we can wear normally as well! Score! That really helps me justify my fabric shopping to my husband!
Thanks so much for having me here today! Be sure to come over to Sumo’s Sweet Stuff for more sewing tutorials and crafts!
Comments & Reviews
Sumo says
Thanks so much for having me today!
Andrea @ The Train To Crazy says
Thanks for being a guest!
remember passwords in egde says
Microsoft edge is batter search browser more then,i have used the more different search app,but edge is different web engine,but you know this tool only working in window 10.