This DIY viking helmet guide will set your path ablaze with inspiration! A helmet so epic, it won’t just be a Halloween costume idea but a masterpiece of craftsmanship. Whether you’re a sewing novice or a stitching sorcerer, our sewing tutorial will be attainable. Your little Viking will love it! They might also love this fun DIY Dino Tail or a DIY Karate Kid Headband.
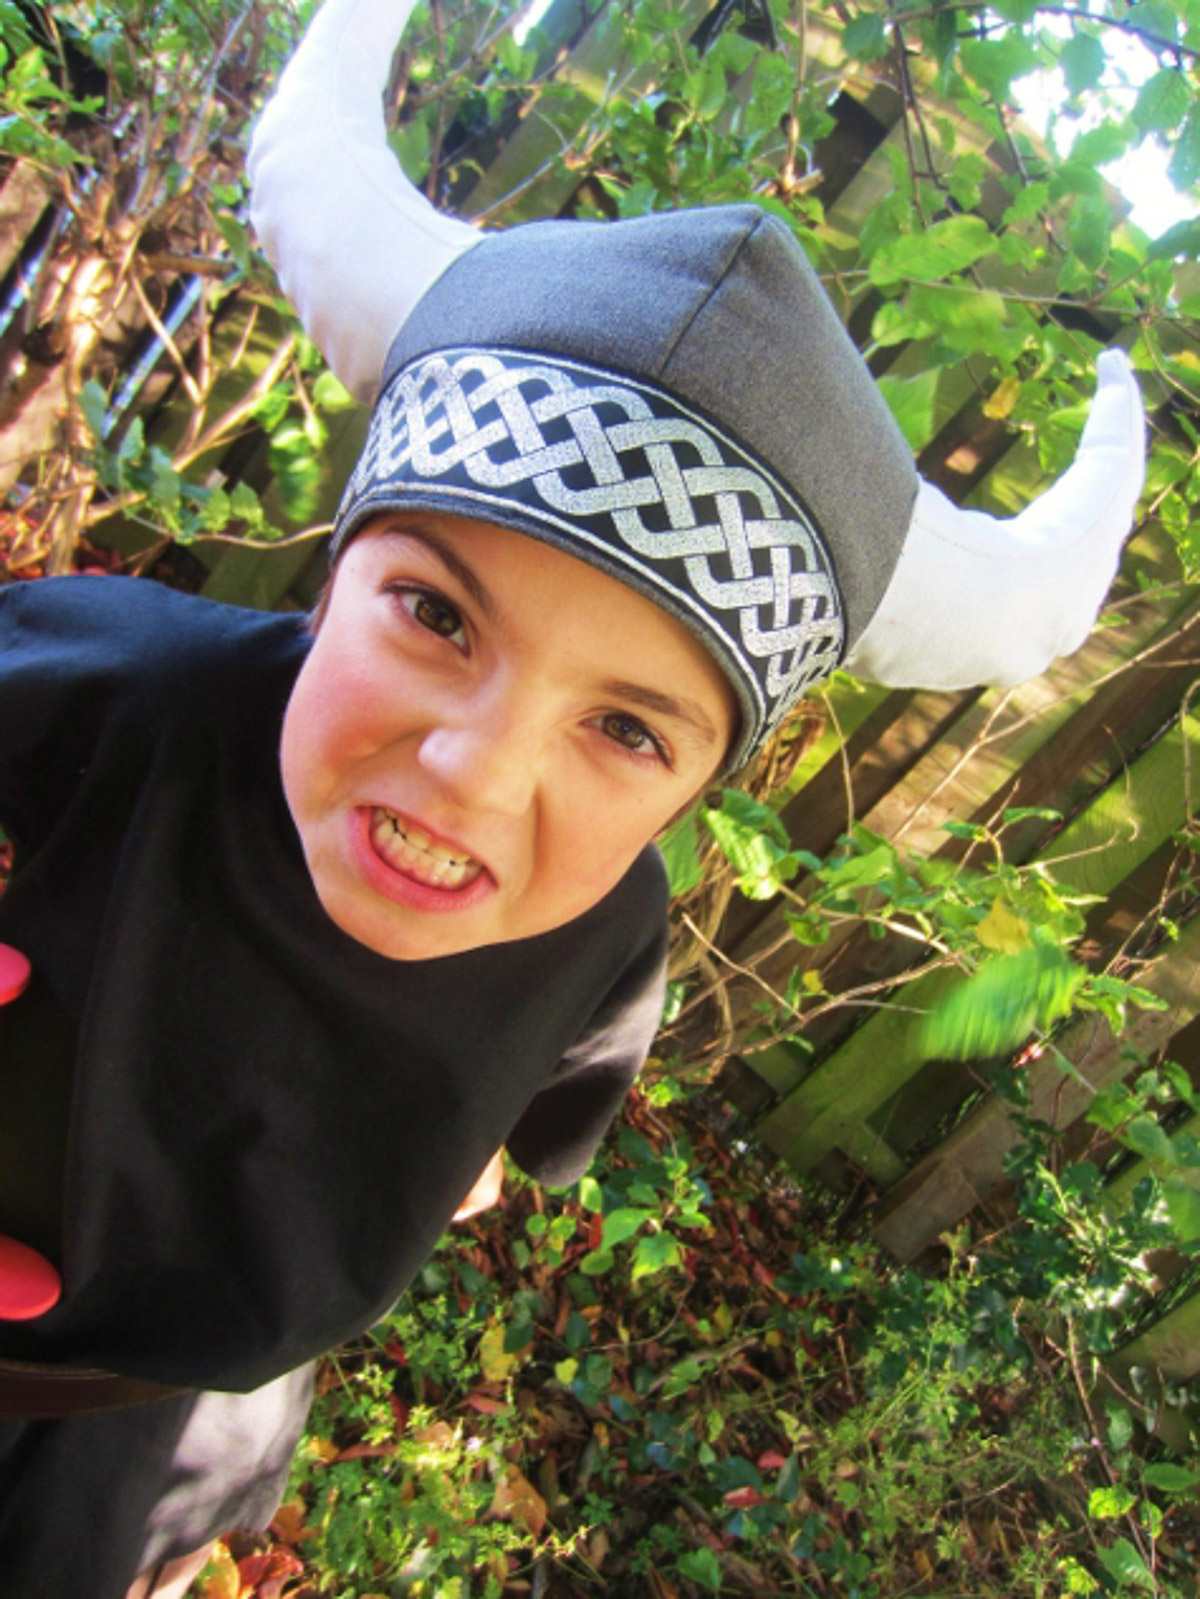
What To Wear With Your Viking Helmet
So, you’re making yourself a homemade Viking helmet, and now you’re pondering, “What should accompany this majestic piece for the ultimate Viking costume?” Fear not, fellow soon-to-be Viking! Let’s raid the depths of costume creativity.
First, every Viking needs a tunic. Opt for a brown or gray one. If you’re chasing authenticity, a linen-like fabric will be your best bet. Layering is key, so adding a faux fur vest or a rugged belt would enhance that Nordic flair.
Ah, let’s not forget about footwear. Brown leather boots, preferably calf-length, would give the feet that tough Viking feel. And should you wish to up the Viking ante? Introduce some arm and wrist guards. It’s all in the details!
For those of you wanting a tad more drama, carry a faux (very important – faux) axe or shield. And if the cold winds from the North (or just your neighbor’s AC) trouble you, drape a cloak or shawl over your shoulders.
There you have it, your easy Halloween costume roadmap to becoming a Viking of legend. Let the helmet be your crown and the world (or just the Halloween party) your kingdom to conquer!
More Costume Sewing Tutorials
You might also enjoy these great DIY costumes!
Historical Viking Hairstyles For Your Costume
Ah, the mighty Vikings! Not just fierce warriors, but also trendsetters of their era. If you’re considering a Viking getup this Halloween, don’t just settle with the armor. Dive deep into the annals of history and you’ll discover a treasure trove of historical viking hairstyles that can elevate your ensemble from mundane to magnificent.
- Braided Beards: Yes, it wasn’t just the hair on their heads that got special treatment. Viking men often braided their beards. Intricate patterns woven with beads, it’s a fierce yet elegant look for those with a longer beard.
- Warrior Braids: Often seen on Viking shieldmaidens, this hairstyle involves multiple tight braids, often combined with loose hair. A style that’s as functional as it is beautiful, perfect for a cute viking costume.
- Topknots with Undercuts: This isn’t a modern invention! Vikings sported this hairstyle with a fierce pride. The hair on top was kept long and tied into a knot or ponytail, while the sides were shaved or kept very short.
- Loose and Long: Not all Vikings favored intricate hairstyles. Many simply let their hair grow long and free, symbolizing their free spirit and connection to nature.
So, when you go with your DIY viking helmet, remember to pair it with a historically accurate hairstyle. After all, it’s the details that can transport you from just another costume-clad party-goer to a Viking straight out of the sagas!
DIY Viking Helmet Tutorial
Amazing DIY Viking Helmet photo tutorial and full step-by-step instructions by Amanda from Kitschy Coo. She’s busy living in Scotland with her kids. You can find more than thirty tutorials on her blog!
Although I am normally wearing a sweater, because Scotland is cold. Regular readers of mine will know that I am passionate about Vikings, (or one Viking in particular), so today I’m sharing a tutorial on how to make a Viking helmet for your child. Freud spins in his grave.
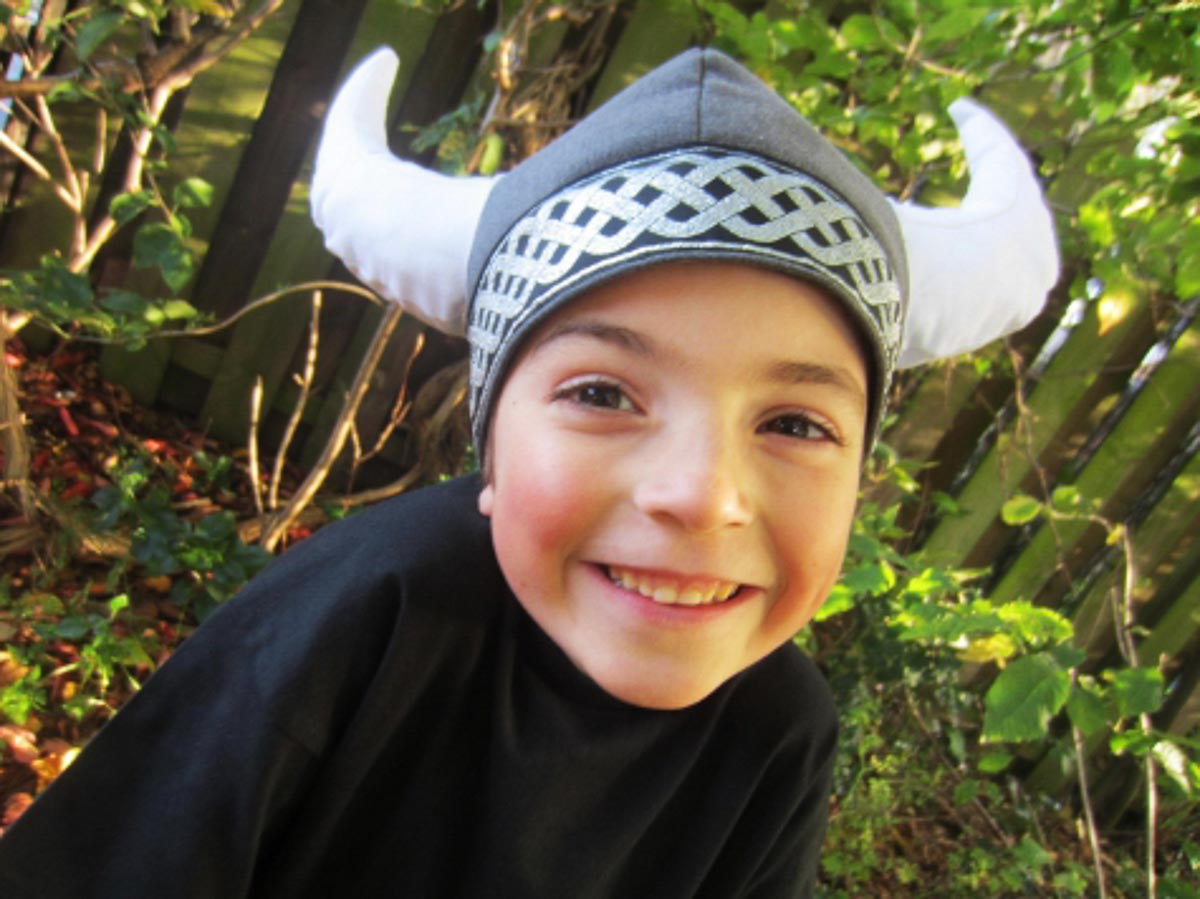
I wanted the helmet to be sturdy and lofty to resemble a metal one, so I used heavy wovens and batting. If you want to forgo the batting or make it in a stretch fabric like fleece, make sure you use a larger seam allowance than the ¼″ I’m using for this. The pattern pieces will yield a final hat circumference of approximately 22″, which fits both my four and nearly six year old. If you want to make a hat that is smaller or larger, grading ¼″ to the inside or outside of each edge of the main hat body piece will change the total circumference by one inch. Remember you will need to adjust your band pieces too!
Gather Materials
- ⅓ yd grey fabric (I used polycotton)
- ⅓ yd white fabric (I used twill)
- ⅓ yd lining fabric (I used twill)
- ⅓ yd batting (I used Thinsulate) something to stuff the horns with (I used Thinsulate scraps I hoard due to compulsiveness)
- 24″ trim (I used 2″ Celtic trim because that’s what I had, but thinner trim or braid would be nice too)
- Paper for pattern pieces. Here’s the trickiest part, the drafting of your pieces. Lucky for you, I’ve done this bit and it only took me four attempts to get there. In the end I had to drape it on my son’s head while he watched television. Not my finest hour!
Cutting Pattern Pieces
Grab your paper and maybe a ruler, fabric tape measure and a pen. Follow along with the instructions and photos for making your own pattern pieces. This is easier than it looks because I’ve done the work for you!
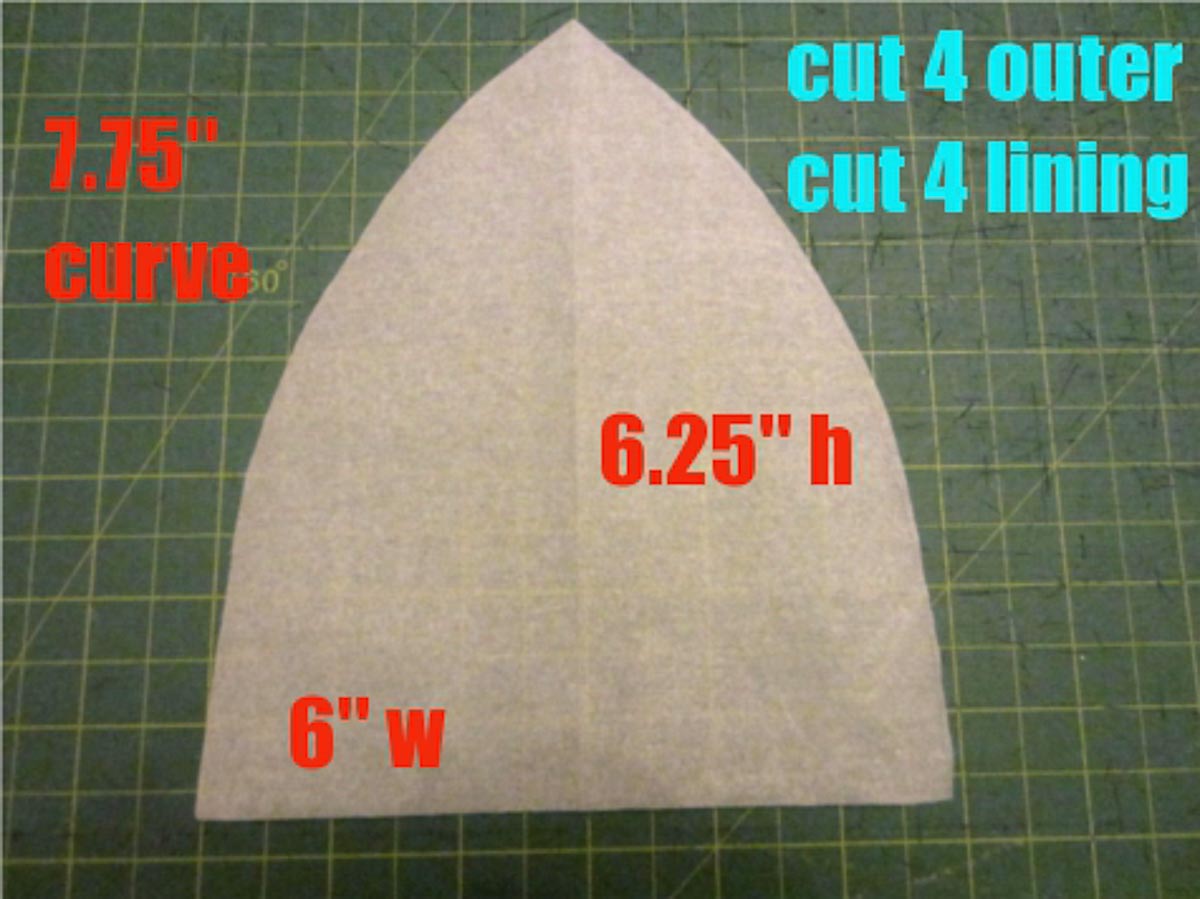
This is your hat body piece that you will use to cut four outer pieces and four lining pieces.
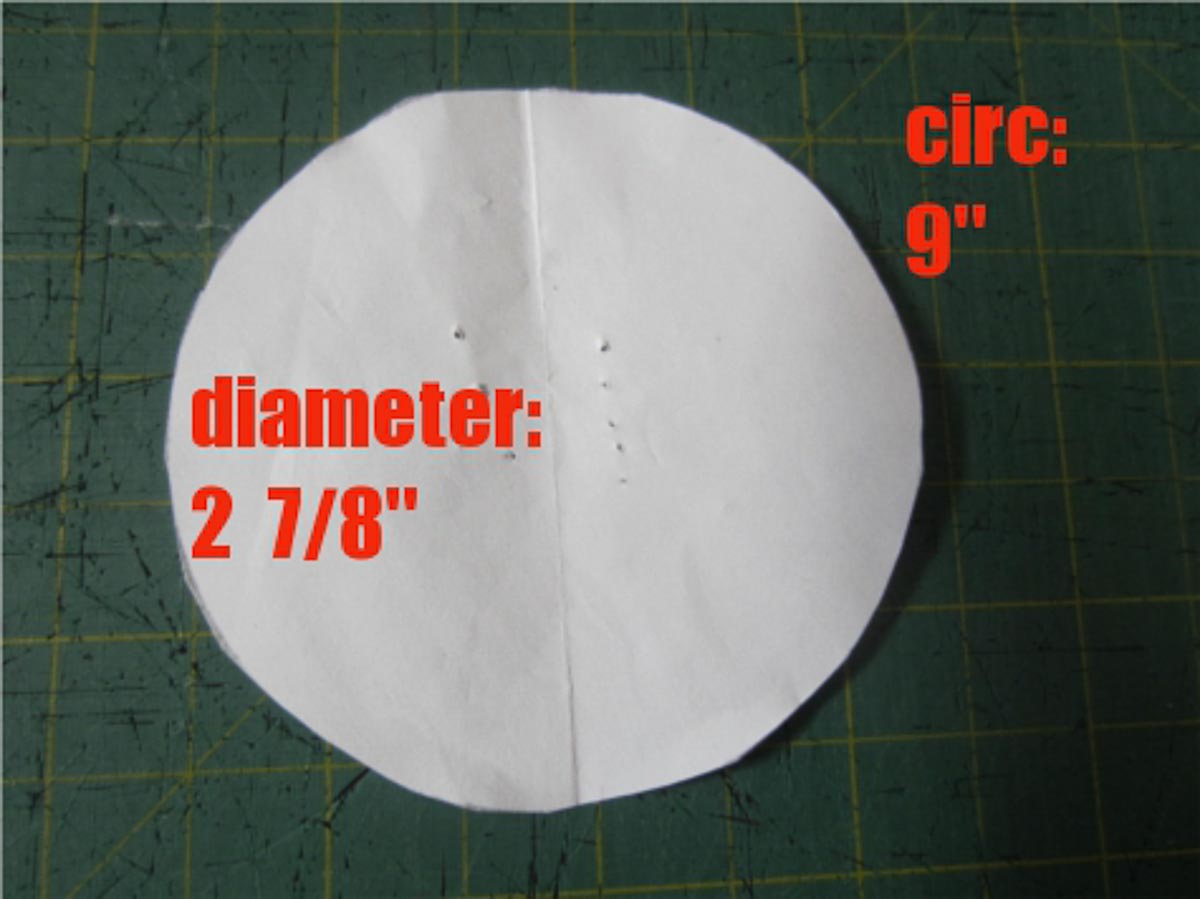
Draft a circle that has these dimensions. Fold it in half so it has a easy to see the diameter. You’re not going to cut any fabric with this, but you’ll need it later!
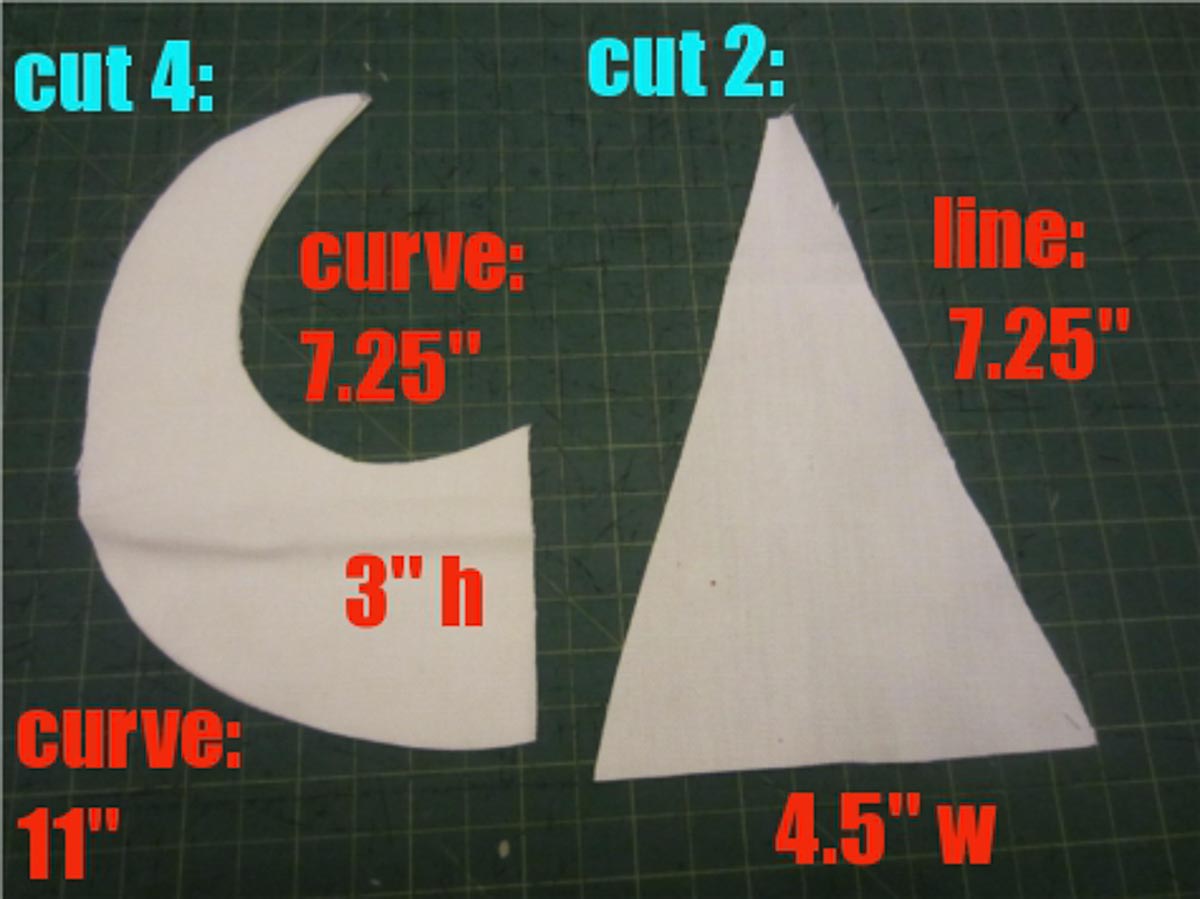
These are your horn pieces. Don’t worry about getting your pieces exactly the same shape as mine, but keep the straight line measurements exact (the 3″h from the horn, the 4.5″ from the wedge) and make sure the diagonal line of the wedge is the same length as the inner curve of the horn. You can also see that the top of the wedge doesn’t go to a sharp point, it is flat and ½″ wide.
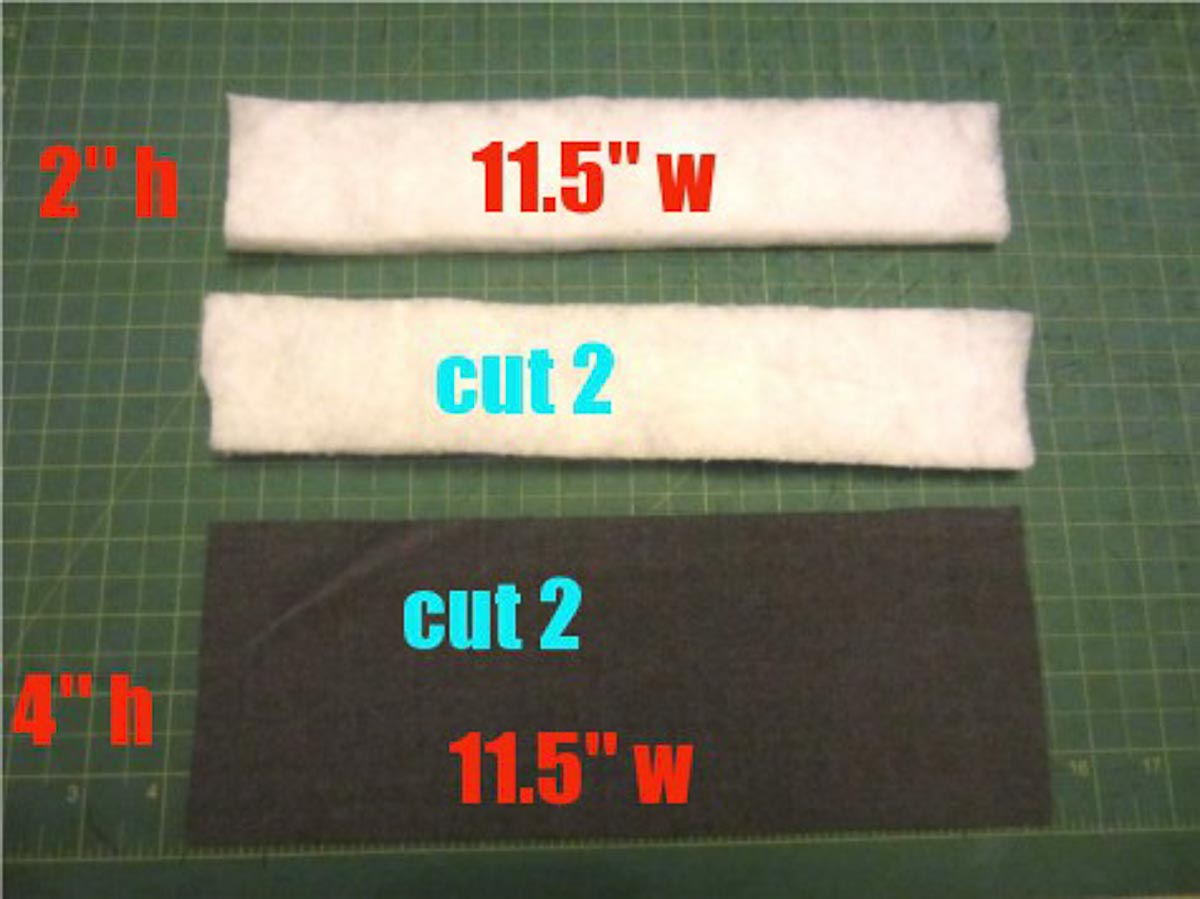
These are your band pieces. There are two outer bands (one of mine is hiding under the other), and two batting pieces (same width but half the height).
Sew The Helmet And Horn Pieces
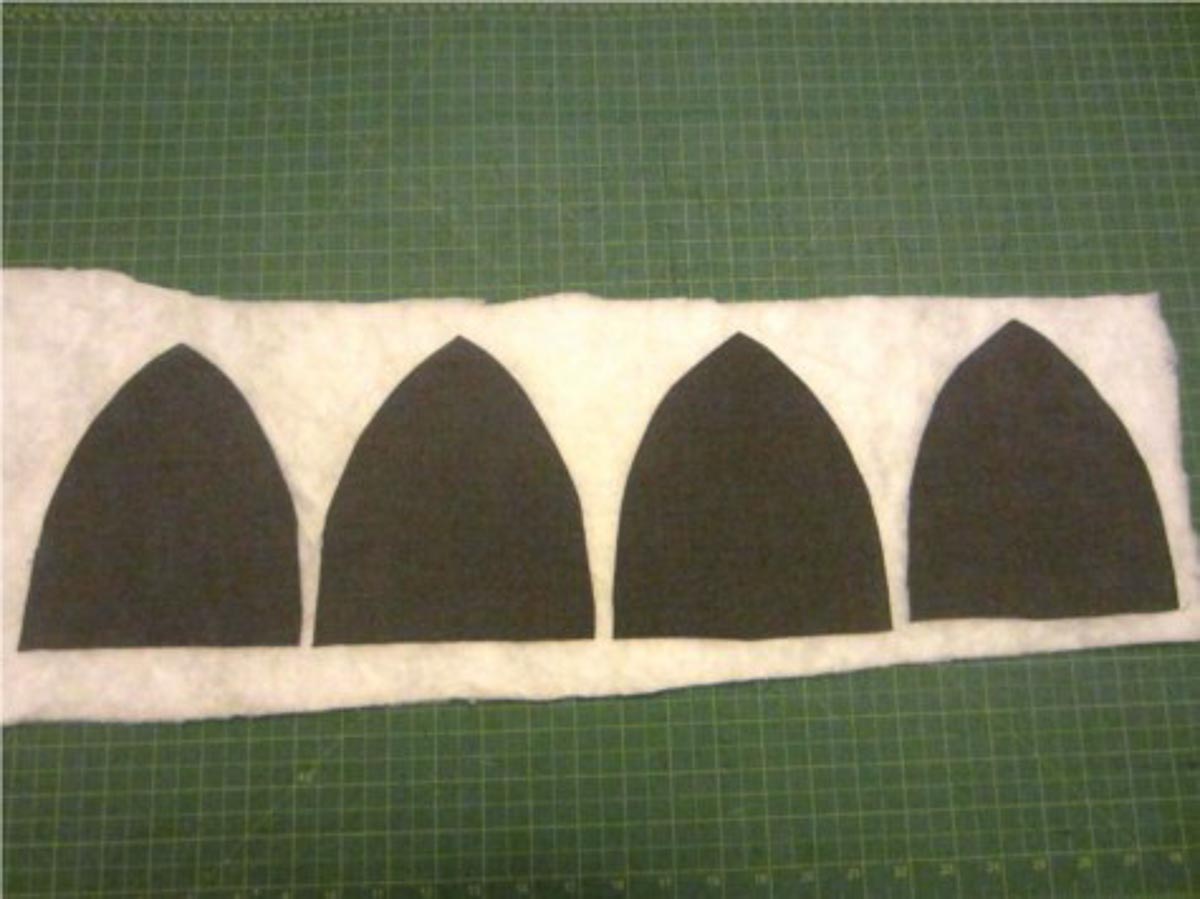
While your batting is out, lay your four outer pieces right side up and pin in place.
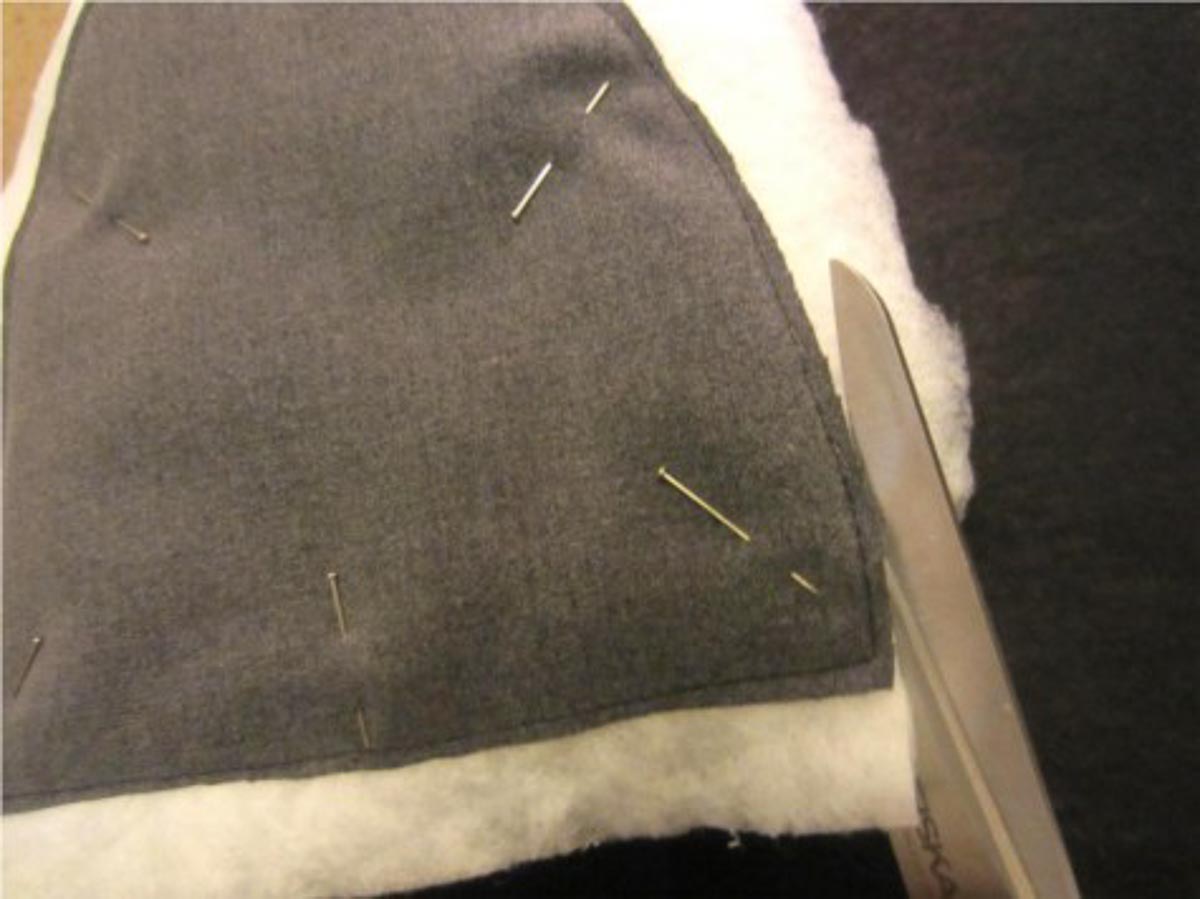
Baste around all three edges and trim excess away. Repeat for all four pieces and then set them aside.
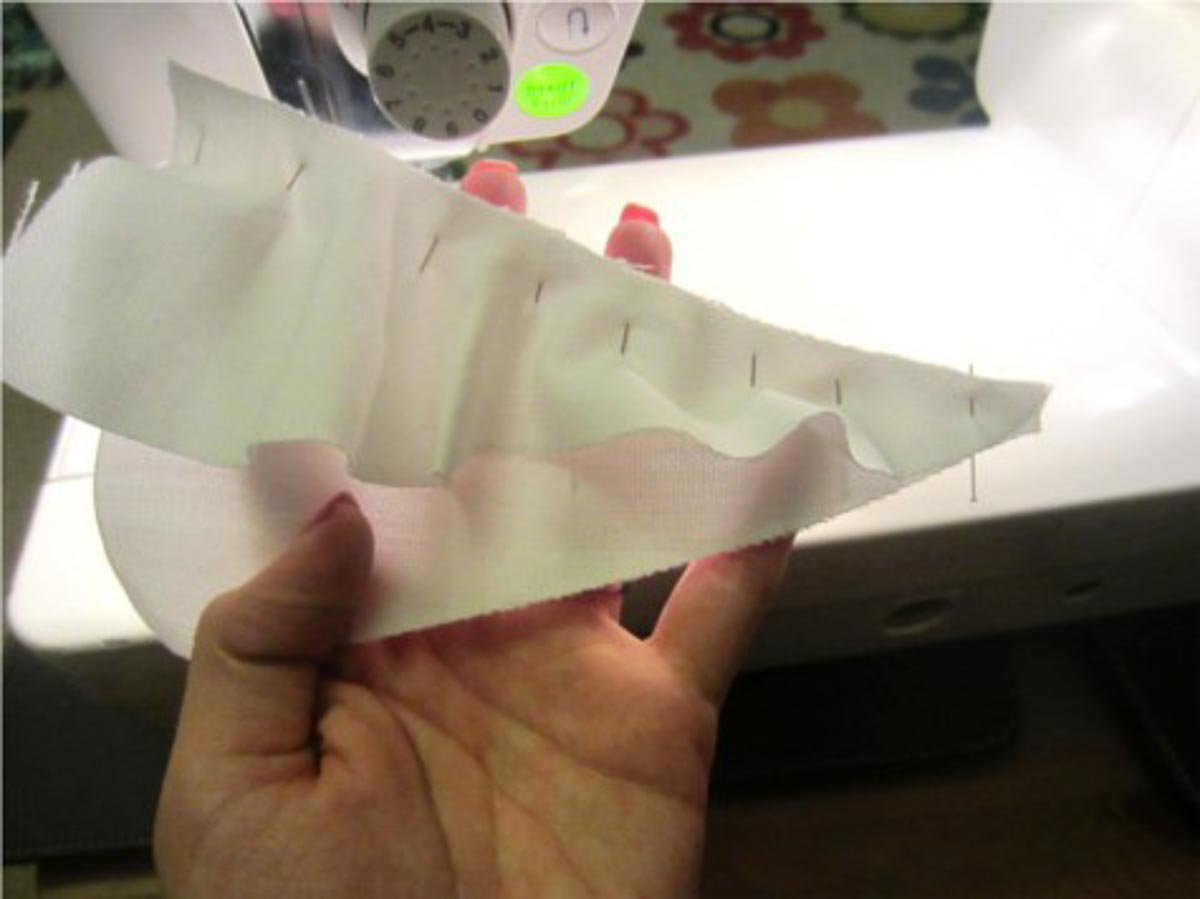
Right sides facing, pin the curves inner edge of the horn to the straight edge of the wedge. Use lots of pins to keep the wavy bit away from the stitch line.
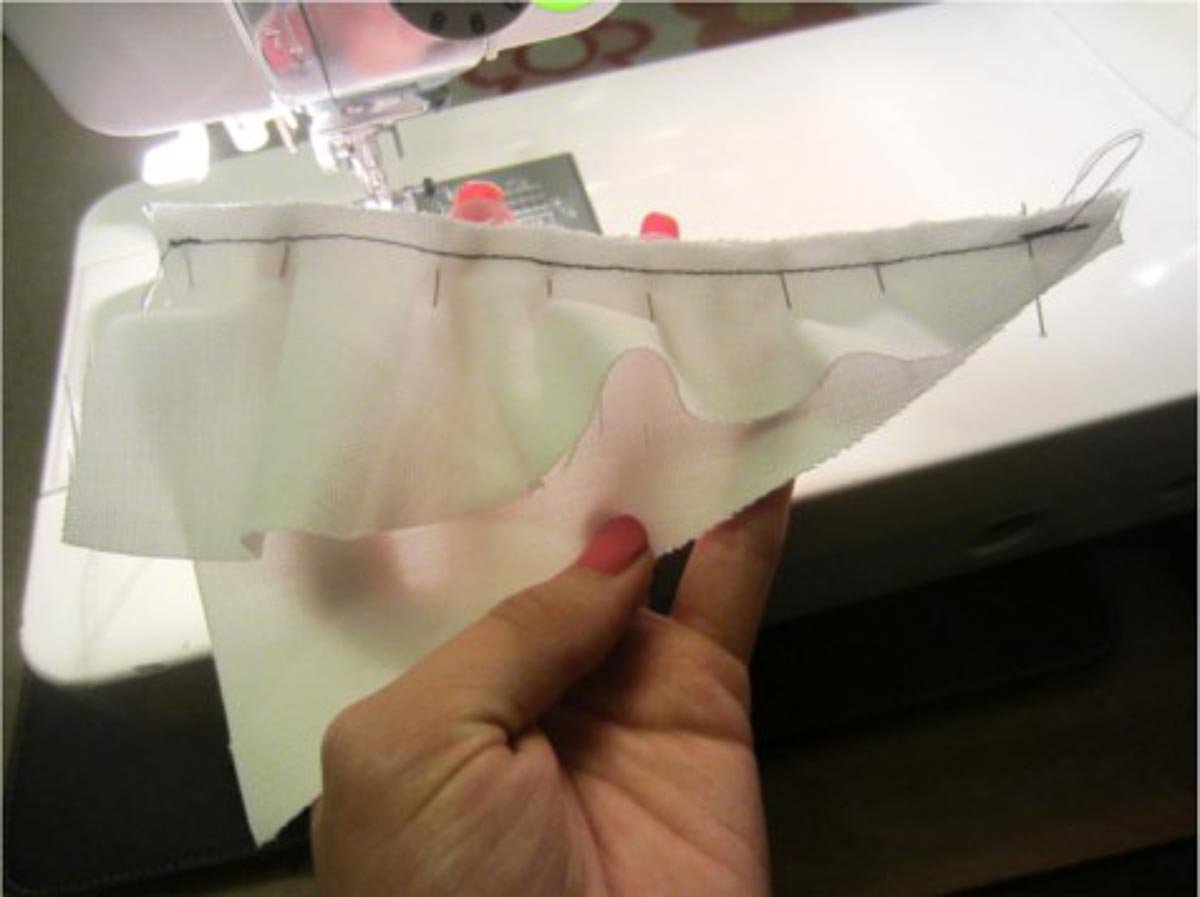
Stitch together with ¼″ seam allowance. Repeat for the other side, making sure that you have right sides facing again.
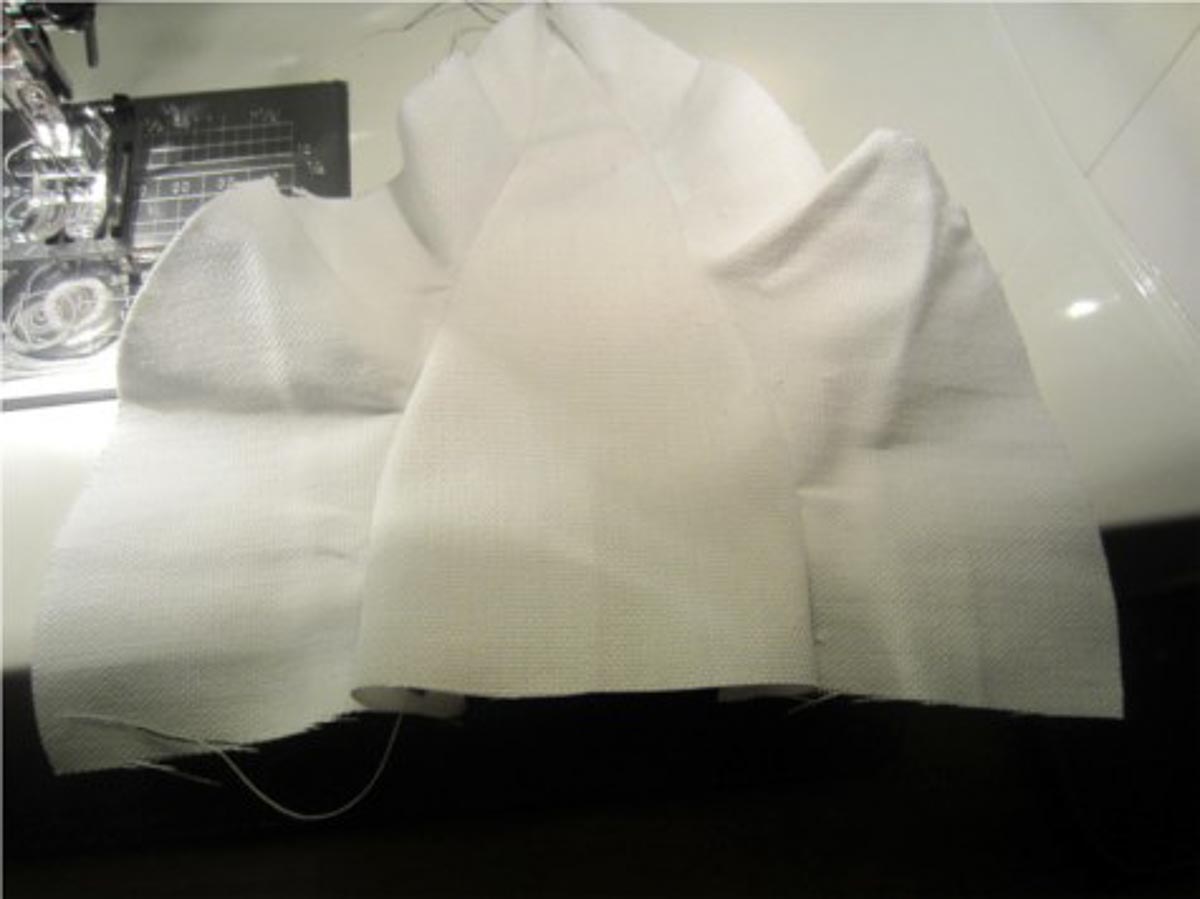
Now it should look like this!
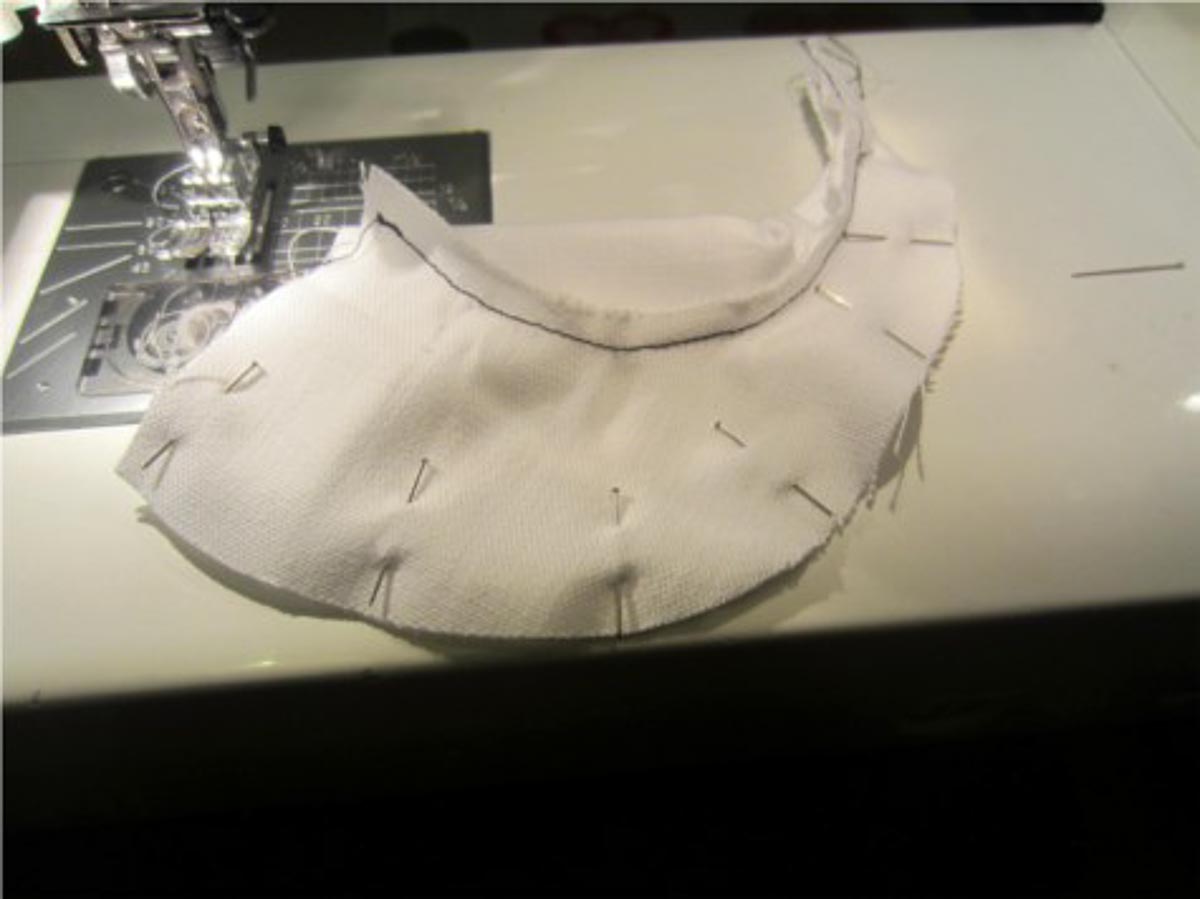
Pin together the long curved edges, and stitch that too. Turn it right side out.
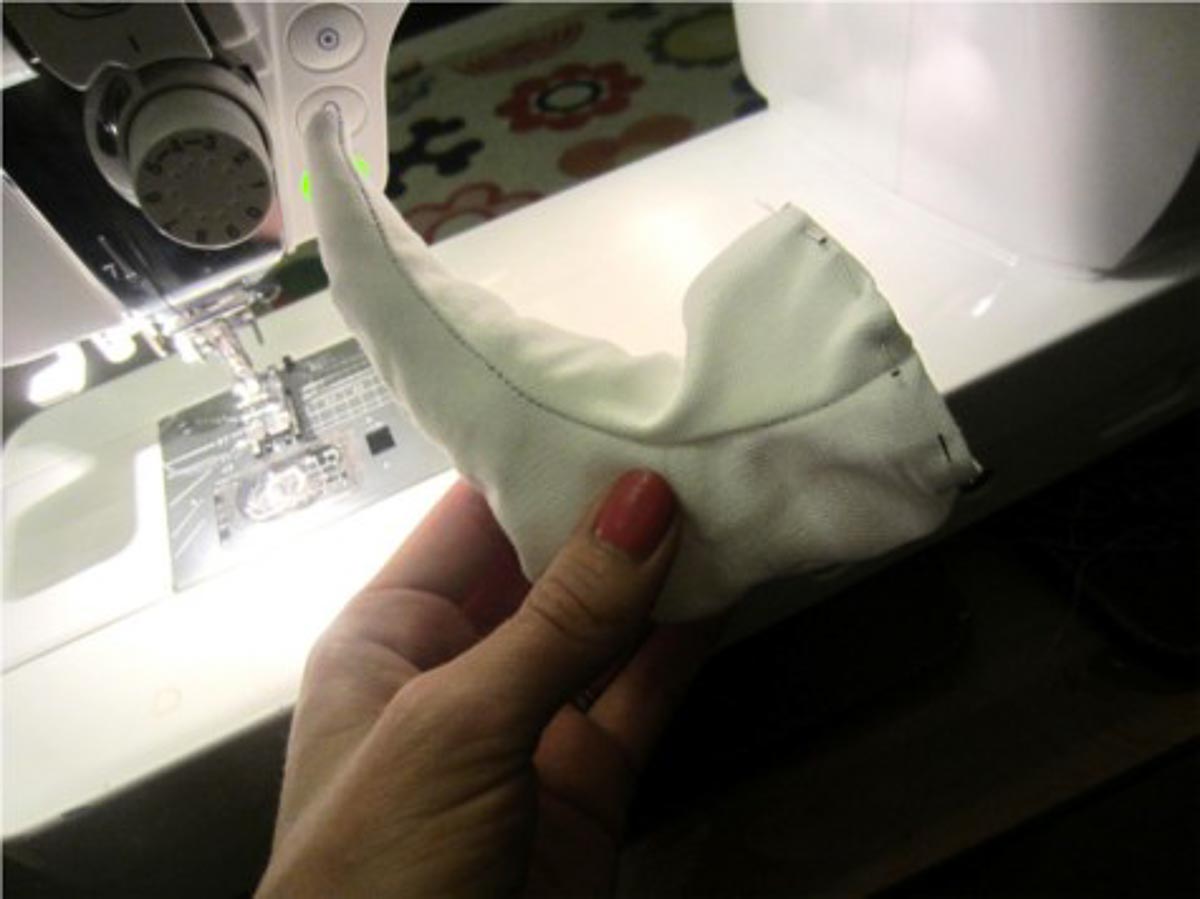
Use something pokey to turn out fully and then stuff it with filler just to the curve (where my thumb is). You want to stuff it quite firmly. Then finger press the raw edges to the inside of the horn by ¼″ and pin in place. Repeat the whole process for the other horn, and then set them both aside.
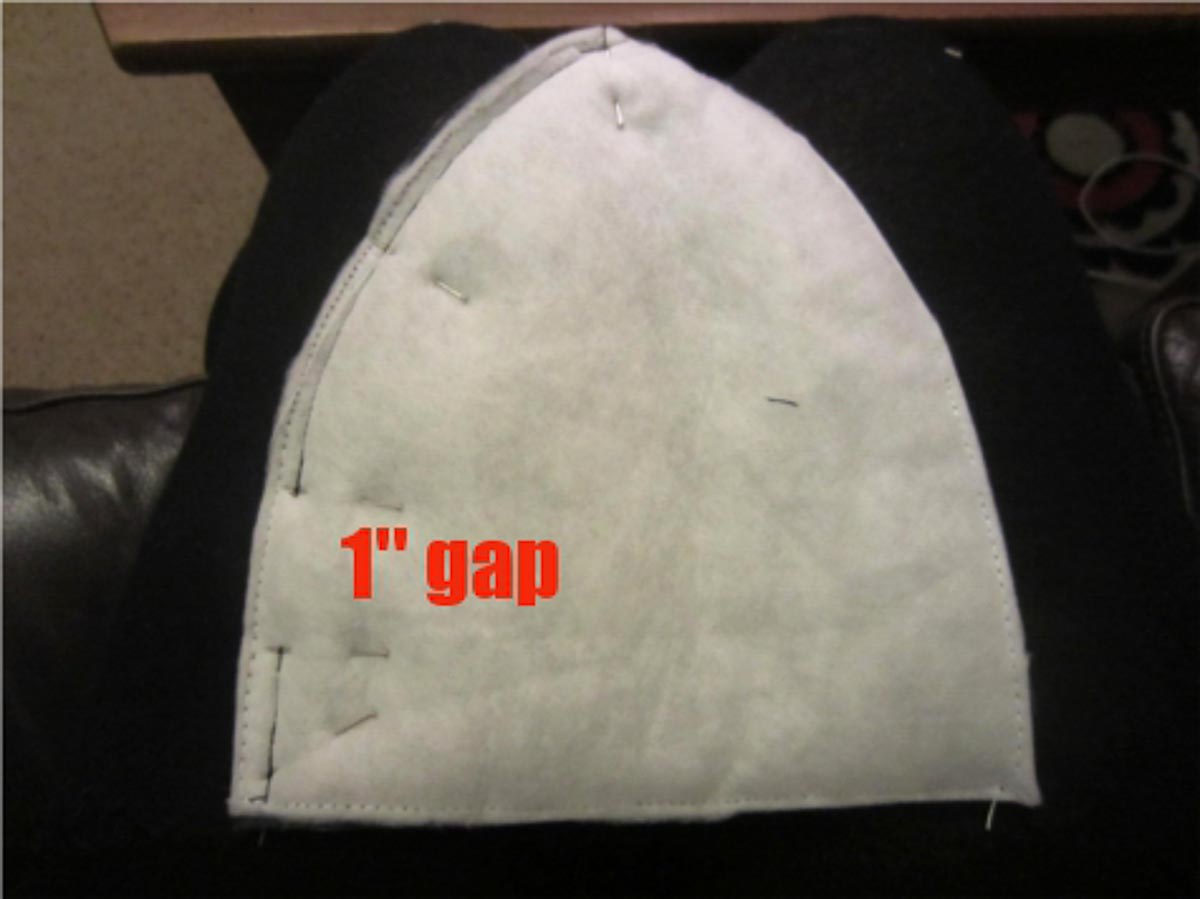
Right sides facing, place one outer hat piece on top of another and stitch up one side. Leave a one inch gap starting one inch from the bottom edge. Repeat for the other two outer pieces, only sewing one side of each. Repeat for your lining pieces, but do not leave a gap. Unfortunately I didn’t take a single picture that showed the lining at any stage, I’m mysterious like that.
Attach The Horns To The Helmet
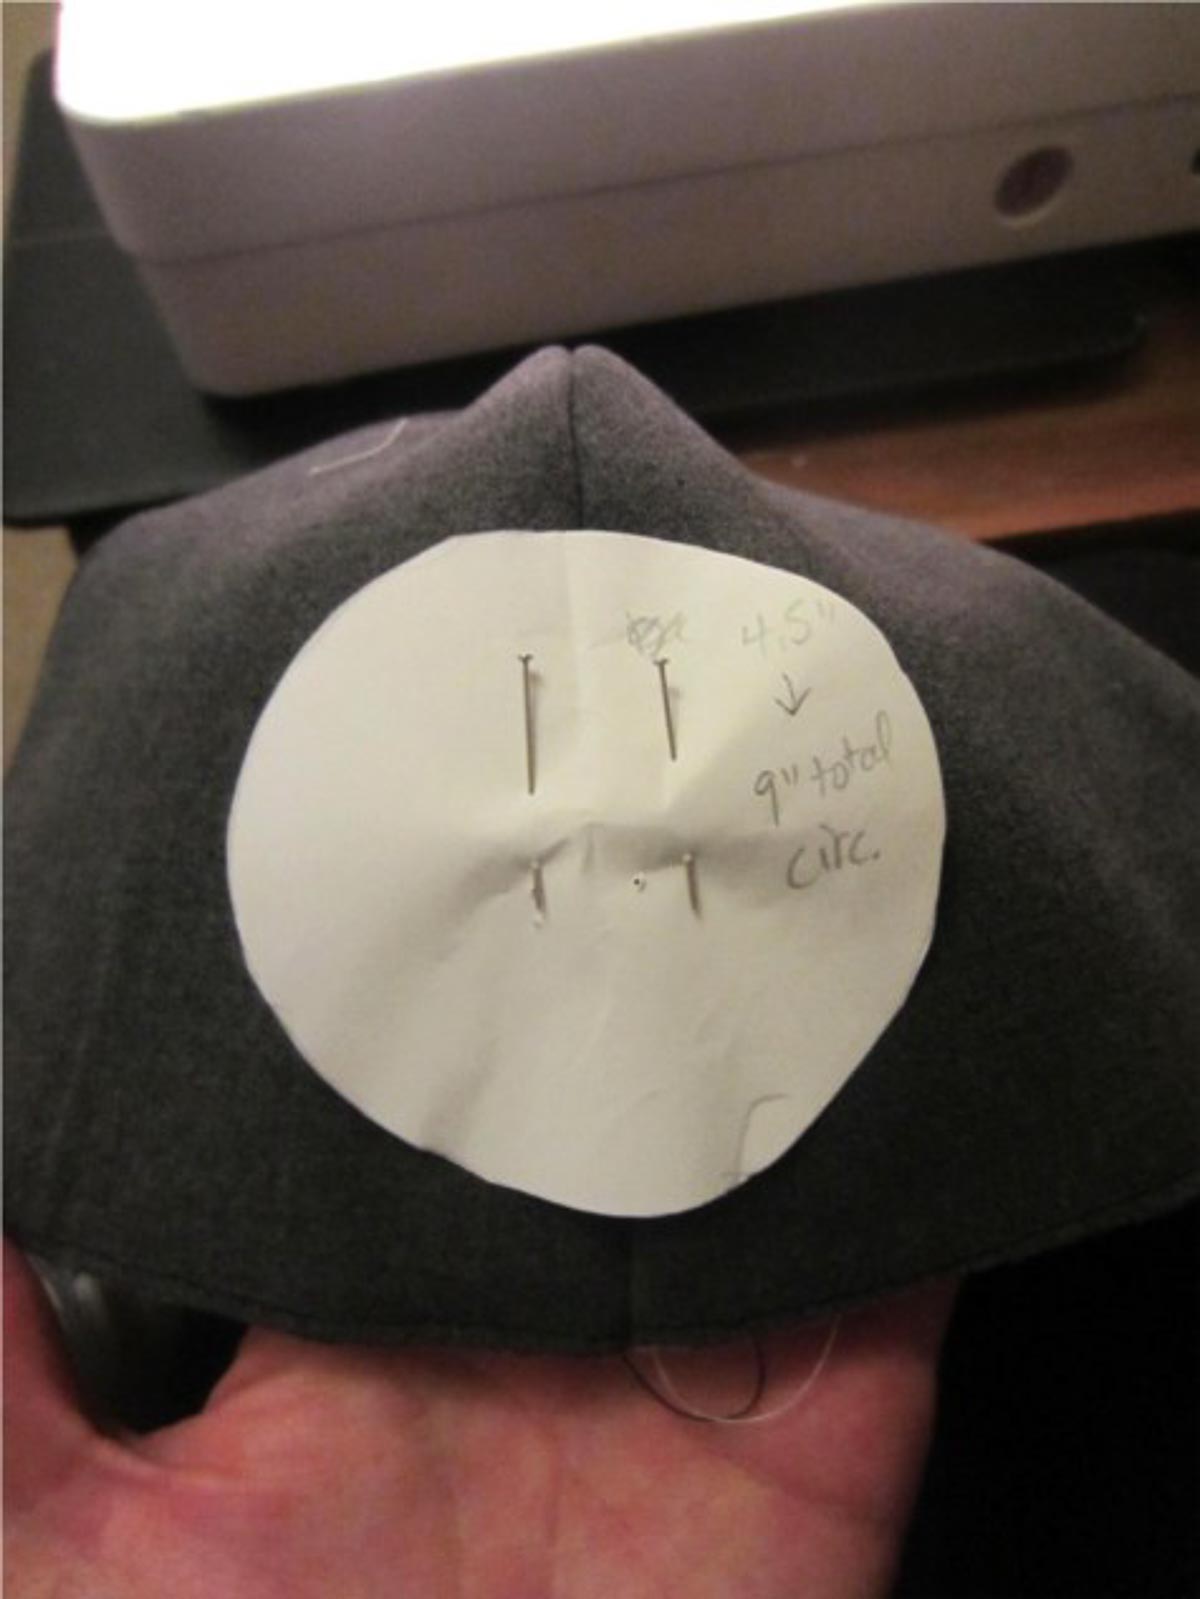
On the right side of your outer hat, pin the circle you drafted .75″ up from the bottom edge. The diameter line should line up with the seam so that it is centered. Trace around your circle with chalk and then unpin the circle. Repeat on the other side.
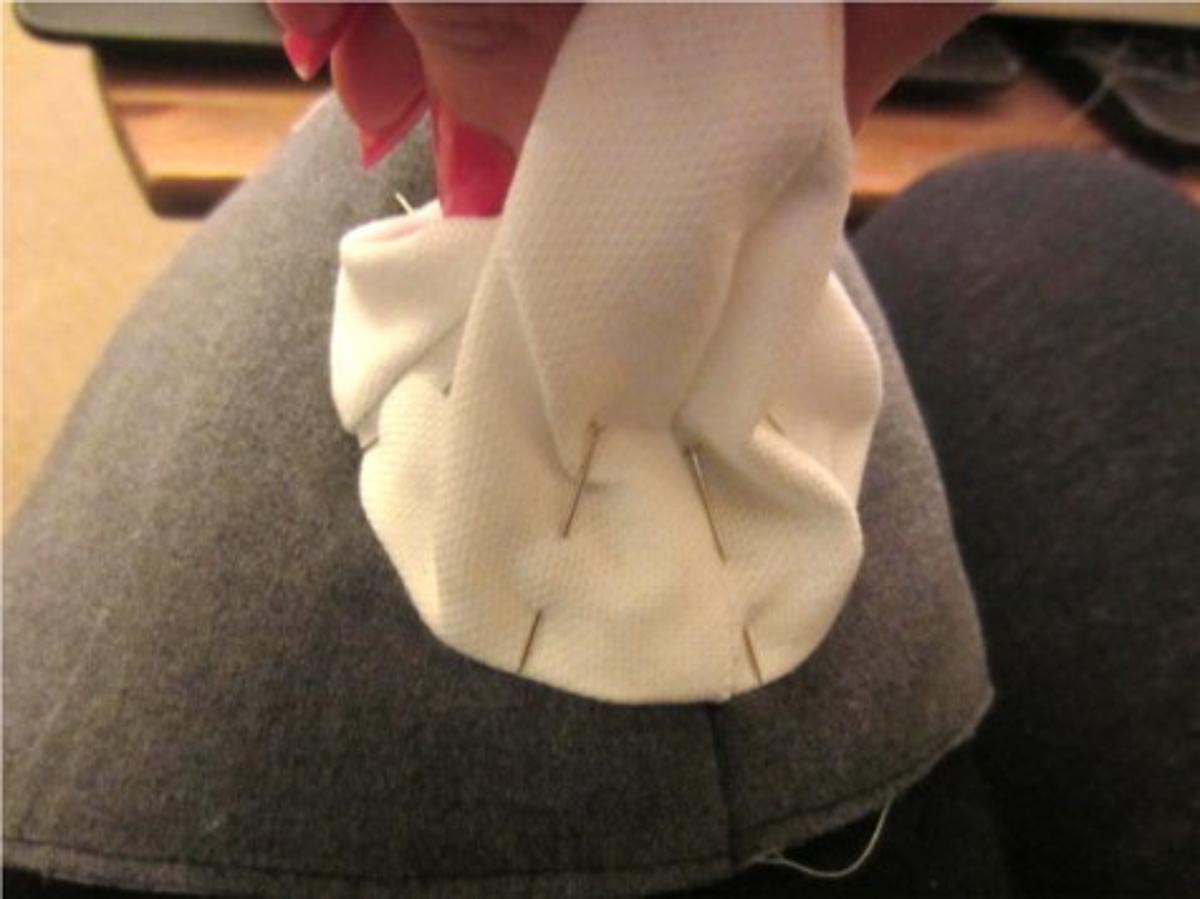
Carefully place one of the horns on top of the chalk circle so they match and pin all the way around. Make sure the raw edges are still turned under.
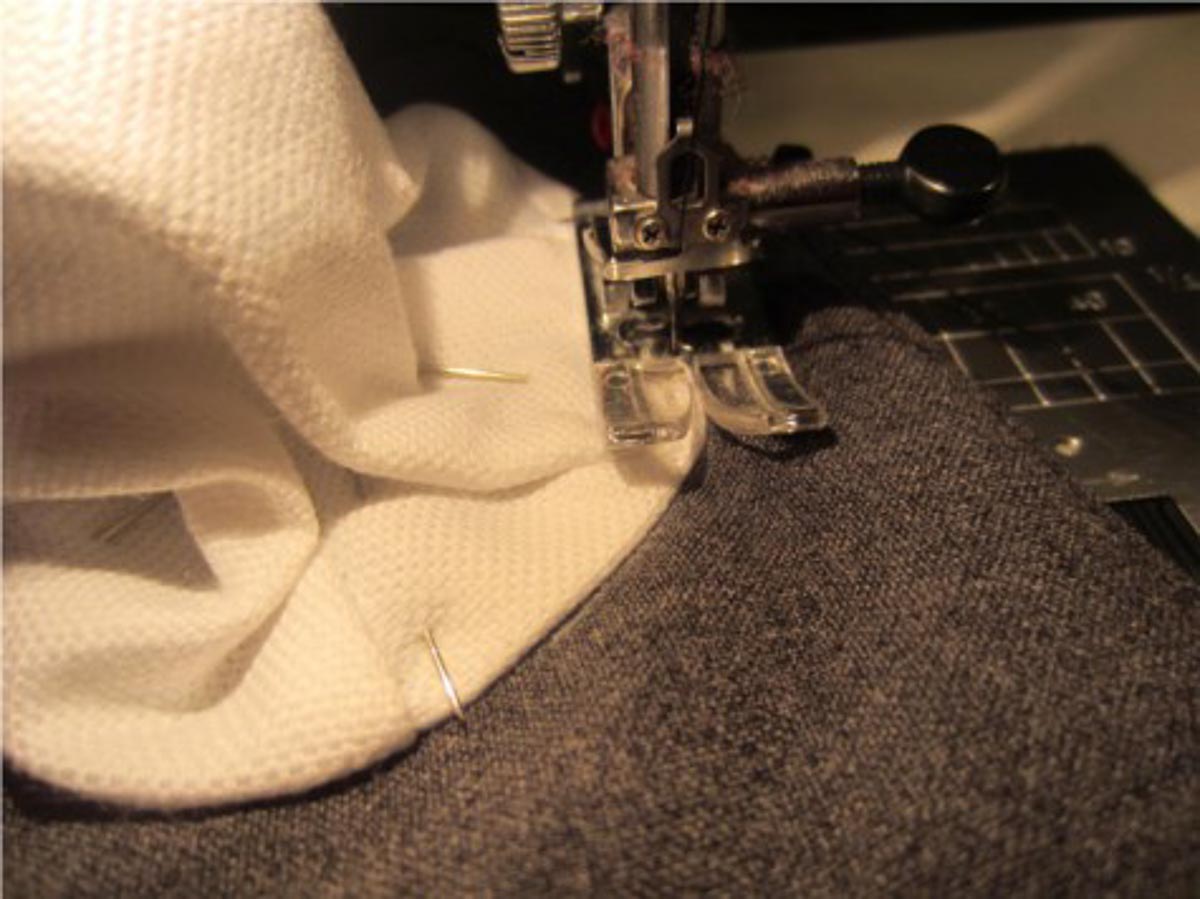
Sew as close to the edge as possible, all the way around. Repeat for the other horn.
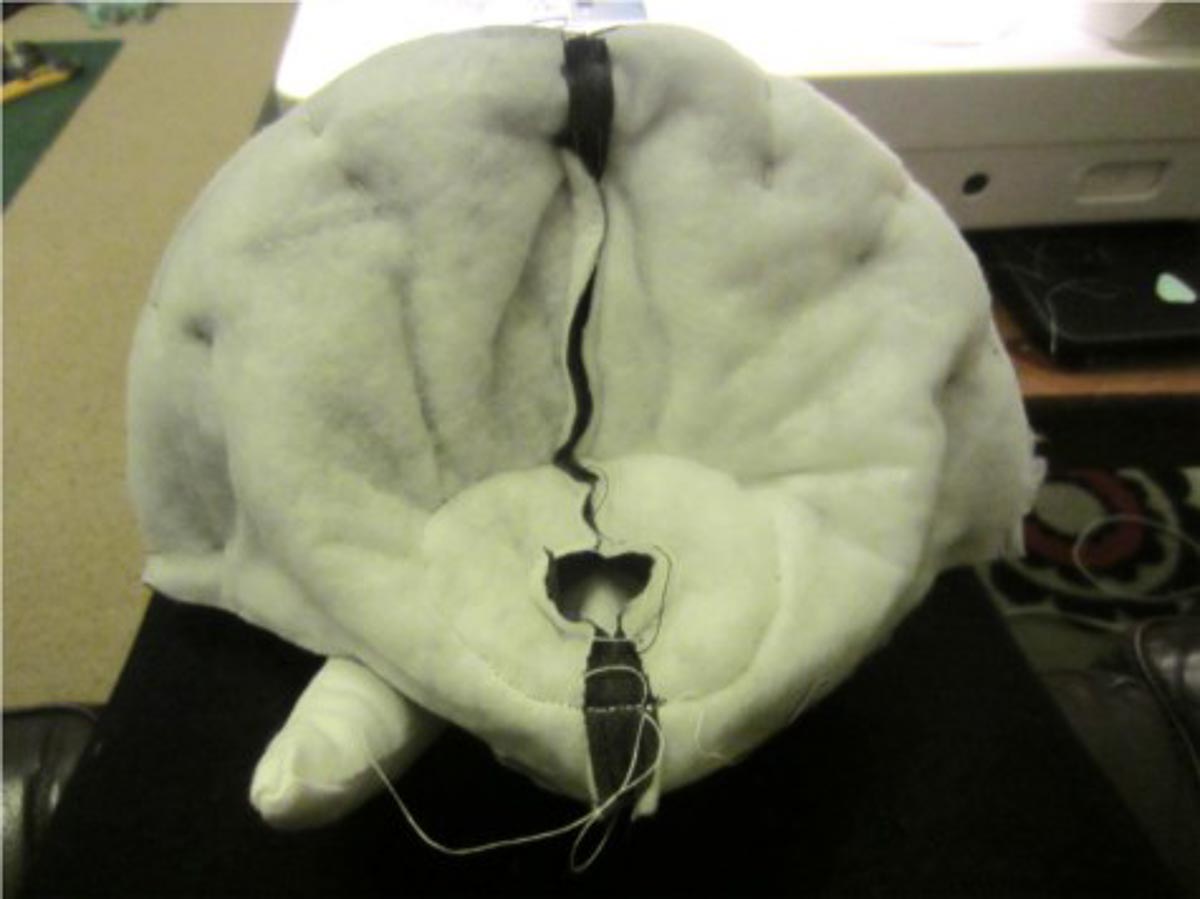
Right sides facing, match the two outer pieces along the top raw edge and pin together. Make sure the seams meet evenly at the middle. Sew along this edge, and you have a three dimensional hat! Through the openings under each horn, stuff the rest of the filling to make your horns nice and sturdy and then sew the gaps closed. Set aside.
Sew On The Band
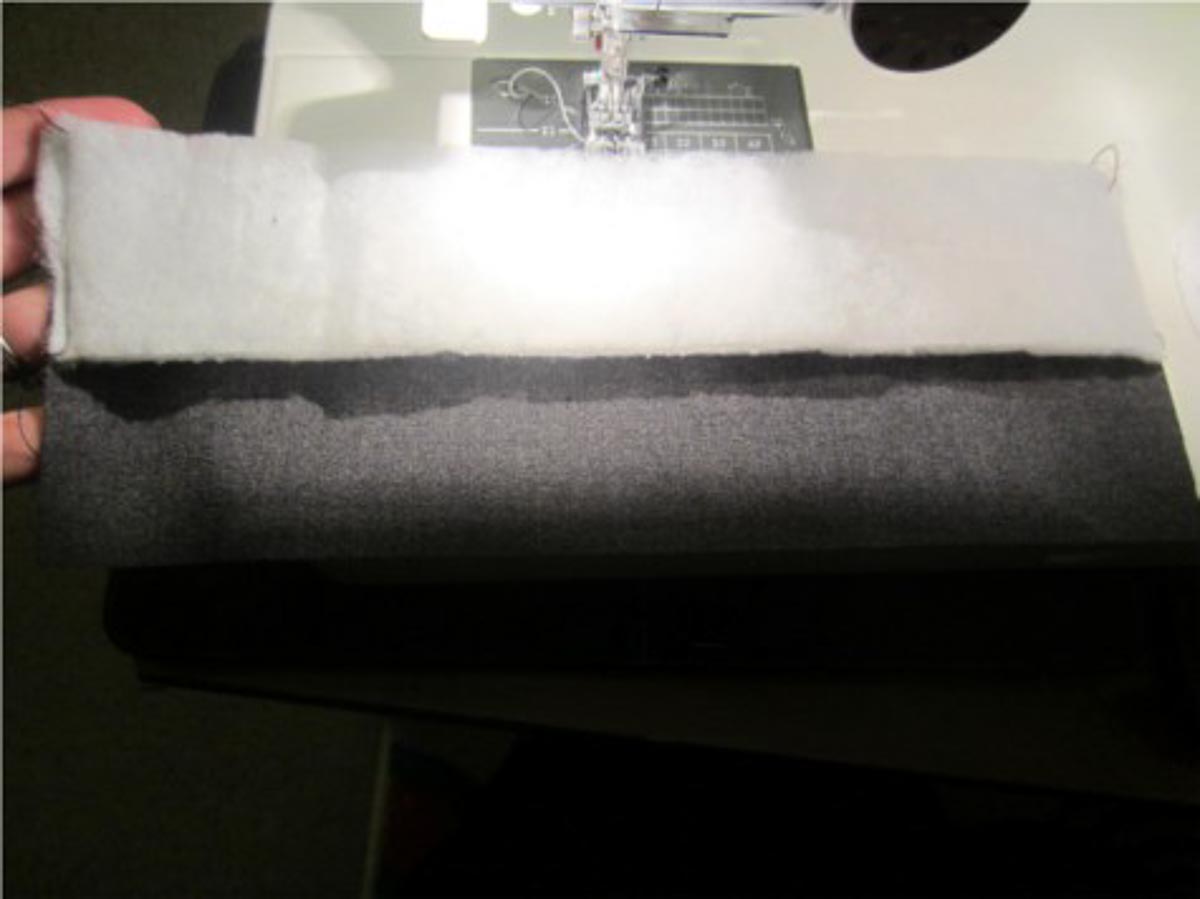
Baste one of your batting pieces to the wrong side of top half of a band piece. Repeat for the other batting and band pieces. Place the two bands on top of each other, right sides facing, and sew the sides seams.
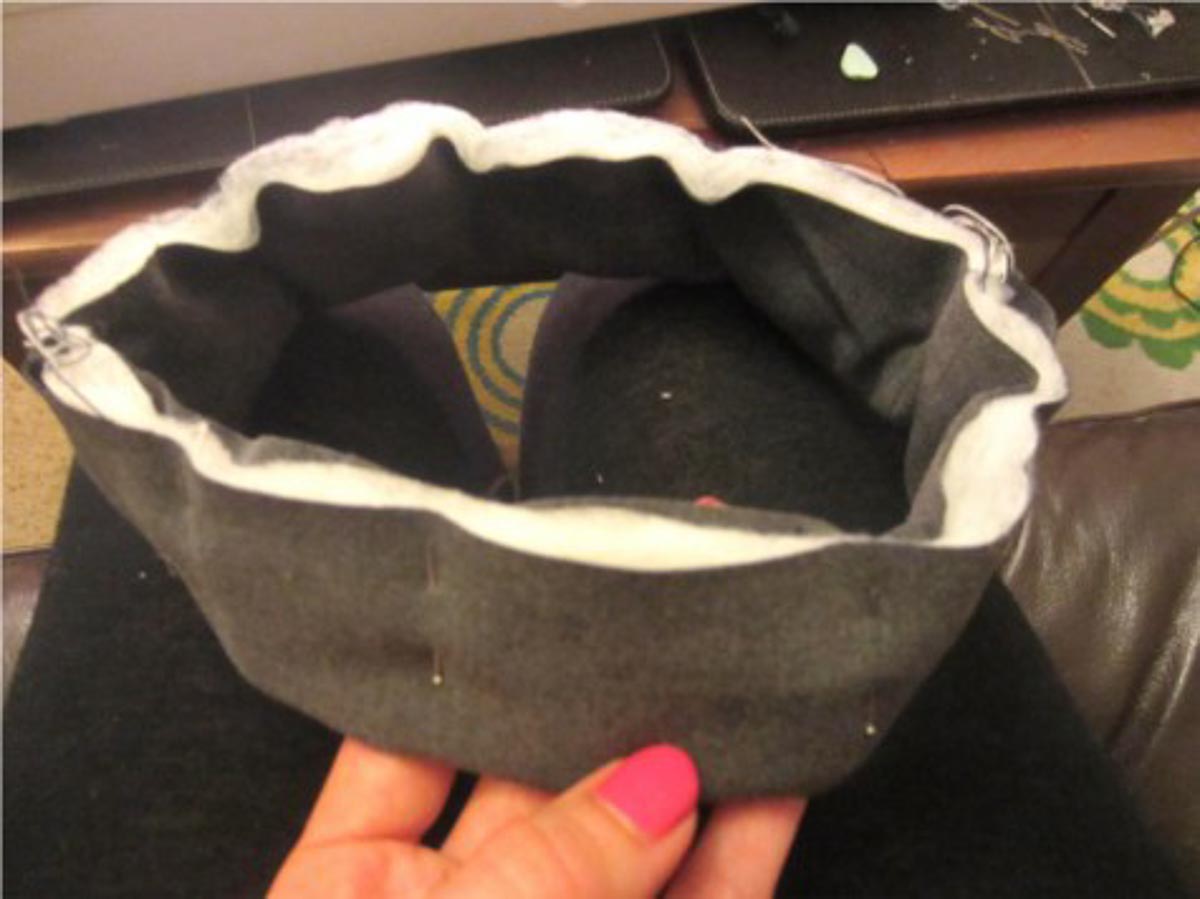
Fold up the bottom edge to meet the top edge, with the batting now sandwiched in between. Pin to secure the layers. Optional but recommended: baste the top edge closed, it’s easier to catch at the layers.
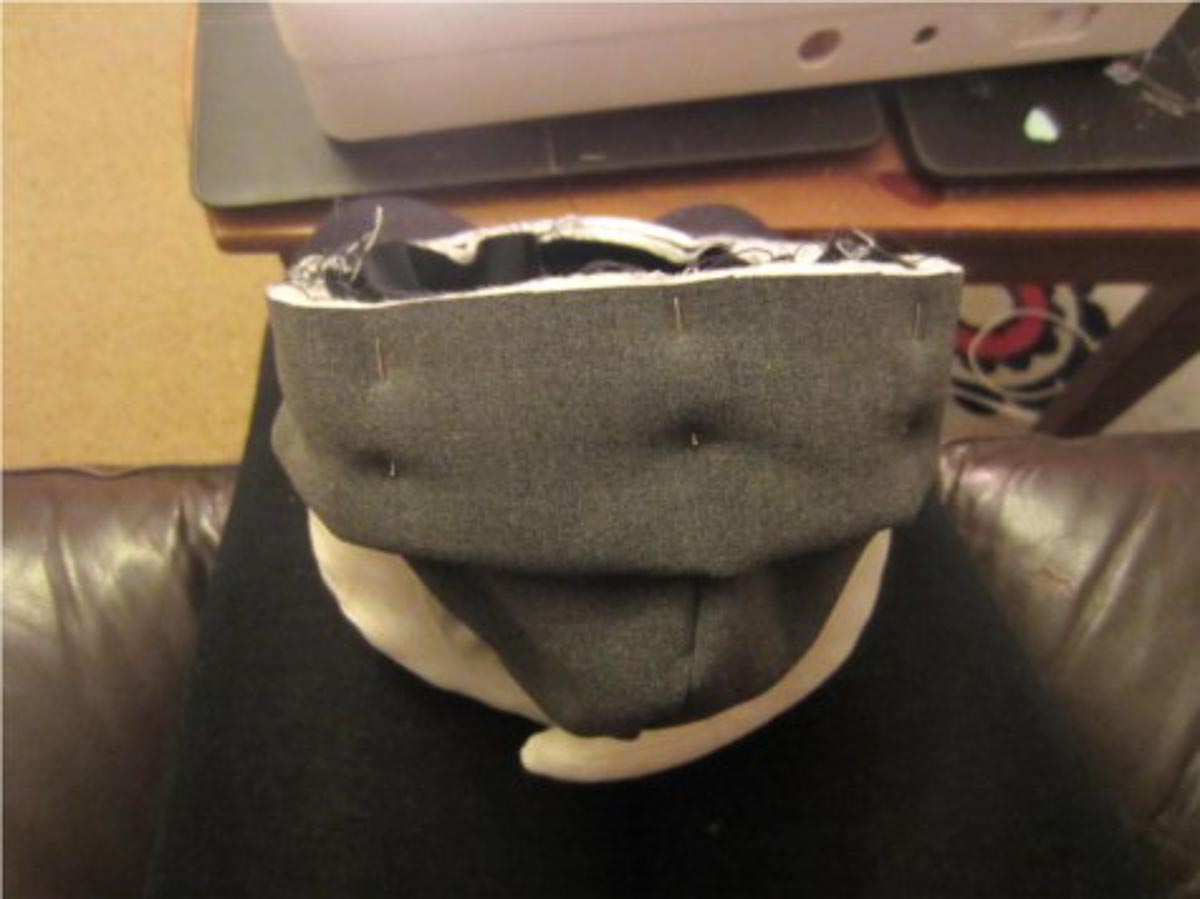
Place your lining hat (you can see mine a little bit, it’s black) inside the outer hat, wrong sides facing and with raw edges aligned. Pin together. Place your band over the top, again matching all of the raw edges together. The side seams of the band should align with the side seams of the hat (below the horns).
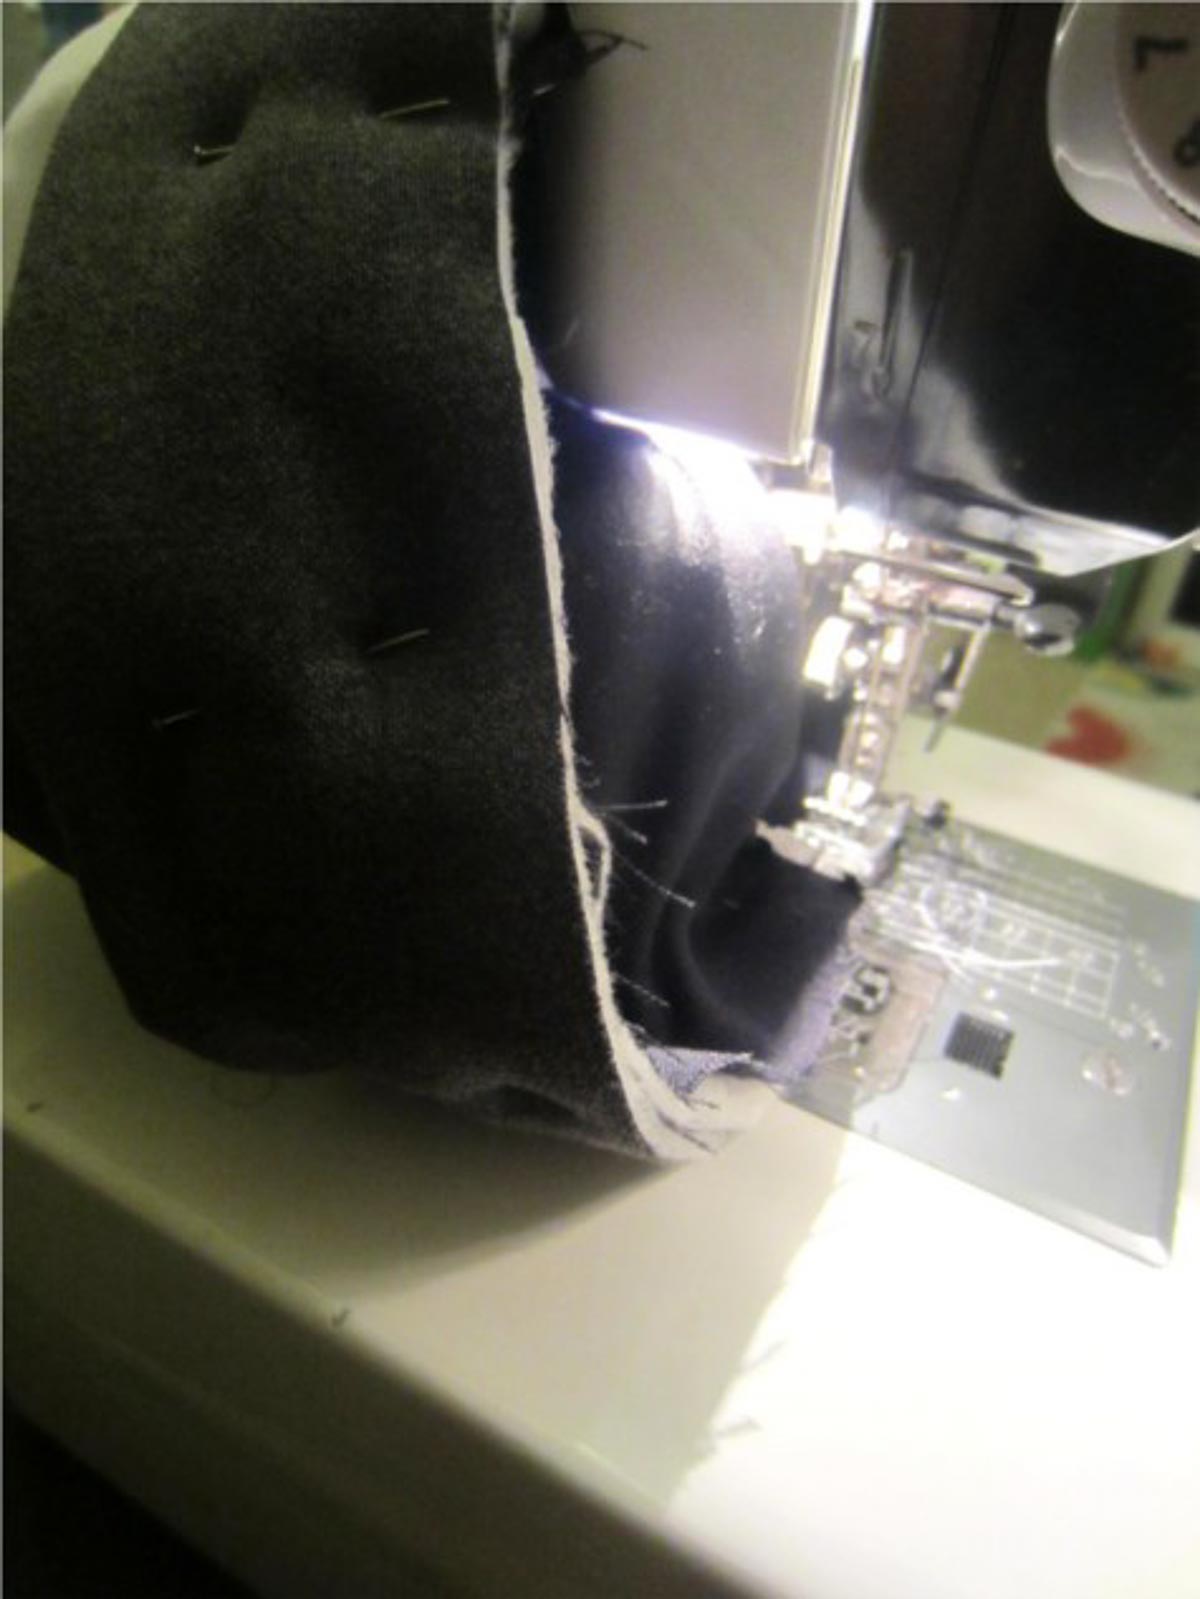
It’s worth saying now that this particular sandwich has two layers of batting, three layers of outer fabric and one layer of lining fabric! Make sure you’re using a heavy needle, and go sloooooooooowly. If you have a free arm function on your machine, use it, and then laugh at me for not having my free arm machine serviced. The horns are a serious pain to smoosh out of the way without a free arm, but still it’s do-able 🙂 I also serged this seam to reduce the bulk and let it sit more nicely.
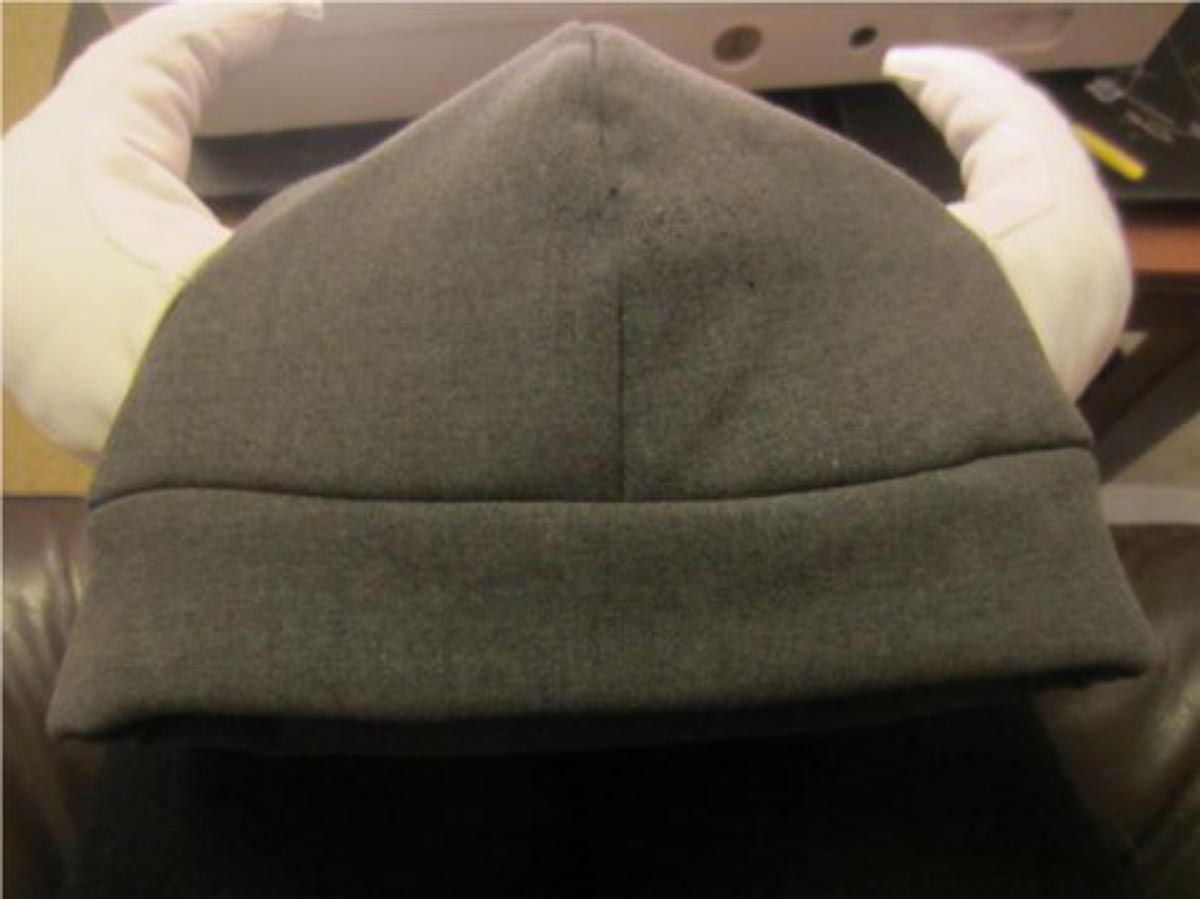
Aha, the band is on! Almost done.
Attach The Trim

Starting at the centre back seam, pin your trim along the bottom edge so that just a tiny bit of the band sticks out. My trim is scratchy!
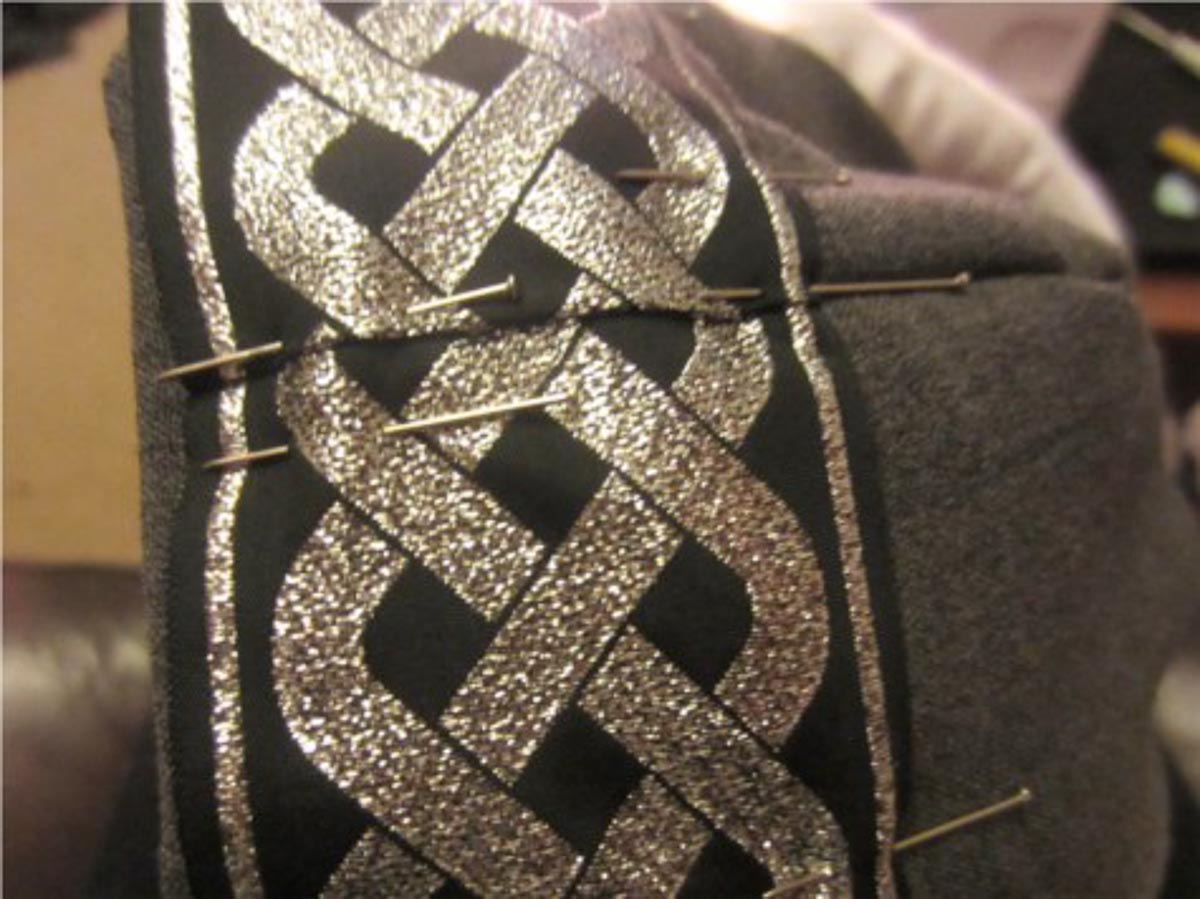
When you get back to where you started, fold over to hide the raw edge. Then pin all the way around again, along the top edge.
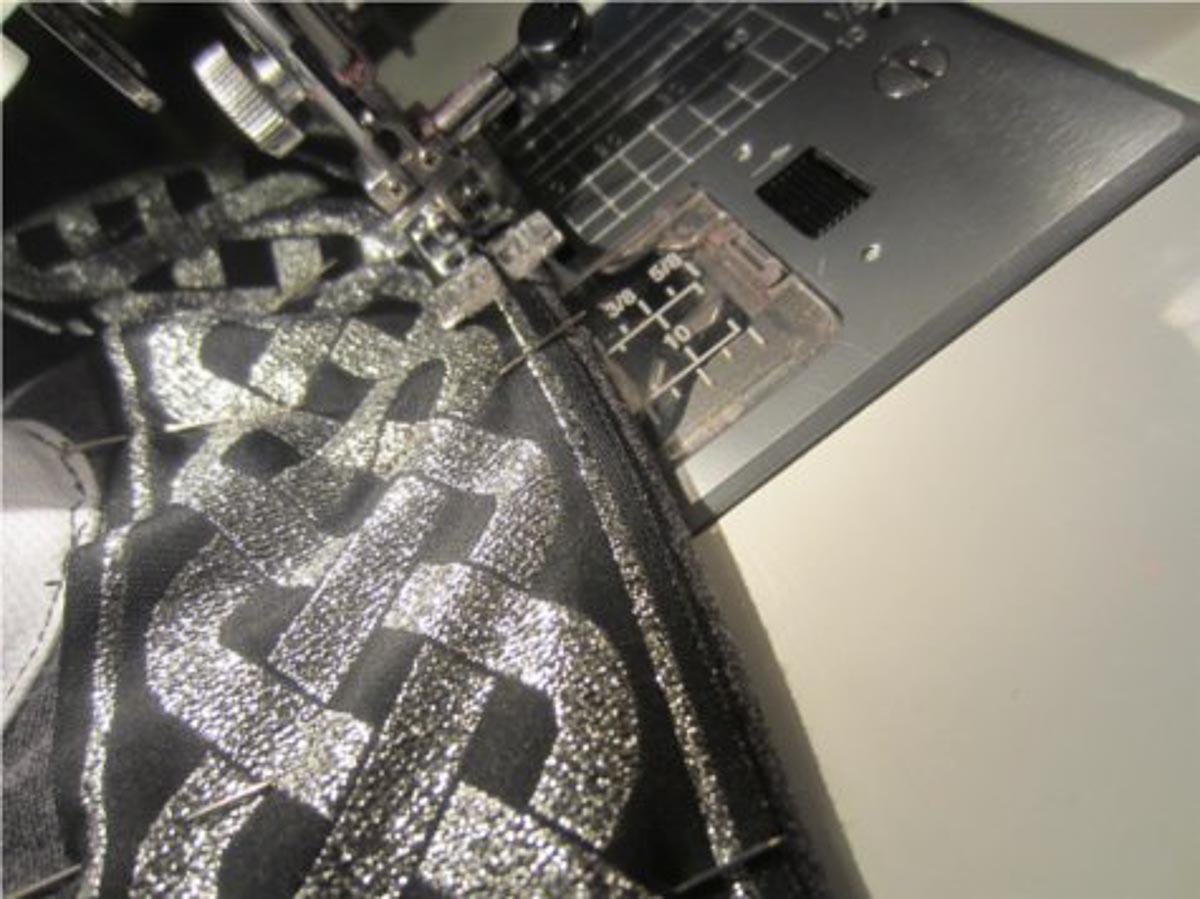
Going very slowly, sew along the bottom of the trim, very close to the edge all the way around.
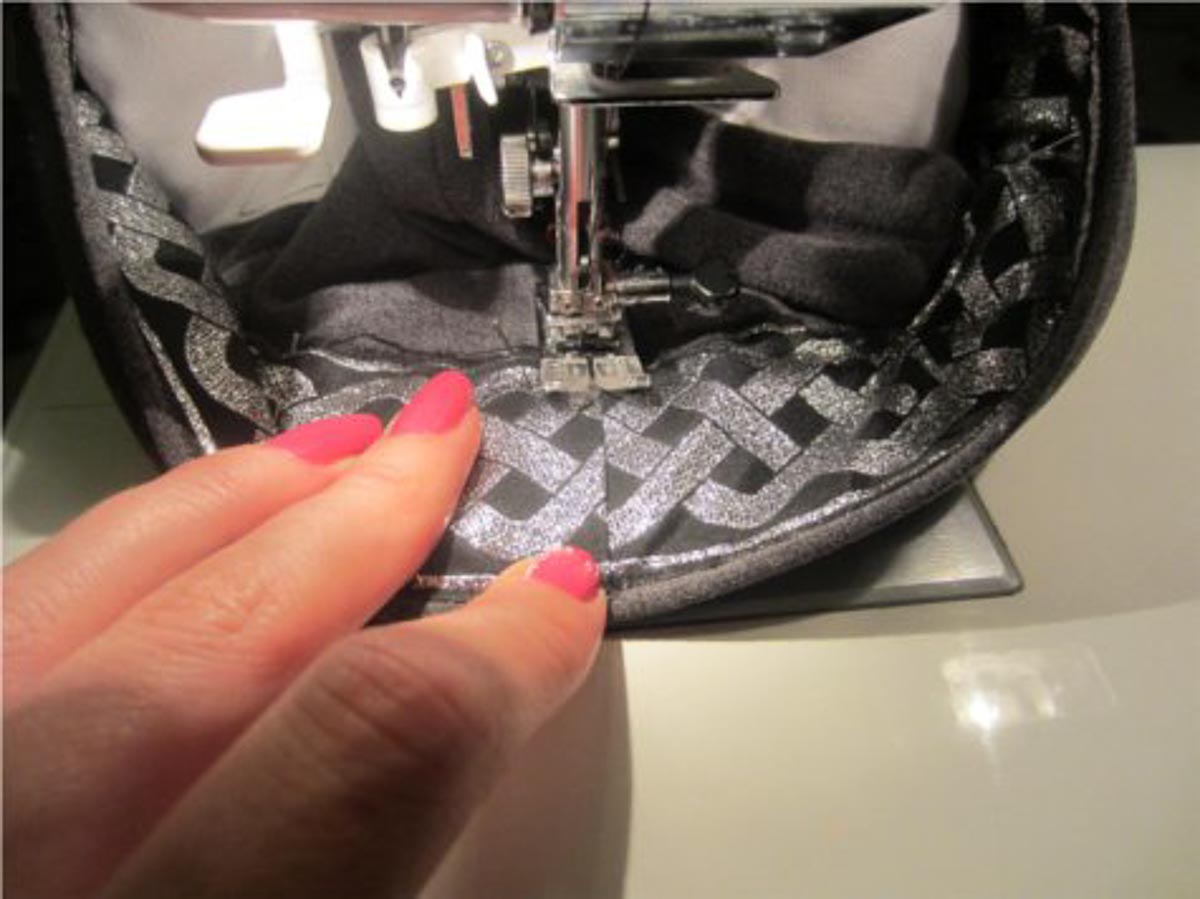
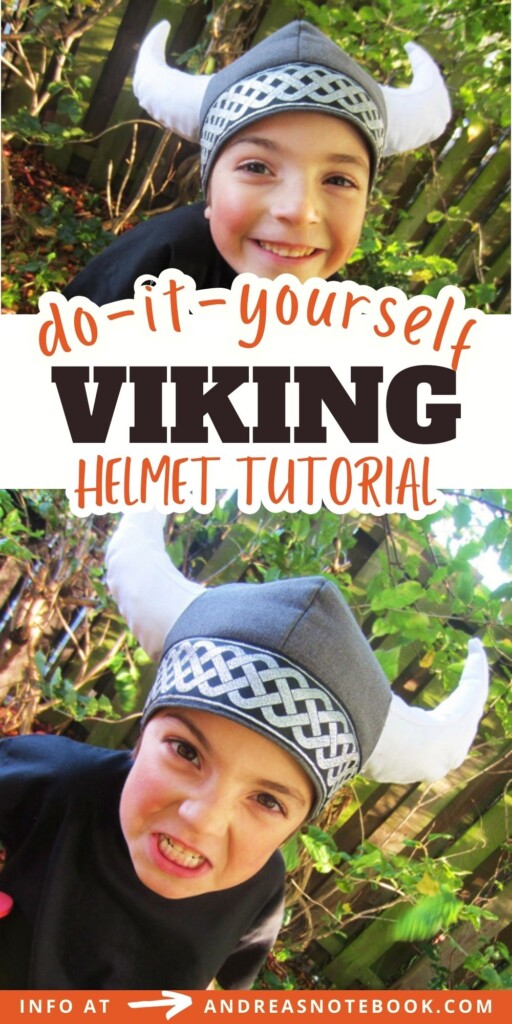
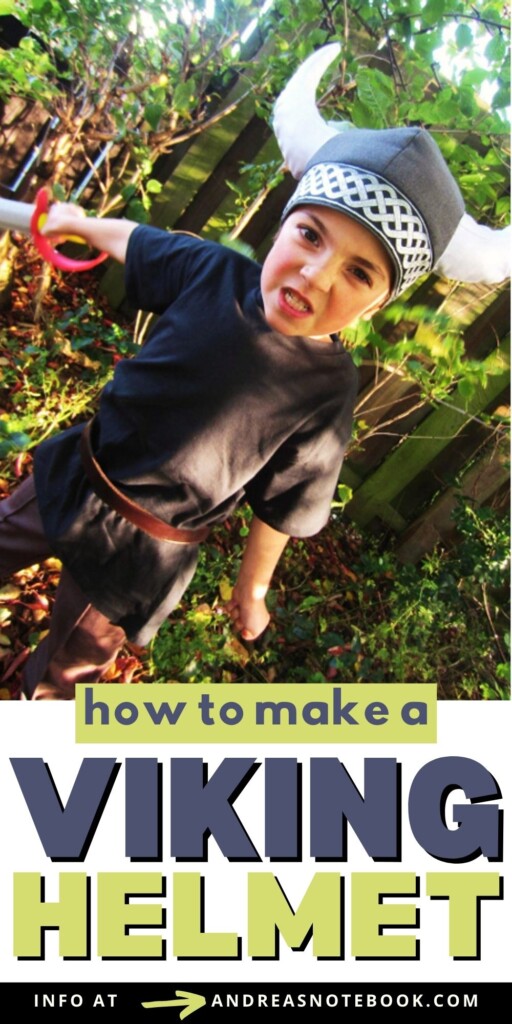
Because of the lack of a free arm, I then flipped the hat out to sew all the way around the top edge. It’s a little bit easier to maneuver those horns out of the way. When you get back to the start, pivot and sew the folded edge down. You’re done! Find a fierce child.
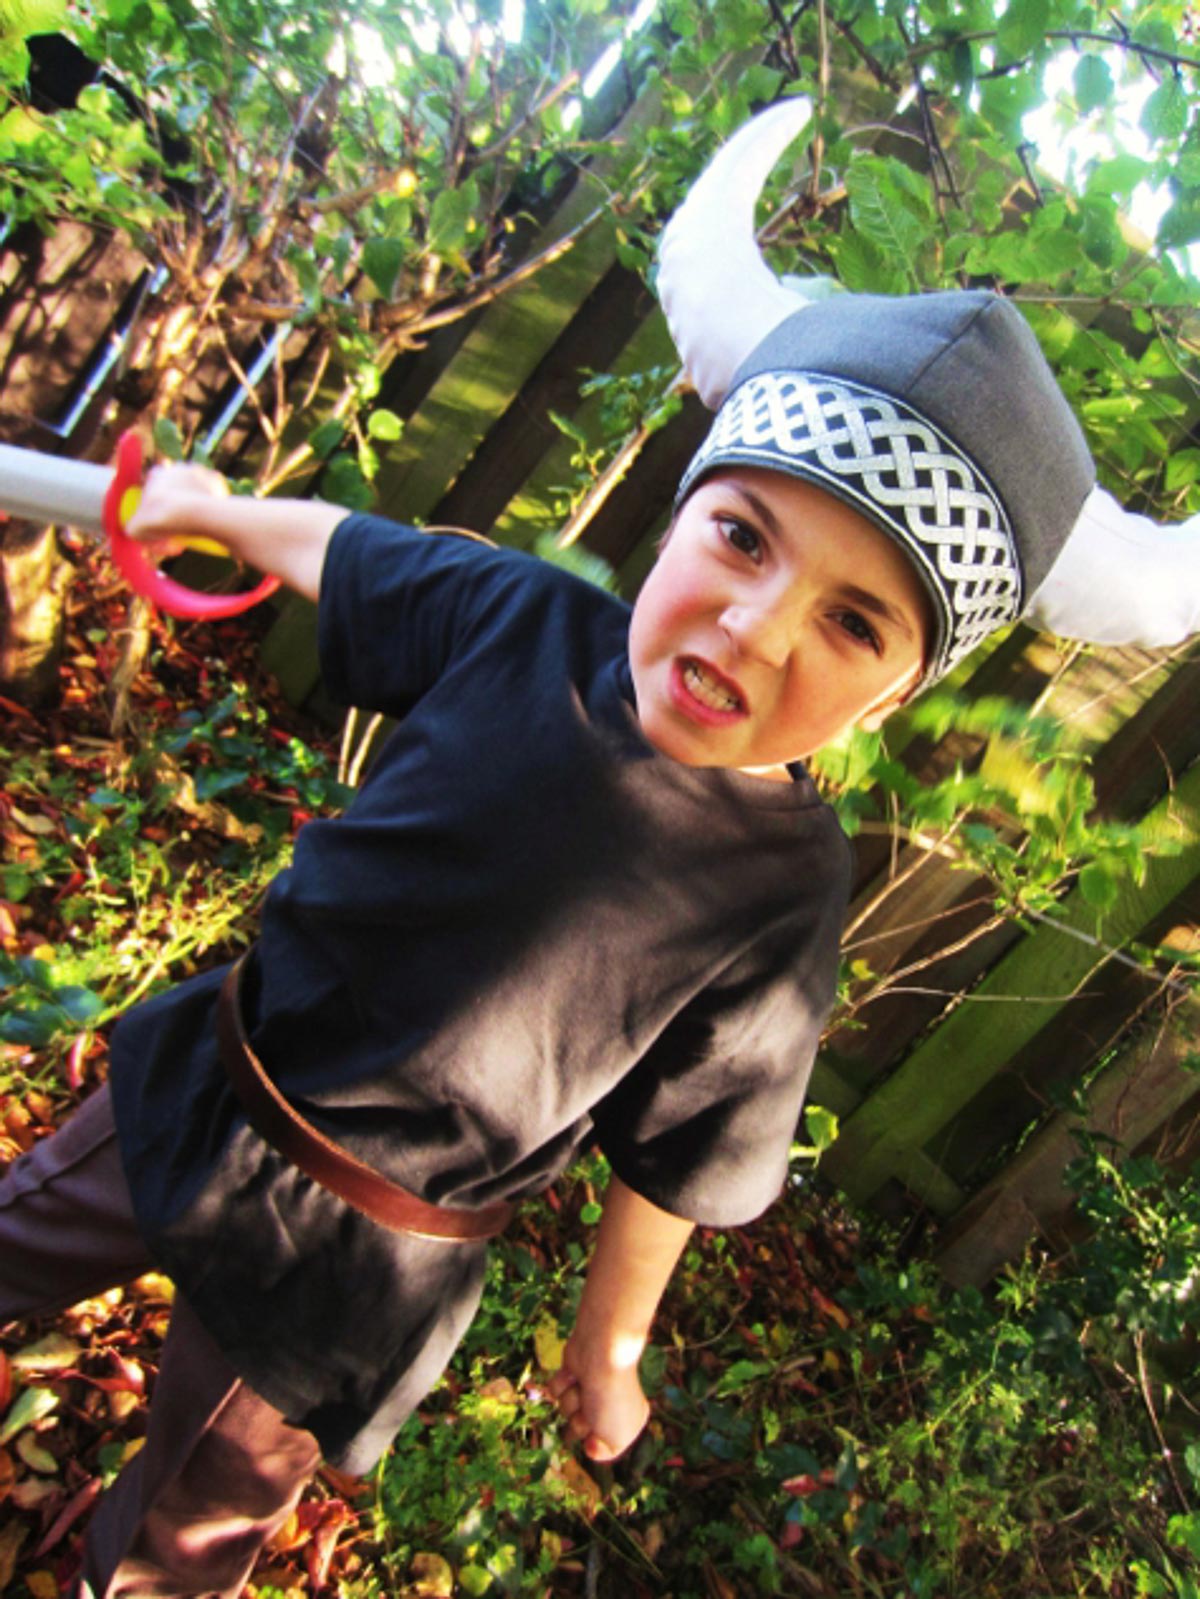
Or a not so fierce one 🙂

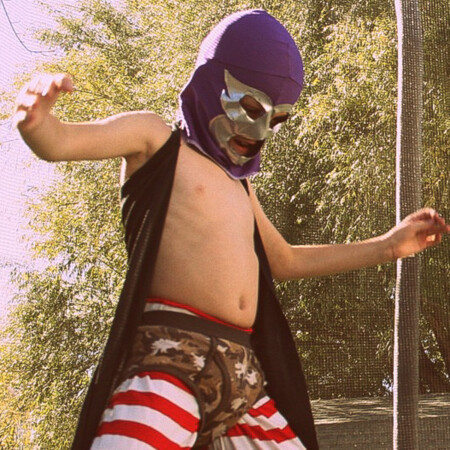
My kids love dressing up all year / day round, but Halloween is a big deal in this family (okay… at least one quarter of this family) so I normally go all out. I wouldn’t be able to sue you for slander if you said it was a vicarious pleasure of mine. Plus I get to blow pictures like this one up onto massive canvasses for the living room:

Comments & Reviews
Emily says
1. I love this.
2. I’ve totally been picturing Amanda with a British accent this whole time, and now I find out she’s American! Who knew? Besides Amanda, because obviously SHE knew. 🙂
Schanon Price says
amanda, i love this tutorial but im not getting it right…. is there a pattern you could maybe scan and email to me. id really appreciate it. my daughter (amanda, lol) is having a “how to train your dragon” themed birthday party in 2 weeks and i want to make these for all the kids. please let me know. thanks….
schanon,
[email protected]
Kitschy Coo says
Hi Schanon, I have emailed you the pattern. If anyone else wants it, send me an email at [email protected] 🙂
[email protected] says
Personally I am disgusted. How you can teach the wrong thing to your child? Any civilised person should vilify any one irresponsible enough to feed misinformation to a child.
Raewyn says
Thank you for posting a Viking Helmet pattern. A group of us are floating down the river on a raft this afternoon and I plan to dress as a viking – plaits and all 🙂