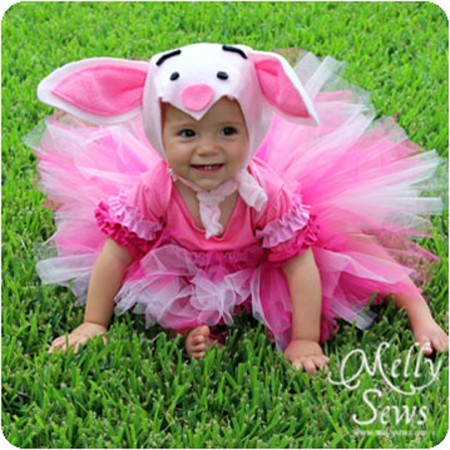
As Halloween approaches, the excitement of crafting the perfect costume takes center stage. For parents seeking an adorable and convenient solution, look no further than our DIY Ladybug Baby Carrier Costume. This innovative creation combines a charming baby ladybug costume with a functional DIY baby carrier cover—an easy costume idea that ensures both style and practicality for the occasion. 🐞🎃 If you’re looking for more baby costumes, make a DIY Baby Dinosaur Costume, a DIY Baby Hedgehog Costume, or a DIY Piglet Costume.
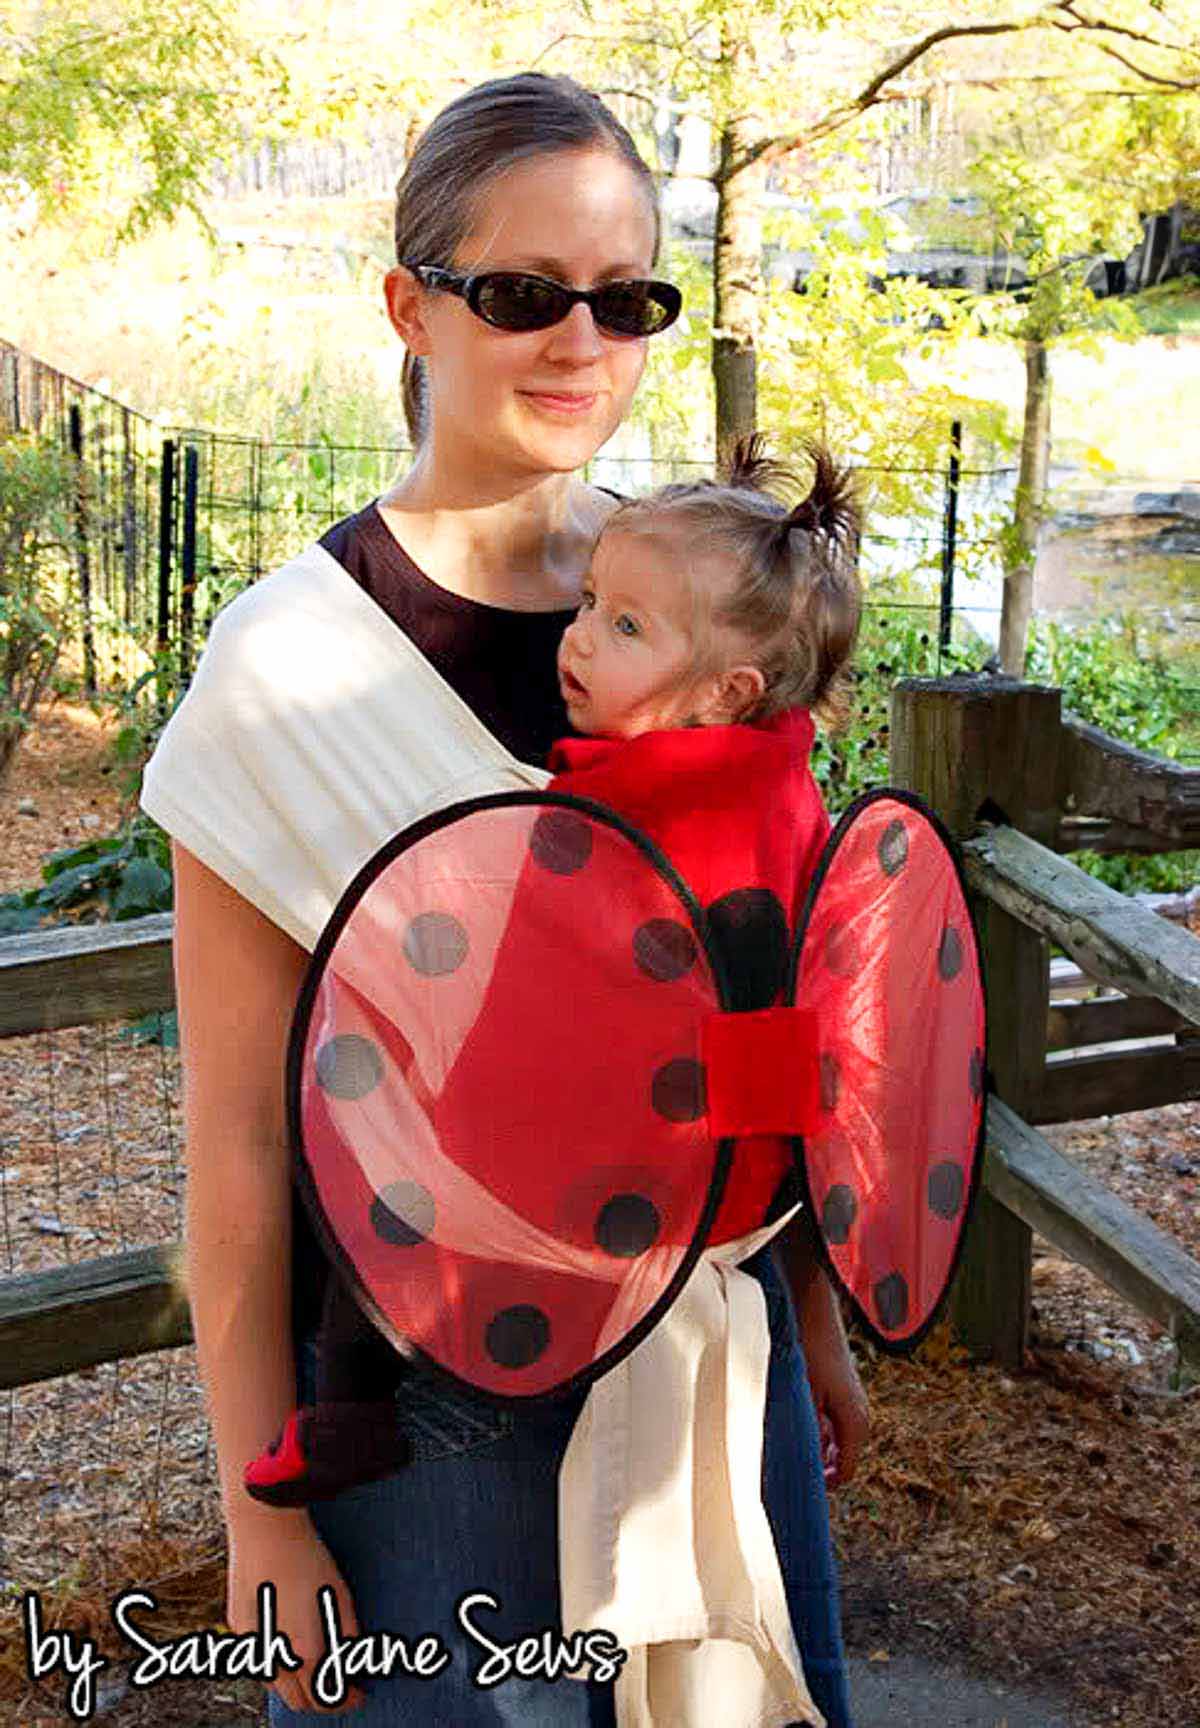
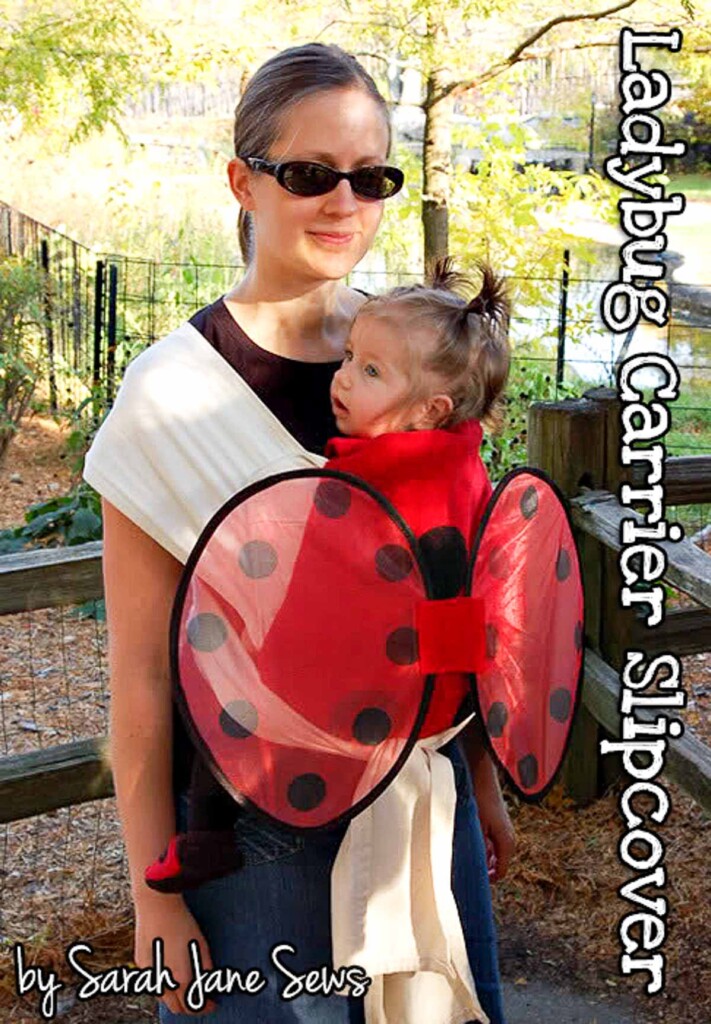
And now for the most genius baby costume ever! Sarah Jane Sews makes a baby carrier into a ladybug! This tutorial is perfect for babies in arms! Check out all the other DIY costume tutorials.
Gather Materials
Before we dive into the DIY fun, gather the essential materials for your DIY ladybug carrier slip-cover.
- Baby carrier, such as a mei tai or soft-structured carrier
- Store bought or homemade ladybug wings
- Red fleece fabric
- Black fleece fabric scraps
- Heavyweight sew-in interfacing to stabilize fabric.
- Hook & loop (velcro)
- Matching thread
- Tracing paper
Step-by-Step Instructions
Step 1: Cut the elastic shoulder straps off of the butterfly wings. Cut a piece of hook the size of the area connecting the wings. If your hook is too narrow, you may want to use two rows so your wings don’t sag. Sew the hook to the wrong side of the wings.
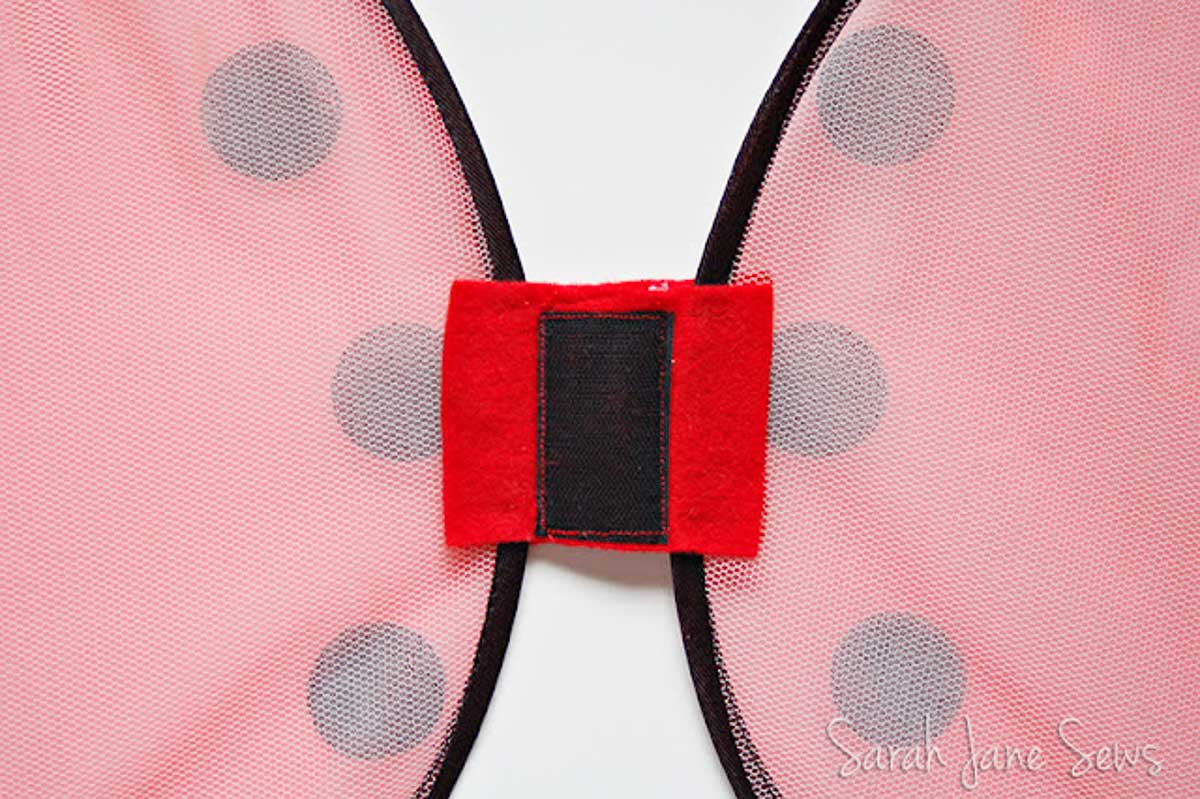
Use bobbin thread that matches your wings, since it will show. See photo below.
Step 2: Trace your carrier, marking openings for the straps.
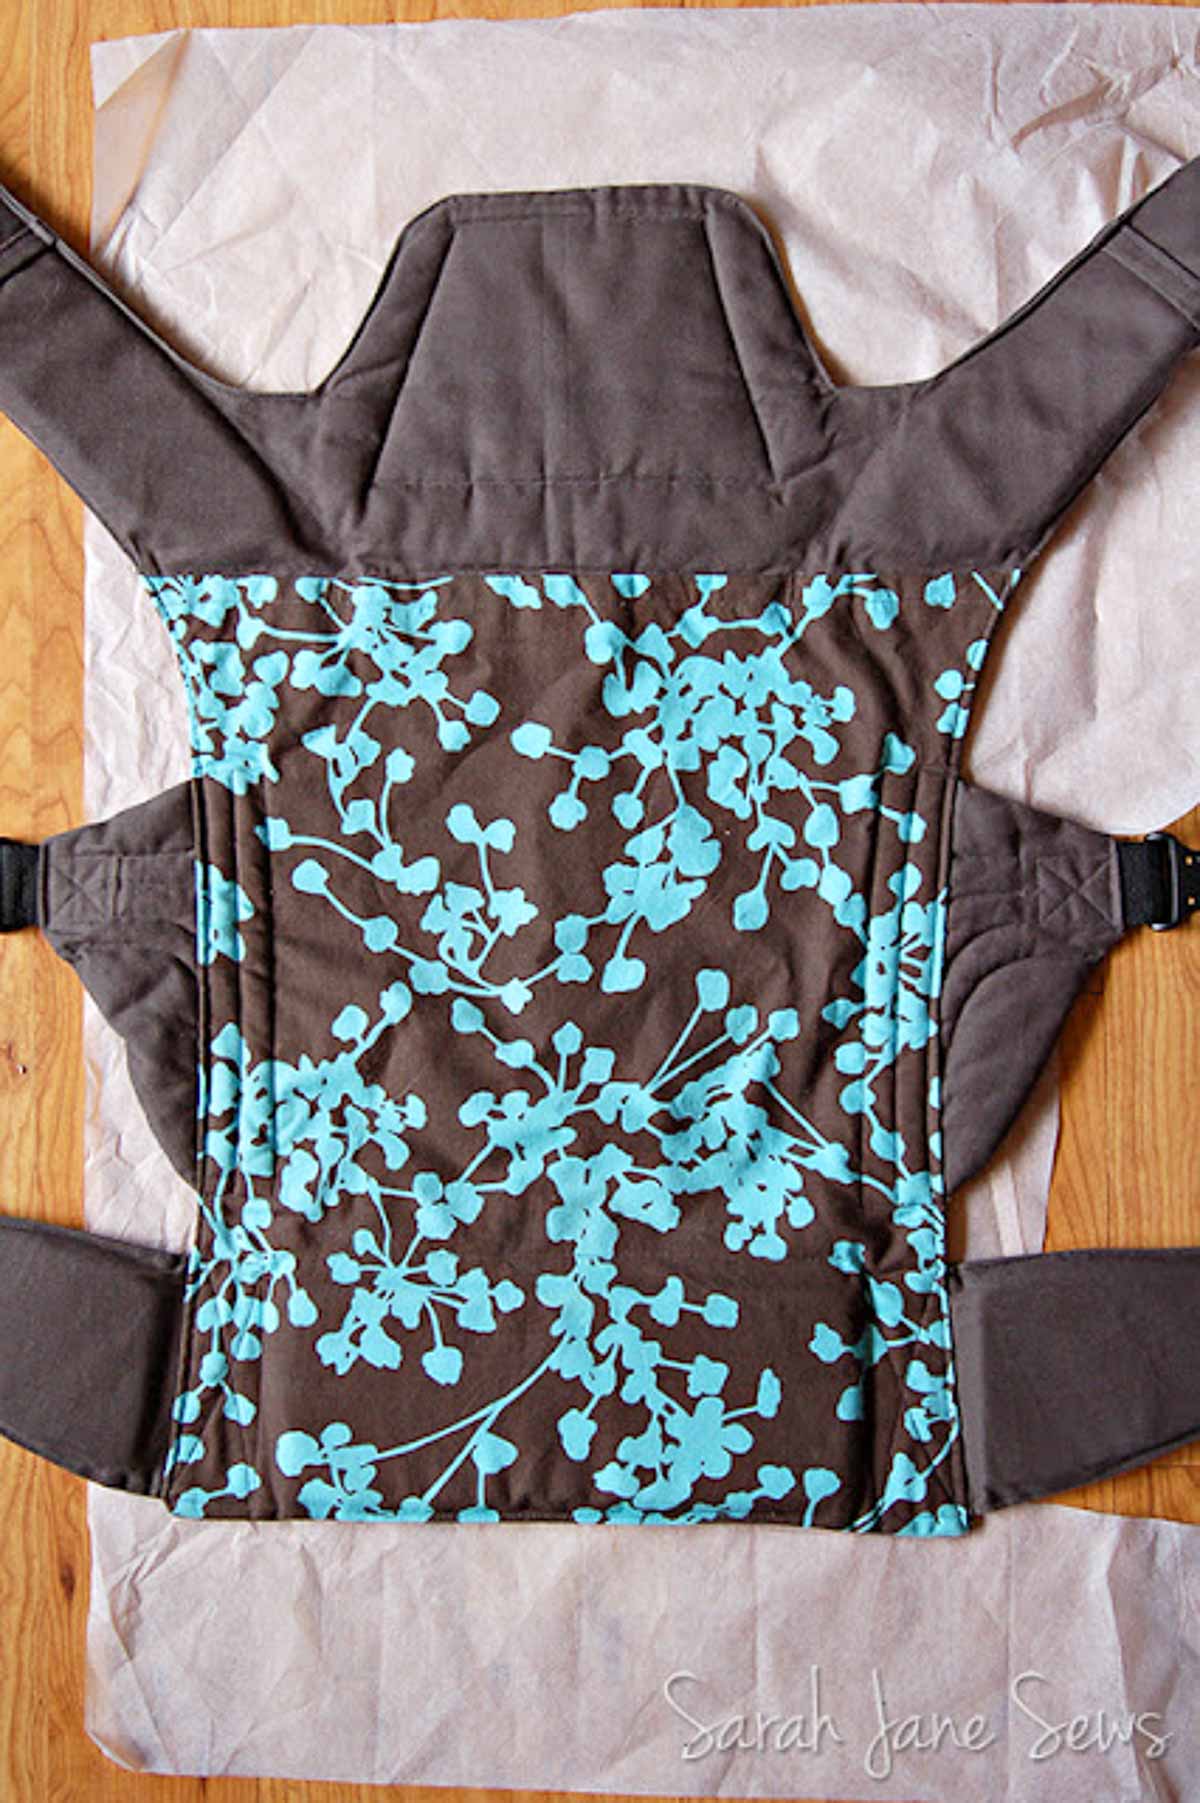
Add a seam allowance (I prefer ¼″) to all of the non-strap areas and cut out your pattern.
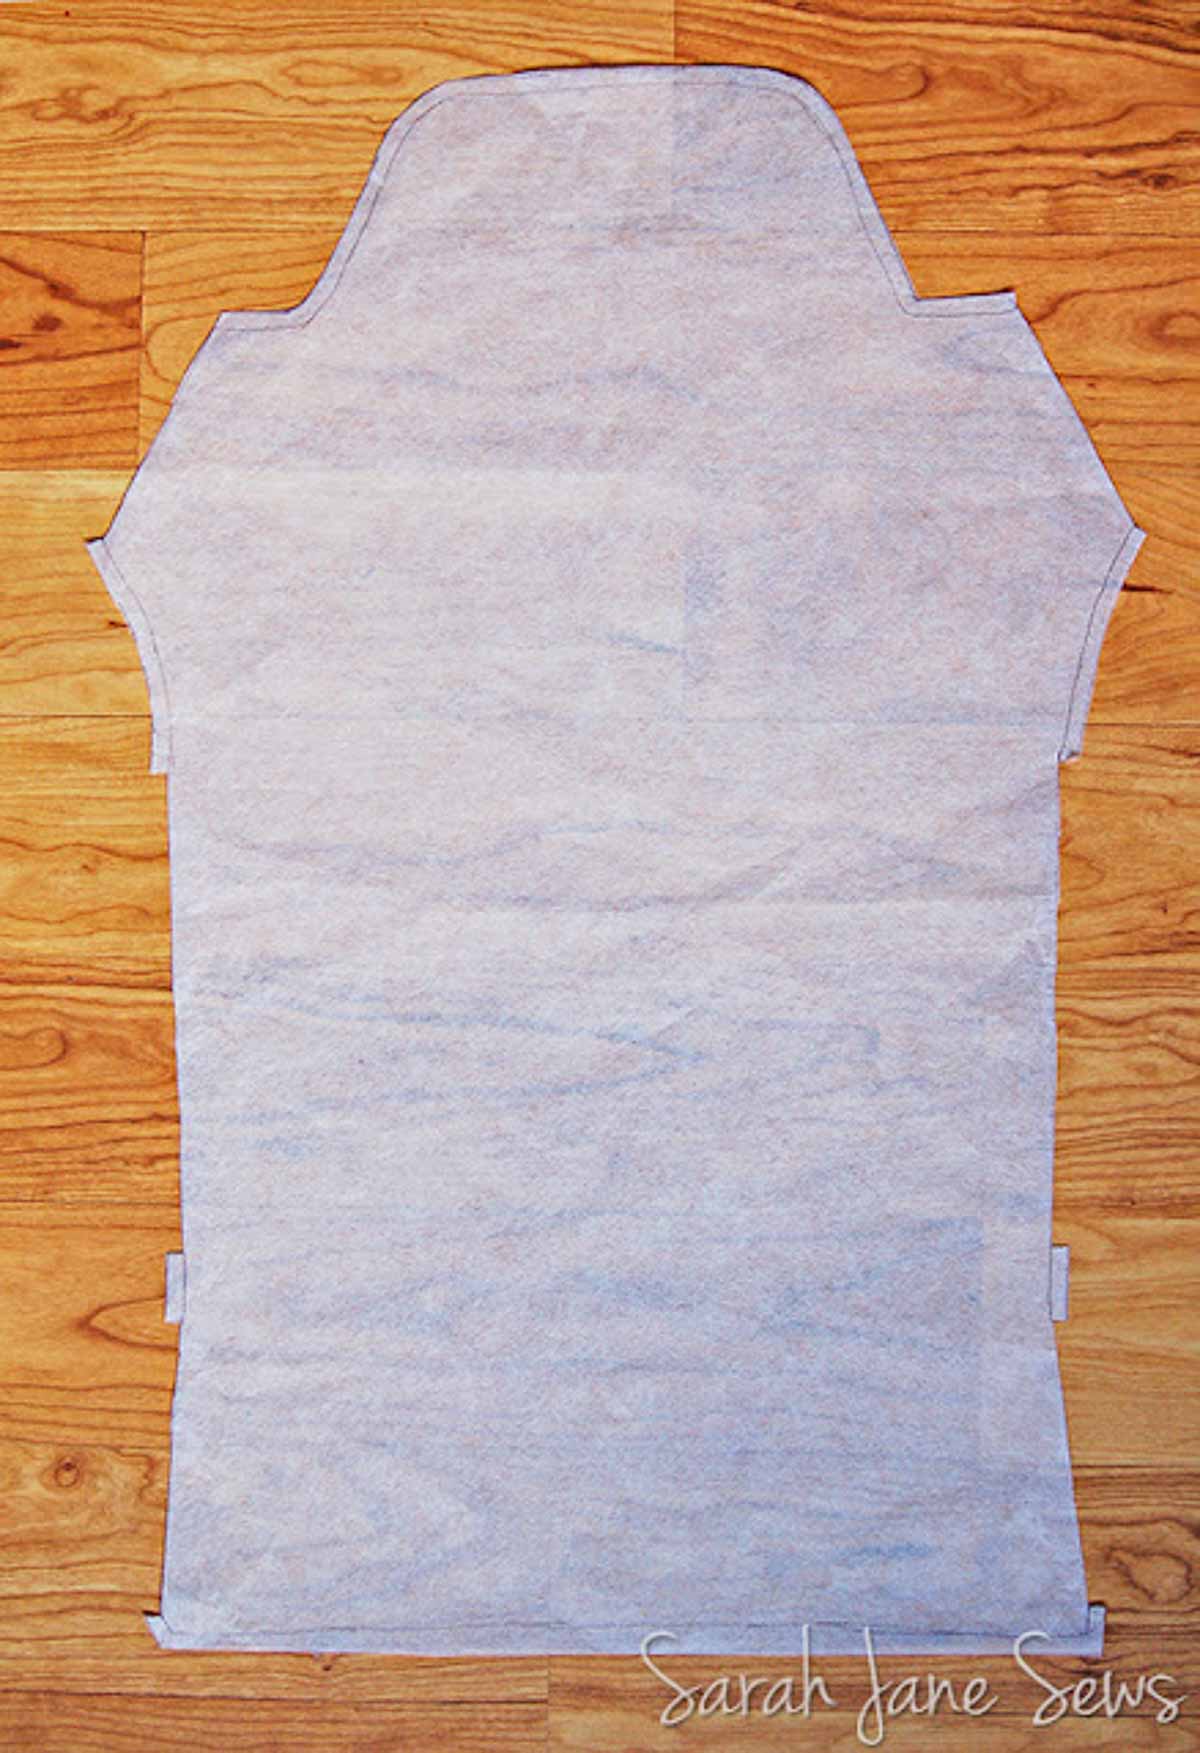
Step 3: Cut the front and back (inside) pieces from red fleece with the greater stretch going side to side. Cut one piece from the interfacing.
Step 4: Decide how many spots you would like on your ladybug — mine has three 3″ spots — and cut them from black fleece. Applique them to the front piece. I prefer a straight stitch when using fleece. If your carrier isn’t perfectly symmetrical, make sure you’re applying them to the correct piece!
Step 5: Take the piece of interfacing and cut away a bit from the strap areas, so that it doesn’t show if it gaps when it’s being worn. It will look something like this:
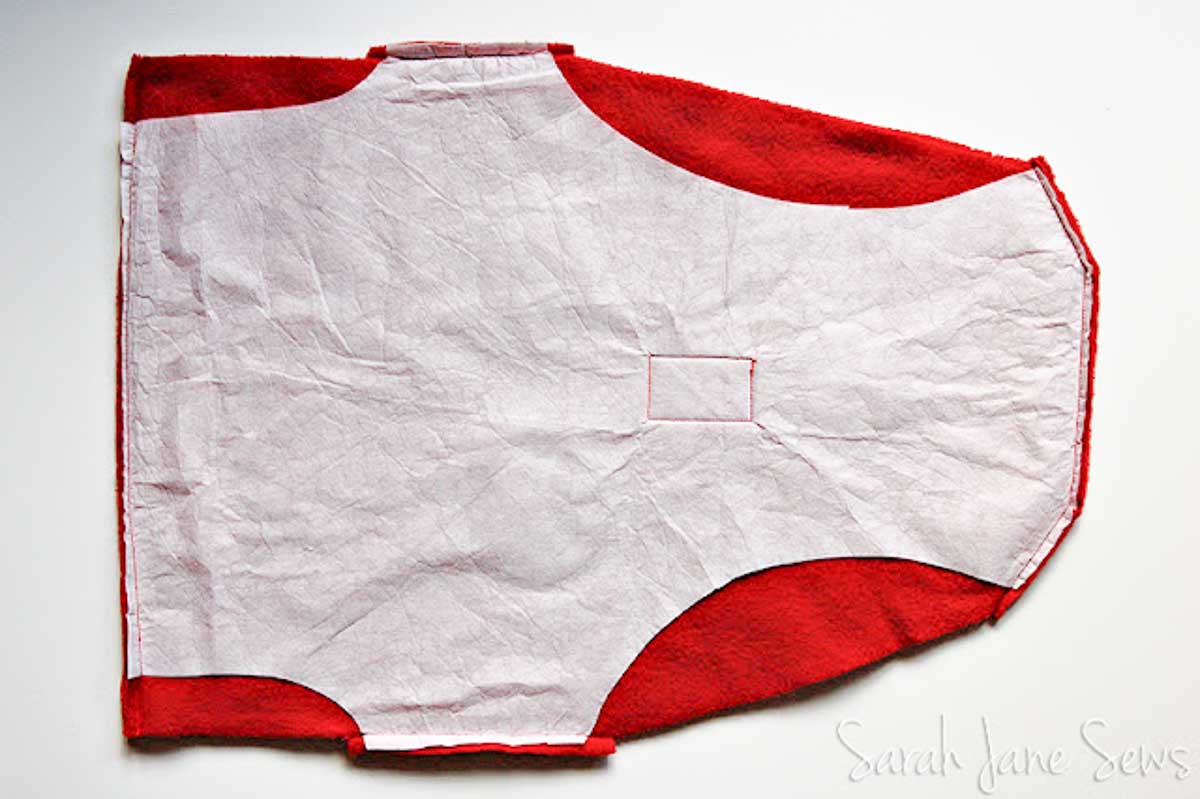
Step 6: Use a glue stick or pin the interfacing to the back of the front piece. The interfacing reinforces the fleece so that the weight of the wings doesn’t cause them to sag.
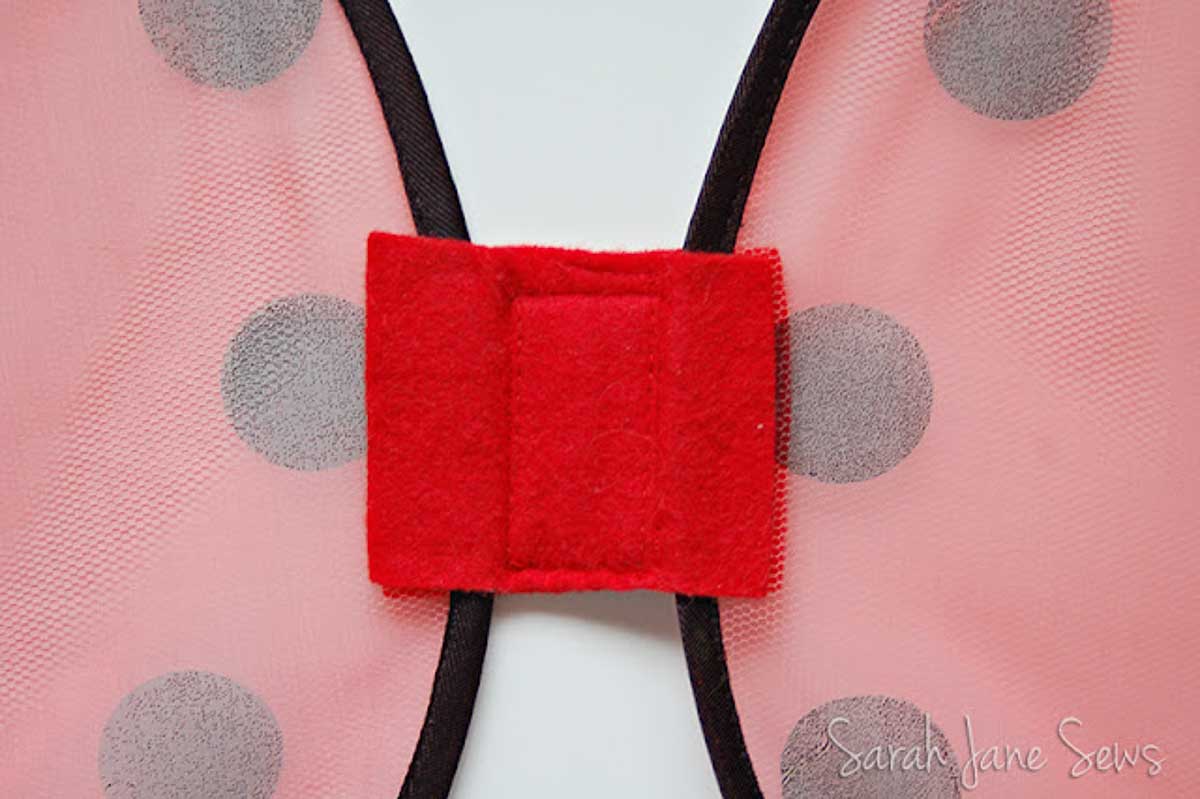
Step 7: Cut loop the same size as the hook on the wings. Decide where you’d like your wings to attach; the bottom of my hook is just above the center point of the body. Sew the loop onto the front piece and interfacing.
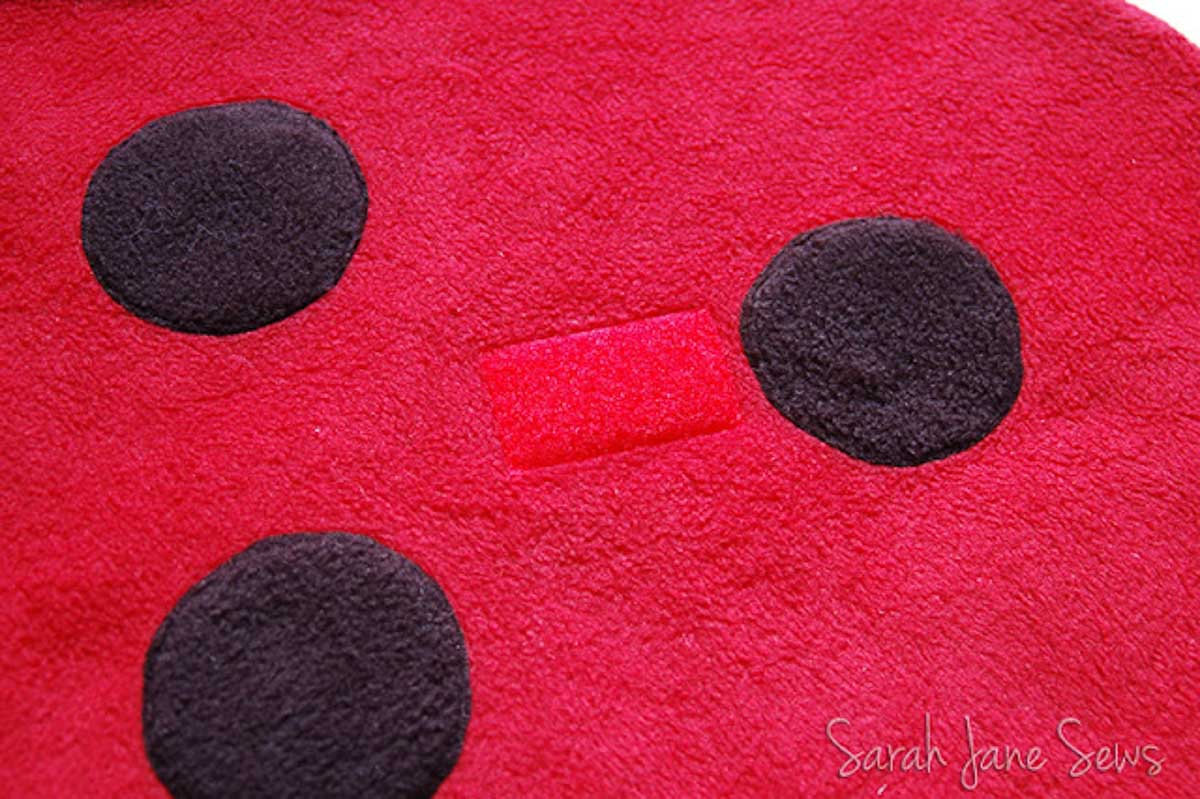
Step 8: Place the front and back pieces right sides together and sew seams, leaving openings for straps. Make sure you catch the interfacing in the seam allowances, as shown two photos above.
Turn the slipcover right side out. It’s done!
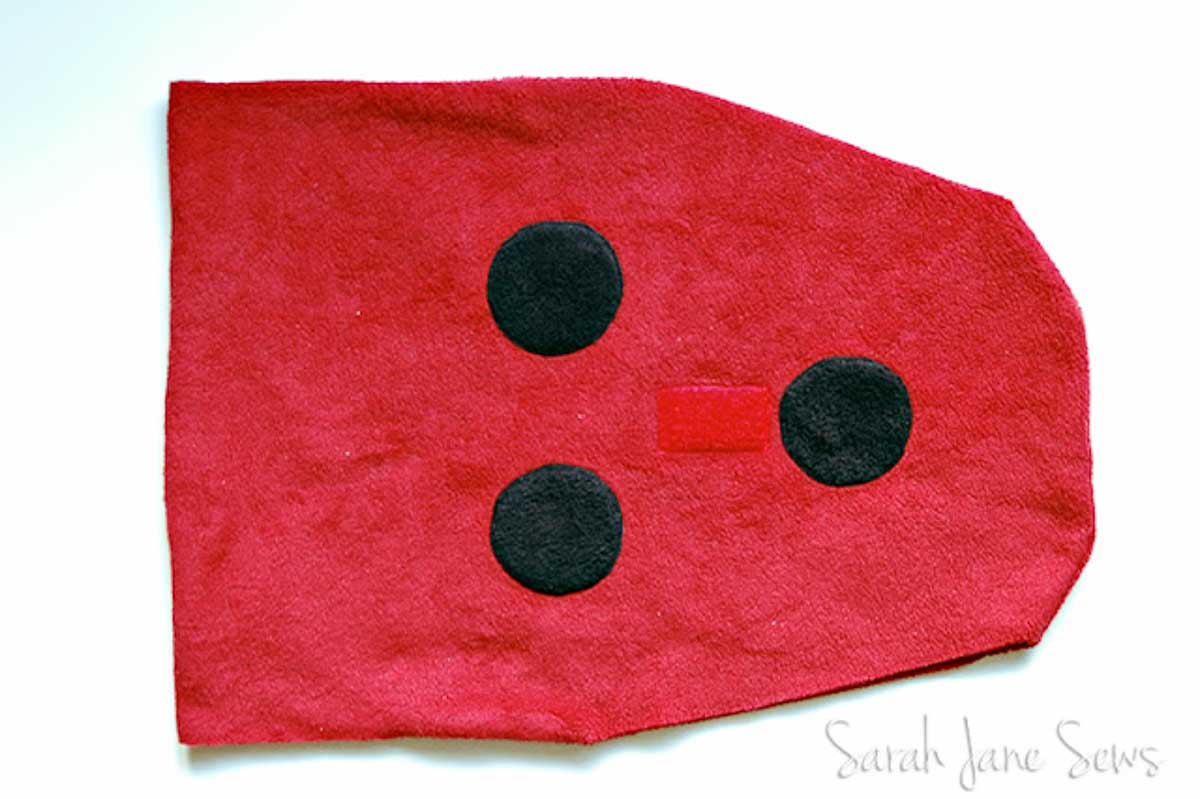
Slip it over your carrier, stick on the wings, and enjoy!
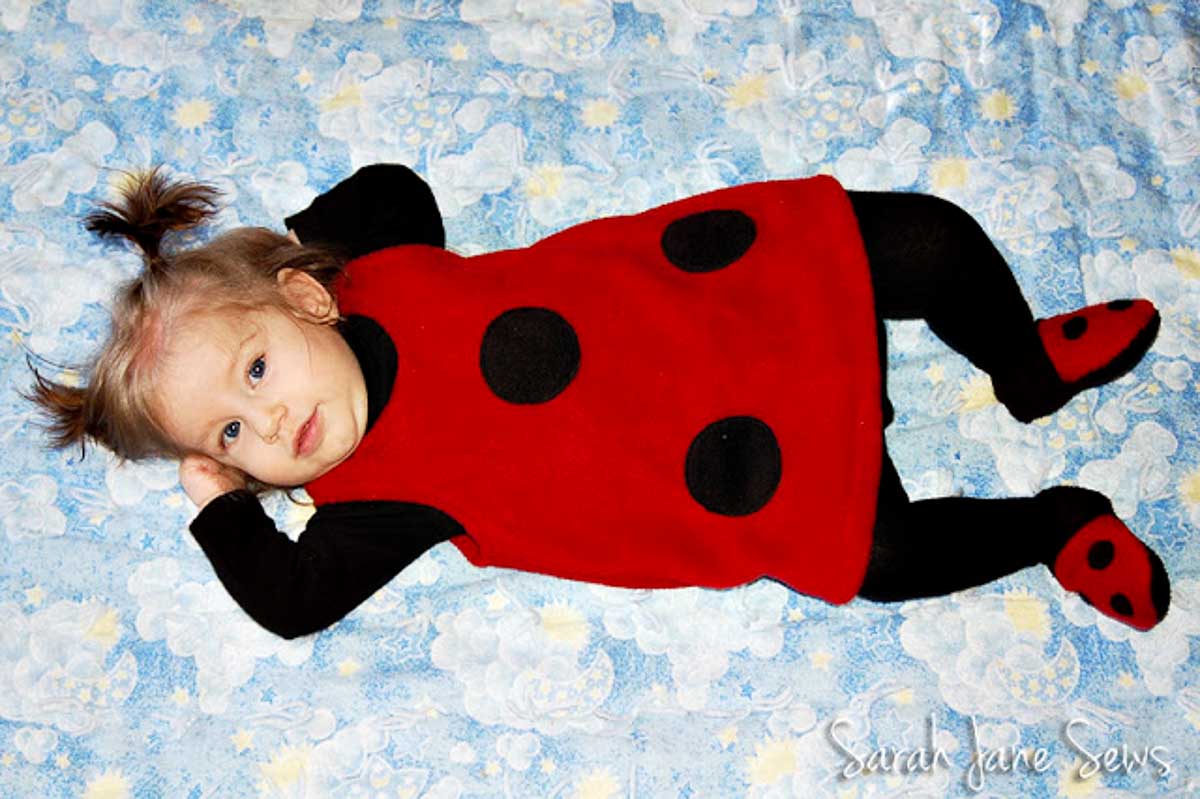
If you’d like to make your little one a simple costume to wear when out of the carrier, start with a basic a-line jumper pattern. I used the Ottobre 4/08 Nasta Pinafore, sewing shoulder seams instead of using buttons and finishing the neckline and armholes by turning them under ¼″ and using a zig-zag stitch. This was also the base of E’s bee costume and her owl costume. Sew some dots to the front and back. If your little ladybug is walking, you could also sew some loop to the back of the dress and stick the wings on when she’s out of the carrier.
Round out the look with a black onesie and tights. I also made some ladybug slippers from the free Darling Diaper Minimoc pattern (bottom left of the page).
Safety First
Creating an enchanting Ladybug Baby Carrier Costume is an exciting project, but your baby’s safety and comfort on Halloween must always come first. Here’s a closer look at how to ensure a safe and snug fit for your little one:
Ensuring Proper Fit:
- Begin by taking precise measurements of your baby to guarantee a well-fitted carrier costume.
- Test it out: Before the big night, ensure the costume fits comfortably. Your baby should have enough room to move their arms and legs without restriction.
- Secure straps: Double-check that all straps and fastenings are secure. It’s vital to keep your baby comfortably snug without any risks of slipping or falling.
Baby-Friendly Materials:
- Fabric selection: Choose soft, non-abrasive materials that won’t irritate your baby’s delicate skin. Ensure that there are no rough seams or tags inside the costume that could cause discomfort.
- Ventilation matters: Babies can get warm quickly, so make sure the costume is well-ventilated to prevent overheating. Consider lightweight layers for your baby’s clothing underneath.
Testing and Supervision:
- Dry runs: Conduct a trial run with your baby in the costume for a short period to see how they react. This can help you identify any potential discomfort or issues.
- Supervision is key: Never leave your baby unattended while wearing the costume, especially if they’re at an age where they might pull or chew on costume parts.
Prioritize Comfort:
- Avoid tightness: Ensure the costume doesn’t have any tight or constricting elements that might bother your baby.
- Opt for flexibility: Select fabrics that allow for easy movement, so your baby can crawl or toddle without hindrance.
By following these safety guidelines, you can create a Ladybug Baby Carrier Costume that not only looks adorable but also prioritizes your baby’s well-being. Remember, the goal is for both you and your little one to have a memorable and safe Halloween experience. Happy crafting!

Comments & Reviews
Vanessa@DesignsBySessa says
How adorable is THIS!!!