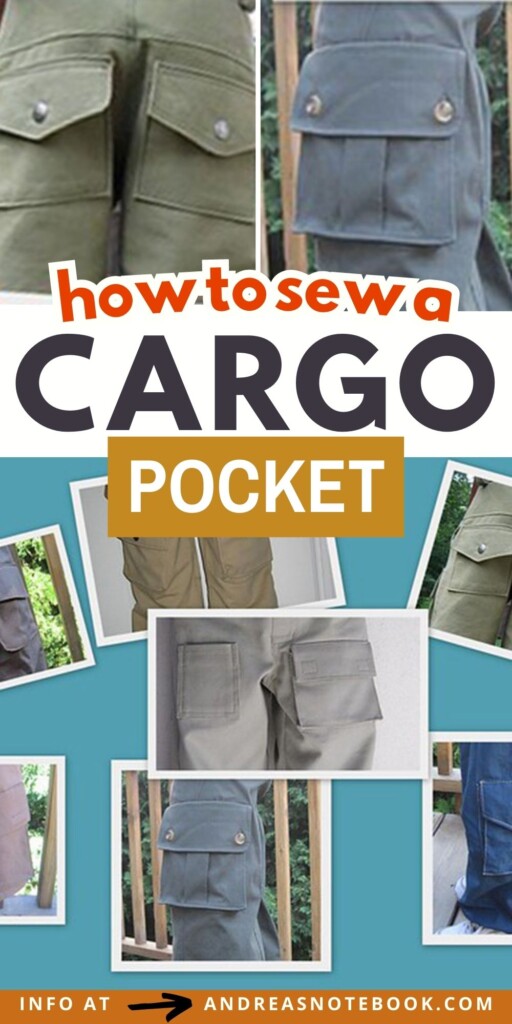
Learn how to sew a cargo pocket to sew onto shorts to make cargo shorts. Or sew onto pants to make cargo pants. Or even sew onto a handbag. This expandable cargo pocket tutorial will take you through the process step-by-step.
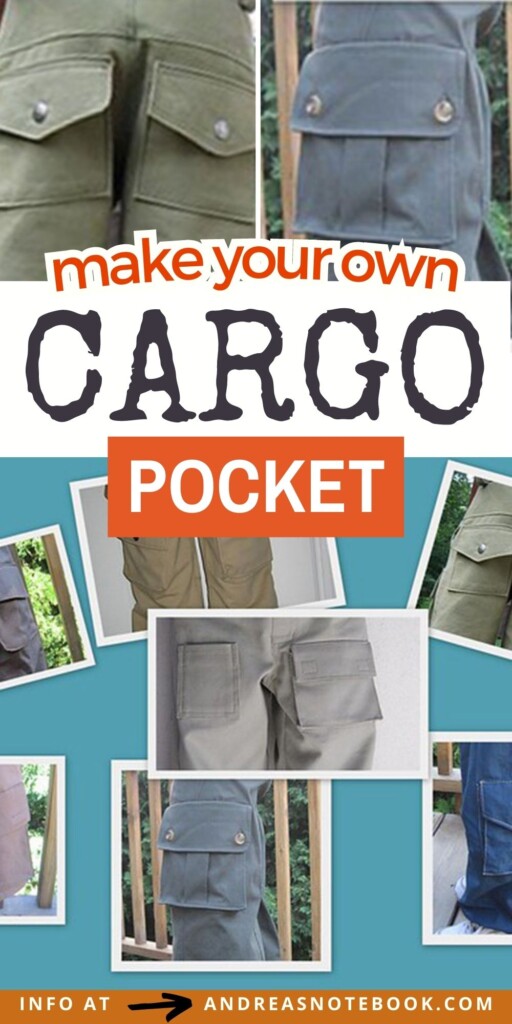
Learn how to make your own pattern for a DIY cargo pocket. Cargo patch pockets will take your sewing for kids up a notch! If you love sewing, check out this Easy Way To Remember Which Sewing Needle Is In Your Machine and learn 5 tips to organize your small sewing space.
What are Cargo Pockets?
Cargo pockets, the epitome of functionality married to style, mark their territory on various apparel. They are the larger, often box-shaped pockets that are found on the sides of cargo pants, military uniforms, and hiking attire. But they aren’t confined to those domains. They have gracefully infiltrated mainstream fashion, making appearances on skirts, jackets, and even formal wear.
These pockets are a beloved feature for their distinct practicality. They allow for additional storage space, a commodity always in demand. The design of cargo pockets usually includes a flap that covers the pocket opening, often secured with buttons, velcro, or zippers to safeguard items within. The hallmark feature of a cargo pocket is its ability to expand, thanks to the pleats on its sides. This feature allows the pocket to stay flat when empty but provide more room when needed.
Learning how to sew a cargo pocket is not only a useful skill for those interested in creating or repairing utility gear but also opens up a new world of design possibilities for homemade garments and accessories.
Why You’ll Love This Tutorial
Skill Level: Advanced Beginner – If you have some experience sewing you’ll be able to make this pocket.
Application: This pocket tutorial is great for garment sewing or bag sewing.
Gathering Your Sewing Supplies:
Preparing a complete kit before diving into the project of sewing a cargo pocket ensures a seamless and efficient workflow. Below are some essential tools needed:
- Fabric Scissors: For precise cuts in your fabric. Ensure they are sharp and solely designated for fabric to maintain their edge.
- Sewing Machine: A robust machine capable of handling various fabric weights is optimal.
- Needles: Opt for stronger, larger needles if working with heavyweight fabrics.
- Thread: Coordinate the thread color with your fabric and ensure its strength matches the fabric’s weight.
- Measuring Tape: Accurate measurements are the foundation of a well-constructed cargo pocket.
- Pins: Used to keep fabric pieces together before and during sewing.
- Iron: Essential for pressing seams and giving your finished pocket a professional appearance.
- Paper: Use this to make your pattern.
Selecting fabric and thread:
When it comes to choosing the right fabric and thread for a cargo pocket, durability and style should be at the forefront of decision-making.
- Fabric: The fabric choice largely depends on the garment to which the cargo pocket will be attached. If it’s a pair of heavy-duty cargo pants, opt for sturdy fabrics like canvas or heavy cotton twill. For a lighter garment, like a summer dress, a lighter cotton might be more appropriate. The key is to match the pocket fabric to the garment fabric in weight and drape.
- Thread: The thread should match the fabric in terms of color and strength. For instance, a heavyweight fabric requires a stronger thread, such as polyester, while lighter fabrics can be paired with cotton thread. The color of the thread should blend seamlessly with the fabric, unless contrast is part of the design.
Step-by-Step Instructions for Sewing a DIY Cargo Pocket
How To Make Cargo Pockets Tutorial Author: Joy from 21 Wale
One of my favorite things about sewing for boys is the DETAILS. With girls’ clothes, fabric is often the highlight. But with the more subdued fabrics we tend to use for older boys, the fun details are key.
And what detail is both interesting and useful? The pocket, of course! I thought I’d show you one method to assemble the classic cargo pocket.
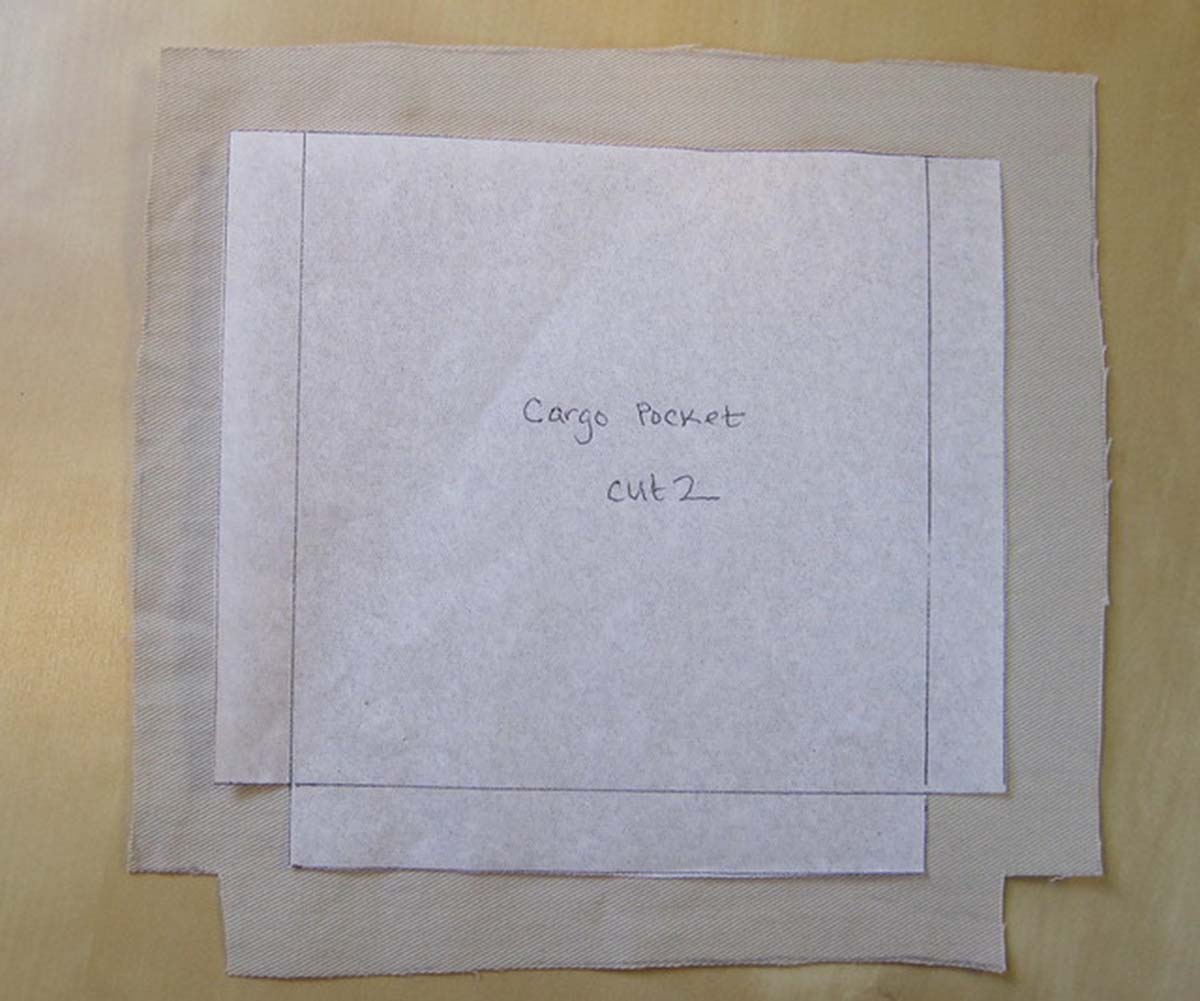
Step 1: Make the pattern piece and cut out the fabric, adding seam allowances to each edge
When making your pocket you’ll need to consider where you’ll be putting the pocket to help you determine the right size and width of the pocket. You’ll also want to consider the shape of the pocket, the pocket flap (whether to make one or not and the flap shape). Also consider how the pocket flap will be secured. You need to know where you will put your button holes, a magnetic snap, velcro, or sew on snaps. When making your pocket pattern, also consider whether this is a back pocket, front pockets or side pockets.
If you want to convert a patch pocket (in other words, a square) into a cargo pocket, just add extensions. My extensions are equal to my seam allowance of ⅝″. In the photo you can see that I have added a seam allowance in addition to my pocket extensions.
It’s easy to do a shaped or rounded pocket, too. Just cut a long strip (plus seam allowance on both long edges) for an extension and sew it around the edge of the pocket.
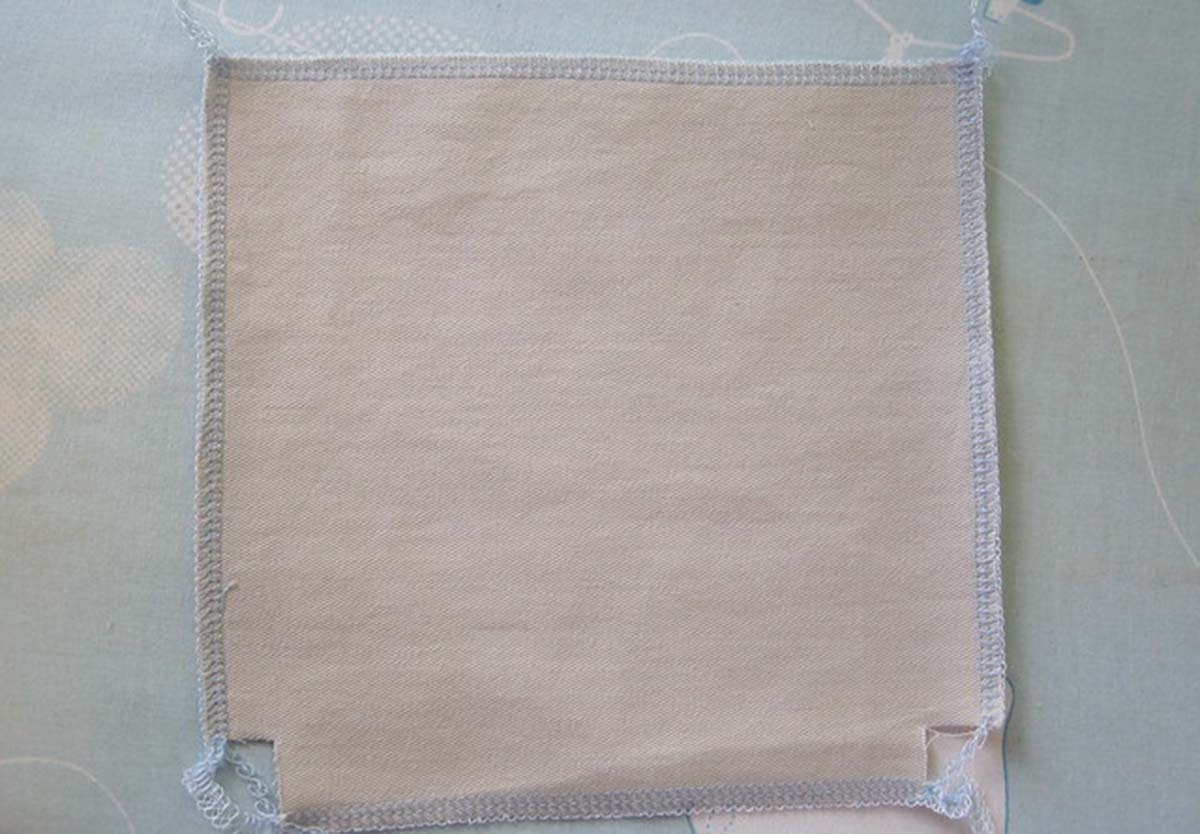
Step 2: Finish the edges
This is optional. I suppose it’s highly unlikely the pocket edges will fray to pieces sooner than the knees wear out. But you never know! Serging or zig zag stitching the outer edges is a great way to make the pocket last longer and prevent strings inside the pocket from the raw edge.
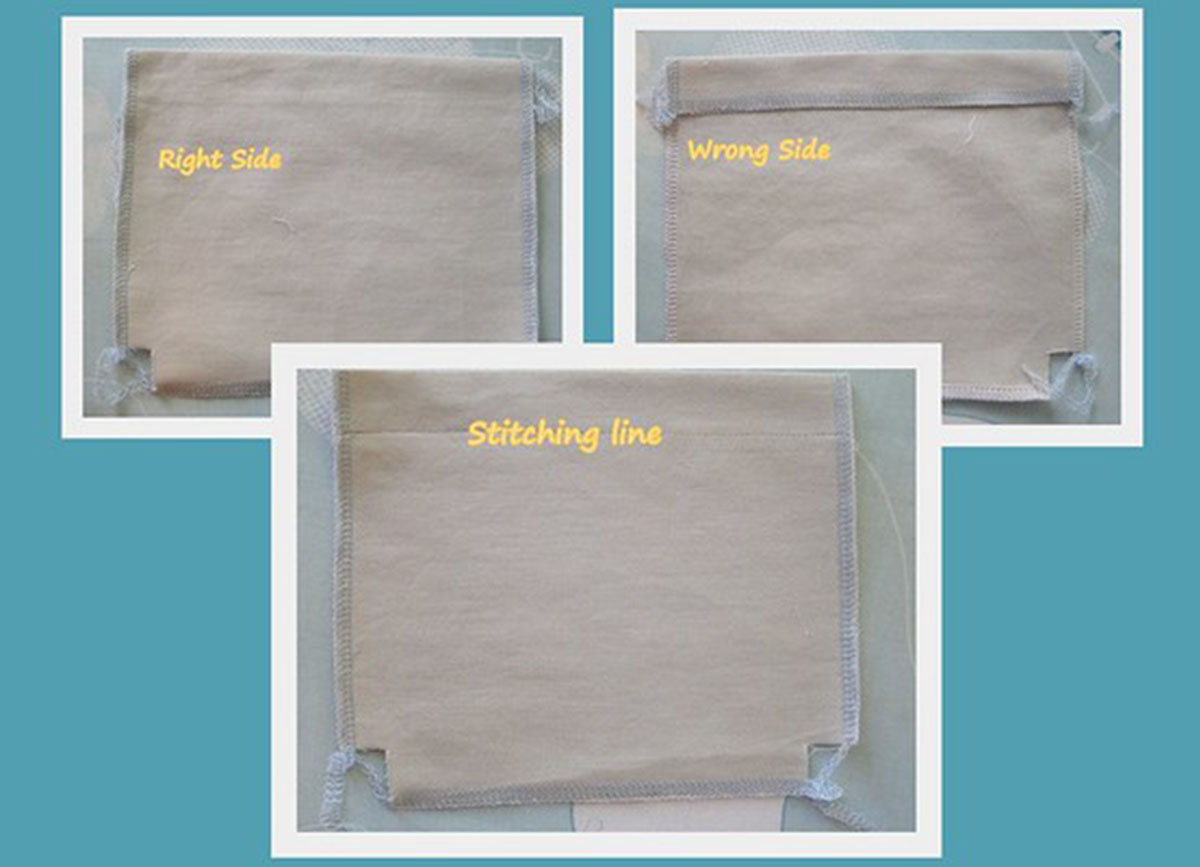
Step 3: Press under and stitch the pocket hem at the top
Fold the top of the pocket piece to the wrong side of the fabric. Press the seam then topstitch along the bottom of the hem to finish the top of the pocket.
Step 4: Press all the fold lines
Turn your pocket to the wrong side. You’ll be folding and pressing the sides and bottom seam allowances. First fold under ⅝ inch seam allowance and press. Make sure your wrong sides are together. Then fold again and press. One set of pressed lines are outlines of the main pocket piece. The other lines will be at the seam allowance edges.
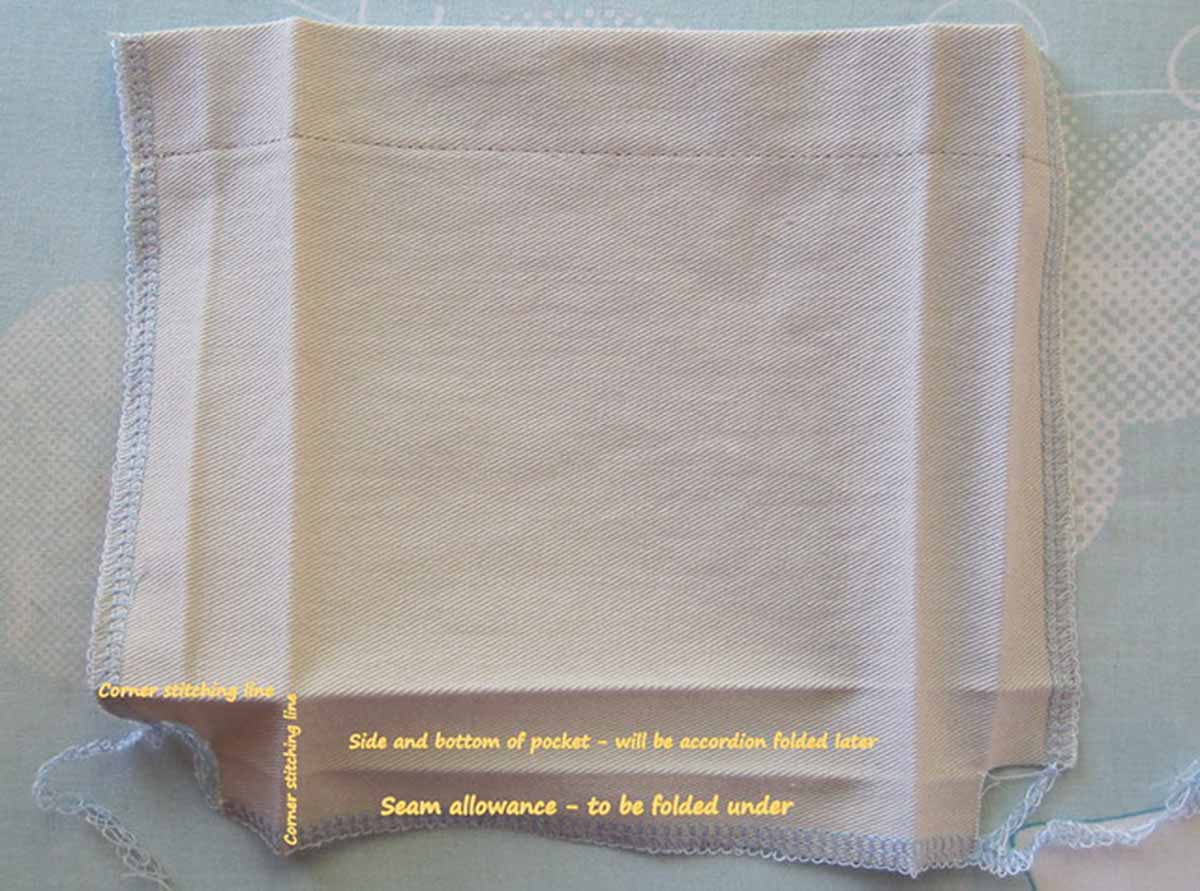
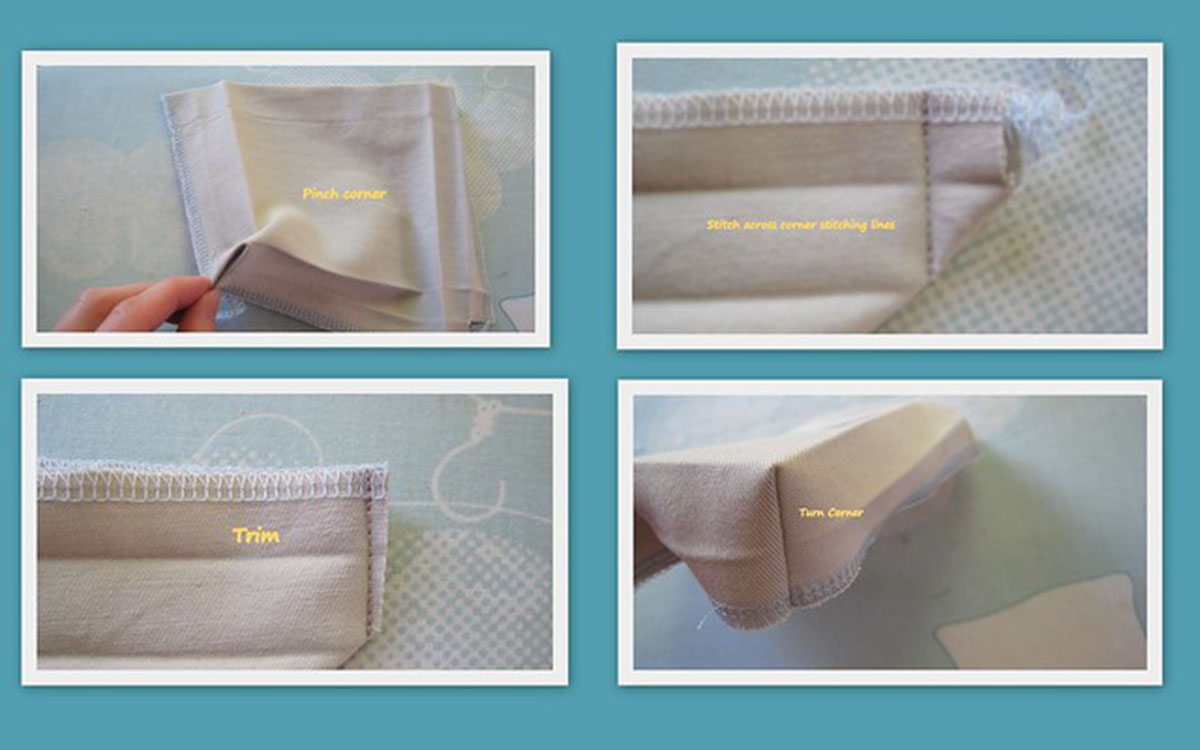
Step 5: Stitch the corners
Pinch the corner, turn pocket inside out and stitch on the pre-pressed corner line, which is perpendicular to the edge. Before trimming, flip the pocket right side out to check. Repeat for the other corner. Make sure you are making the corners on the bottom edge of the pocket.
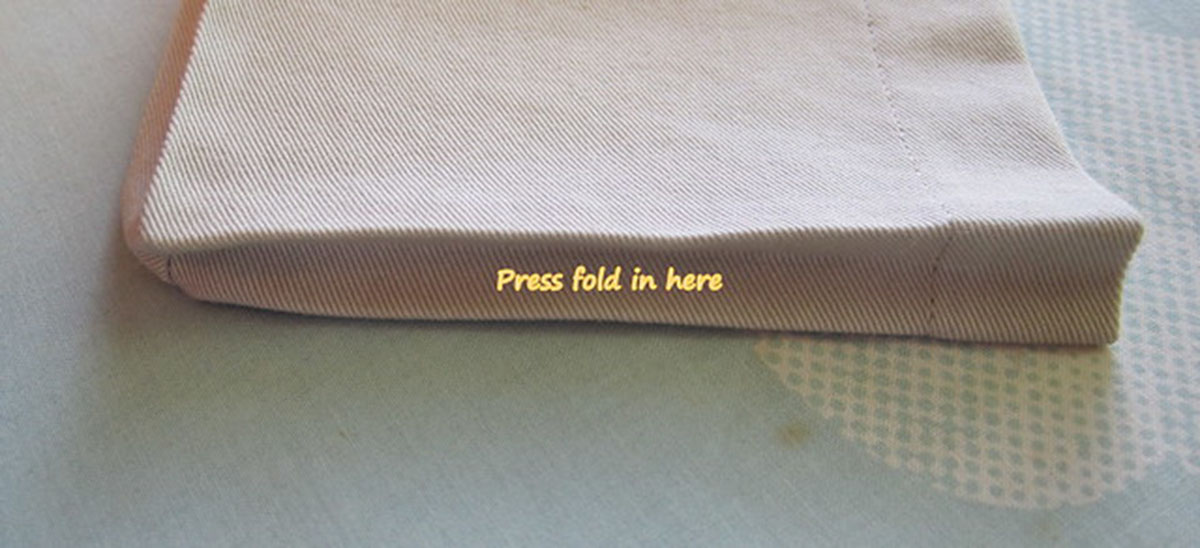
Step 6: Press the accordion folds of all 3 edges
Push the pocket extensions in and press in an accordian fold. This is an inverted pleat. The fold will be centered. This allows the pocket to be 3-D off the pants.
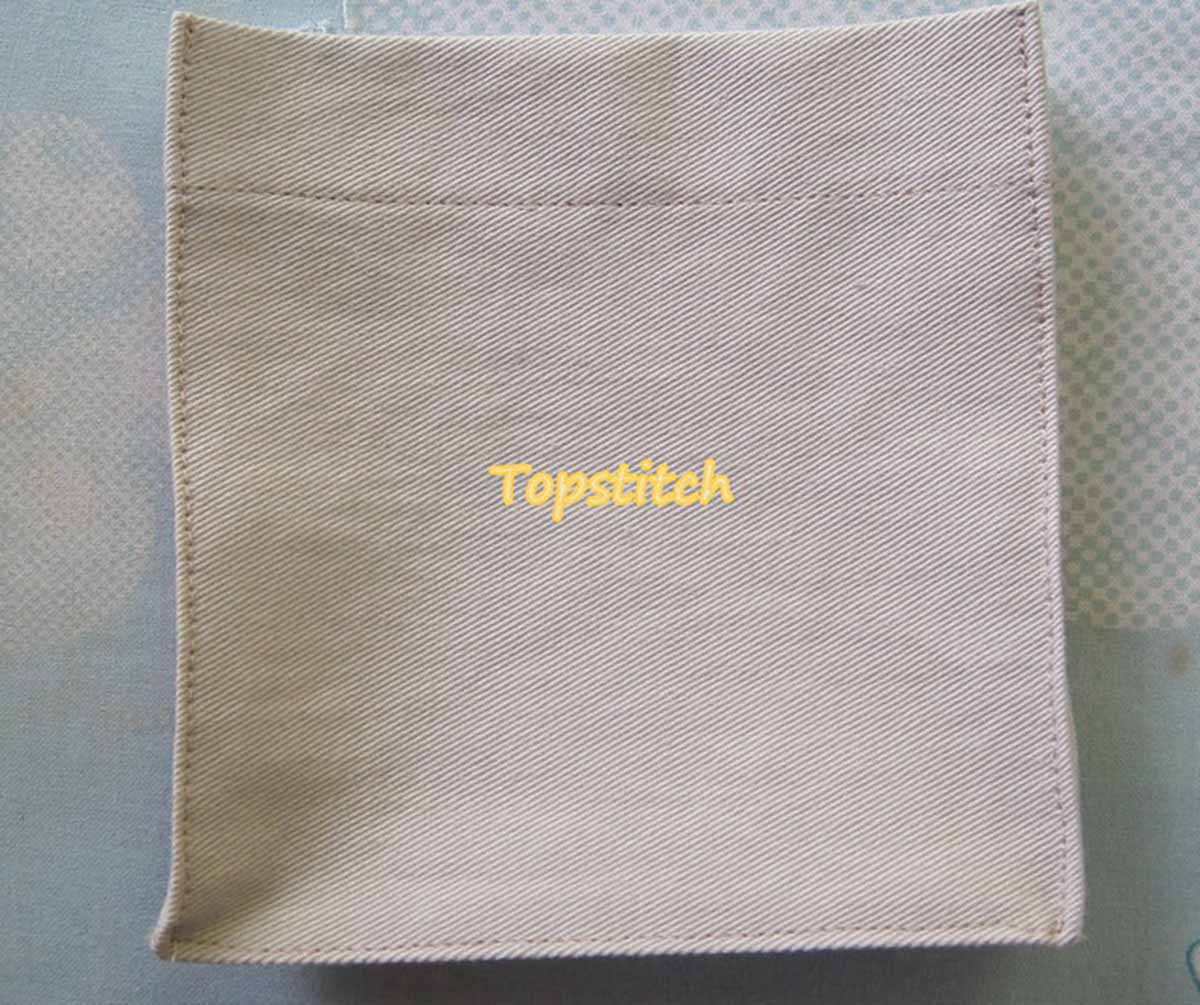
Step 7: Topstitch
This is optional, depending on how you want your pocket to look. A top stitch does look more professional. Do three separate lines of stitching, rather than one long one around the pocket. Otherwise, when you turn the corner, you’ll catch the folds of fabric. In other words, stitch (and backstitch) along one side. Remove from the machine, than stitch along the next side and repeat.
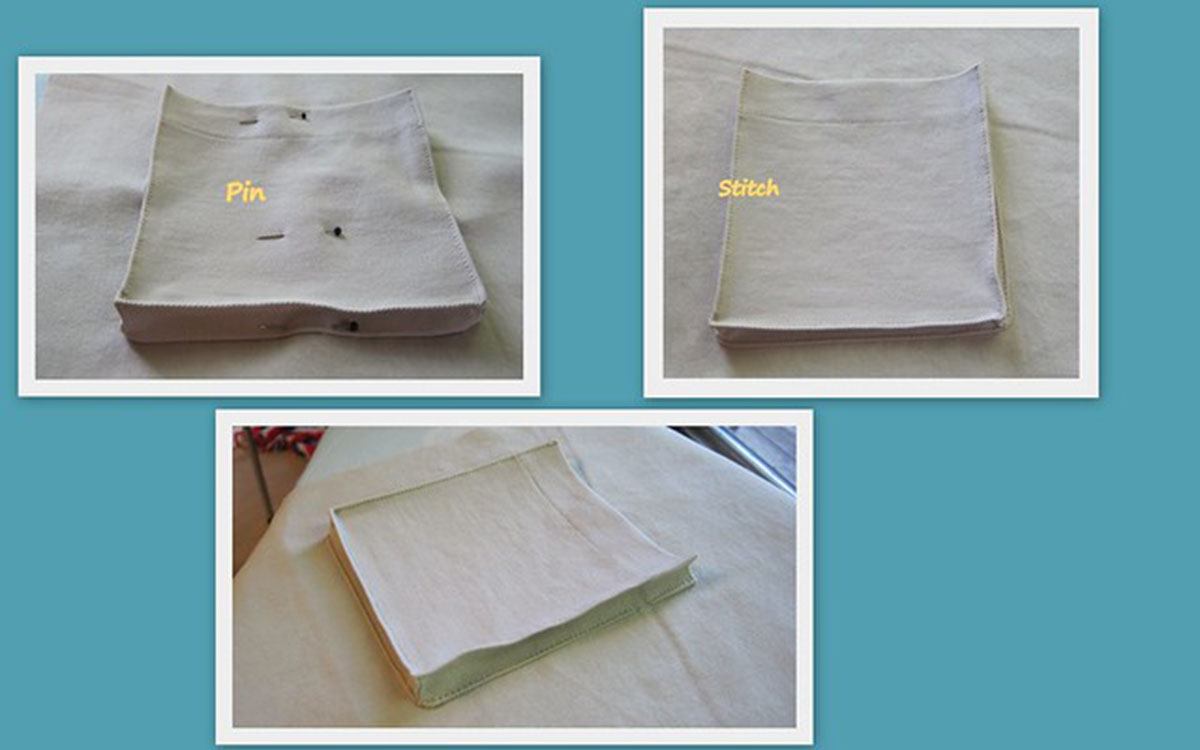
Step 8: Pin the pocket on the garment and stitch
Now that you know how to make a cargo pocket it’s time to sew it onto your garment! The stitching you’re doing here is just like topstitching; I usually start at the top edge of one extension, and go around the pocket, slowing down to neaten the corners.
Probably the trickiest part of the cargo pocket is positioning the pocket extensions so that they are stitched directly under the pocket piece. It’s easy for them to slide outward.
Always pin pocket to your garment or tote bag before sewing. Carefully sew straight lines along the seam allowance on each side. Your ironed fold (folded edge) is right where you want to sew. Sew from the right sides (top side). Go slow and be careful.
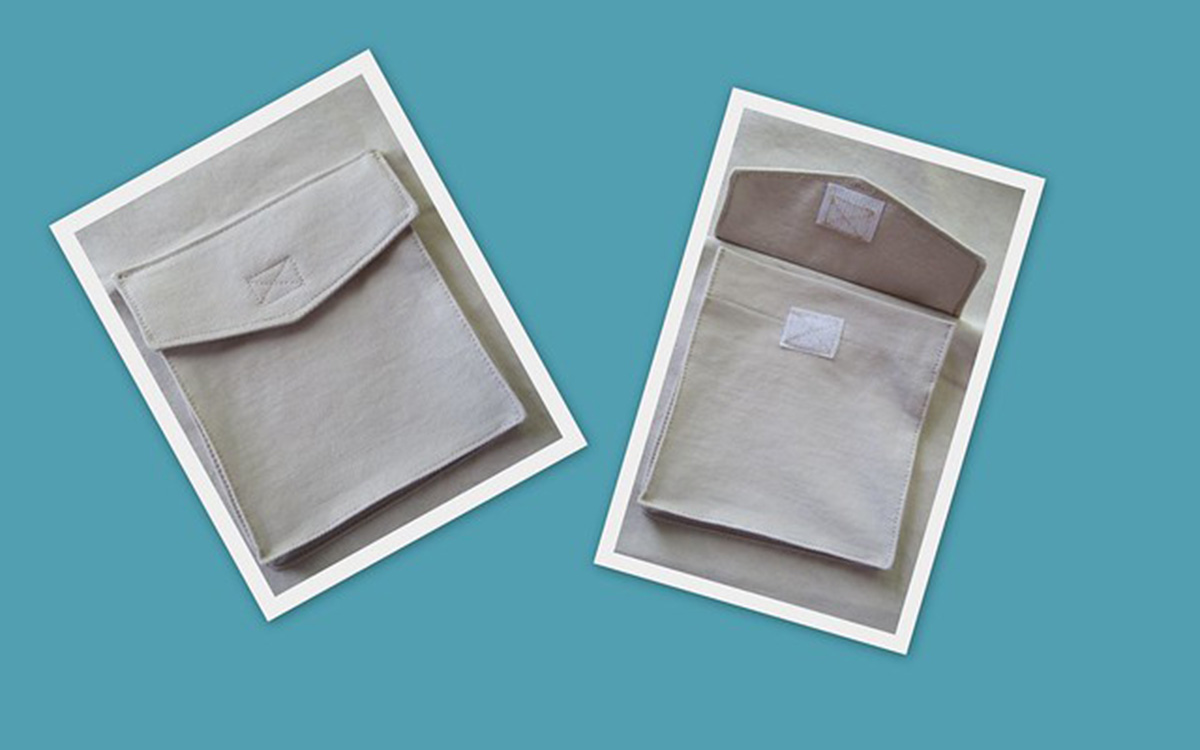
Step 9: Optional – Add a flap and velcro, snap, or button
Create a flap piece and sew onto your pocket. Topstitch around the edges for a professional look. Sew the velcro on so it is secure.
Some things to consider when making your top flap pocket:
- Flap shape (rectangular, hexagon, curved edge)
- Pocket closure (velcro, button, snaps)
- Which fabric (contrasting fabric or matching fabric)
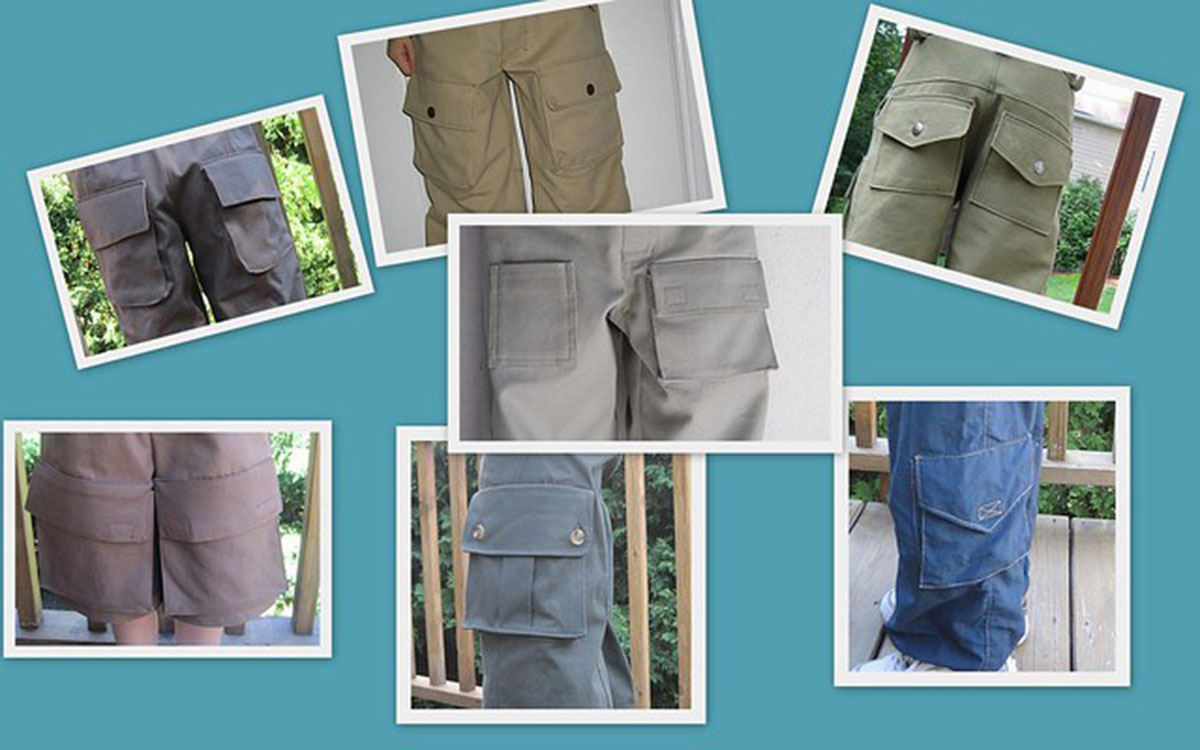
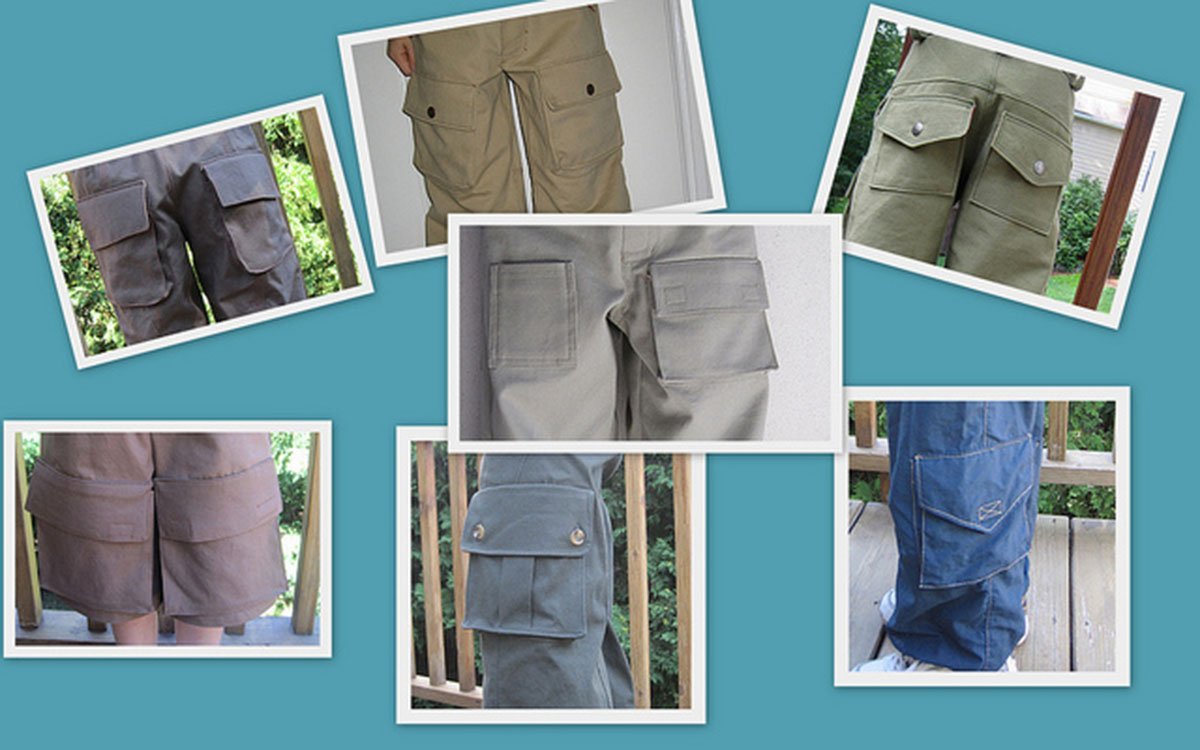
Now that you know how to sew a cargo pocket, here’s a small sampling of cargo pockets. There are so many options! One of the easiest ways to change up the look is to change up the pocket flap or how they’re closed. You can also change the pocket shape!
Yes, while a sewing machine expedites the process, it’s certainly possible to sew a cargo pocket by hand. It’s a bit more time-consuming and requires a sturdy needle and thread, as well as some patience.
The ideal fabric for cargo pockets depends on the garment. For heavy-duty items like cargo pants or work jackets, durable fabrics such as canvas or heavy cotton twill are recommended. For lighter items, a sturdy cotton may suffice.
Ensuring durability involves a few key steps: using a sturdy fabric and strong thread, reinforcing the top and sides of the pocket with extra stitches, and making sure the pocket is securely attached to the garment.
Sewing a cargo pocket can be a fun challenge for beginners. It’s a step up from basic skills like sewing a straight line or attaching a button, and it provides a useful, functional result.
Comments & Reviews
Susan @Living with Punks says
Awesome! I know I will be using this for my boys…Thanks!
Ashley @ Cherished Bliss says
What a great tutorial! I hope you will share at my party! : )
http://www.cherishedbliss.com/2011/08/craft-and-tell-no-19.html
Jordan (Wayward Girls Crafts) says
What a great tutorial–lots of photos, detailed steps. You make it look easy (or at least easy enough to understand!).
craig h says
Thank you Joy for sharing this info. Very helpful
Brightness Musasa says
Awesome! What a wonderful tutorial and easy to follow, surely I will use this for my cargo pockets.
Barbara says
Thank you! These directions beat Sandra’s Betzina’s directions in Vogue 1515. Couldn’t have gotten through the cargo pocket without these great step-by-step instructions. The pictures at Step 5 showed me what I was doing wrong. I also like the topstitching idea and will give it a try.
laila says
Thank you for this easy steps. it’s useful
have a nice day from Malaysia
Adam Bradford says
hi, i’d like to ask how you did the other cargo pocket (the one with the line going down the middle part on the pocket) thanks.
Designer menswear says
Pocket is very useful part of clothing. Everyone need it.
Designer Menswear says
This is great clothing thank you very much for this!
ande says
God bless the internet! Thank you for a clear and concise tutorial. ?
Jess says
I love this! So easy to follow. Quick question what is you pattern piece dimensions?
Emmanuel anjolaoluwa says
Thanks to you guys,you made it looks very easy 🤭🤭🤭
Georgia says
I love how many different cargo pocket ideas there are here! thanks for the tutorials.
daniel says
Thank you! These directions beat Sandra’s Betzina’s directions in Vogue 1515. Couldn’t have gotten through the cargo pocket without these great step-by-step instructions. The pictures at Step 5 showed me what I was doing wrong. I also like the topstitching idea and will give it a try.