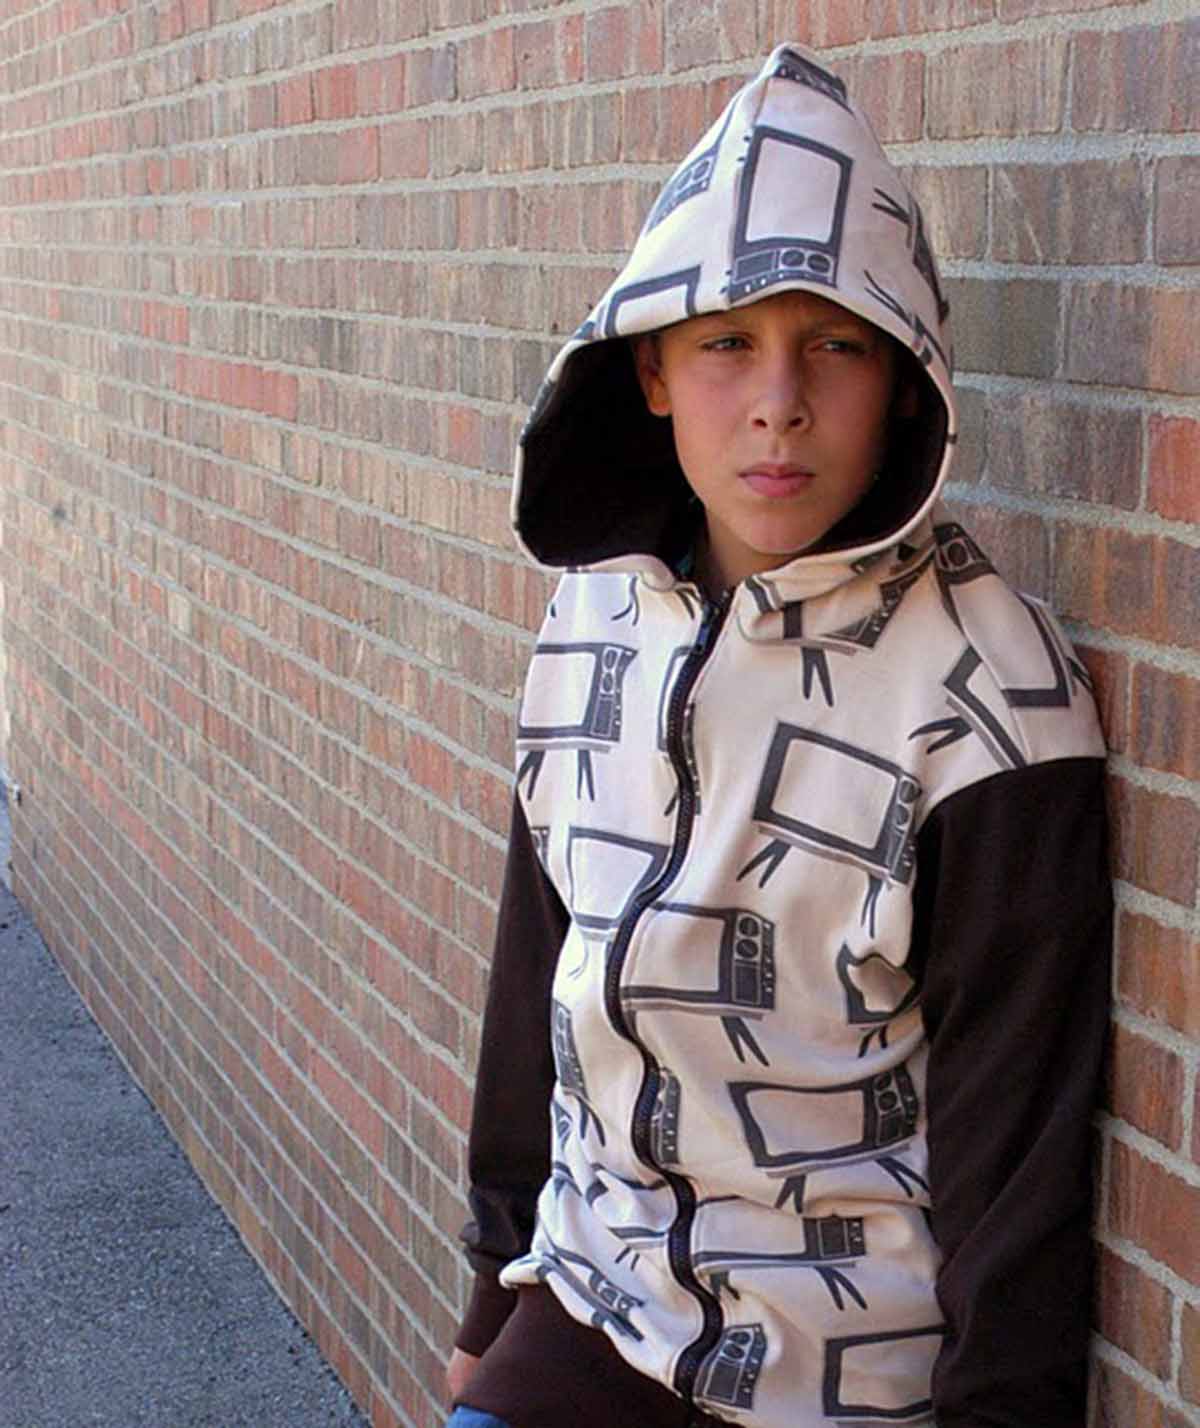
Hi everyone! My name is Emily, and I blog about boy goodness over at The Boy Trifecta. I’m so excited to be sharing the Oversized Hoodie!
I’ve found that, while there are some great boys patterns, many of the end at size 6 or 7, leaving my extremely tall 9-year-old out of the handmade fun. I also find that sewing for him can get pricey, because his garments require so much fabric! Many hoodie patterns are fully lined, designed to help the home sewist enclose raw fabric edges. This pattern is designed to conserve fabric by lining only the hood, while still being large enough for a big kid. I think this pattern is a comfortable size 12. Also, this is a QUICK project. I can get through this hoodie in less than 90 minutes. Let’s get started!
Supplies
- Oversized Hoodie Pattern Pieces
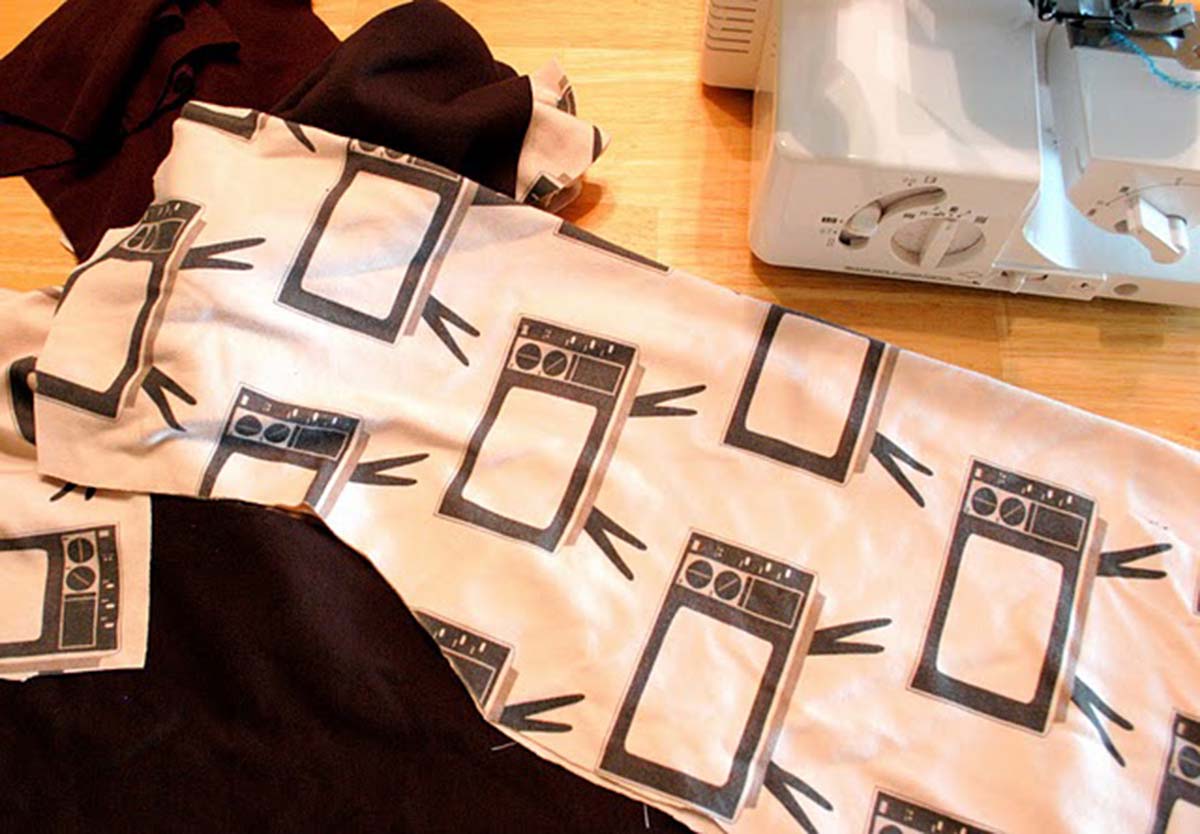
- 1.75 yards knit fabric .5 yards rib knit
- Separating zipper (30 inches)
- Twill tape (optional)
- Sewing machine
- Coordinating thread
- Zipper foot.
- *Note: You will notice that I sewed this entire project, except the zipper, on my serger. I did this because my regular machine is in the shop, so I didn’t have another option. You can ABSOLUTELY sew this on a regular machine. I would suggest either a stretch stitch or a zig zag stitch for all seams, except the zipper. If you use a knit, you can leave the edges raw.
Step-by-Step Instructions
Step One: Cut Pattern Pieces
I recommend printing all the pages, taping the pages together, and then cutting out the pattern pieces.
The hoodie body is one pattern piece for both front and back. I suggest using the pattern piece to cut the hoodie back first, then trim out the neckline from the pattern piece and use the same piece for the front body pieces. Front and back necklines are marked on the pattern piece.
Step Two: Cut Fabric
You should have:
- 1 back body: use body piece and cut on fold
- 2 front body pieces: use body piece, cut both pieces at once by laying pattern on fabric, wrong sides together
- 4 hood pieces: cut two simultaneously by placing on fabric wrong sides together
- 2 sleeve pieces: use sleeve pattern pieces, cut on fold
- 2 pieces of rib knit that are 9-inch wide by 6-inch tall
- 1 piece of rib knit that is 32 inches wide by 8 inches tall
Step 3: Sew Shoulder Seams
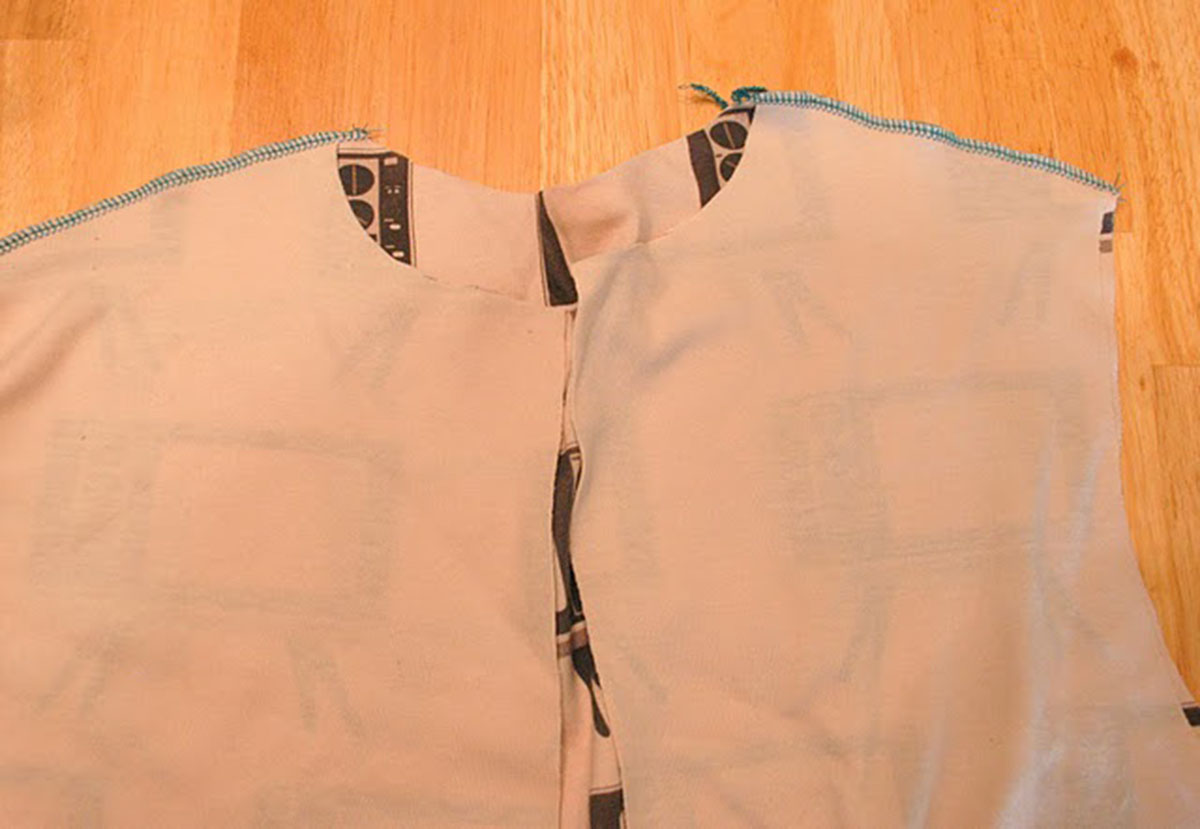
Lay back of hoodie on a flat surface, right side up. Place front hoodie pieces on top, right side down. This will make the right sides together (RST). See image below.
Sew the shoulder seams together.
Step 4: Sew in the Sleeves
Open up the body. Lay the curved shoulder edge of sleeve piece right sides together with the curved shoulder of the body piece.
Pin along the edge.
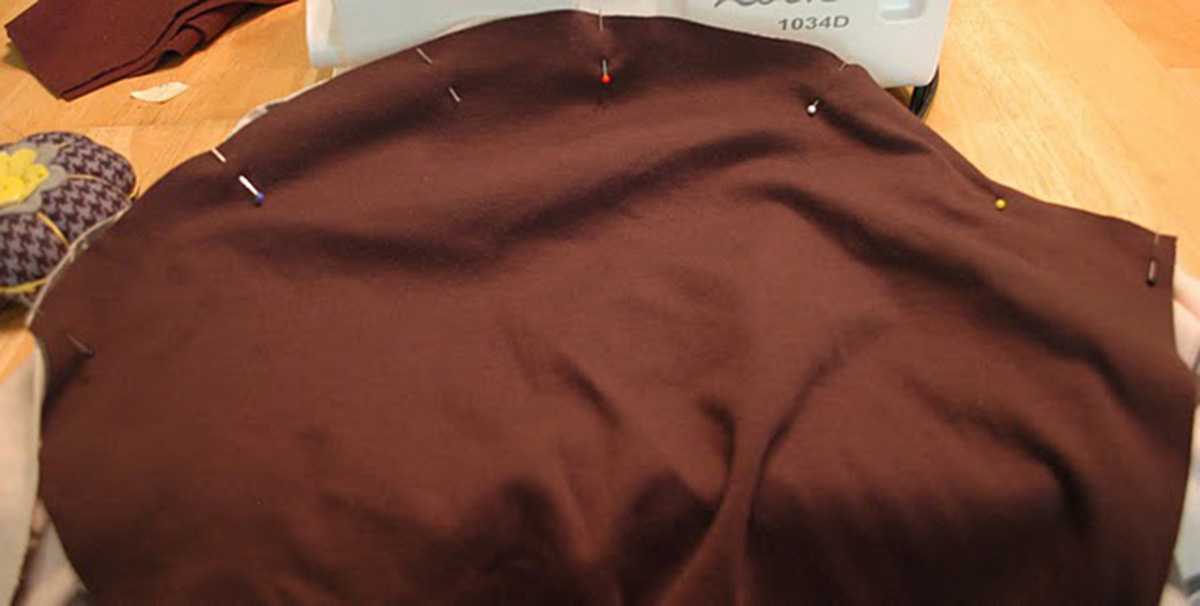
Sew to attach the sleeves.
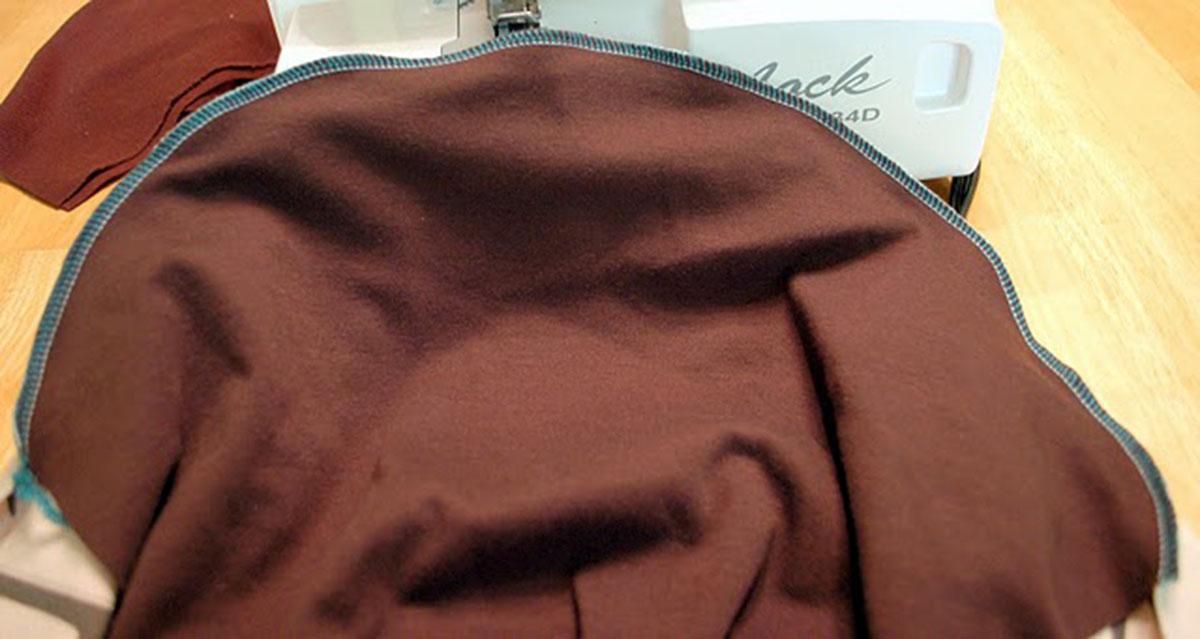
Step 5: Sew Side Seams
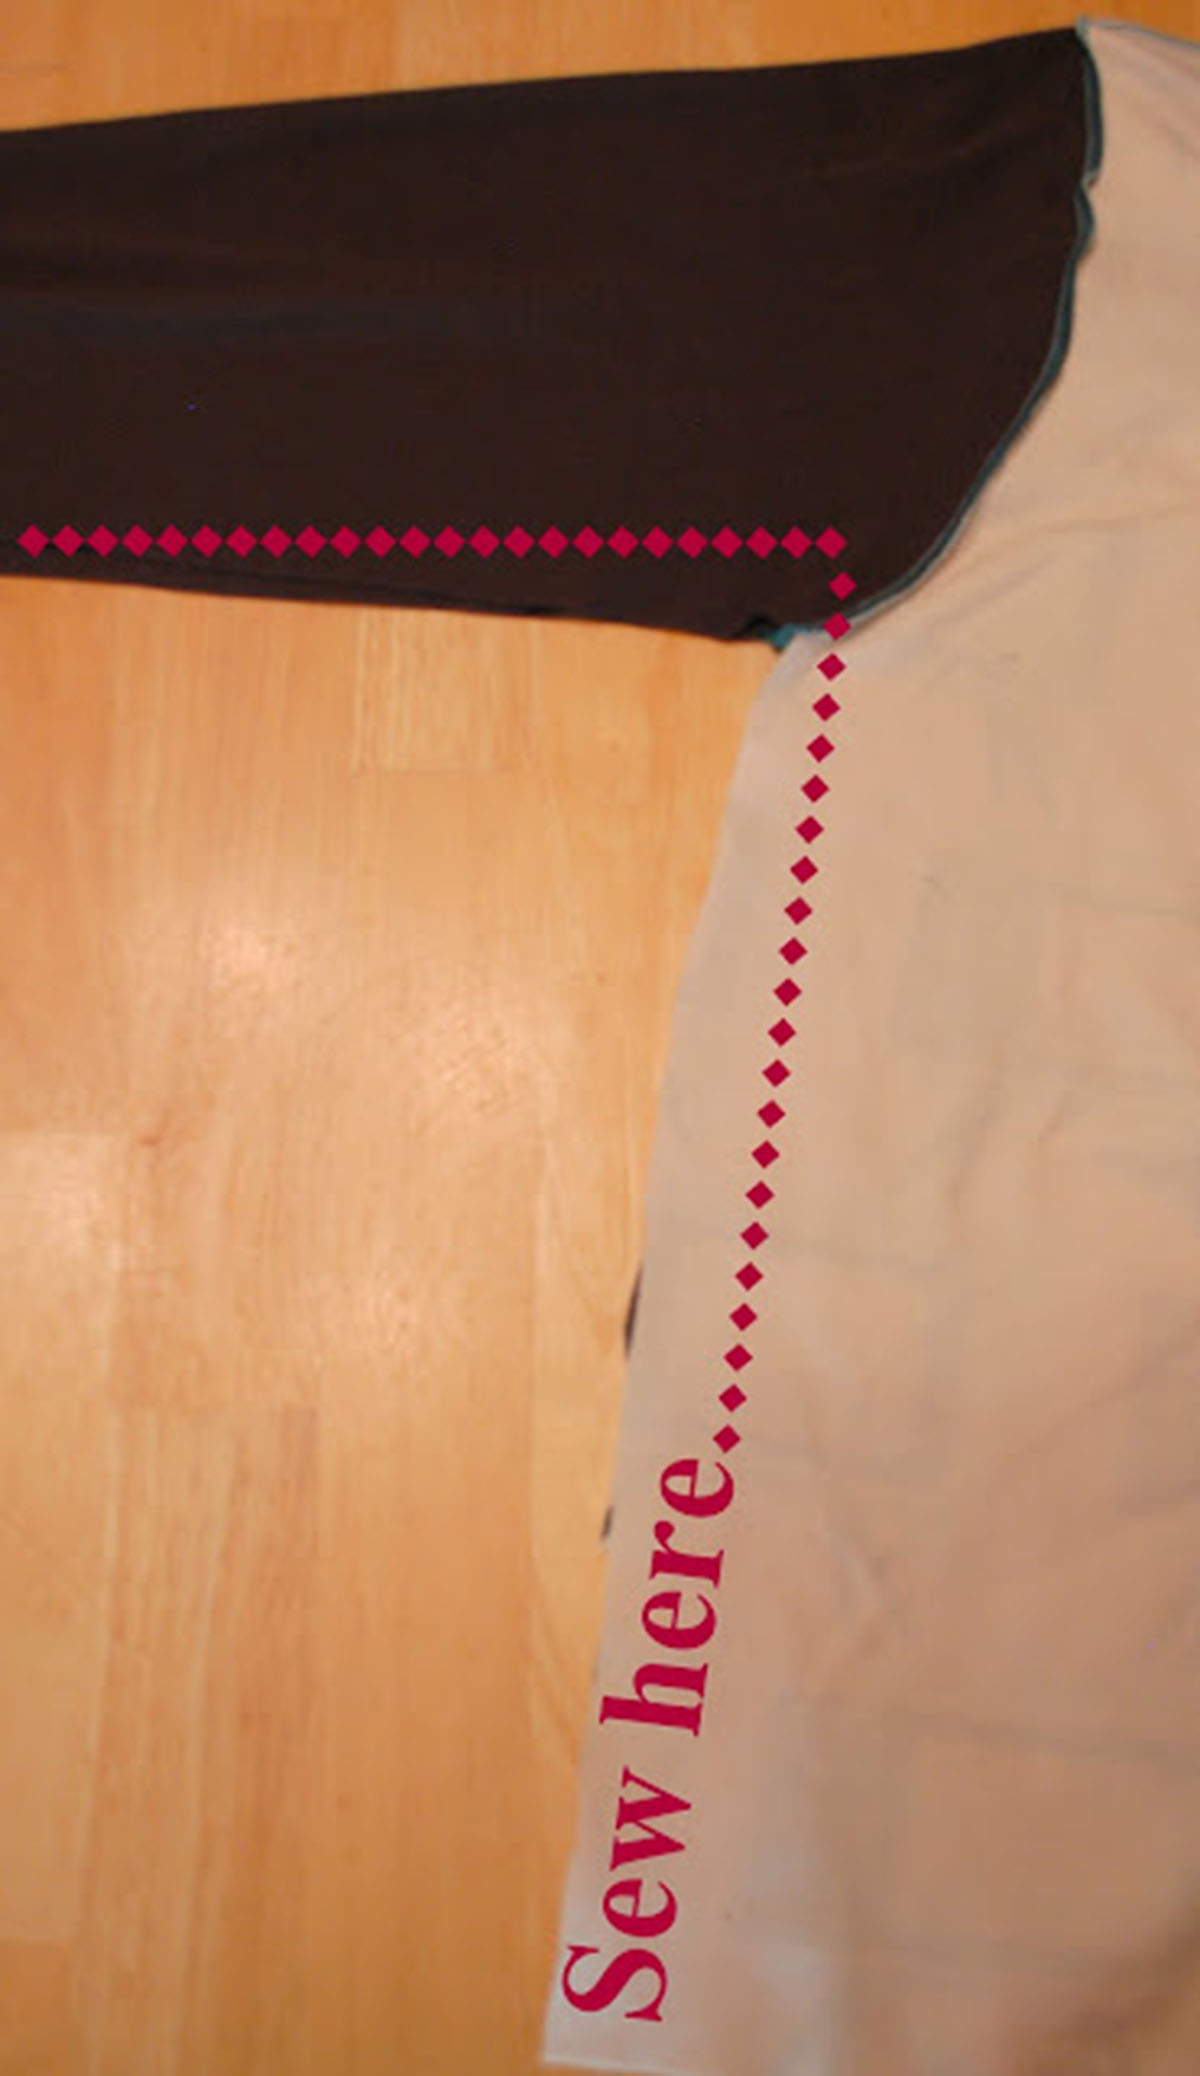
Turn the hoodie right sides together. Line up sleeve seam edges and body edges. (see image).
Pin and sew along the sleeve and body seam.
Step 6: Sew Hood
Place hood pieces right sides together, and sew around curved edge. Repeat with second set of hood pieces.
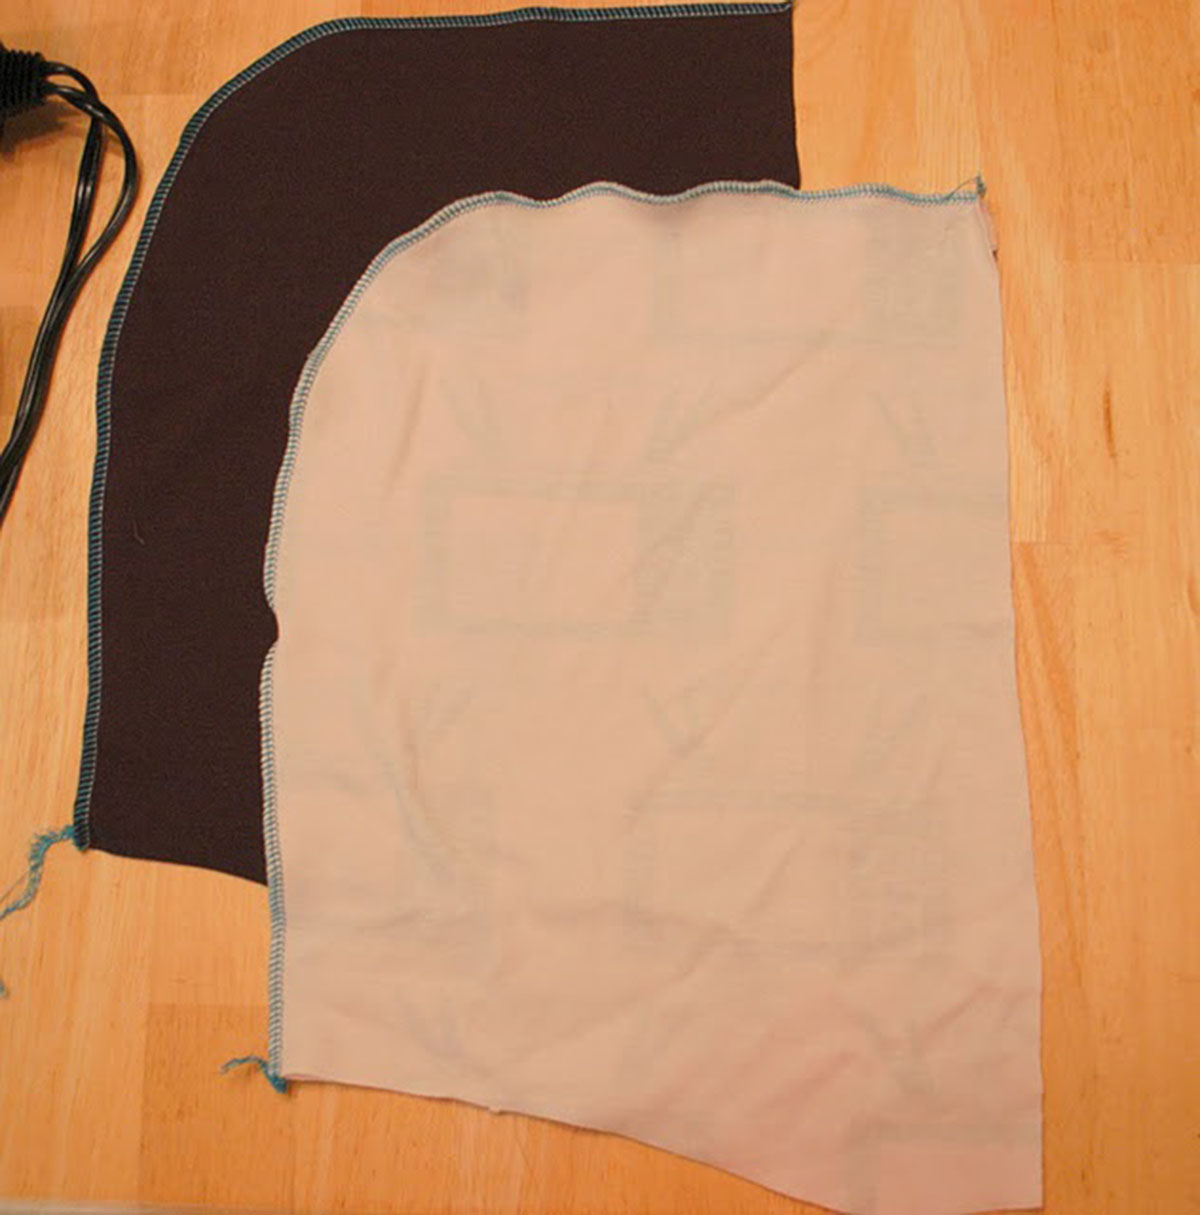
Step 7: Sew Hoodie Lining
Place one hood inside the other hood, right sides together. Stitch around the front edge of the hood. This is the straight edge. Sew from the bottom edge of one side up and over to the bottom edge of the other side.
Turn right side out, press, and topstitch the front hood edge (optional).
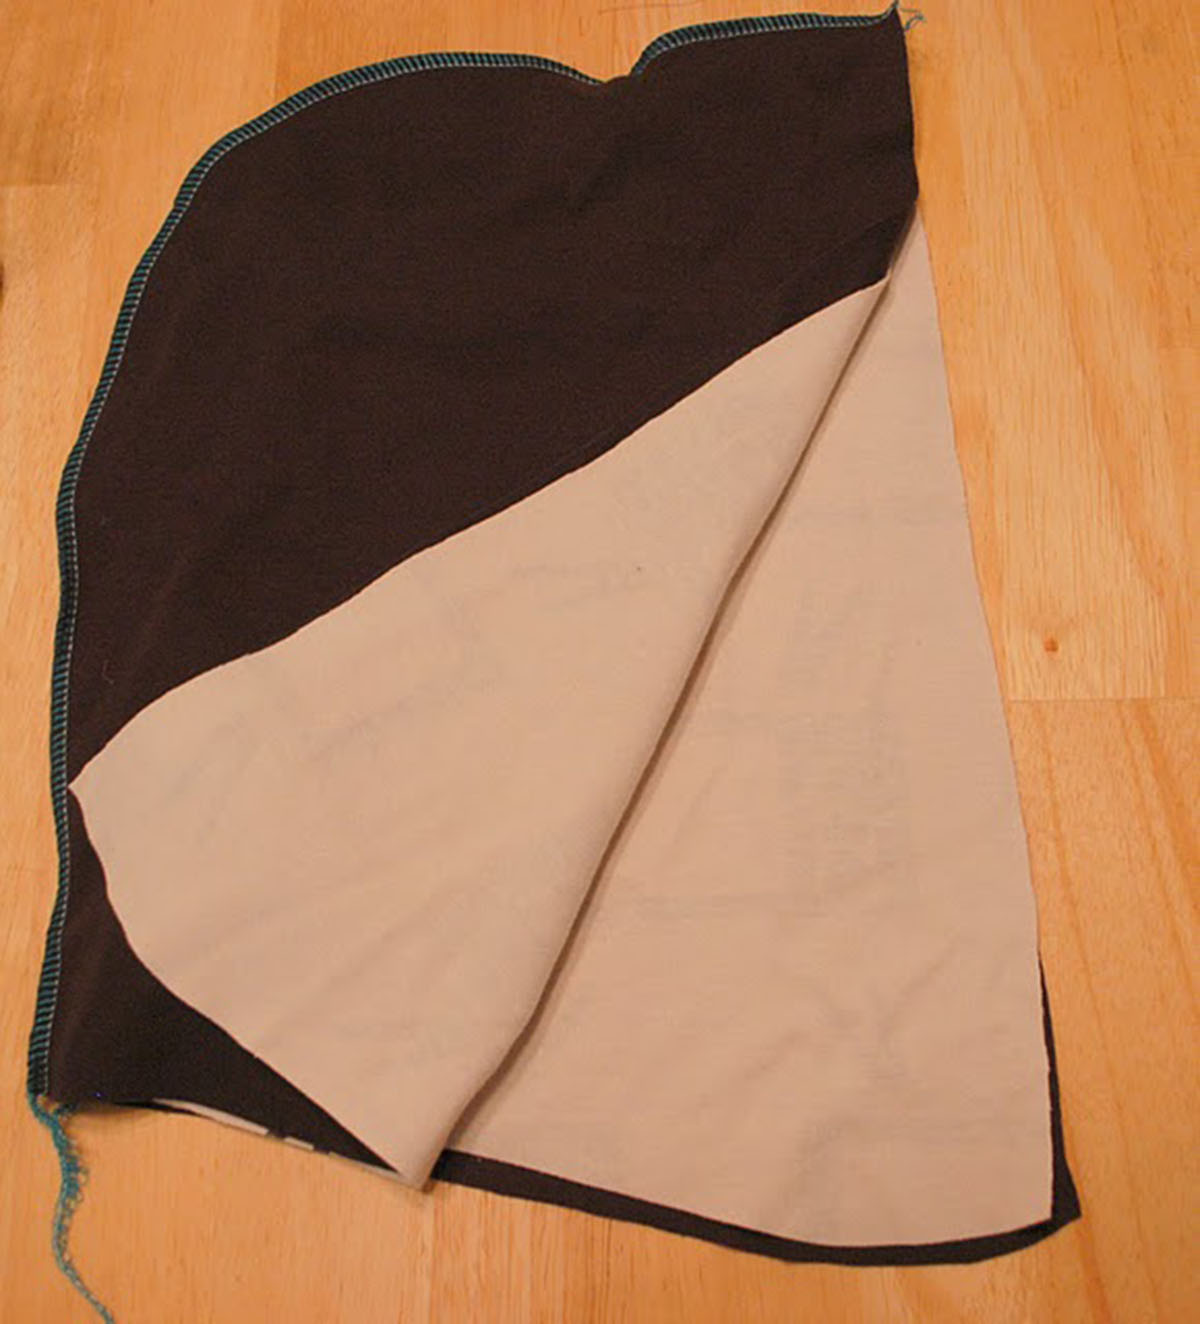
*Optional: Cover this seam at the back of the neck with twill tape. This is a common finishing method in unlined hoodies. 9. Grab your smaller piece of rib knit. Fold it in half, matching the short ends, and stitch up the side.
Step 8: Attach Hood
Pin the hood to the neckline, right sides together. Start by matching the center hood seam with the center back of the neckline. Then match the front corners, and fit the rest of the hood to the neckline. Pin in place.
Sew along the neckline, capturing all 3 layers.
*Optional: Cover this seam at the back of the neck with twill tape. This is a common finishing method in unlined hoodies.
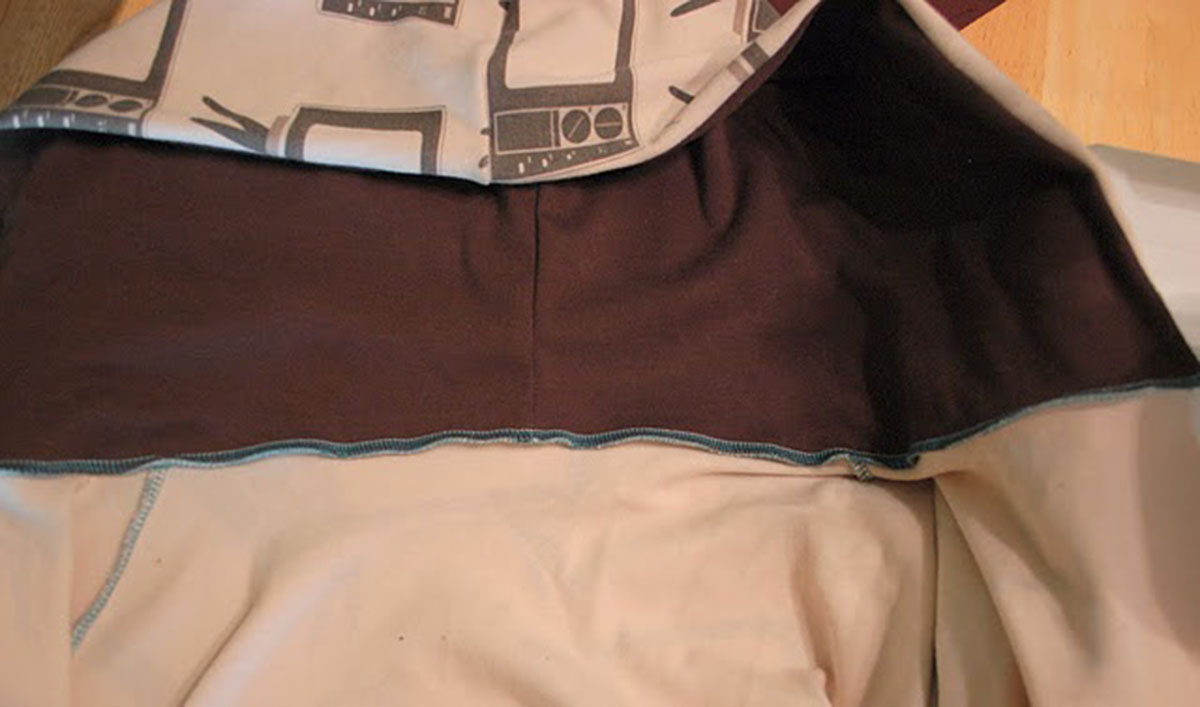
Step 9: Attach Sleeve Cuffs
Grab your smaller piece of rib knit. Fold it in half, matching the short ends, and stitch up the side.
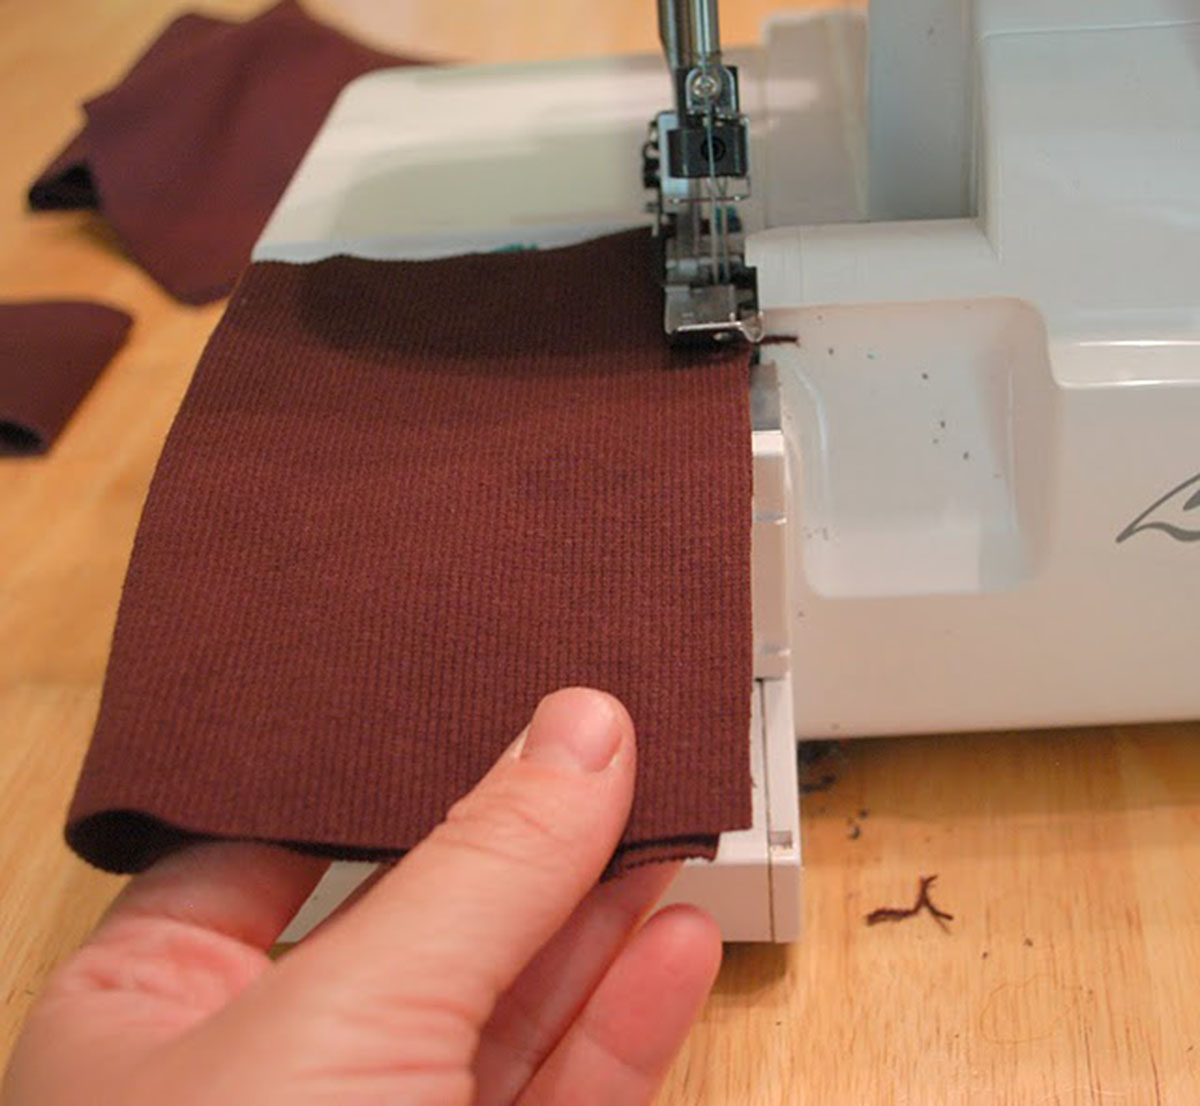
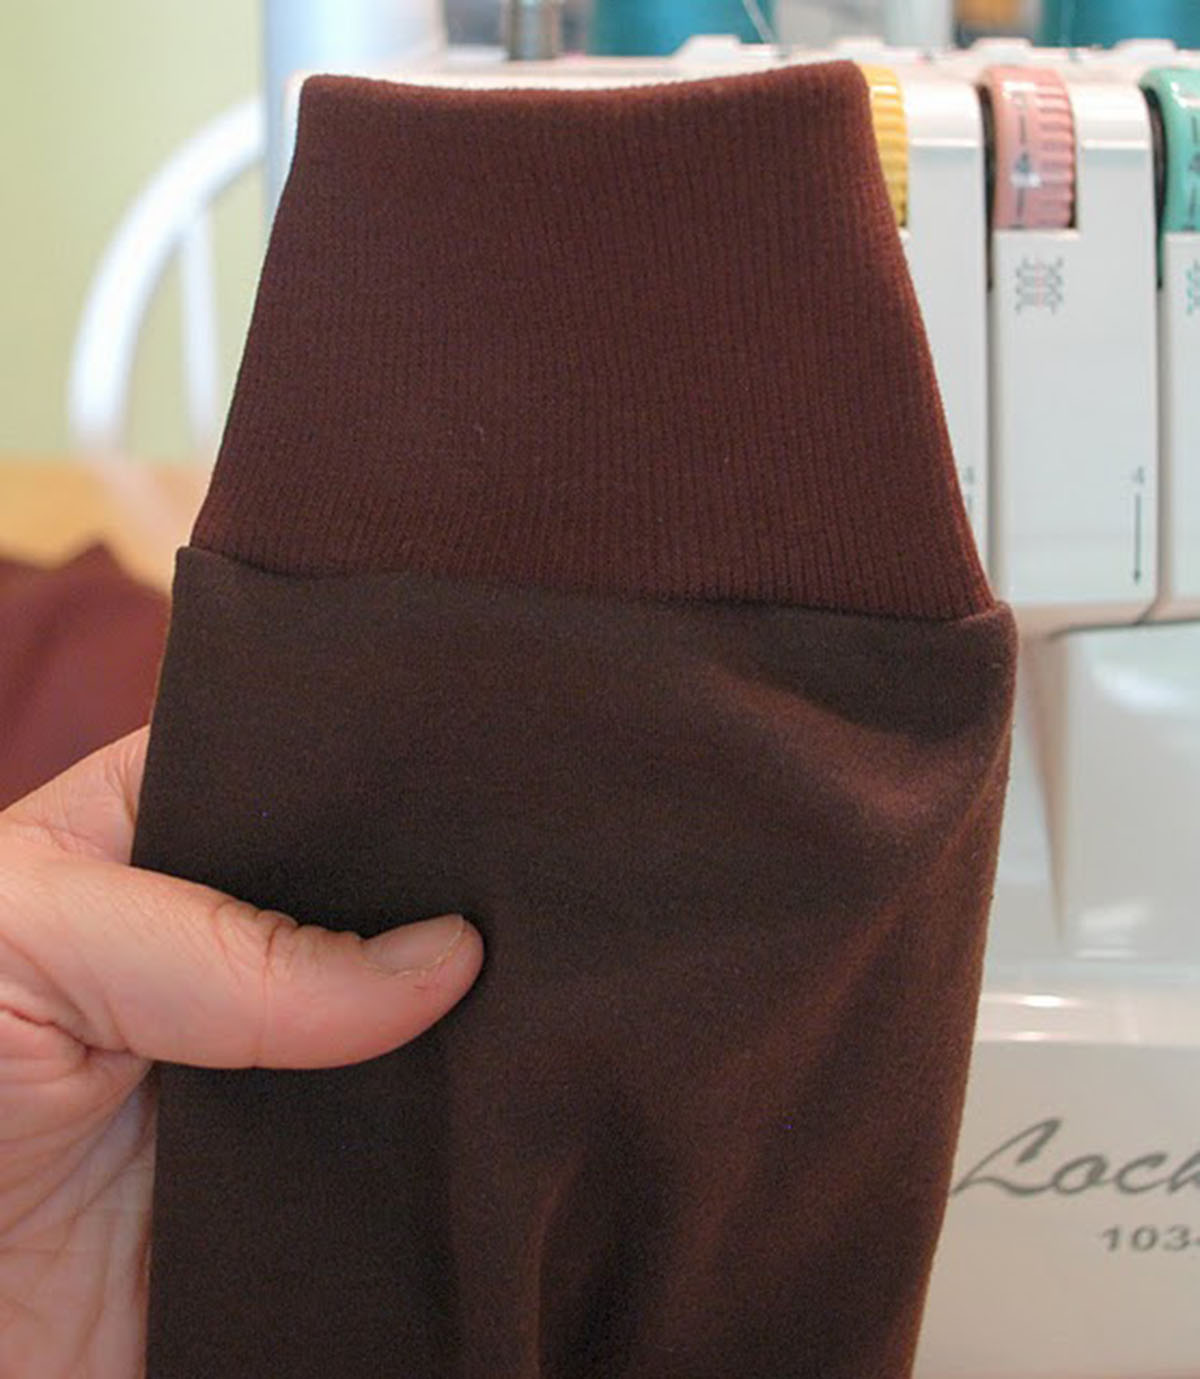
Fold your knit tube into a cuff, with the seam on the inside. Place right sides together on the end of the sleeve. Match the seam on the cuff with the seam on the sleeve. Pin, and sew in place.
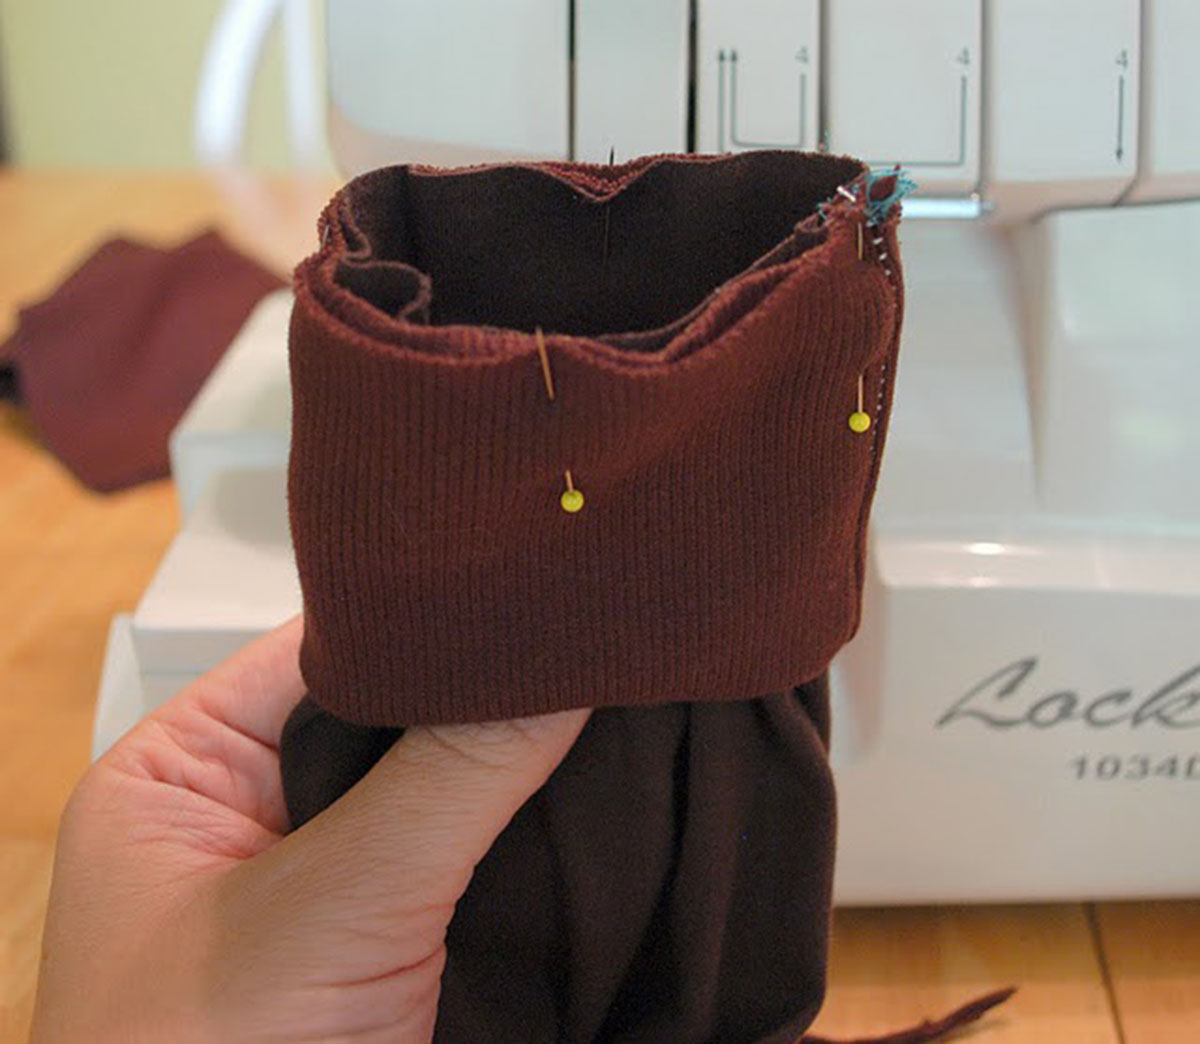
Look! You made a cuff! Now go do it again on the other sleeve.
Step 10: Attach Waistband
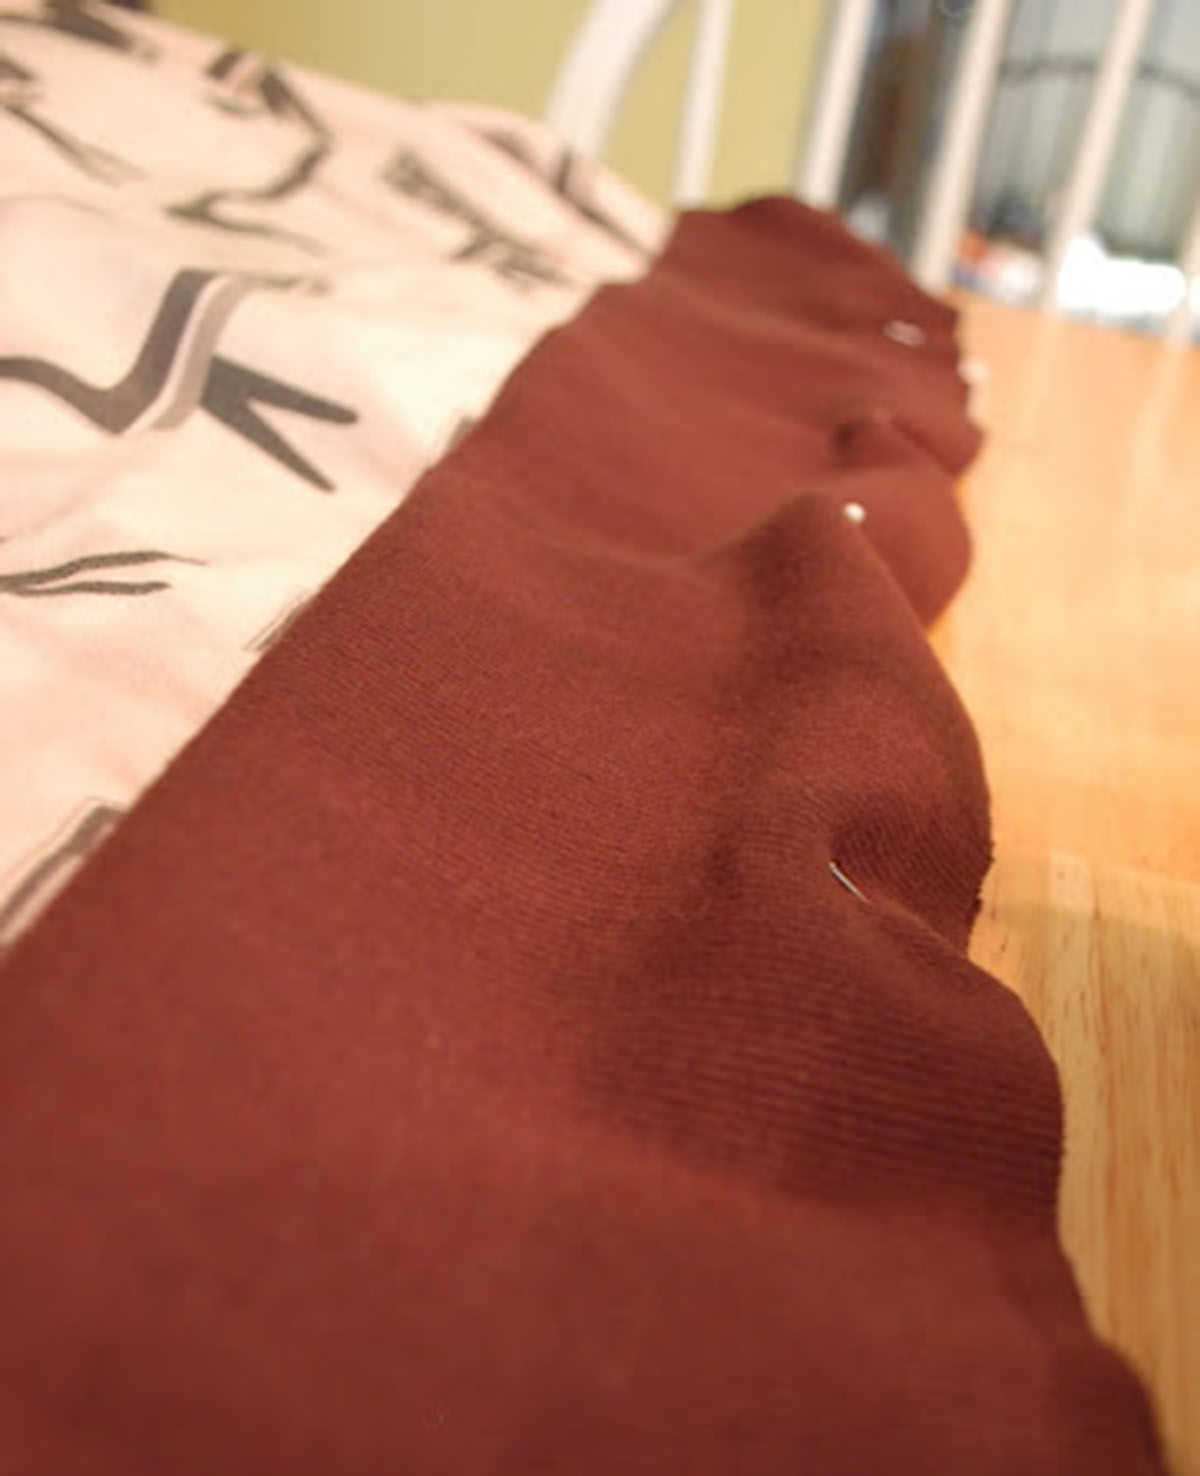
Now grab your last piece of rib knit. Fold it in half, matching the long edges. Pin RST to the bottom of the hoodie. Stitch in place.
Step 11: Attach Zipper
You’re almost done! Now grab your zipper. Unfortunately, I don’t have photos of this part because I had to sew in the zipper at the machine shop where my machine is being repaired, but don’t be scared! It is SO EASY!
Separate the zipper. Lay it face down on the front of the hoodies. Either hand baste it in place, or pin well. Stitch it down.
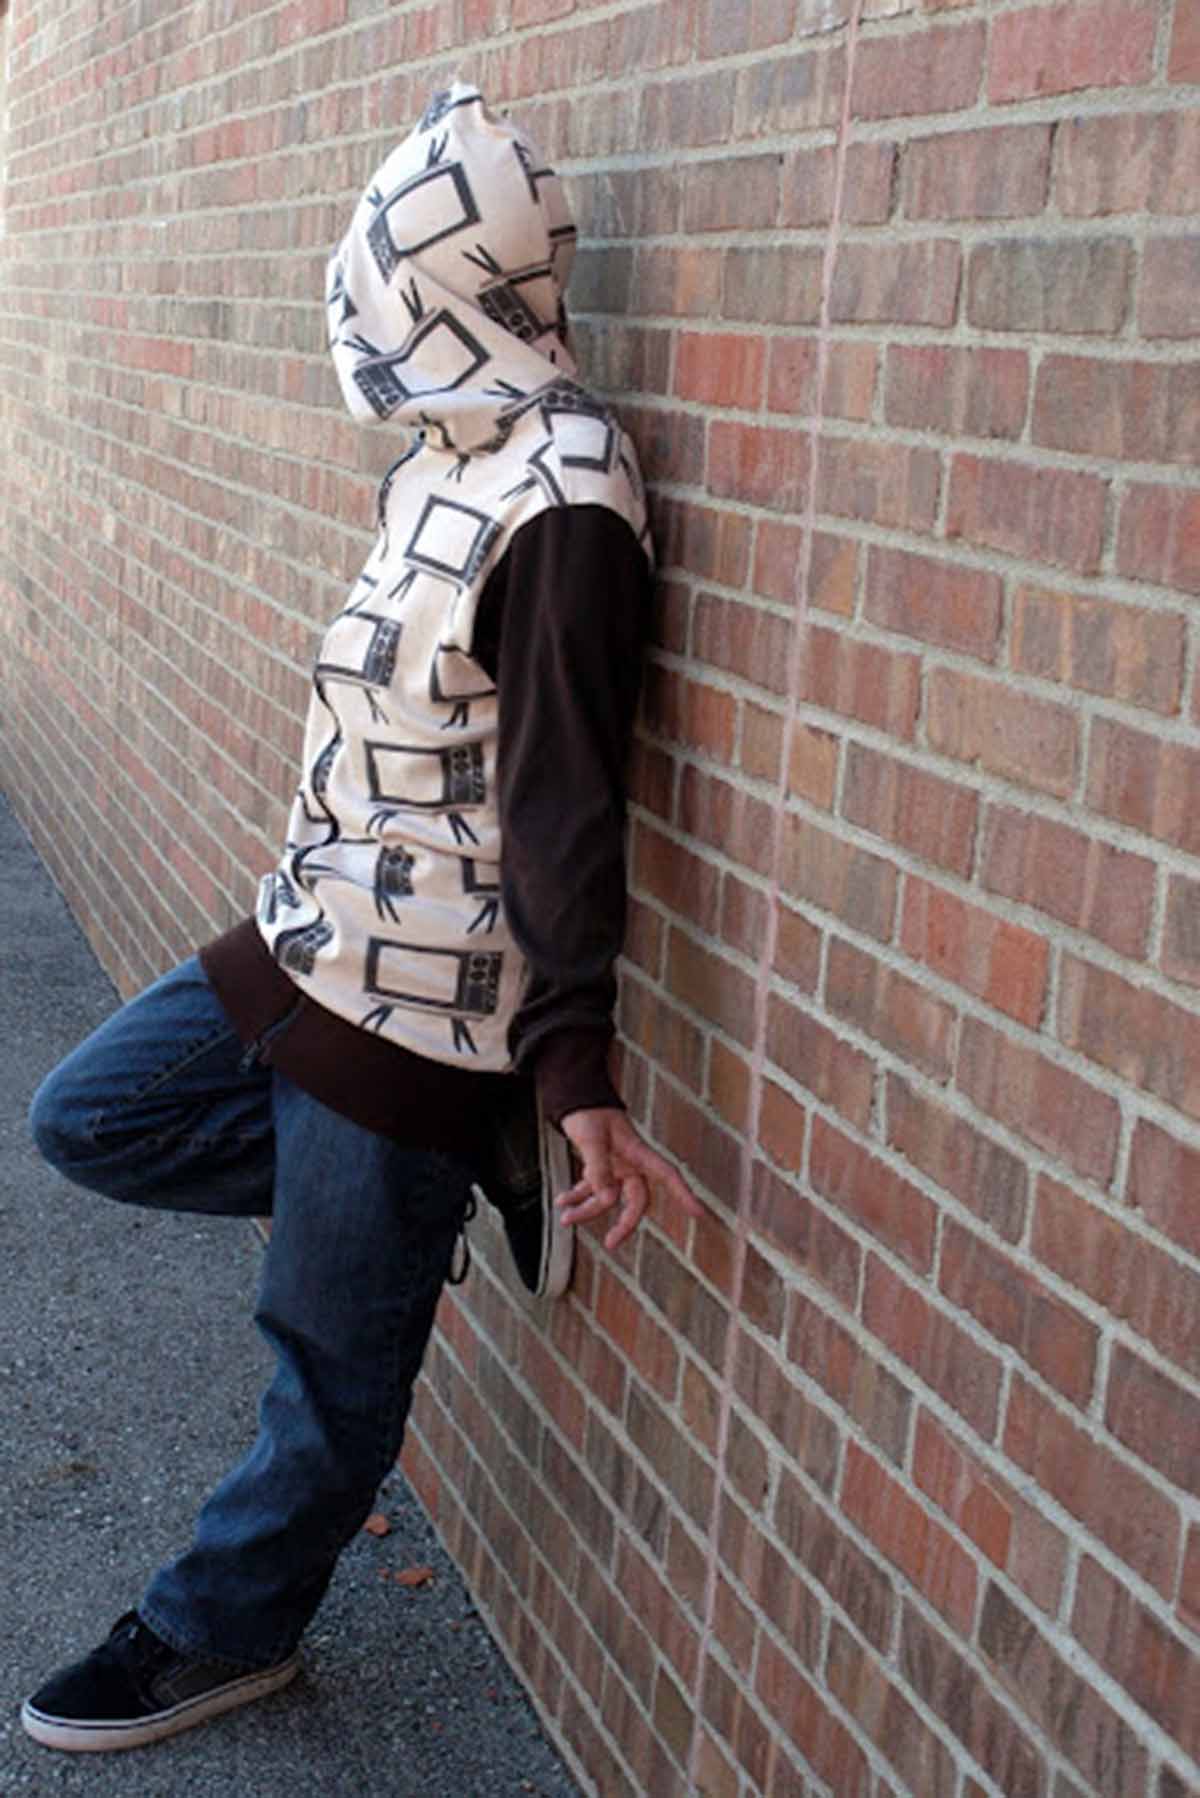
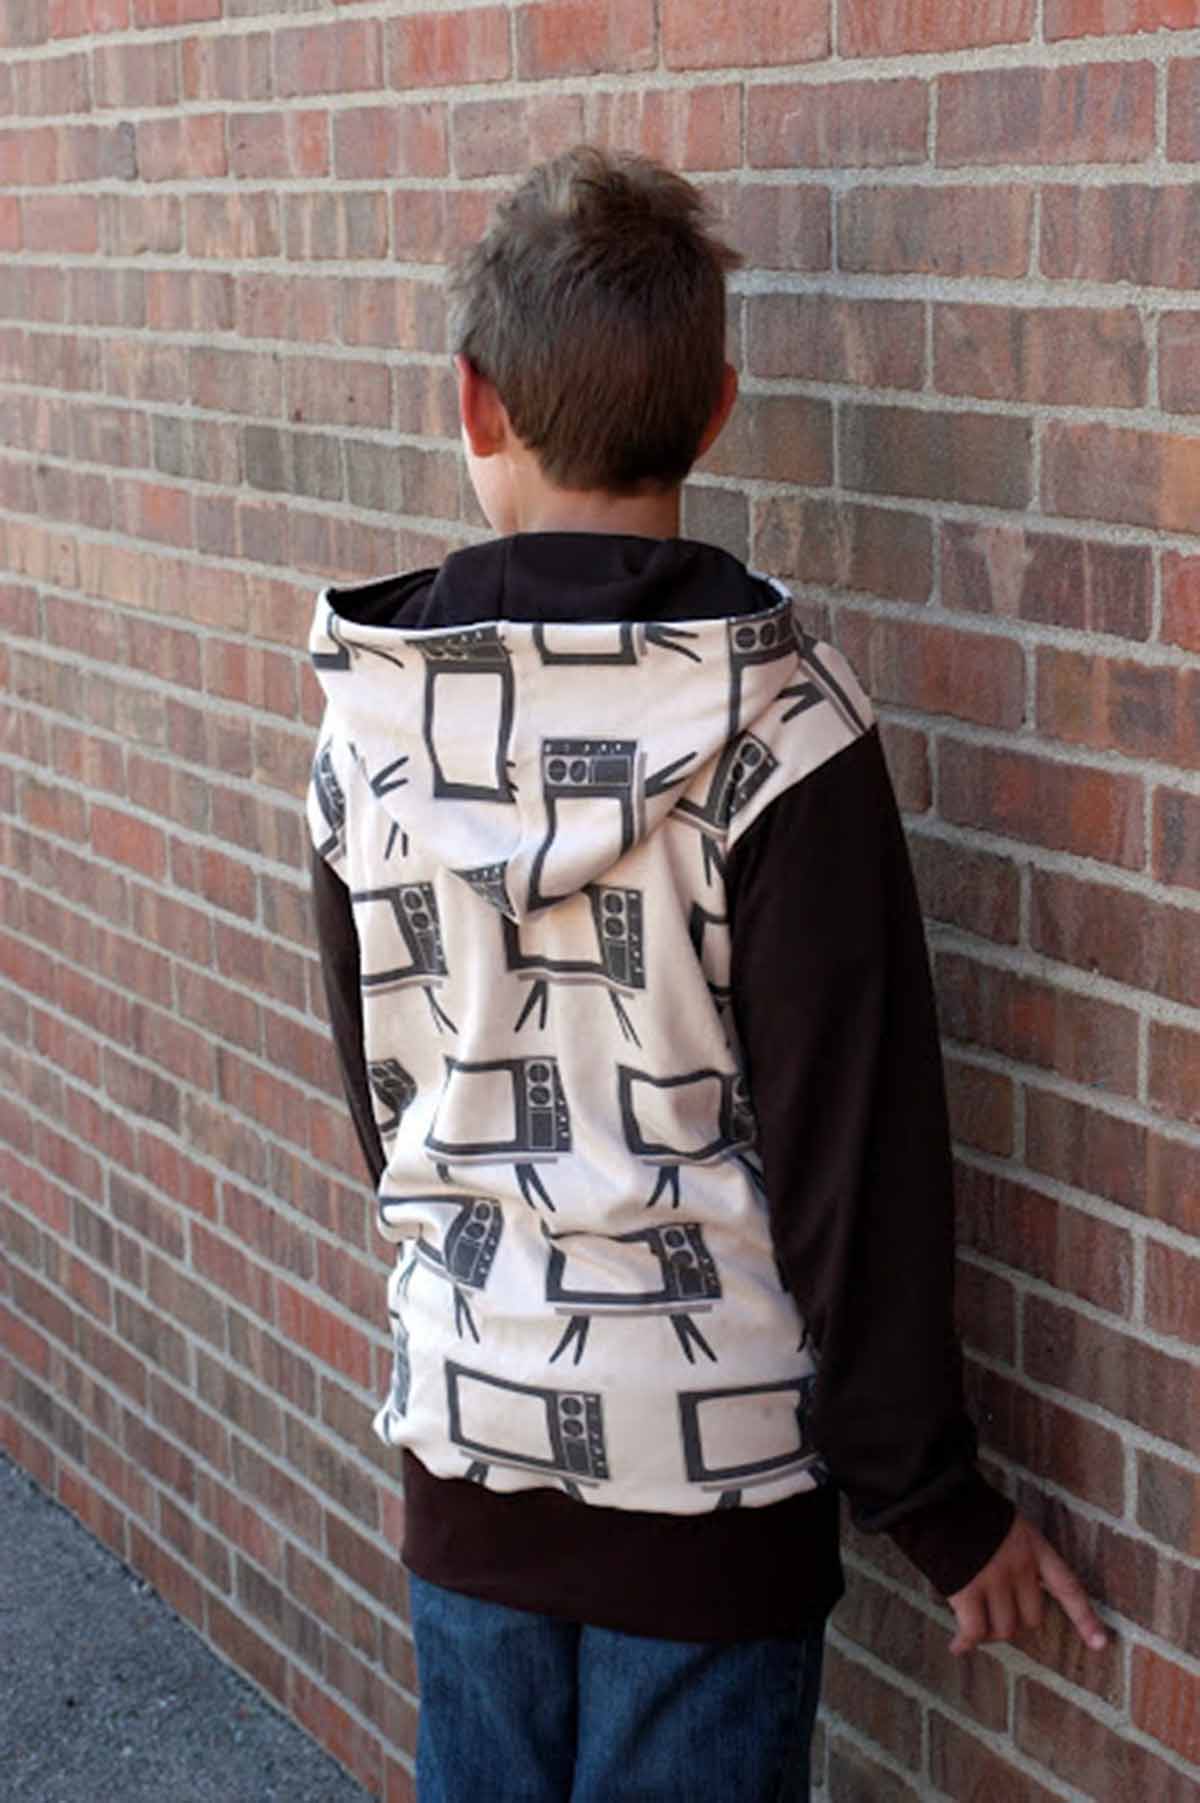
Turn the zip right side up, turning the edge of the zipper tape and raw fabric edge under. Topstitch in place. Repeat with the other side. And you’re done!
Free Kids Hoodie Step-by-Step Instructions
Equipment
- sewing machine
- printer
- fabric scissors
- thread
- 30-inch zipper
- fabric
- rib knit
Time needed: 3 hours.
Comments & Reviews
Lynne says
Wow! Looks fabulous! Thanks for the tute and pattern!
OnePerfectDay says
This is wonderful!
I’ll definately be making it!
Emily says
Thanks for having me, Andrea! 🙂
Tonia @ The Gunny Sack says
Awesome!! I have a son that is going to LOVE this!!
Deanna says
Where on earth did you get that fabric? I always have trouble finding a nice patterned knit.
Emily says
Deanna, I got it at Spoonflower. It was definitely a splurge, but I love it!
http://www.spoonflower.com/fabric/229710
Sascha says
Oh how cool is that? I also have a big 9 year old. Love this!
Susan @Living with Punks says
Emily, what an awesome hoodie! Definitely pinning for when my boys need this size!!!!
Sabra says
Emily, your projects are always so perfectly boy. Yes, I realize that’s basically the name of your blog. The fabric, the design, perfect! You really are amazing.
Natalie says
For once a pattern for a top/hoodie that does NOT terrify me to try haha. Sadly, I don’t have a son (or a nephew old enough yet) to use the pattern for 🙁 Might see if I can enlarge the pattern so I can use it though! Thanks for sharing!!
(PS the fabric combo you picked is awesome!)
iris says
hi this turned out really good!!! do you think that maybe i could turn it into a crewneck sweater for my daughter??? (she is 13 years old)