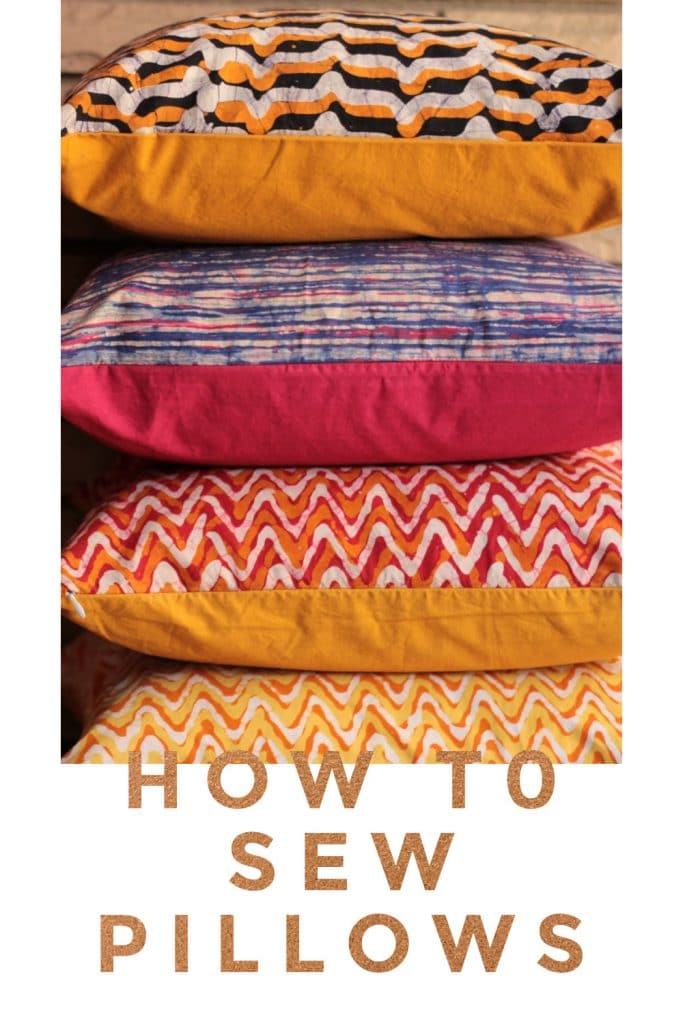

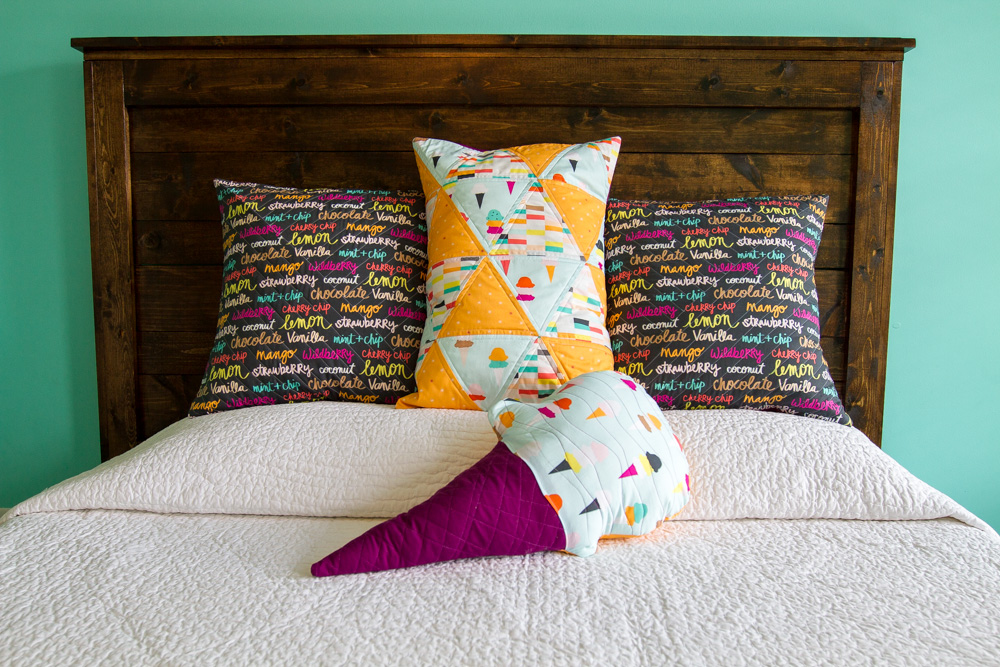
An envelope pillow cover is a pillow case that has an envelope style (overlapping) back so you can insert the pillow into it easily. This allows you to swap out your pillow covers seasonally or take them off for washing. It’s easy to learn how to sew an envelope pillowcase! Learning how to make a pillow is a great beginner sewing project. Plus see more patterns for cushions and pillow sewing patterns I love!
There is NO ZIPPER in these pillowcases. That’s what makes this project perfect for beginners! They’re easy peasy to make.
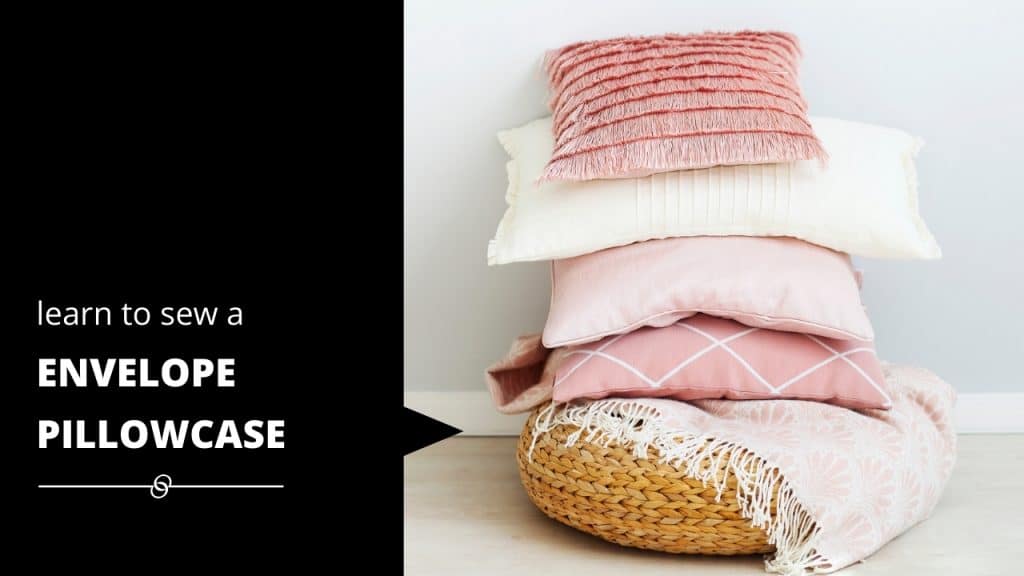
Table of contents
Questions About Envelope Pillow Covers
This sewing tutorial is great for beginners but still fun to make if you’re an expert!
Envelope pillow covers work great on any square, rectangular or even circular pillows. Adjust the size of the fabric based on the size of your pillow form.
Yes! If your fabric is washable, your pillow cover is washable.
Supplies To Sew An Envelope Pillowcase
- Quilting cotton (½ yard) (wash the fabric before sewing)
- Thread, pins, fabric scissors, pinking shears (optional)
- Sewing Machine (this is my favorite machine under $200)
- Cutting mat, acrylic ruler & rotary cutter
- Seam ripper
Tips To Sew An Envelope Pillowcase
Read these tips before you begin! These will help ensure the best outcome.
- For beginners, always use 100% cotton quilting fabric. This will be the easiest to work with. I know faux fur or fleece pillows are cute but wait until you’ve got a bit more experience before you tackle those.
- Use a rotary cutter, acrylic ruler and a cutting mat. You’ll be tempted, if you don’t have those, to just cut with scissors but trust me when I say your life will be eminently better if you splurge for this rotary cutter kit. It’s really worth it.
- Start with a fresh sewing machine needle. A dull needle can cause all sorts of problems. Use a new needle that’s sharp and made for regular quilting cotton.
- Use new thread. Old thread that your aunt gave you when she found it in your attic will cause you problems. Use that in a craft project (make a wreath!) but don’t sew with it.
- Have your seam ripper handy. Everyone has to use it every now and then. Some of us more than others!
How To Sew An Envelope Pillowcase
Time needed: 1 hour.
Follow these easy steps to sew an envelope pillowcase.
- Cut fabric.
Wash your fabric before you cut. Cut front piece whatever size of pillow you’re making plus ½″ all the way around as a seam allowance. Cut 2 back pieces the same height as the front piece and ¾ the width of the front fabric.

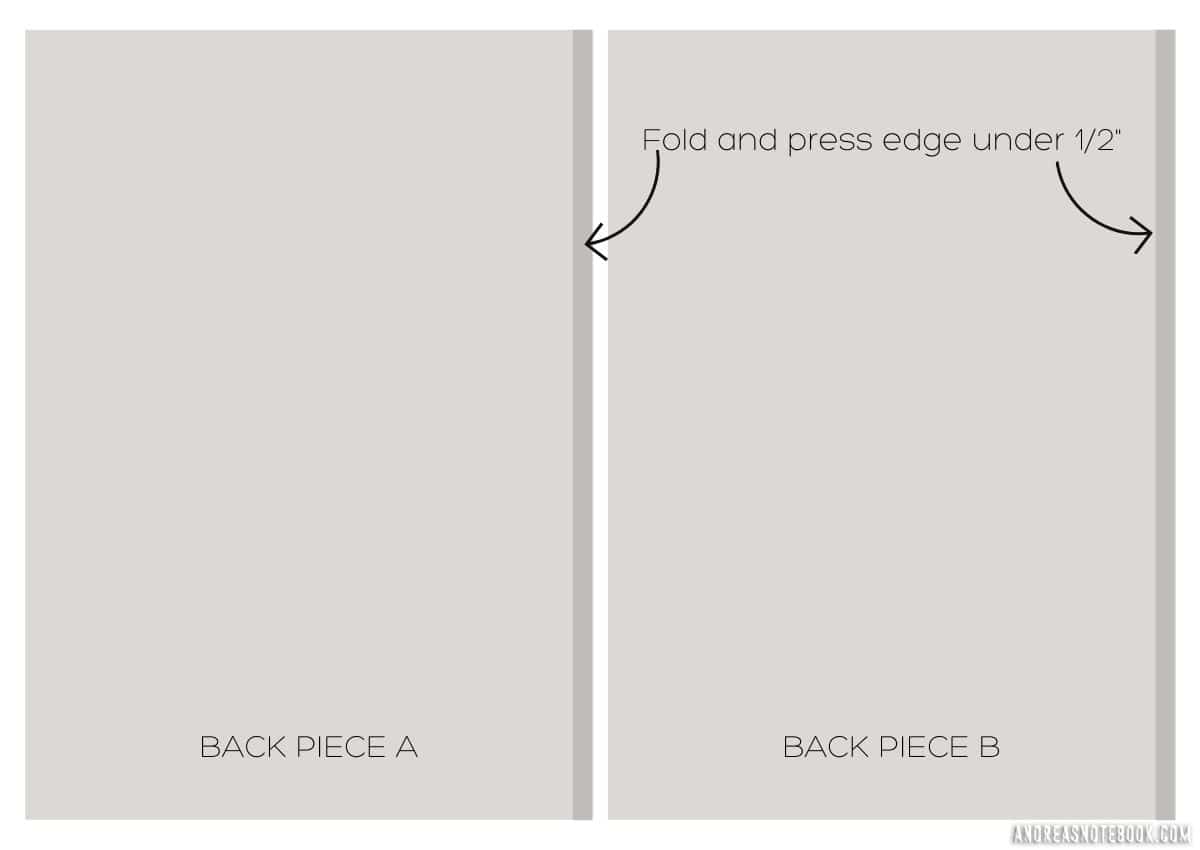
- Press back piece seam ½″.
Fold one edge under ½″, press.
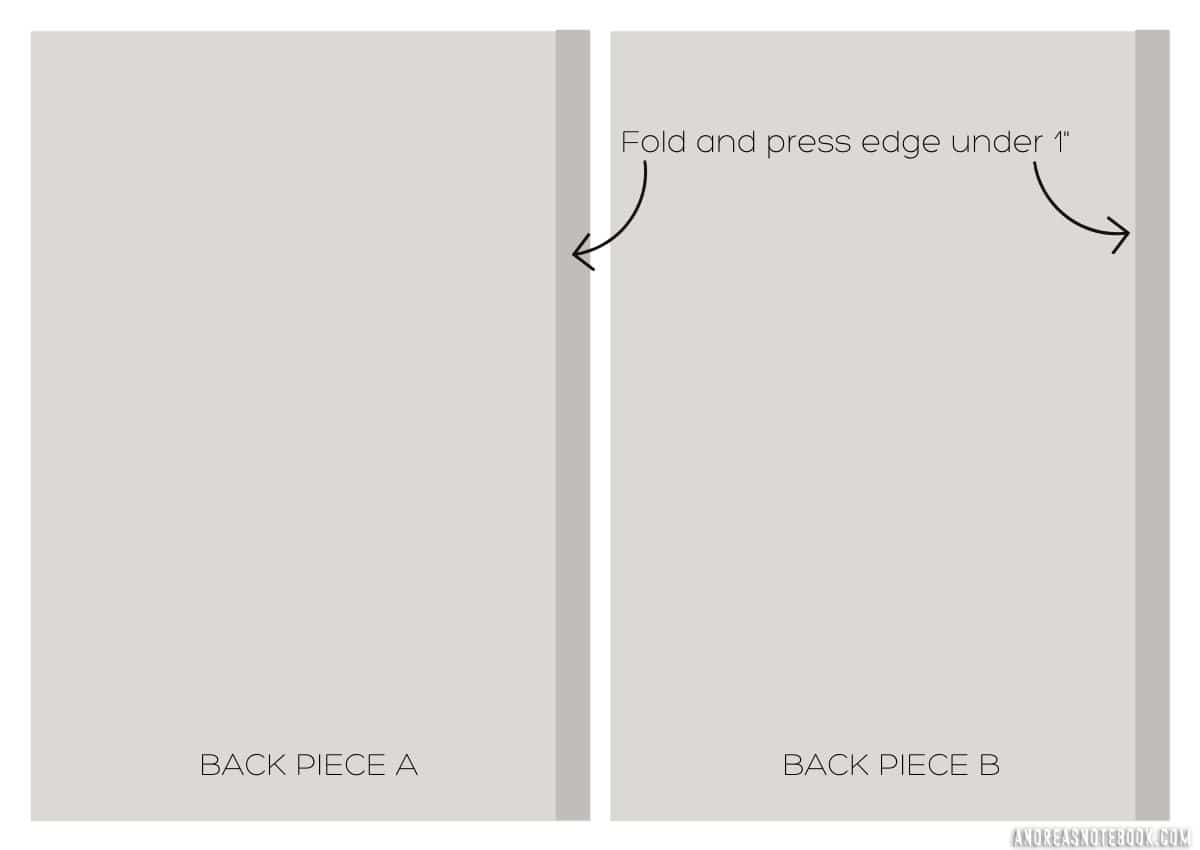
- Press edge under 1″.
Fold previously pressed edges under 1″ and press again. Raw edge will be hidden.
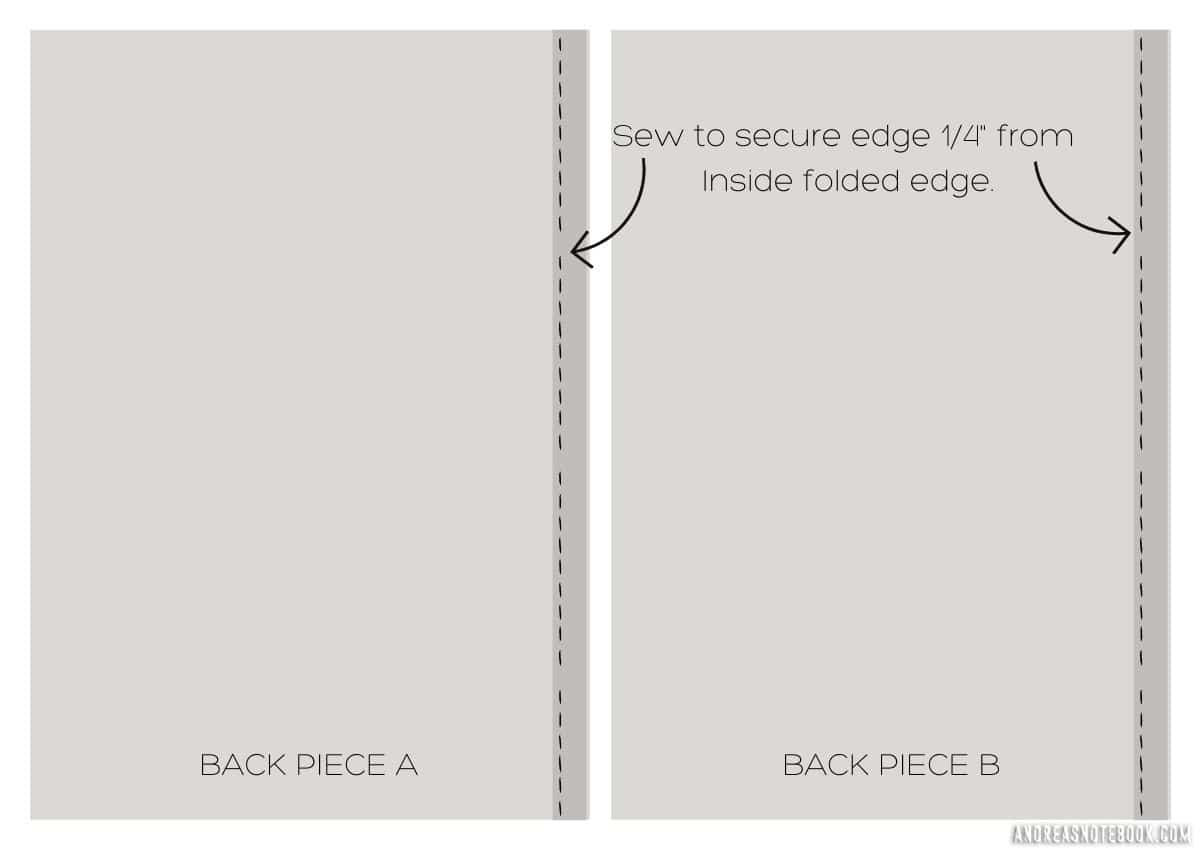
- Sew seam.
Sew seam ¼″ from inside folded edge.
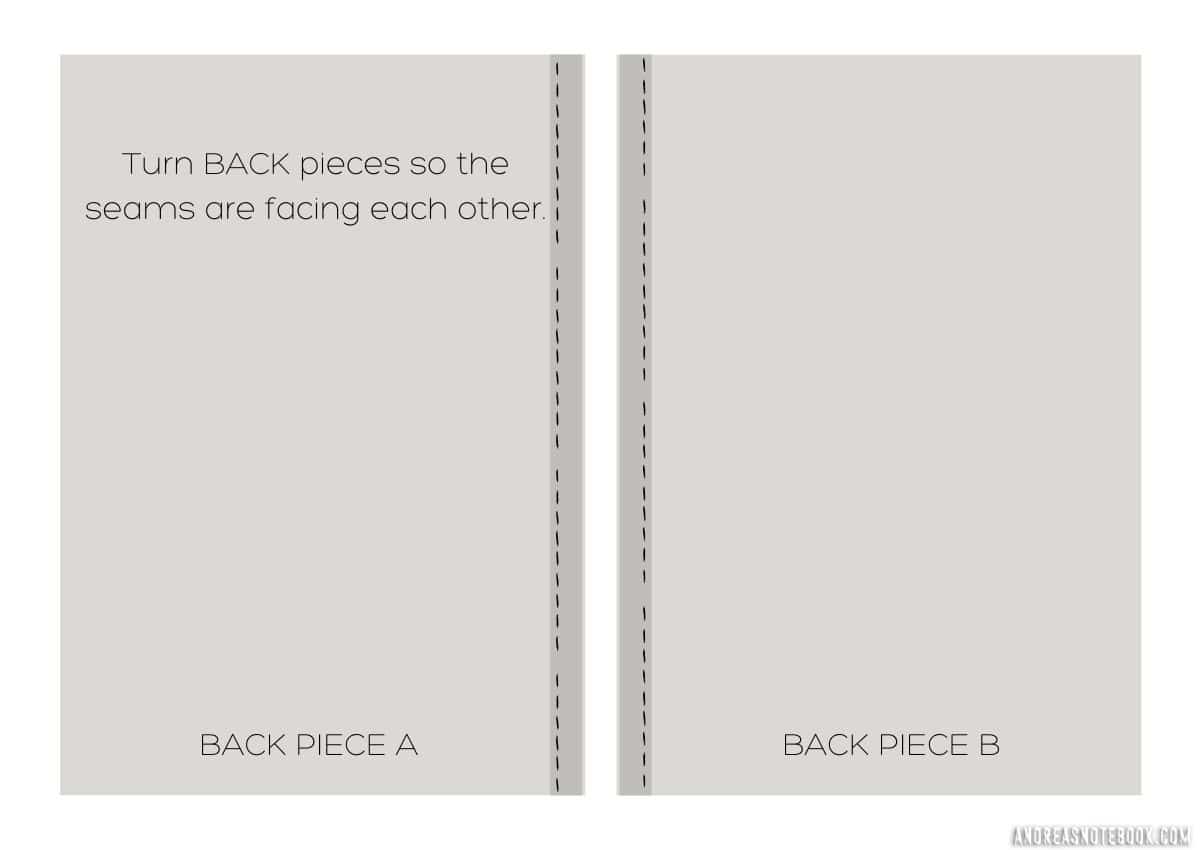
- Turn back pieces.
Turn back pieces so the sides with the seams are facing each other. The fabric should be right side (the “good of the fabric”) down.
- Sew pillow.
Lay FRONT right side up.
Lay BACK PIECE A right side down on top of FRONT, aligning left side. Lay BACK PIECE B on top, right side down, aligning right edge.
Sew all the way around the pillow ½″ from the edge of the fabric. Use back stitch at the beginning and end to secure the stitches.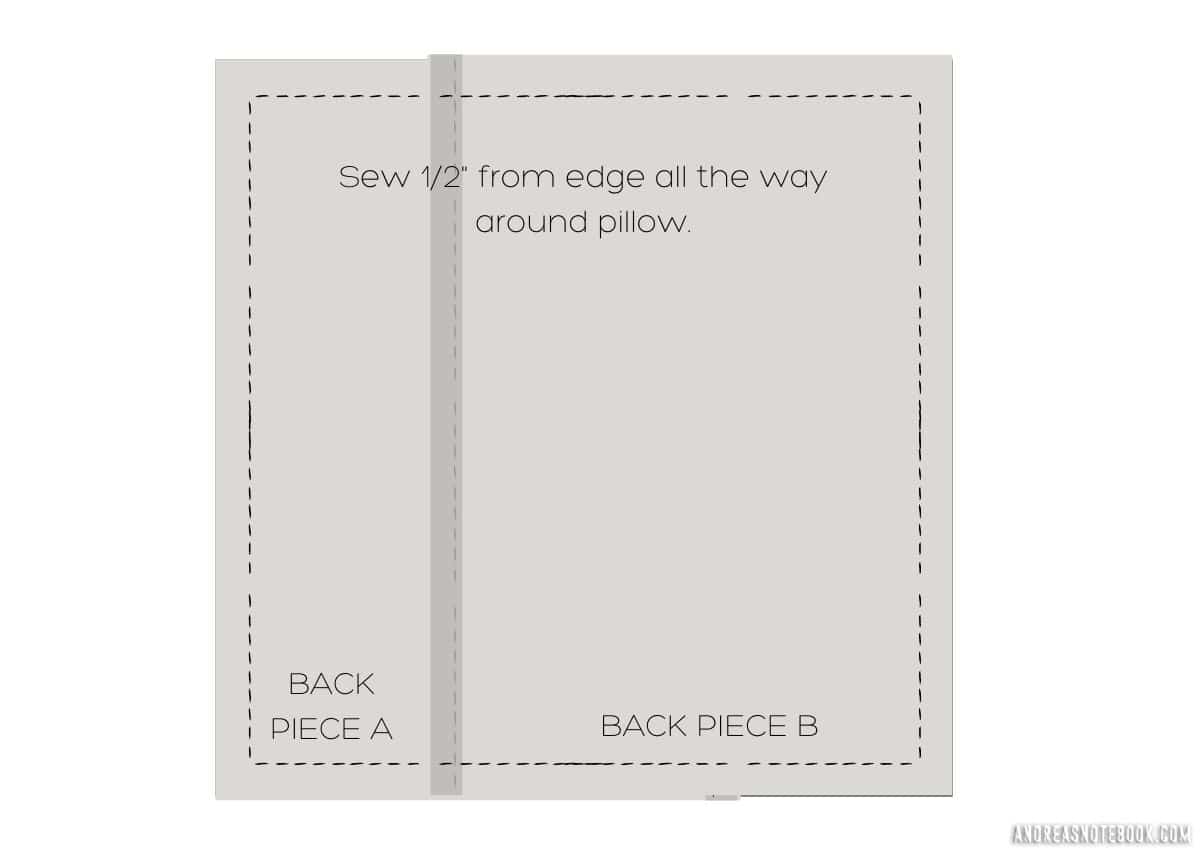
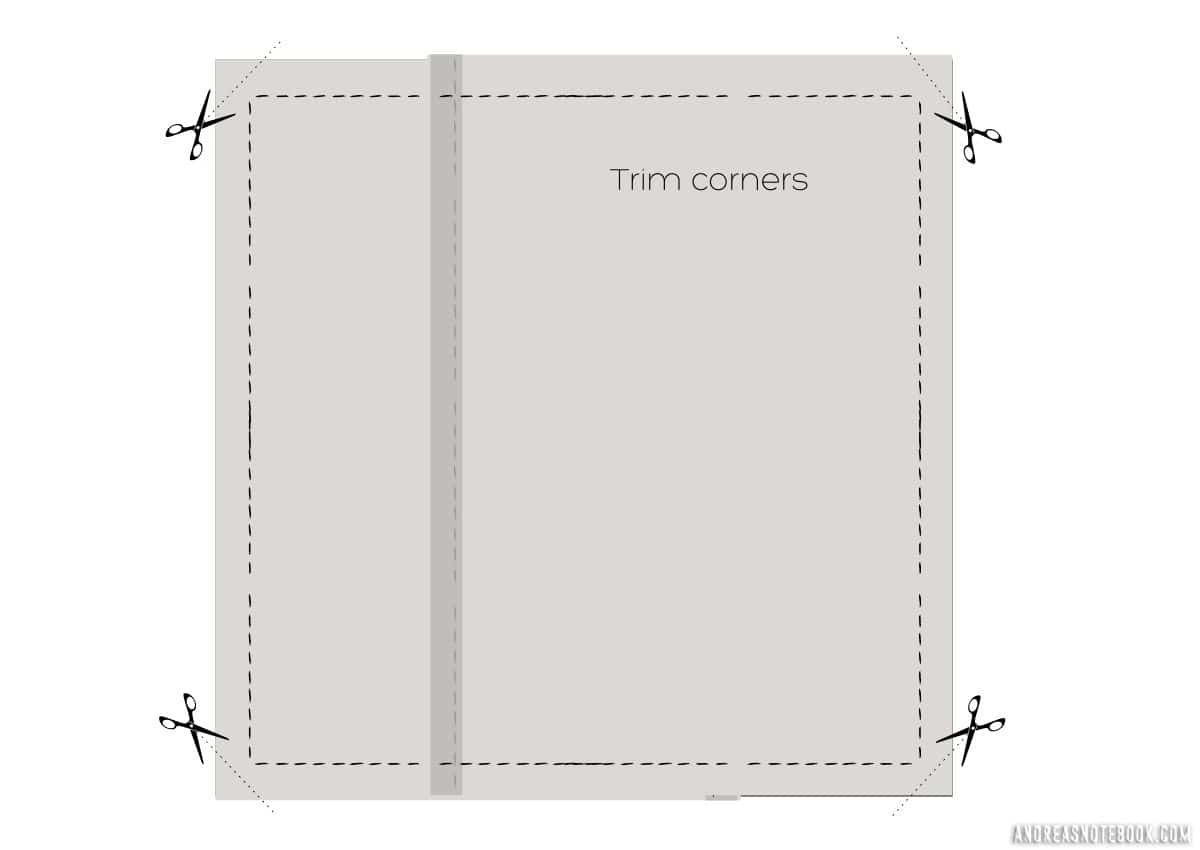
- Trim corners.
Trim all 4 corners ¼″. Do not get too close to seam.
- Finish raw edges.
Use pinking shears or a zigzag stitch to finish the raw edges. this will prevent them from unraveling when you wash your cover.
- Turn right side out.
Turn envelope pillowcase right side out. Press seams and corners. That’s it! you learned how to sew an envelope pillowcase!
Additional Pillow Sewing Patterns
Now that you’ve mastered the envelope pillow cover it’s time to move on to other patterns for cushions and pillow sewing patterns and patterns for cushions.
Quilted Front Envelope Pillow Cover
This is a fun twist on the basic cushion cover. See the quilted pillows.
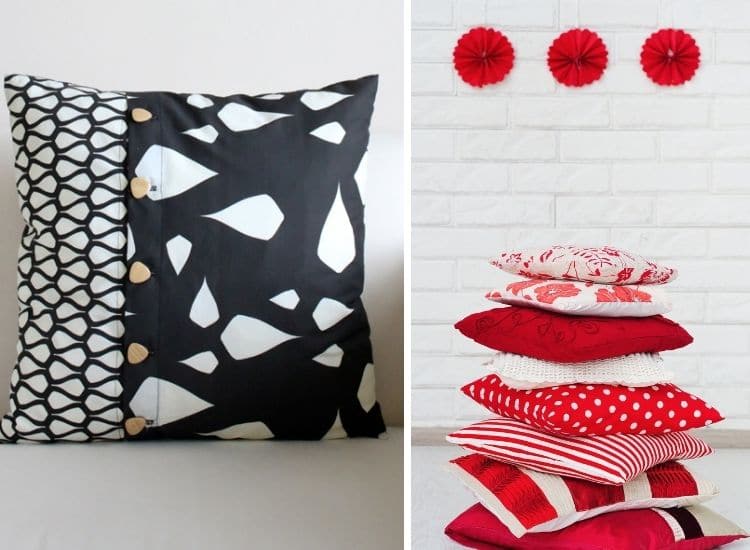
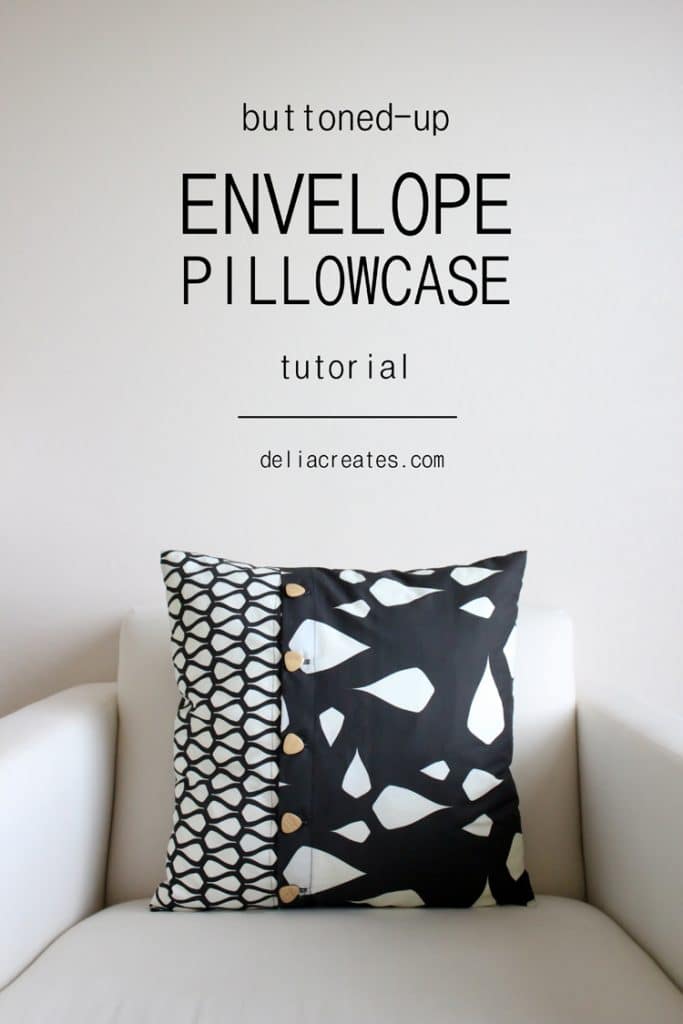
Oh I love this one! So cute. The buttons are a simple yet impactful detail. This tutorial by Delia Creates is easy to follow.
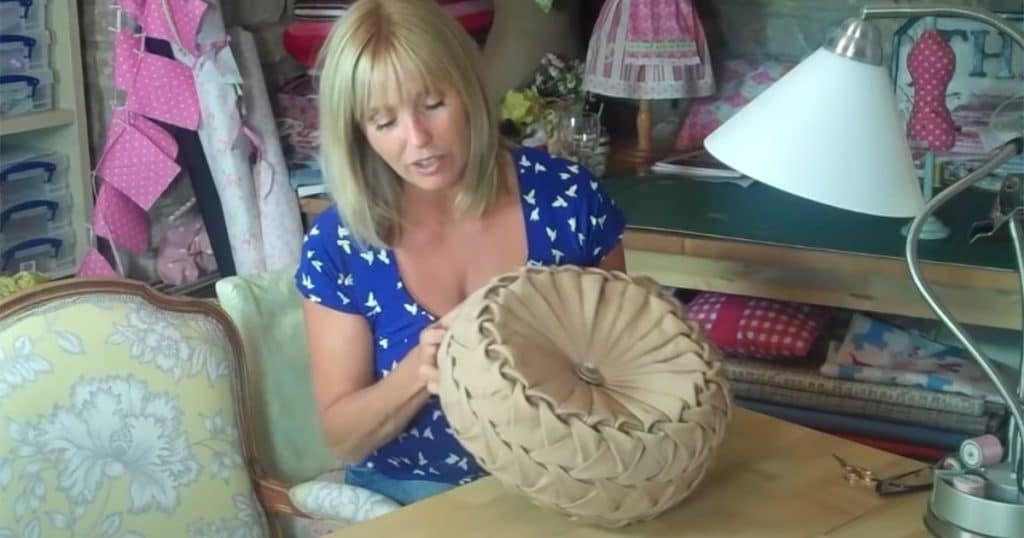
Canadian Smocking Round Cushion
This Canadian smocked pillow is not a beginner project but it makes a super cute pillow! Canadian smocking is a hand smocking technique often used in patterns for cushions and pillows. It makes the lovely pillowy smocked pattern.
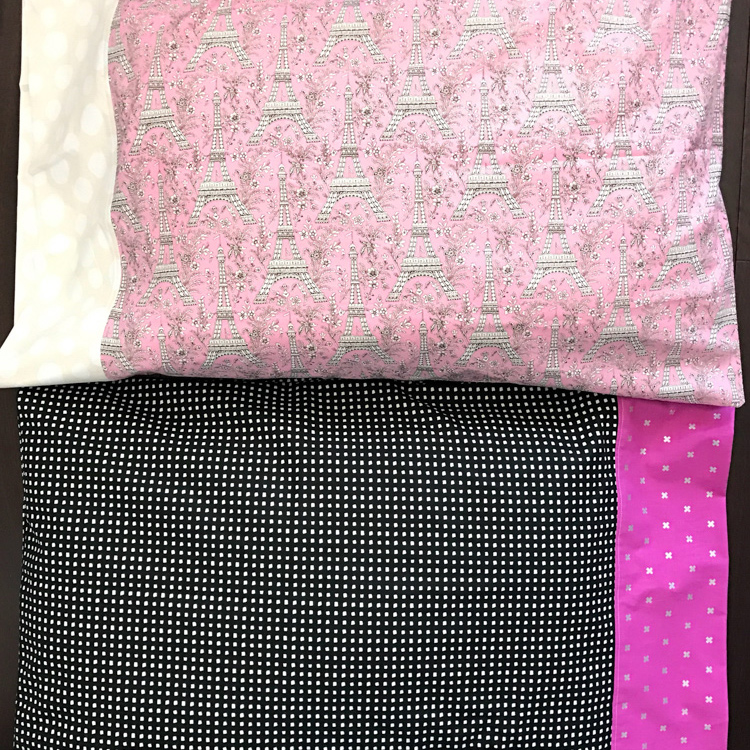
Pillowcase
A pillowcase is a fun project for kids to sew. Customize them for a sleepover or camp. Or just use some favorite fabric to make their bed more fun. If you make your own duvet cover or quilt you can make a pillow to match.
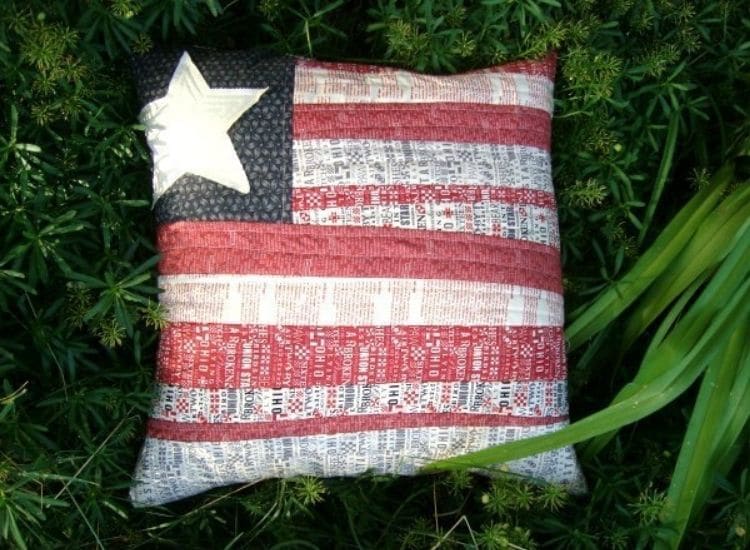
Quilt As You Go Flag Pillow
This is a fun technique to make a pillow. You can use it to make any designs you want. You can just make stripes or get creative however you want.
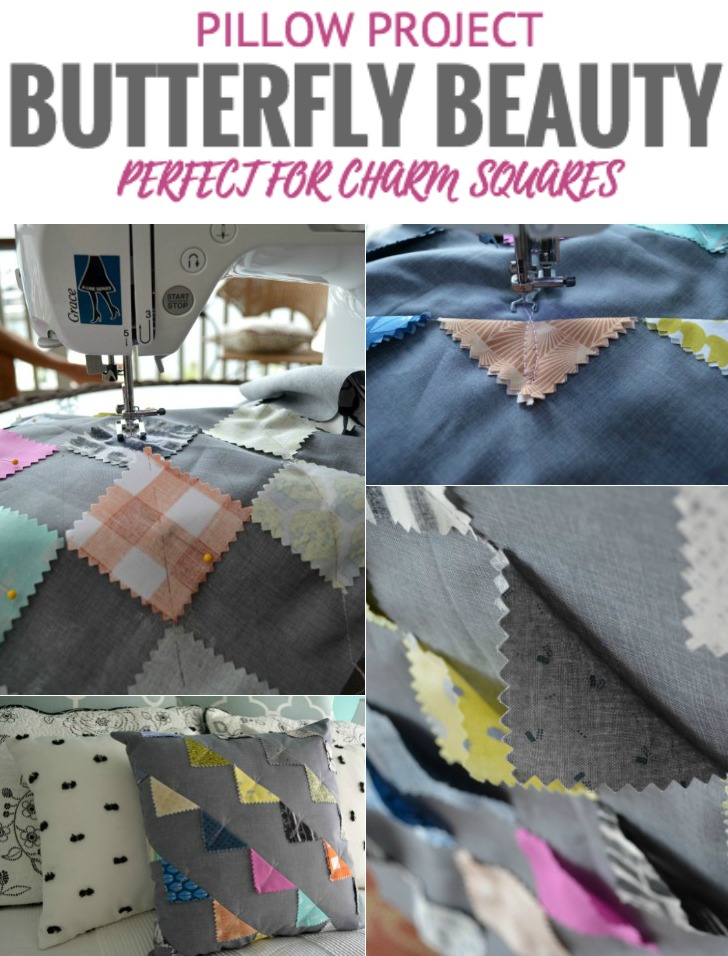
Butterfly Pillow Cover
How adorable is this? This is an easy way to make your envelope pillow cover a little more unique. These charm squares are sewn onto the pillow for a butterfly effect. This fun pillow tutorial is at The Sewing Loft.
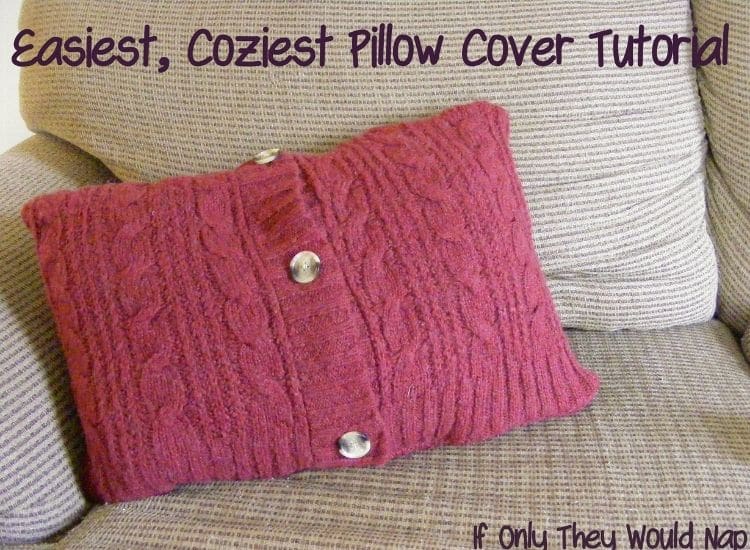
Upcycled Sweater Pillow
Use an old sweater to make this sweet button front pillow cover. The tutorial at Silo and Sage is a quick and easy project.
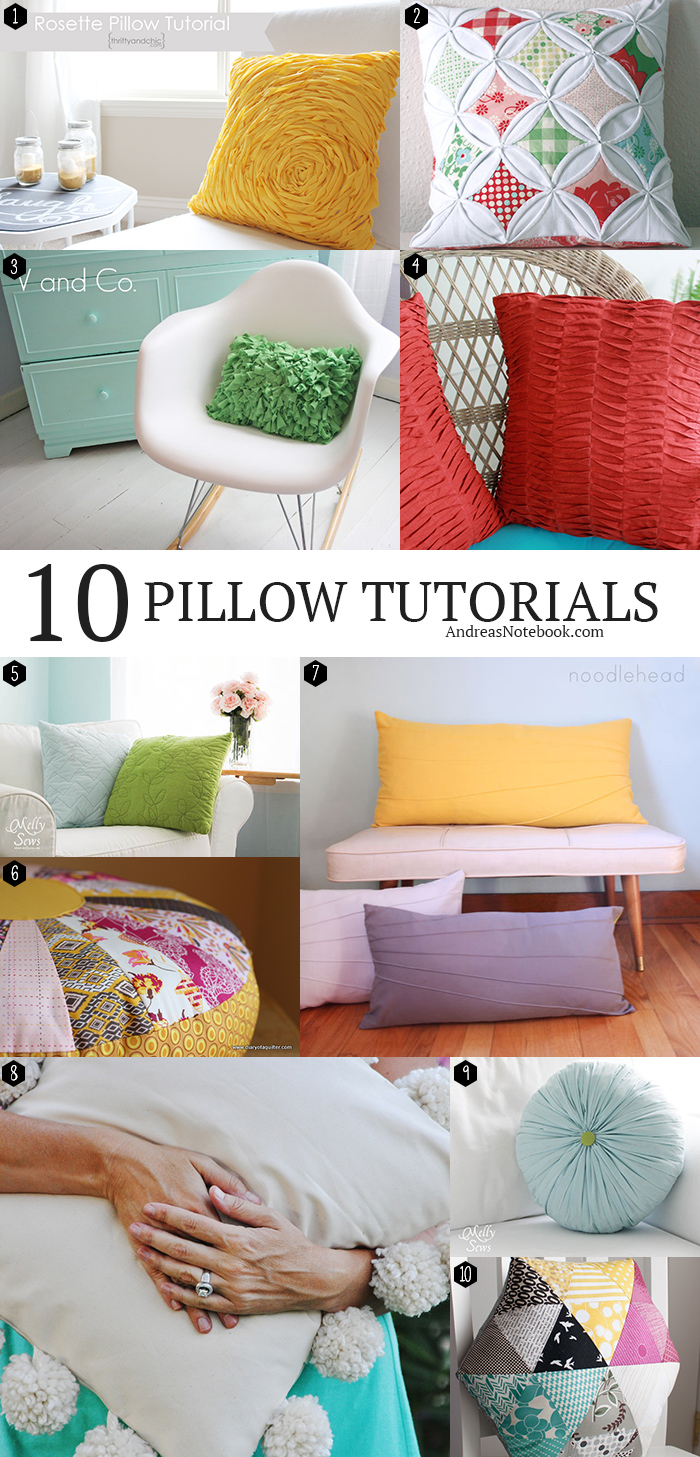
10 Beautiful Pillow Tutorials
See more pillow tutorials on AndreasNotebook.
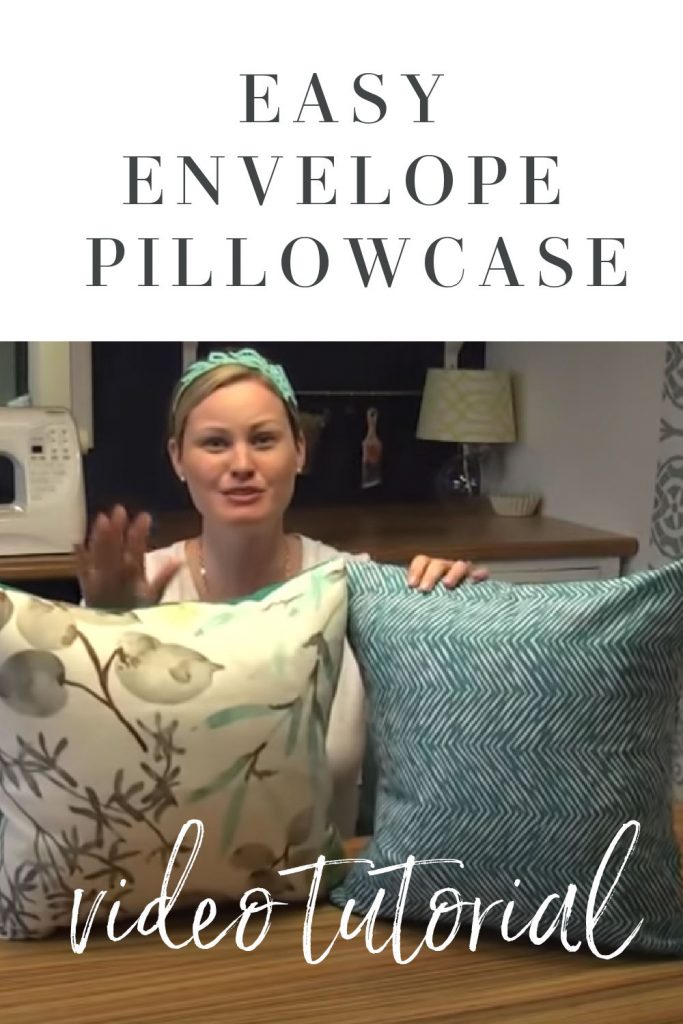
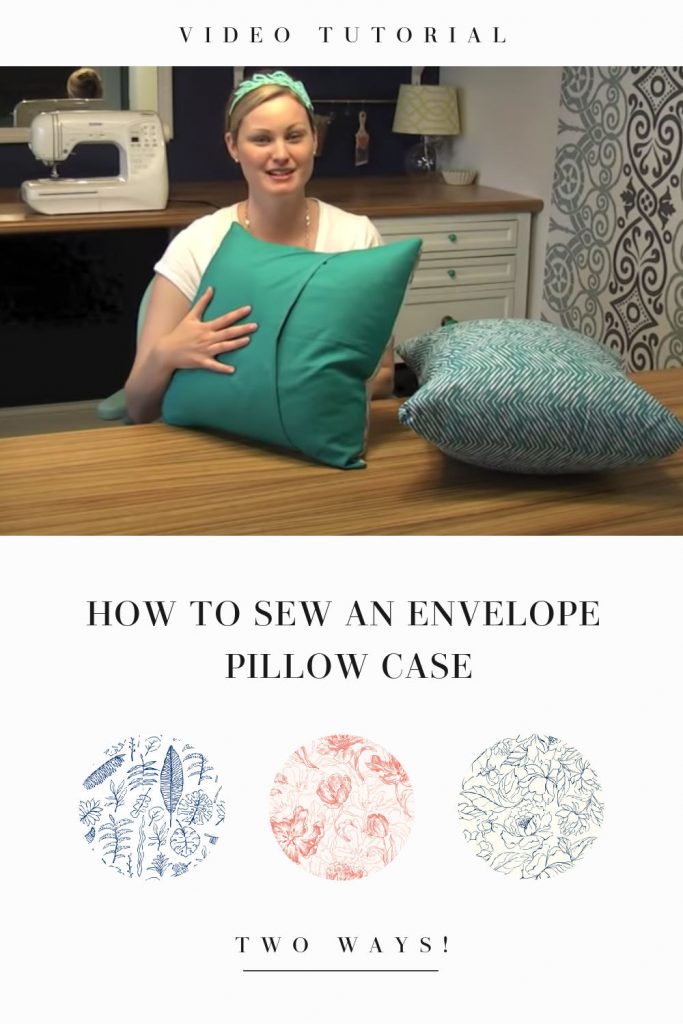
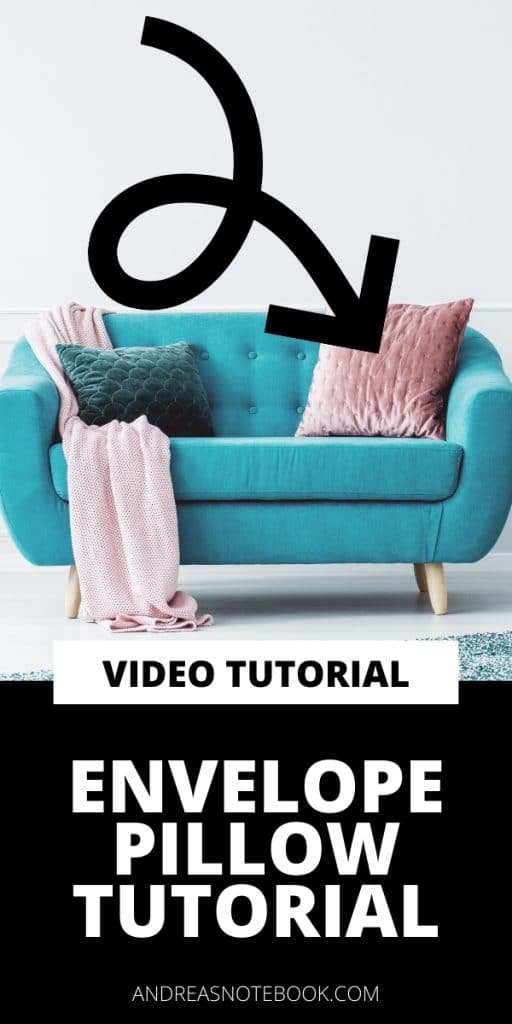
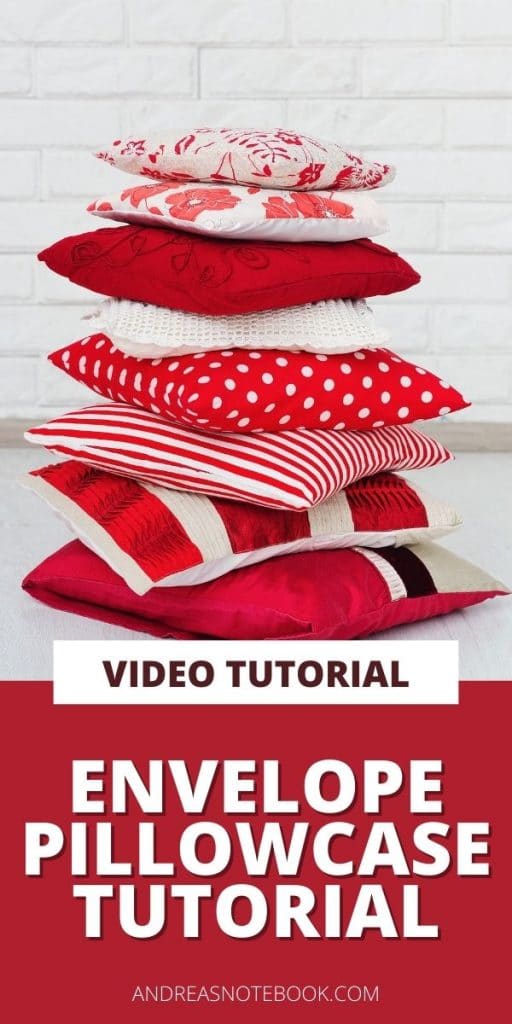
Video: How to Sew An Envelope Pillowcase Tutorial
This video is from Dana (MADE Everyday). She has a wonderful YouTube channel and blog. I highly recommend scrolling around her videos. She also shows you two ways of making envelope pillow cases.
Enjoy this video of how to sew an envelope pillowcase two ways. I’m loving the pillows she made! They would liven up any space! I love the way she uses bold and fun fabrics.