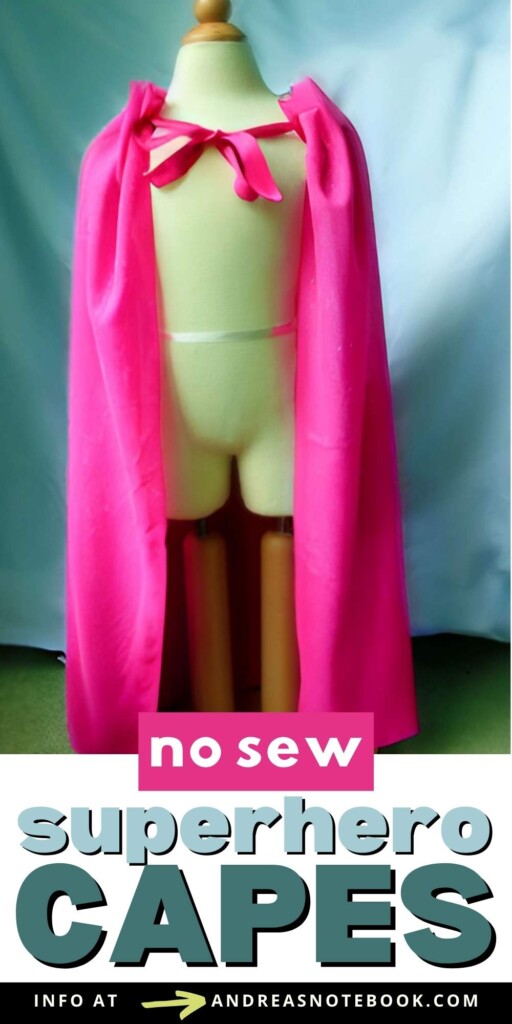
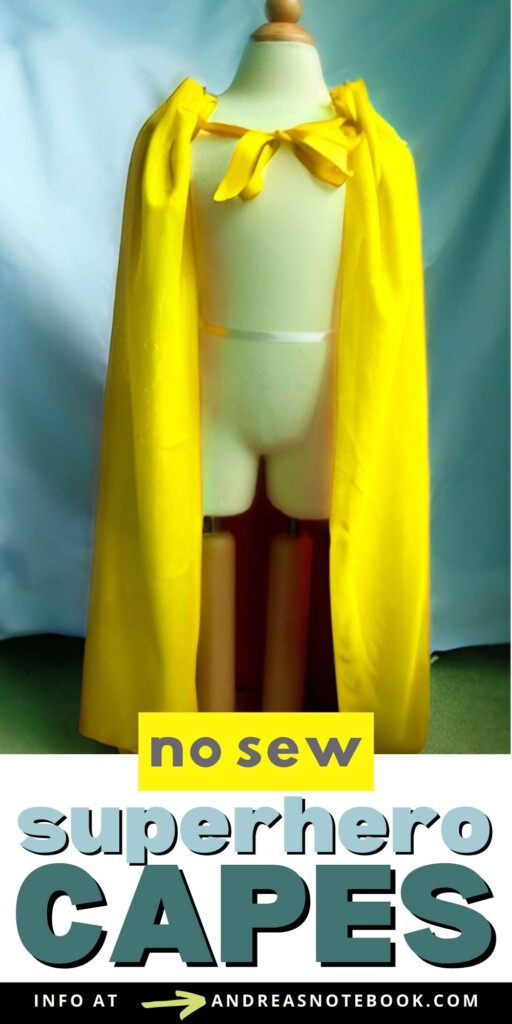
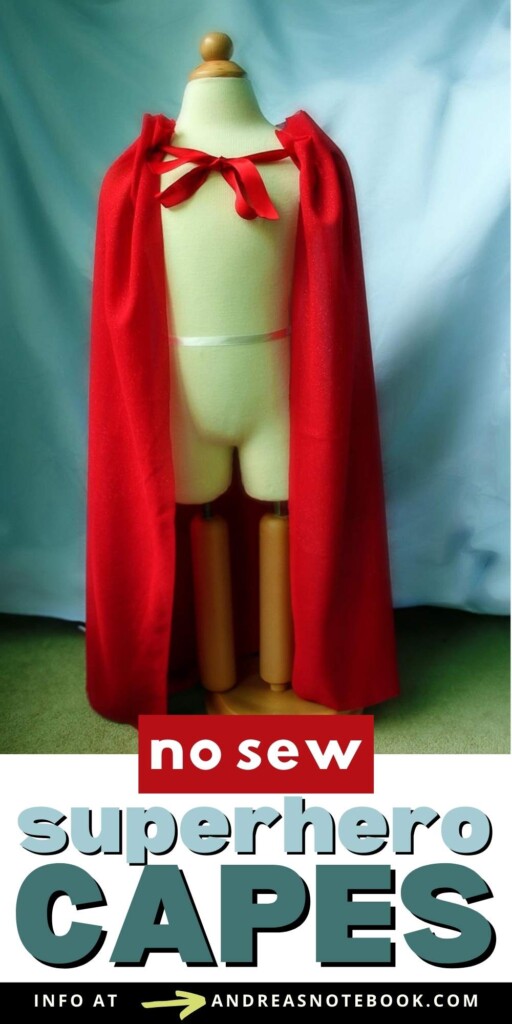
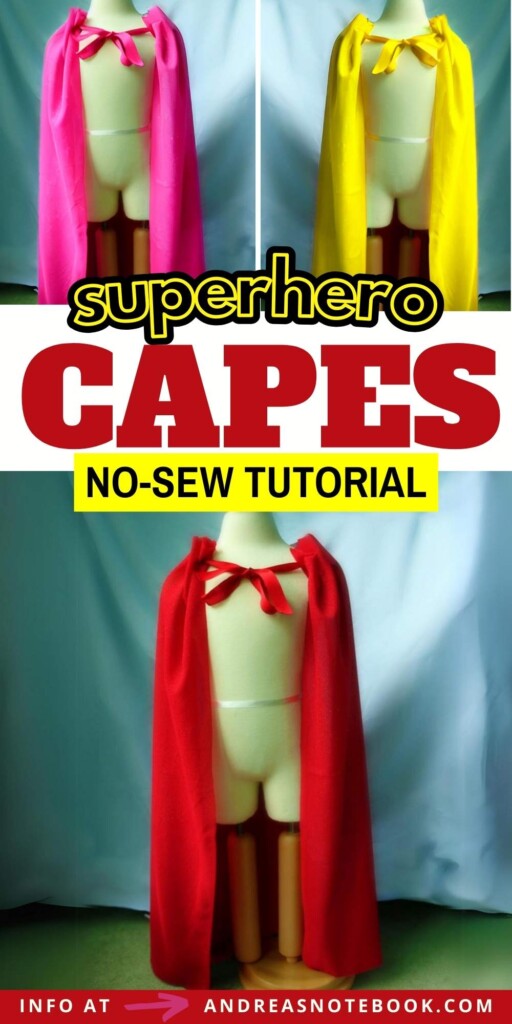
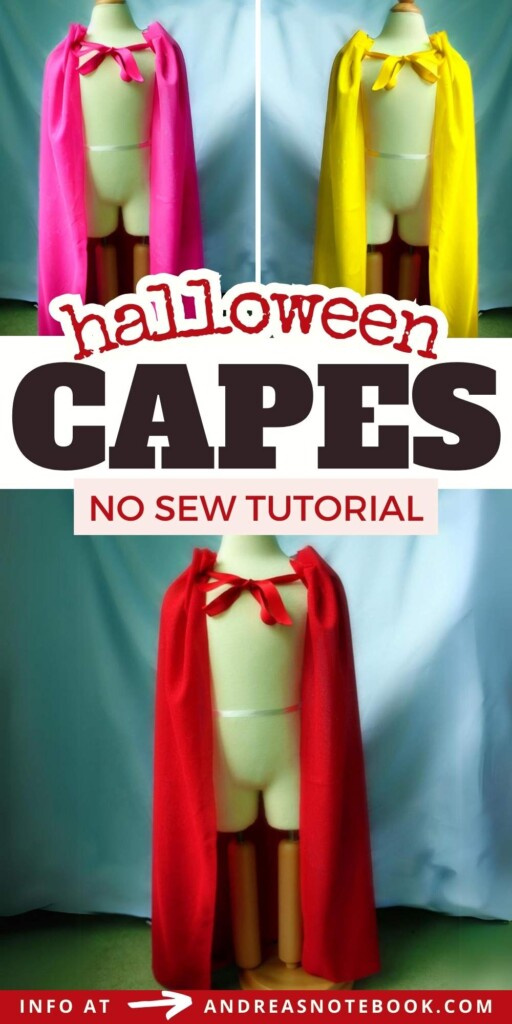
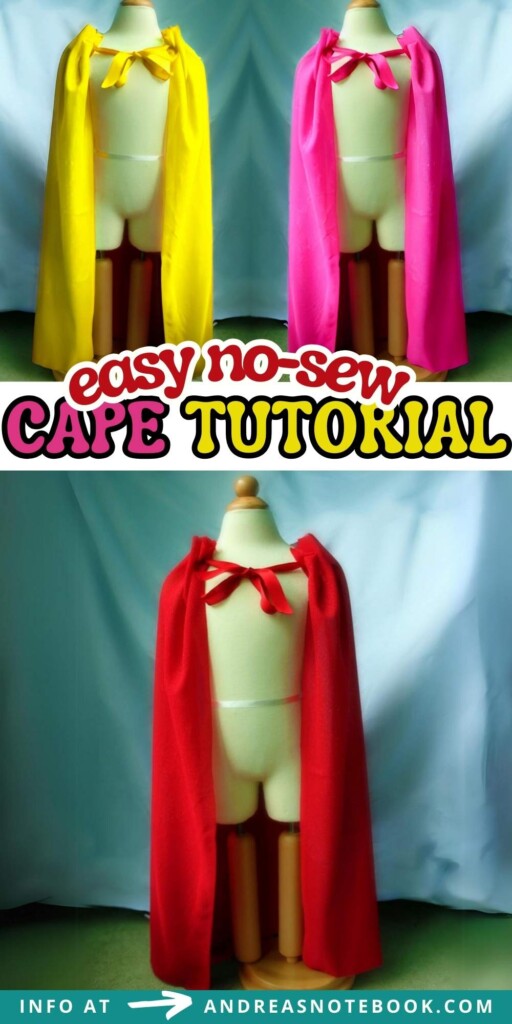
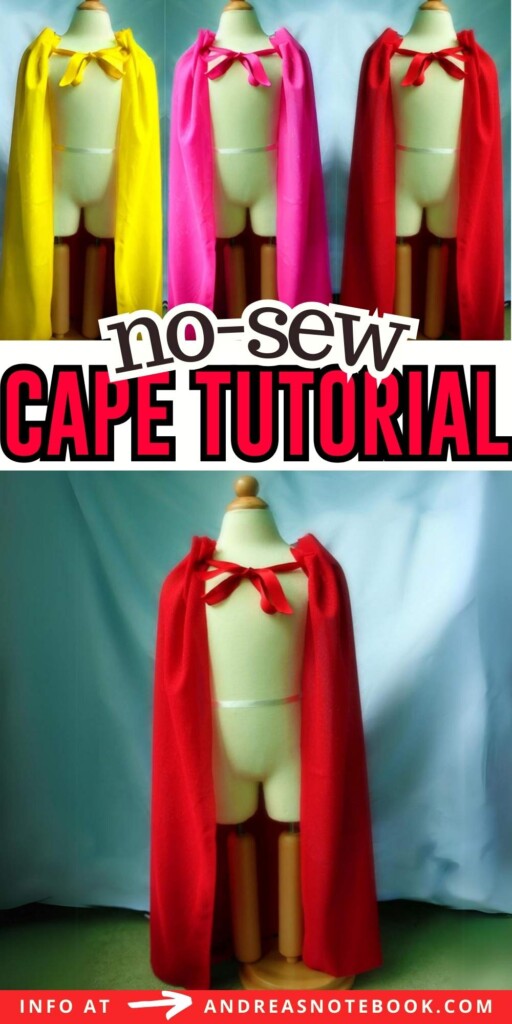
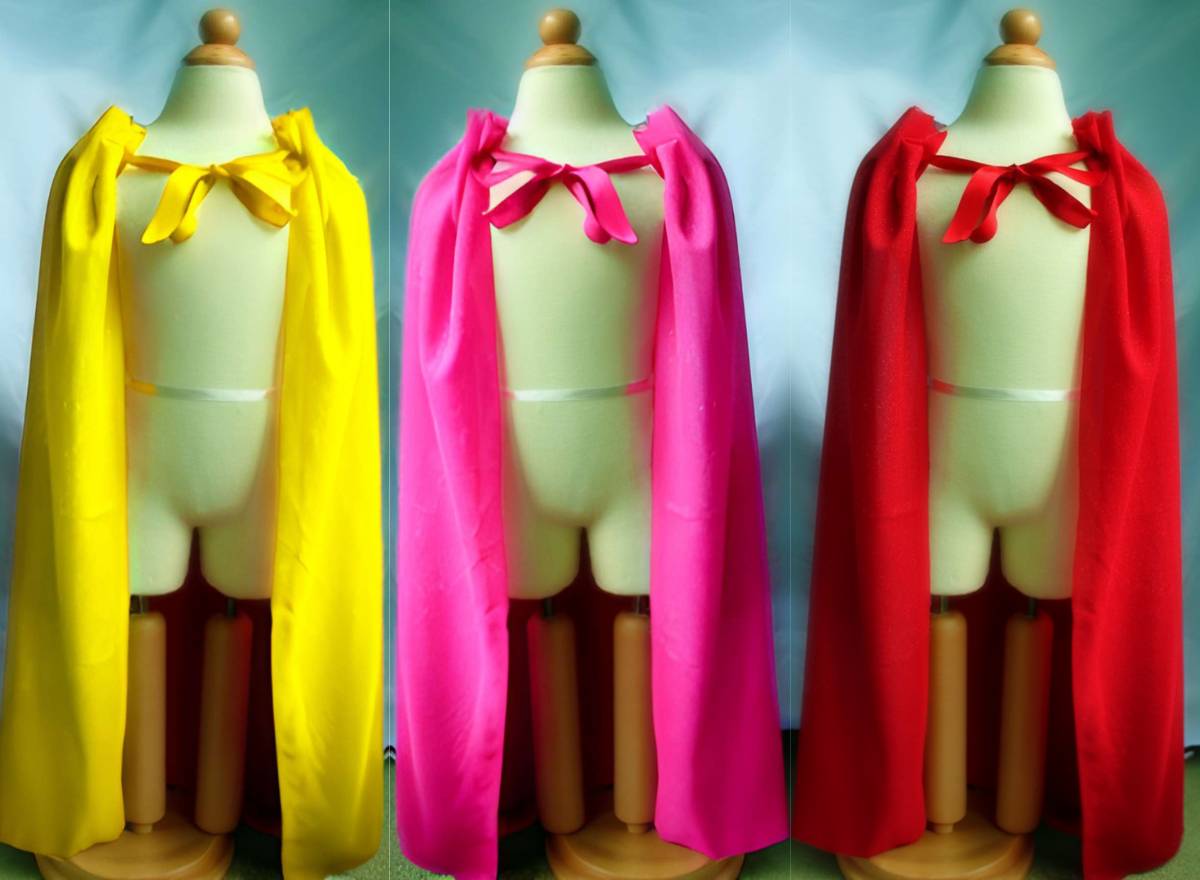
Make a costume cape without sewing. This easy DIY cape tutorial is perfect for DIY Halloween costume or a kids dress-up bin. Or make it for your cosplay costume. Full supply list and step-by-step instructions for this no sew cape are below. No sewing machine needed! You can make these for adults or children. Need a superhero cape for your dog? Check out this DIY Dog Cape Tutorial.
Why I Love This DIY Cape Tutorial
- Easy: This no sew tutorial is perfect for a last minute costume idea or for someone who doesn’t have a sewing machine. Plus there’s no need for a hot glue gun or a piece of velcro. This couldn’t be easier!
- Versatile: This cape can be made any size and for any type of costume. Whether you’re making a superhero cape or a cosplay cape this will work.
- Quick: Once you’ve gathered your supplies this will take you about 10 minutes.
Tutorial by Little Pink Monster published originally in 2011. Updated in 2023.
Gather Supplies
Let’s get down to business. If you’re planning to create a DIY cape without any sewing involved, you’re in the right place. Assembling the right materials from the get-go is crucial for a successful project.
- 1-1.5 Yards of Knit Fabric: You need a rectangle of fabric. The length depends on how long you want to make it. Knit fabric is like t-shirt material. The raw edge (sides and bottom of the cape) won’t fray so there is no need to hem this fabric. 1 yard equals 36-inches. Measure how long you want your cape to be and add 5-10 inches to account for the length lost when gathering and shrinkage when washing. You can always trim some off but you can’t add more fabric! The width of the fabric is usually fine (about 44″) for this cape. If your fabric is extra wide, or your cape wearer especially small, you might want to cut some fabric off the side.
- 1 Yard of Ribbon: A ribbon that is the same color as your fabric is my preference but you can use any color of ribbon. I prefer using grosgrain ribbon but you can also use a satin ribbon.
- Fabric Scissors: Use any scissors that are sharp enough to cut through fabric.
- Optional: safety pins or sewing pins
With these supplies at hand, you’re all set to craft your homemade cape. By selecting the right materials and following a step-by-step guide, you’ll be on your way to having a cape ready for any event, be it halloween costume festivities or cosplay events. Time to gather these supplies and start crafting!
Fabric Options
So you’re gearing up to don that superhero persona but can’t decide on the perfect fabric for your DIY no sew cape? Fear not, for here’s a lowdown on the most fitting materials for a no-sew marvel:
- T-shirt material: Let’s begin with the basics. T-shirt material, predominantly cotton or a blend, is stretchy, comfortable, and breathes well. It’s soft against the skin and drapes wonderfully, making dynamic poses for those superhero landings a breeze. T-shirt knit is what is used in this easy tutorial. We love how easily it drapes and gathers without leaving a lot of extra bulk in the neck area. For a really little cape you can even use an adult sized old t-shirt for the fabric.
- Thin Fleece fabric: Ready for a cape that’s soft, warm, and snug? Enter the realm of fleece. This material adds a little weight, giving that flowing, dramatic superhero entrance we all crave. Plus, it’s perfect for those chilly nighttime crime-fighting adventures. Do not use a thick fleece! It will make the neckline gathering too bulky.
- Felt fabric: Ah, the classic! Felt holds its shape beautifully, giving your cape structure and form. What’s more, this fabric doesn’t fray, making it a solid choice for no-sew capes. And with the myriad of colors available, customizing your superhero look is effortless.
In essence, the type of fabric you choose defines your superhero story. From the softness of t-shirt material to the warmth of fleece fabric or the rigidity of felt fabric, each adds its unique flair. Choose wisely, just make sure your fabric is a type that does not fray when cut.
More Related Costume Tutorials
Add a little something to your homemade costume with one of these great tutorials.
Step-by-Step Instructions
Now that you’ve gathered your materials for this simple cape tutorial it’s time to wash your fabric. Wash it and dry it and then let’s begin.
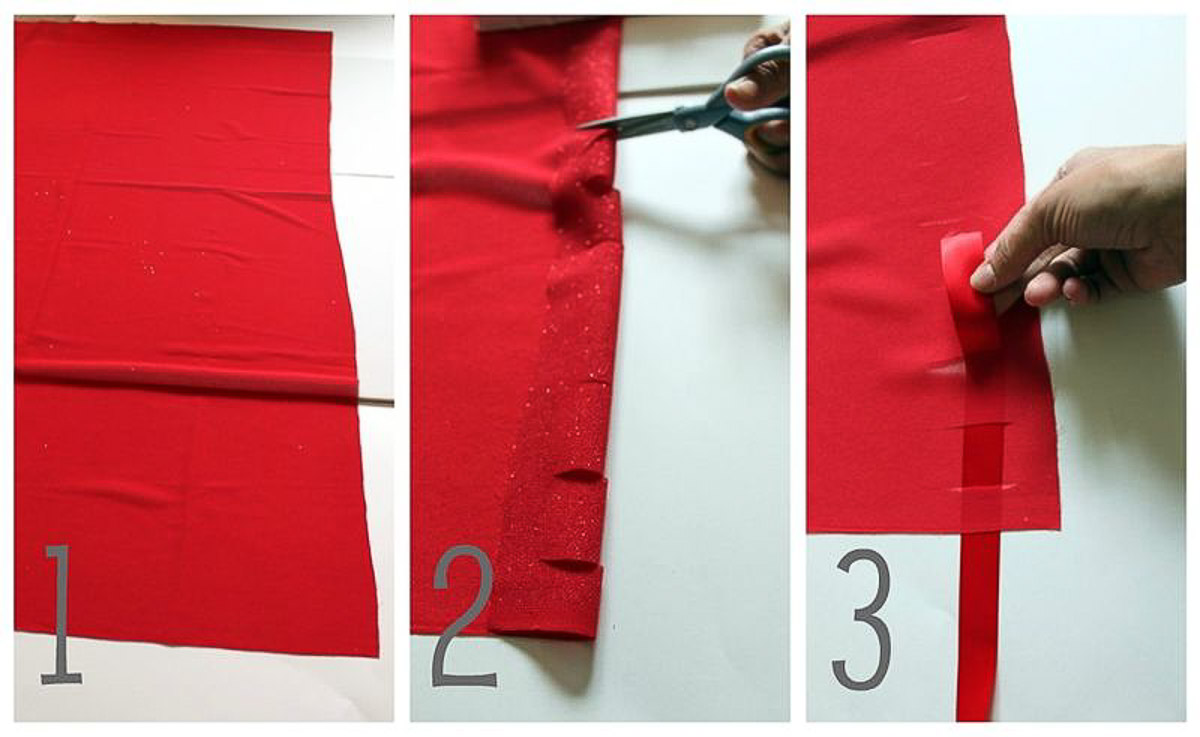
Step 1: Lay your fabric out flat. Fold one short edge of the fabric over 1-inch. This will be the top edge of your cape. It will be at your neck. You can iron the fold down or use pins to hold the fabric in place.
Step 2: First, use your sharp scissors to cut snips in the folded edge, 1 inch apart, down the length of the fabric. These snips should be just over ½″ long, each. Tip: If you love precision you can use a ruler and some chalk and mark your fabric every 1″ to keep things precise, though this isn’t necessary.
Step 3: Open the fold & you’ll now have many slits to weave your ribbon in & out of. The slits should be just over 1″ long. Carefully weave your ribbon in and out of all the slits.
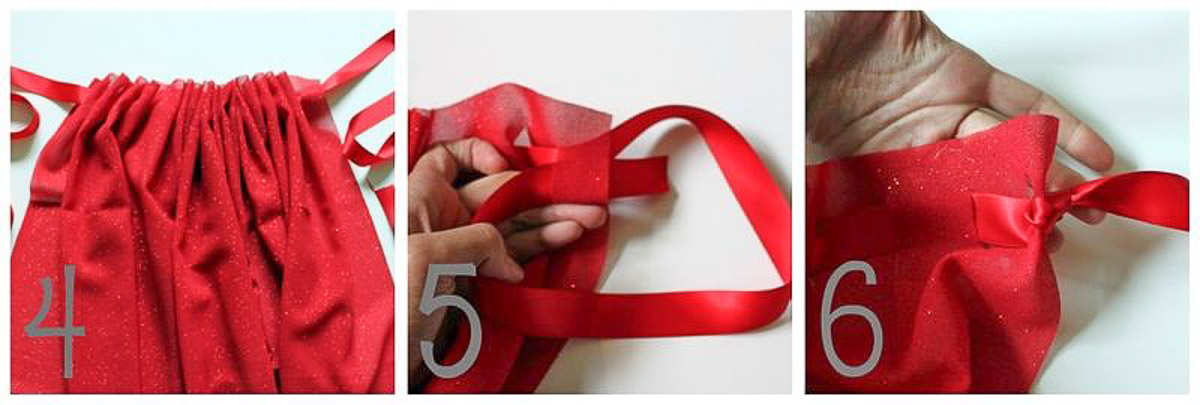
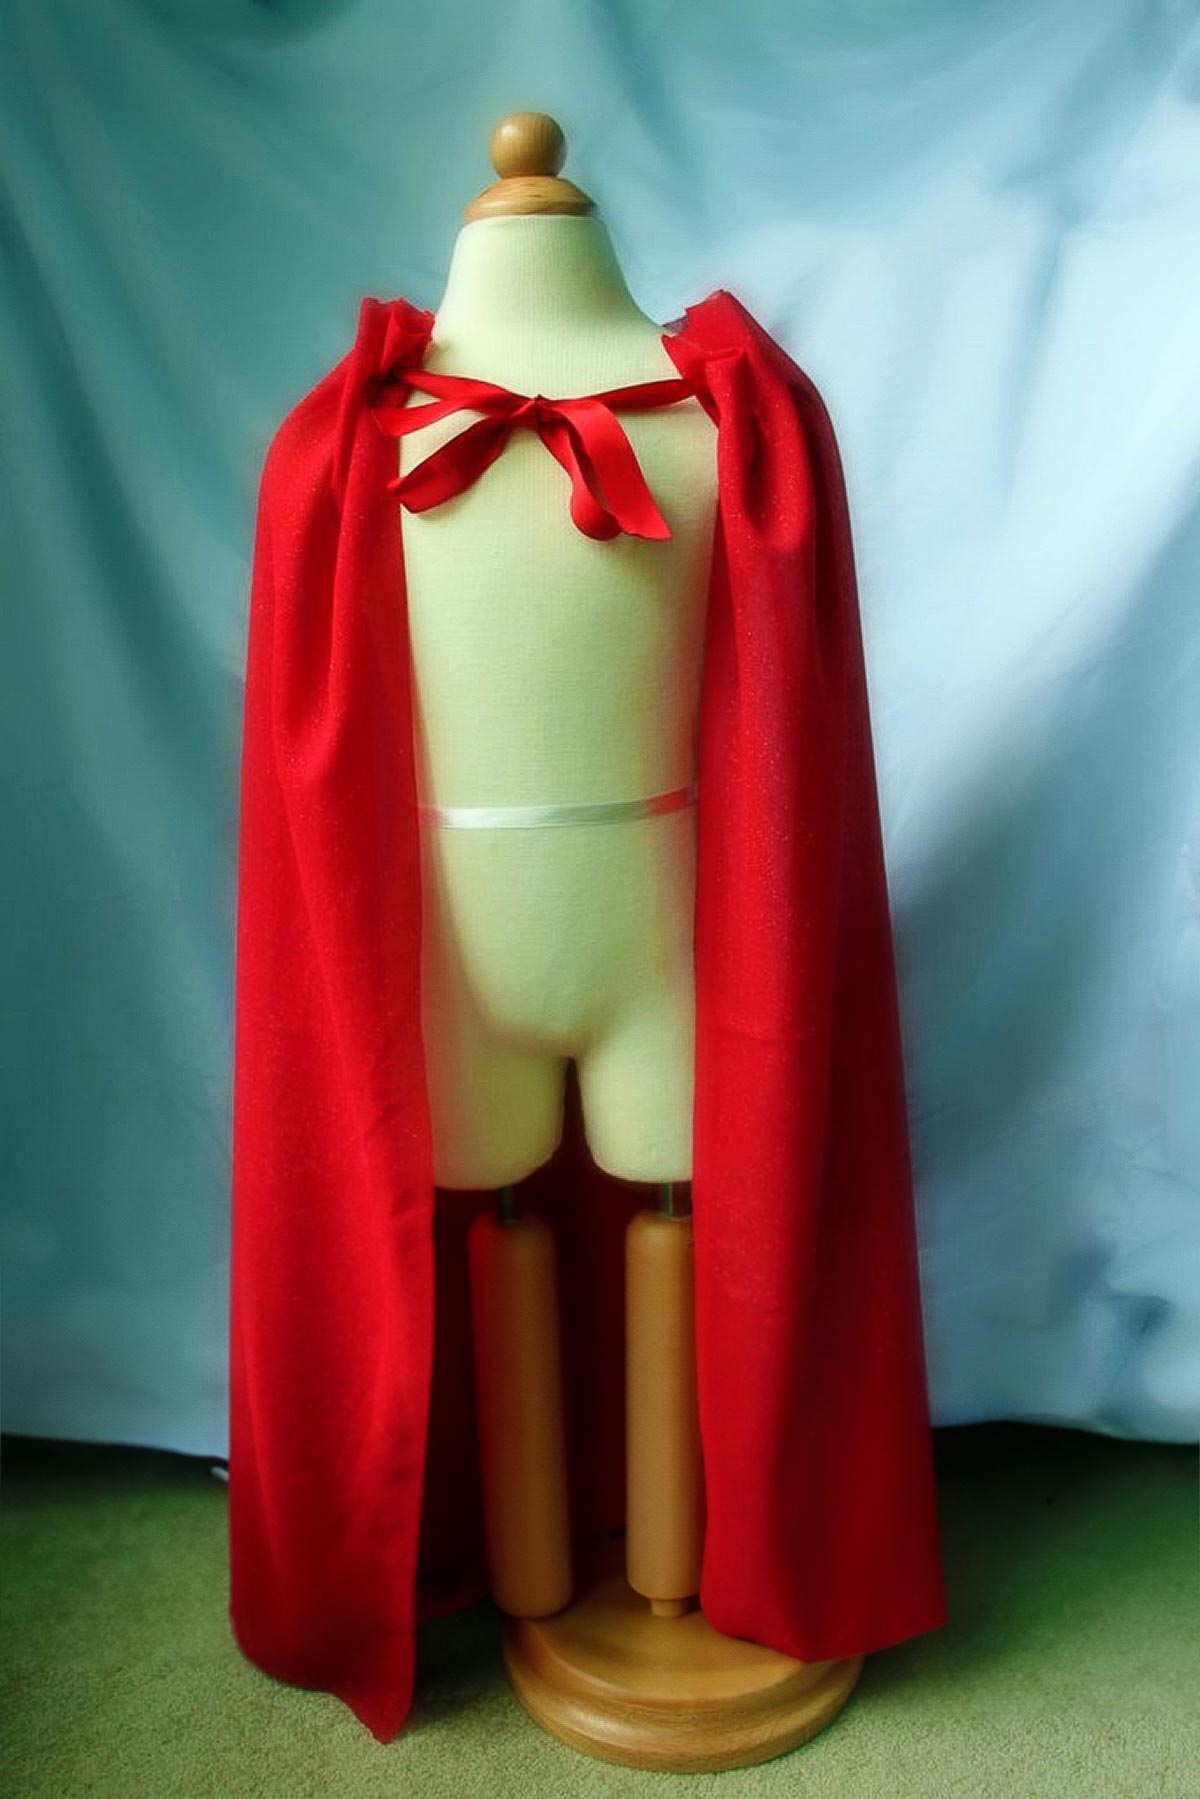
Step 4: After the ribbon is woven through all the slits, gather the fabric towards the center.
Step 5: Take each end of ribbon & loop it back through the last slit & knot.
Optional Step 6: To keep the end of the ribbon from fraying you can quickly run the edge over a flame & it will seal them. Alternately, cut your ribbon ends at a 45 degree angle to prevent fraying as much as possible.
Should You Wash Fabric Before Using?
Ah, the eternal dilemma: to wash fabric or not before embarking on a creative journey? It’s a question that leaves many crafters scratching their heads. But, there’s an easy answer.
First off, if you’re dealing with knit fabric, a little trip to the laundry before use can do wonders. Why? Because knit materials have this sneaky habit of shrinking. Washing them beforehand ensures your final masterpiece retains its original size and shape.
Washing also helps in removing any leftover dye that might bleed into other fabrics, especially when they’re damp. No one wants their white fabric turning an unexpected shade of pink, right?
Finally, a lot of chemicals are put onto fabric during the manufacturing process. Washing removes the chemicals that are still on the fabric from processing. You don’t want most of those on your skin so washing is a great idea before using. This will often make the fabric softer as well.
In conclusion, when the aim is to maintain size, prevent dye disasters, and achieve softness, washing is the way to go. And if you’re still on the fence, just remember this golden rule: when in doubt, give it a wash. After all, it’s better to be safe than sorry!
Costumes That Require Capes
Ah, the art of caped crusading! Whether you’re planning a swooping entrance at a Halloween costume party or simply playing dress-up on a lazy Sunday, a cape adds an unmistakable flair. Here are a few costume ideas that could use the dramatics of a no-sew DIY cape:
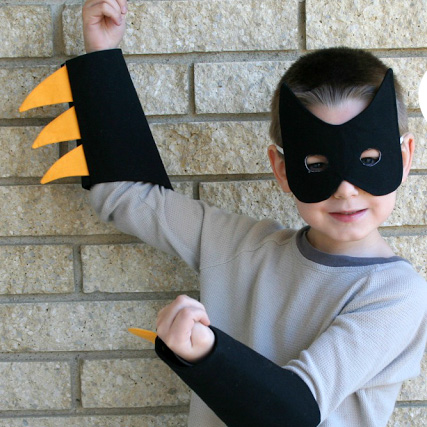
- Superheroes & Villains: The classics! Whether you’re channeling an iconic hero like Superman, Supergirl or Batman, or crafting your own alter ego, a cape is practically mandatory. Consider also making these Batman Arm Cuffs, a Bat Mask or Superhero Cuffs.
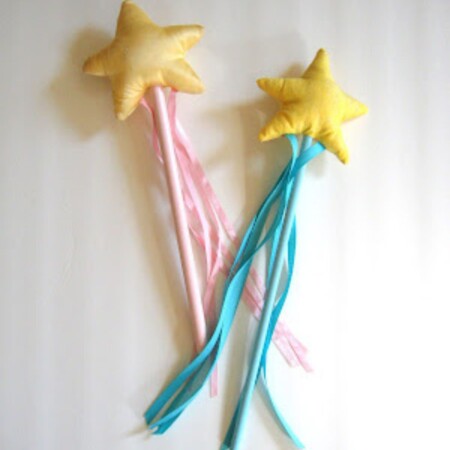
- Magical Creatures: Fairies, wizards, or even whimsical elves. Imagine the grace as the cape trails behind in an ethereal dance. Make a DIY Fairy Wand to go with the costume.
- Royalty: Kings, queens, princes, and princesses. Use that cape to announce your regal presence.
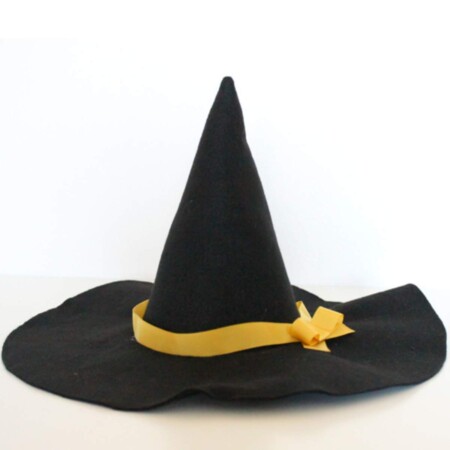
- Vampires & Witches: Go traditional or modern, but that cape is a surefire way to accentuate the supernatural vibe. Make a DIY Witch’s Hat to accompany the cape.
- Storybook & Movie Characters: From a little red riding hood costume to an Elsa costume, a cape always comes in handy!
So, whether it’s for Halloween costume extravaganzas or simple pretend play days, never underestimate the power and versatility of a DIY cape. After all, the cape makes the legend!
Frequently Asked Questions (FAQs)
You will need between 1 yard and 1.5 yards of fabric for this cape, depending on the size of the person who will be wearing it.
If you’re using a bedsheet as a cape I recommend using an easy sewing tutorial. Bed sheets will fray when you cut them and won’t work very well for this tutorial.
If your fabric is somewhere around 40-48″ wide I don’t recommend cutting the sides. This method will gather the fabric at the neckline and make a wider cape fit even a young child. If you’re making a very small cape you might want to cut some of the fabric off the side.
Comments & Reviews
Karen says
What an excellent idea!!!! Its a winner.
Wendy says
We just used this for our Girl Scout troop to make no-sew period capes for their 18″ dolls! It worked great, thank you!! We needed an easy design that they could make in about 15 minutes each that satisfied one of the costume requirements for the Playing the Past badge. Fits right into our Civil War theme, but could also work for Revolutionary era or other. With organza ribbon, and over a fancy dress, it looked quite elegant as an evening cape to attend the ball on our model dolls! I cut an approx. 8″ x 16″ rectangle as our pattern, otherwise we followed your tutorial. Great idea!
kelly says
I just made the most beautiful “frozen” cape with your perfect, easy instructions, thank you!!!!