
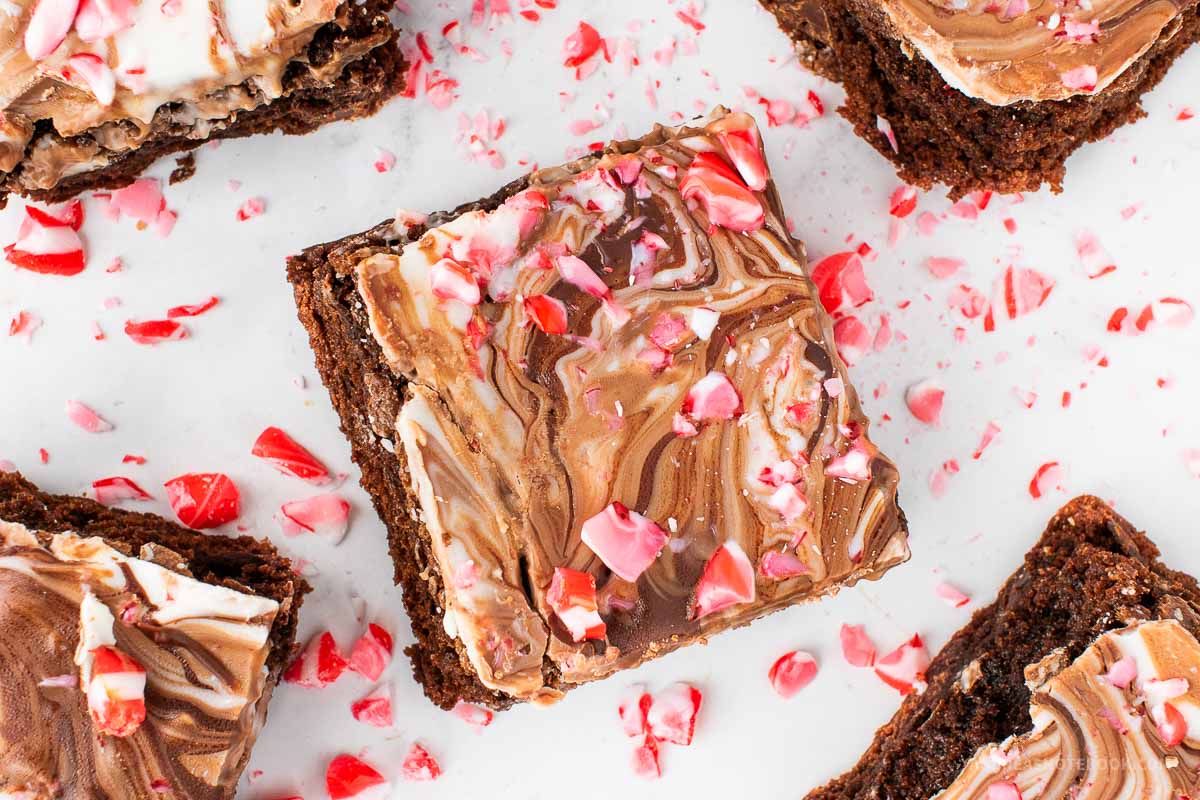
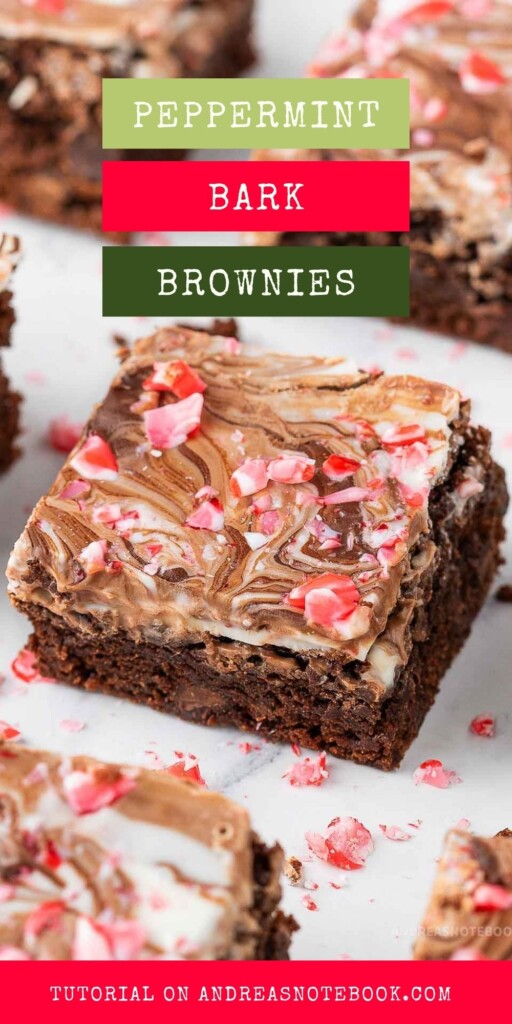
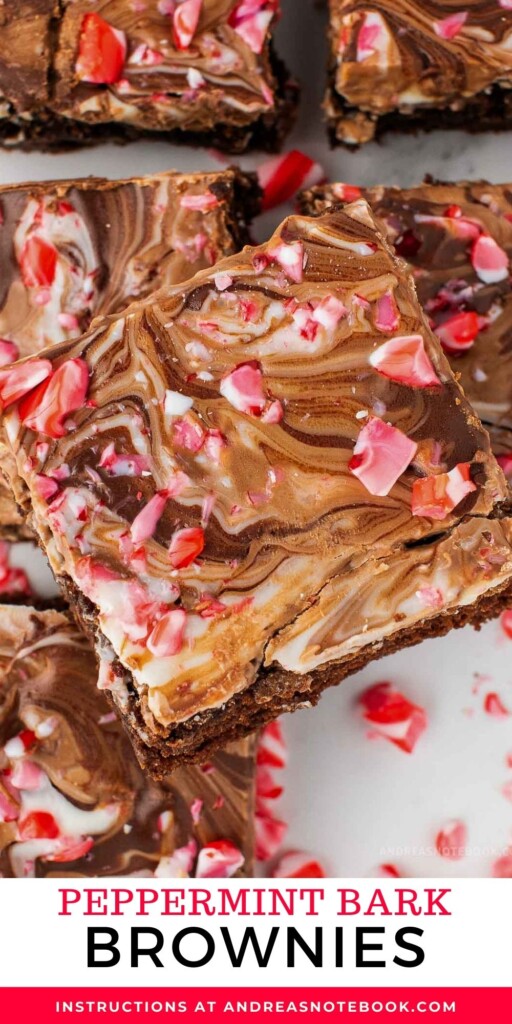
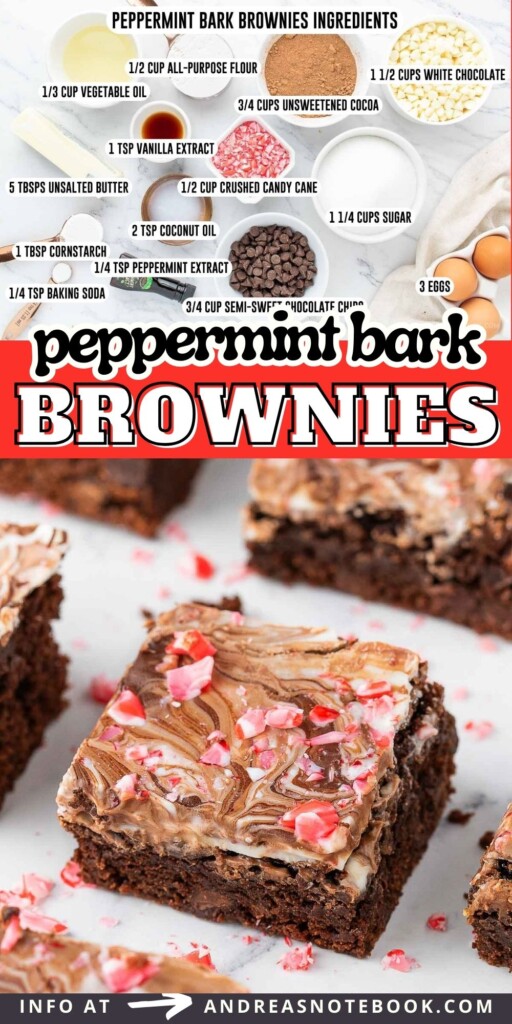
Craving a twist on the classic brownie? Enter peppermint bark brownies – a festive fusion that’s sure to delight. Imagine a fudgy brownie base topped with a layer of rich, peppermint-infused chocolate. Sprinkled with crushed candy cane, these peppermint brownies are not just a treat; they’re a celebration on a plate. Perfect as a Christmas dessert or a cozy winter snack, they’re bound to be the highlight on your holiday table. Ready to bake a batch? Let’s transform the top of the brownies into a peppermint wonderland!
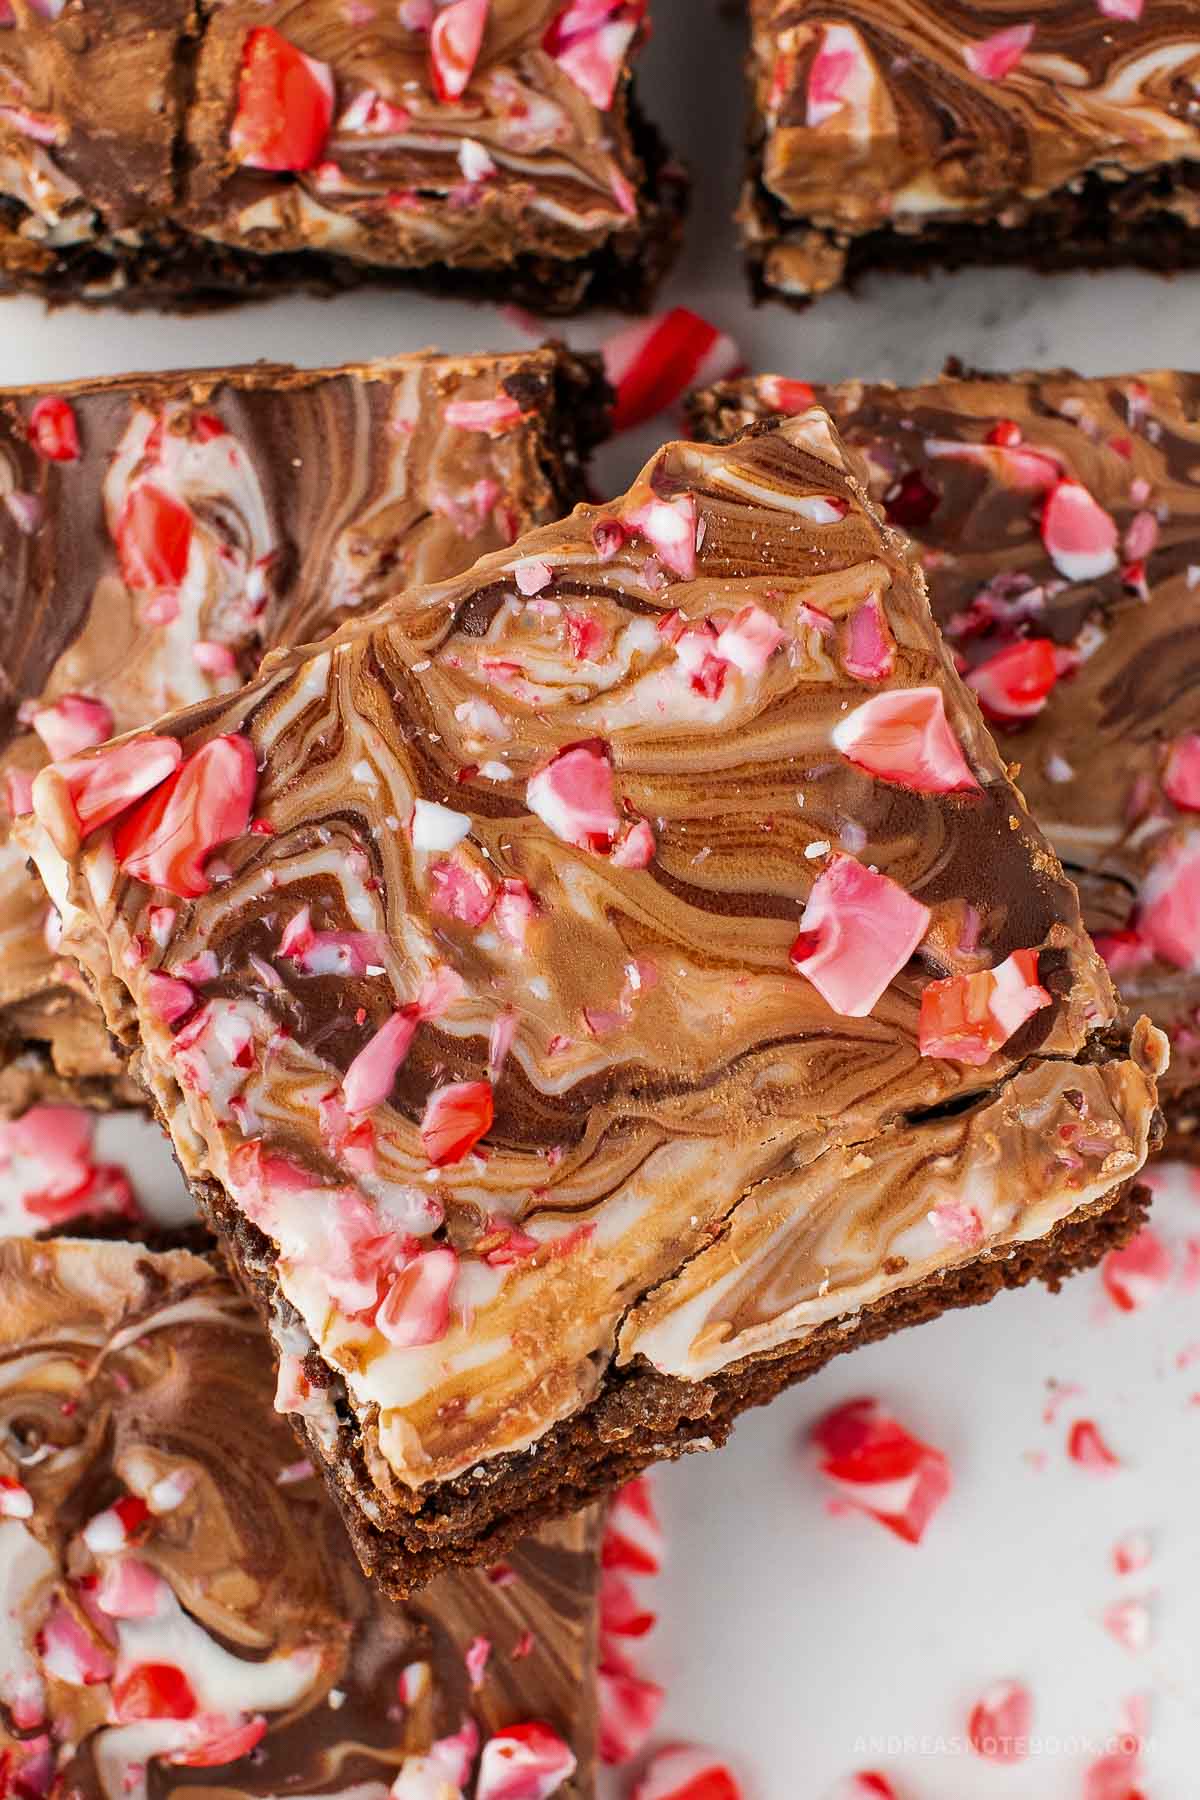
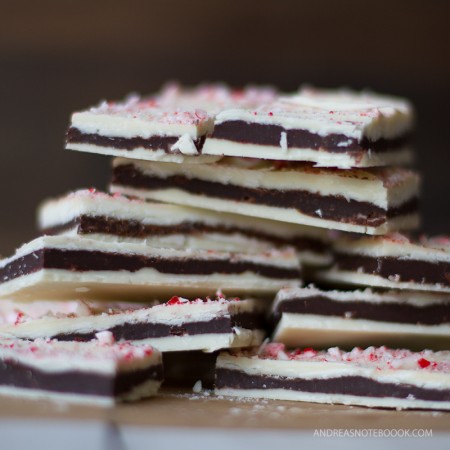
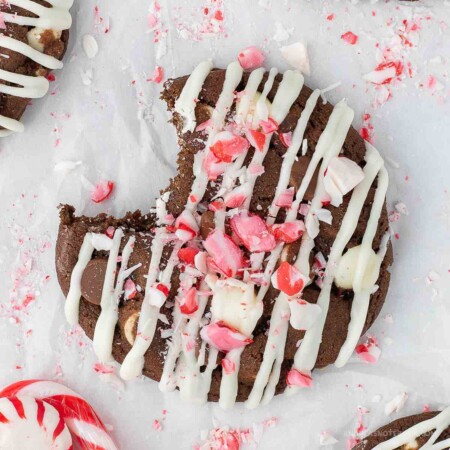
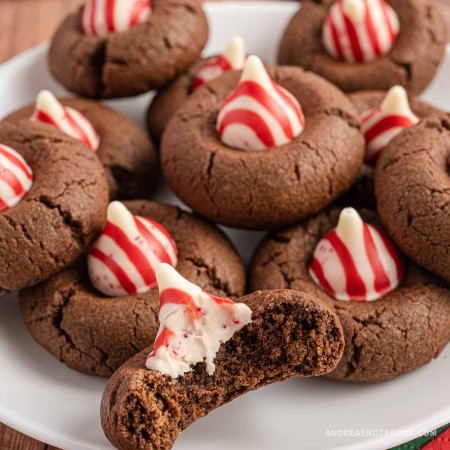
Crafting a holiday dessert tray? Mix classic charm with a twist! Start with homemade peppermint bark brownies, a crowd favorite. Add chocolate peppermint blossom cookies for a touch of nostalgia. Don’t forget layered chocolate mint fudge, rich and decadent. For a fun twist, include white chocolate peppermint pretzel rods. Double chocolate peppermint bark cookies offer another layer of indulgence. Toss in some chocolate candy cane truffles for bite-sized bliss. Andes mint mini chocolate cheesecakes provide a creamy contrast. Traditional peppermint bark is a must. There you have it, a tray that’s a holiday hit!
Why You’ll Love These Peppermint Bark Brownies
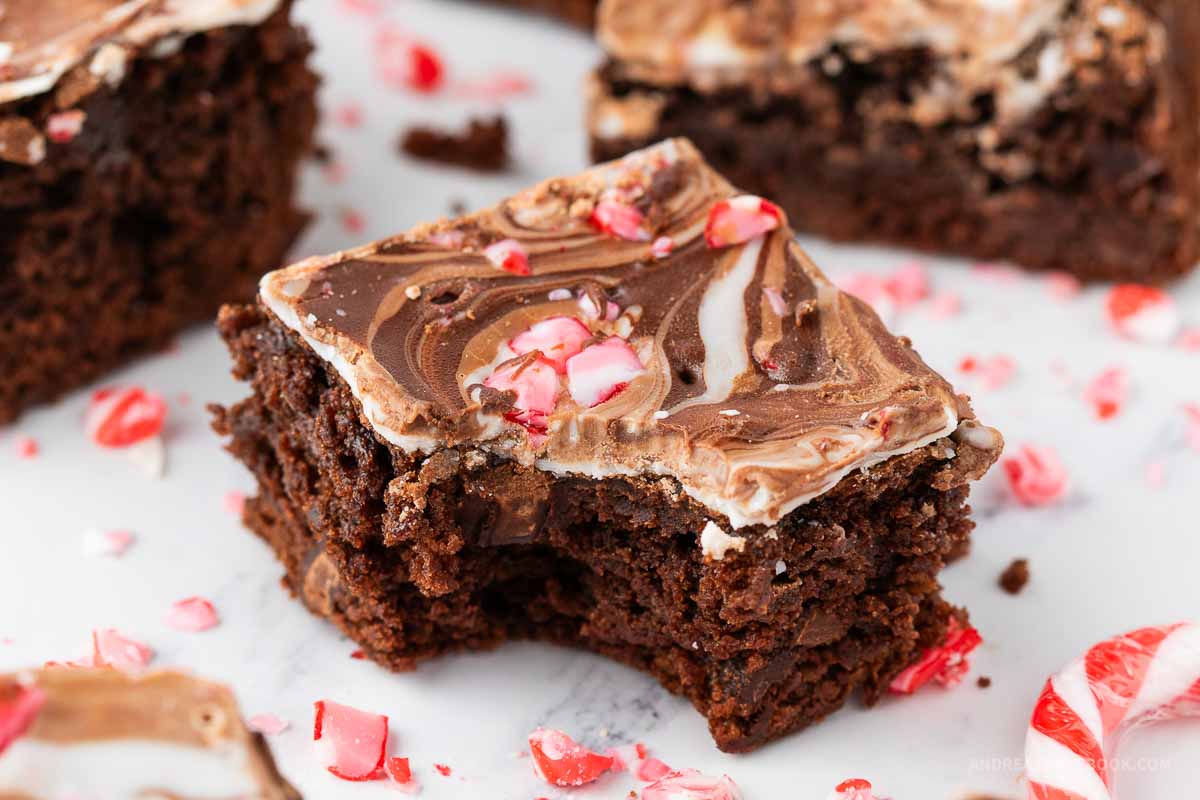
- Flavor: Fudgy brownie base with a white chocolate and dark chocolate peppermint bark top with crunchy bits of peppermint candy cane.
- Total Time: 55 minutes
- Diet: Vegetarian, Gluten Free (option)
- Method: Oven
Ingredients
For a full printable mint chocolate brownies ingredients list and instructions are in the recipe card below.
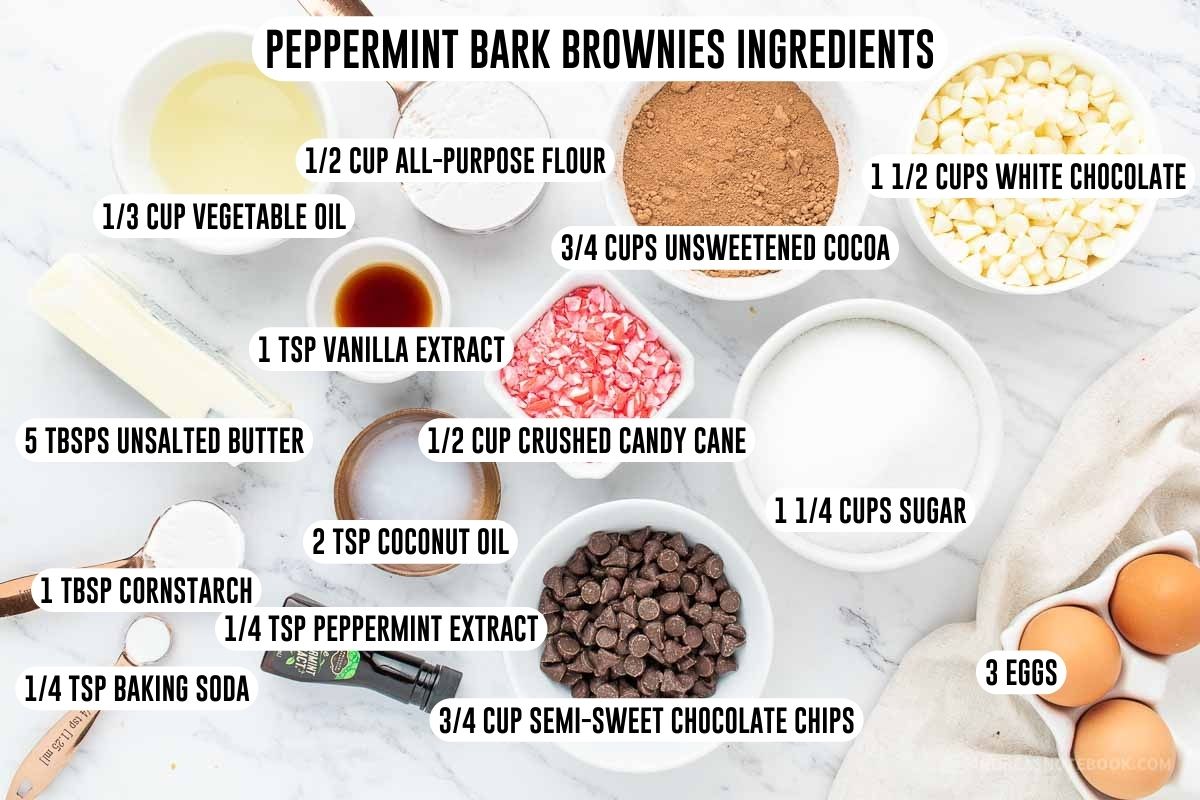
- Butter: Use unsalted butter, melted.
- Sugar: White, granulated sugar is best.
- Eggs: Use large eggs.
- Vanilla: High quality vanilla extract is preferred.
- Oil: Vegetable oil or your favorite baking oil. You can use melted coconut oil or canola oil as well.
- Unsweetened Cocoa Powder: In baking, the type of cocoa powder used can significantly affect the flavor, color, and texture of the final product. The main types of cocoa powder are natural cocoa powder and Dutch-process cocoa powder. Natural Cocoa Powder has a more pronounced, sharp chocolate flavor. It’s lighter in color, compared to Dutch-process cocoa. Dutch-process cocoa powder has a milder, smoother chocolate flavor. It has a darker color. It is often preferred for European recipes. For this recipe I used regular unsweetened cocoa powder.
- Flour: Use all-purpose flour.
- Baking Soda: Baking soda is a leavening agent. Make sure your baking soda is not old. It can lose it’s potency with time. It’s important to measure accurately.
- Cornstarch: Cornstarch in brownie recipes primarily enhances texture and moisture retention. It makes brownies more tender and moist, contributes to their fudgy density, and improves their shelf life by keeping them fresher for longer. Additionally, cornstarch helps create a finer, smoother crumb in the brownies.
- Chocolate: This recipe calls for semi-sweet chocolate chips for the brownies plus dark chocolate and white chocolate for the peppermint bark on top. Use high quality dark chocolate baking bars and white chocolate baking bars or use dark chocolate chips and white chocolate chips.
- Peppermint Extract: Use peppermint extract, not peppermint oil. Measure accurately because a little bit of peppermint extract goes a long way.
- Coconut Oil: In peppermint bark recipes, coconut oil enhances the texture, making the bark less prone to cracking and easier to bite. It also imparts a slight coconut flavor, adds a glossy finish, and helps prevent chocolate bloom, maintaining the bark’s appearance. Additionally, coconut oil eases the chocolate melting process, aiding in smoother preparation.
- Candy Canes: Use peppermint candy canes. You can also use round peppermint candies or peppermint sticks if you can’t find candy canes.
Gluten Free Option
To make these peppermint brownies gluten free you will need to make a few adjustments:
- Flour: substitute the all-purpose flour for a gluten free baking flour mixture. King Arthur’s is my favorite.
- Make sure these ingredients are gluten free: candy canes, cornstarch, chocolate, baking soda, cocoa powder. They should be gluten free but some brands may try to sneak it in there. It’s always good to double check.
- Make sure your work surfaces are free of all gluten contaminates.
Variations
Try one of these variations to switch up the peppermint bark brownies recipe. These fudgy brownies make a great base for lots of options!
Crunchy Peppermint Brownies: Omit the peppermint bark on the top. Instead, add the peppermint extract and candy cane pieces to the brownie batter before cooking. Cook as directed.
Box Mix Peppermint Bark Brownies: Make your boxed mix brownies as instructed on the box. Then follow the steps after removing the brownies from the oven to make the top peppermint bark. These semi-homemade brownies are just as good!
Thin Mints Brownies: Make the brownies as directed. When you add the chocolate chips into the brownie batter, add coarsely chopped up chunks of thin mints, Andes mints or York peppermint patties. Stir into batter. Bake brownie pan as directed. You can add the peppermint bark on top as in the recipe and substitute more chunks of the thin mints in place of candy canes on top of the brownies. Or omit the peppermint bark all together.
Instructions
Full step-by-step peppermint bark brownie recipe instructions are in the recipe card below. You can print or save to Pinterest for later.
Prep: Preheat the oven to 325° F (160°C). Line an 8×8 inch metal baking dish with parchment paper. Set aside.
Place unwrapped candy canes in a plastic ziplock bag and use a rolling pin or meat tenderizer to gently crush the candy. You want it coarsely crushed, not into a fine powder.
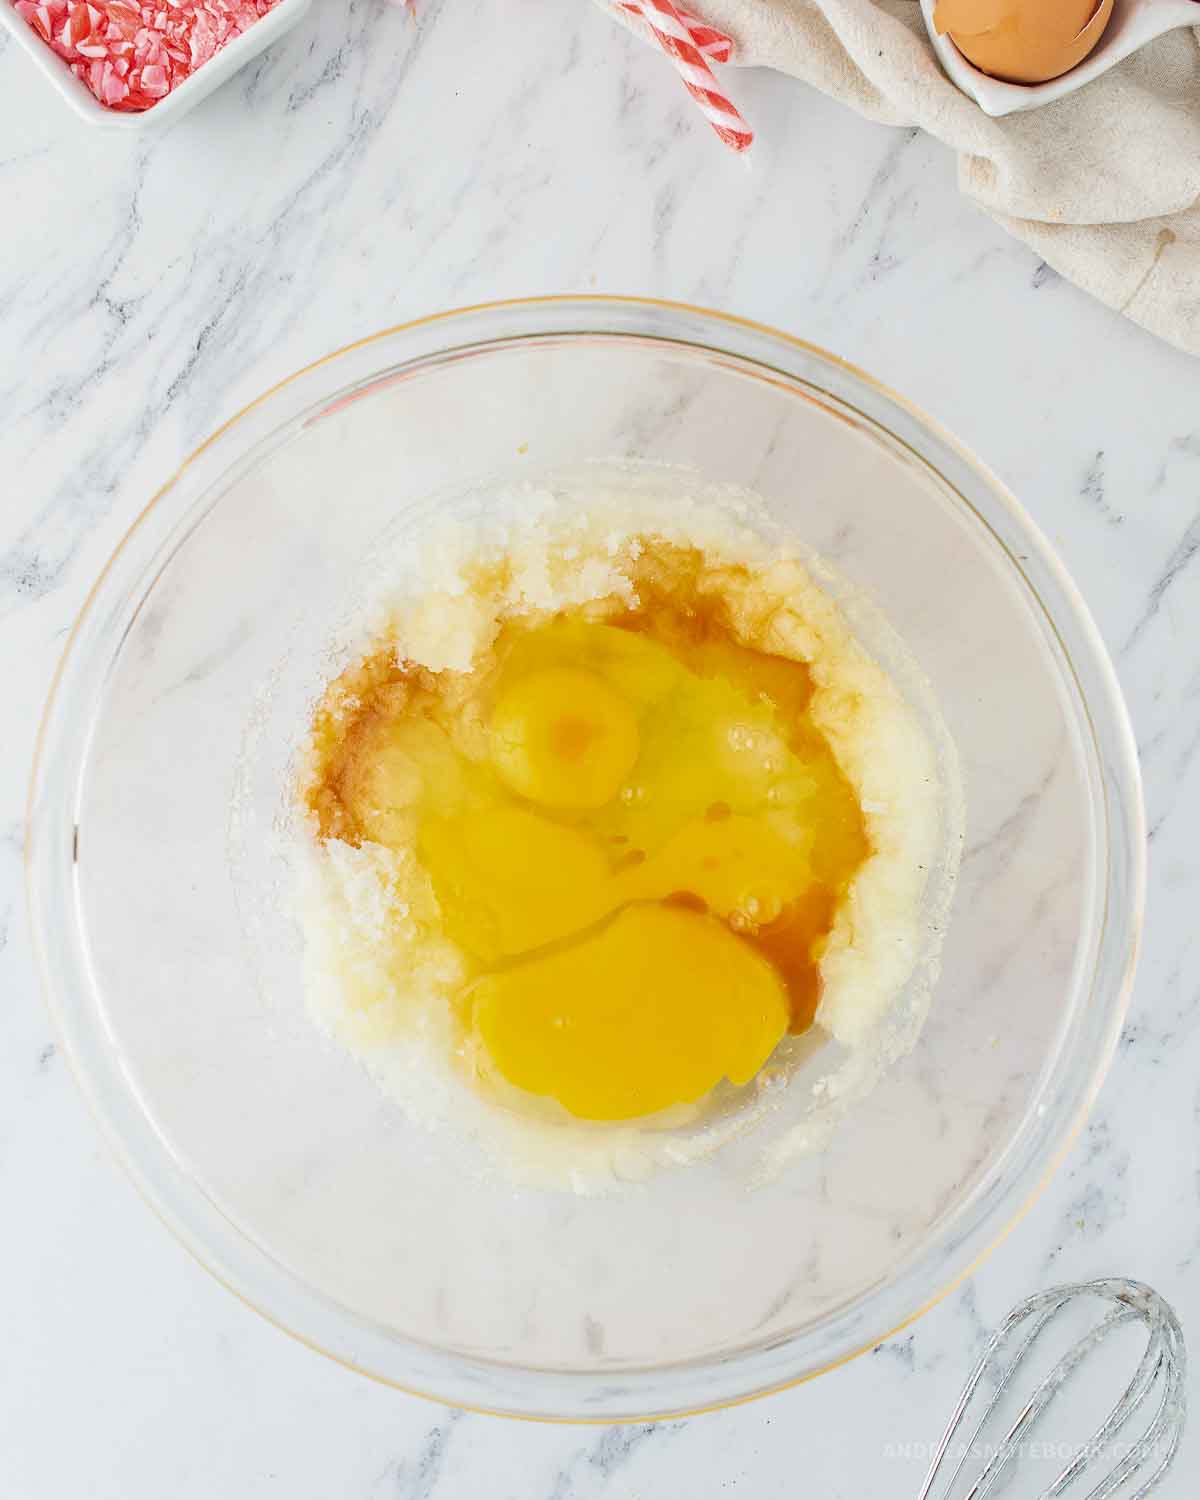
Step 1: In a large bowl, combine 5 tablespoons melted butter, 1 ¼ cups granulated sugar, 3 eggs, and 1 teaspoon vanilla by whisking them together until mixed.
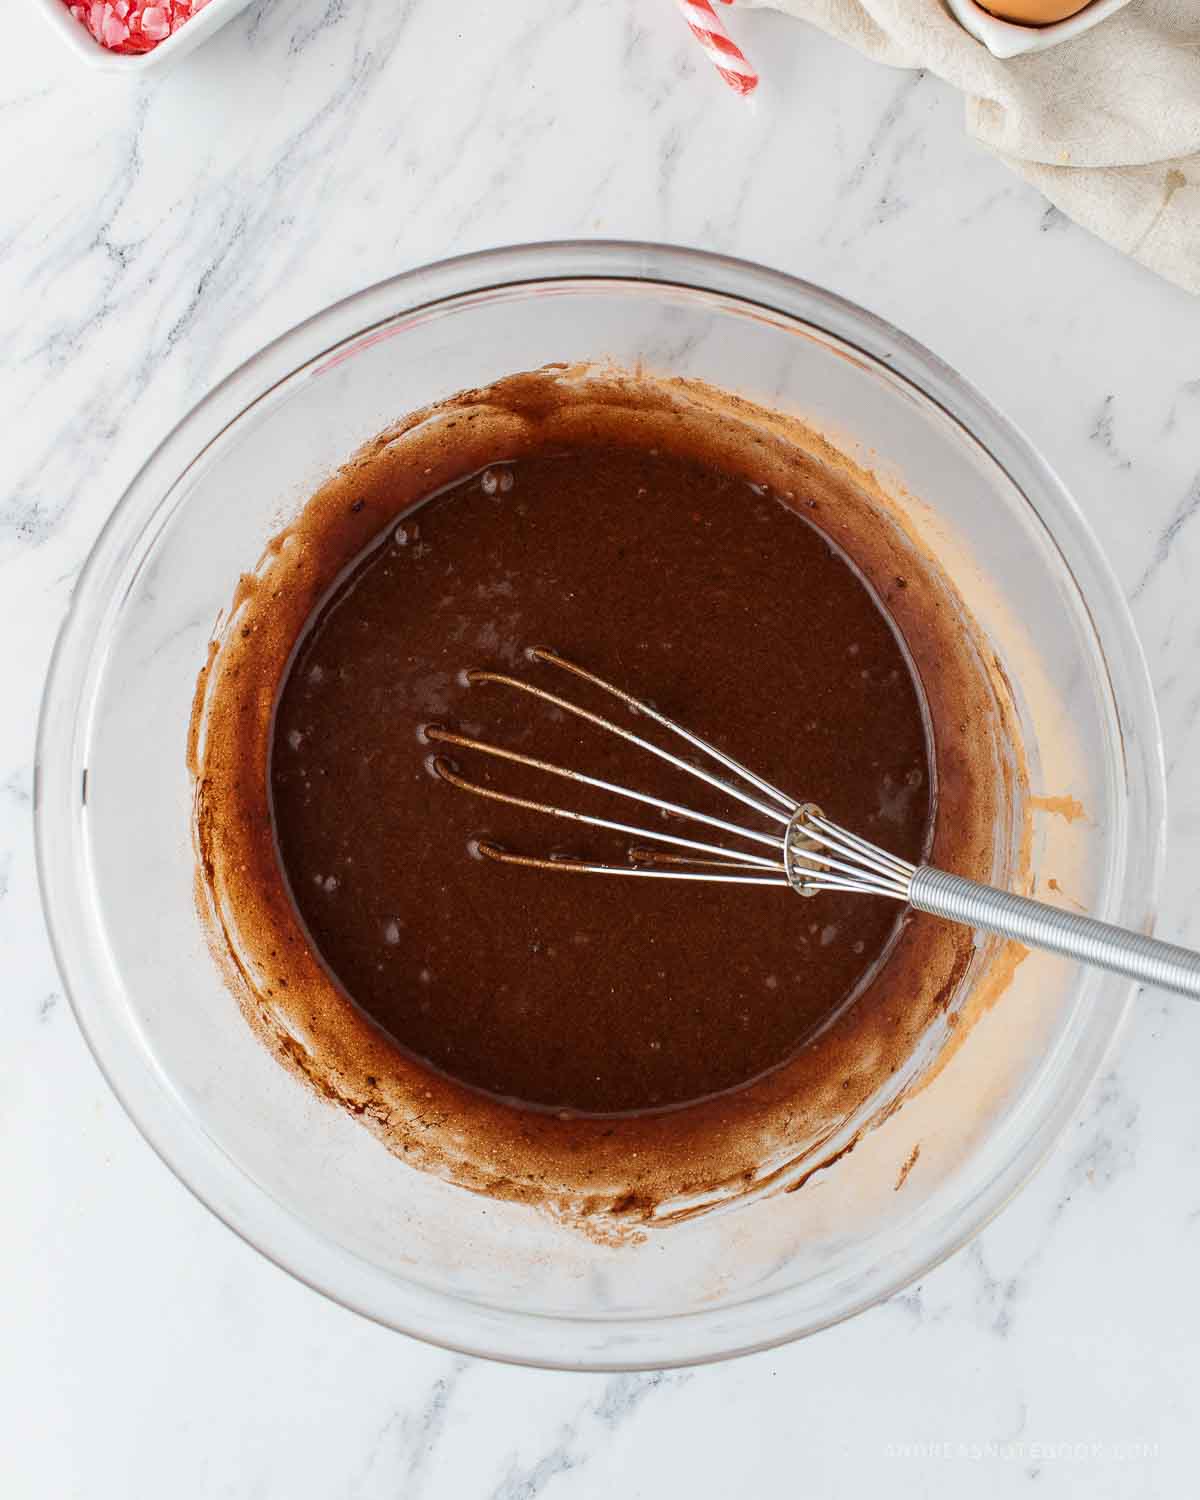
Step 2: Add ⅓ cup vegetable oil and ¾ cups unsweetened cocoa powder to the bowl with the egg mixture. Whist together to combine.
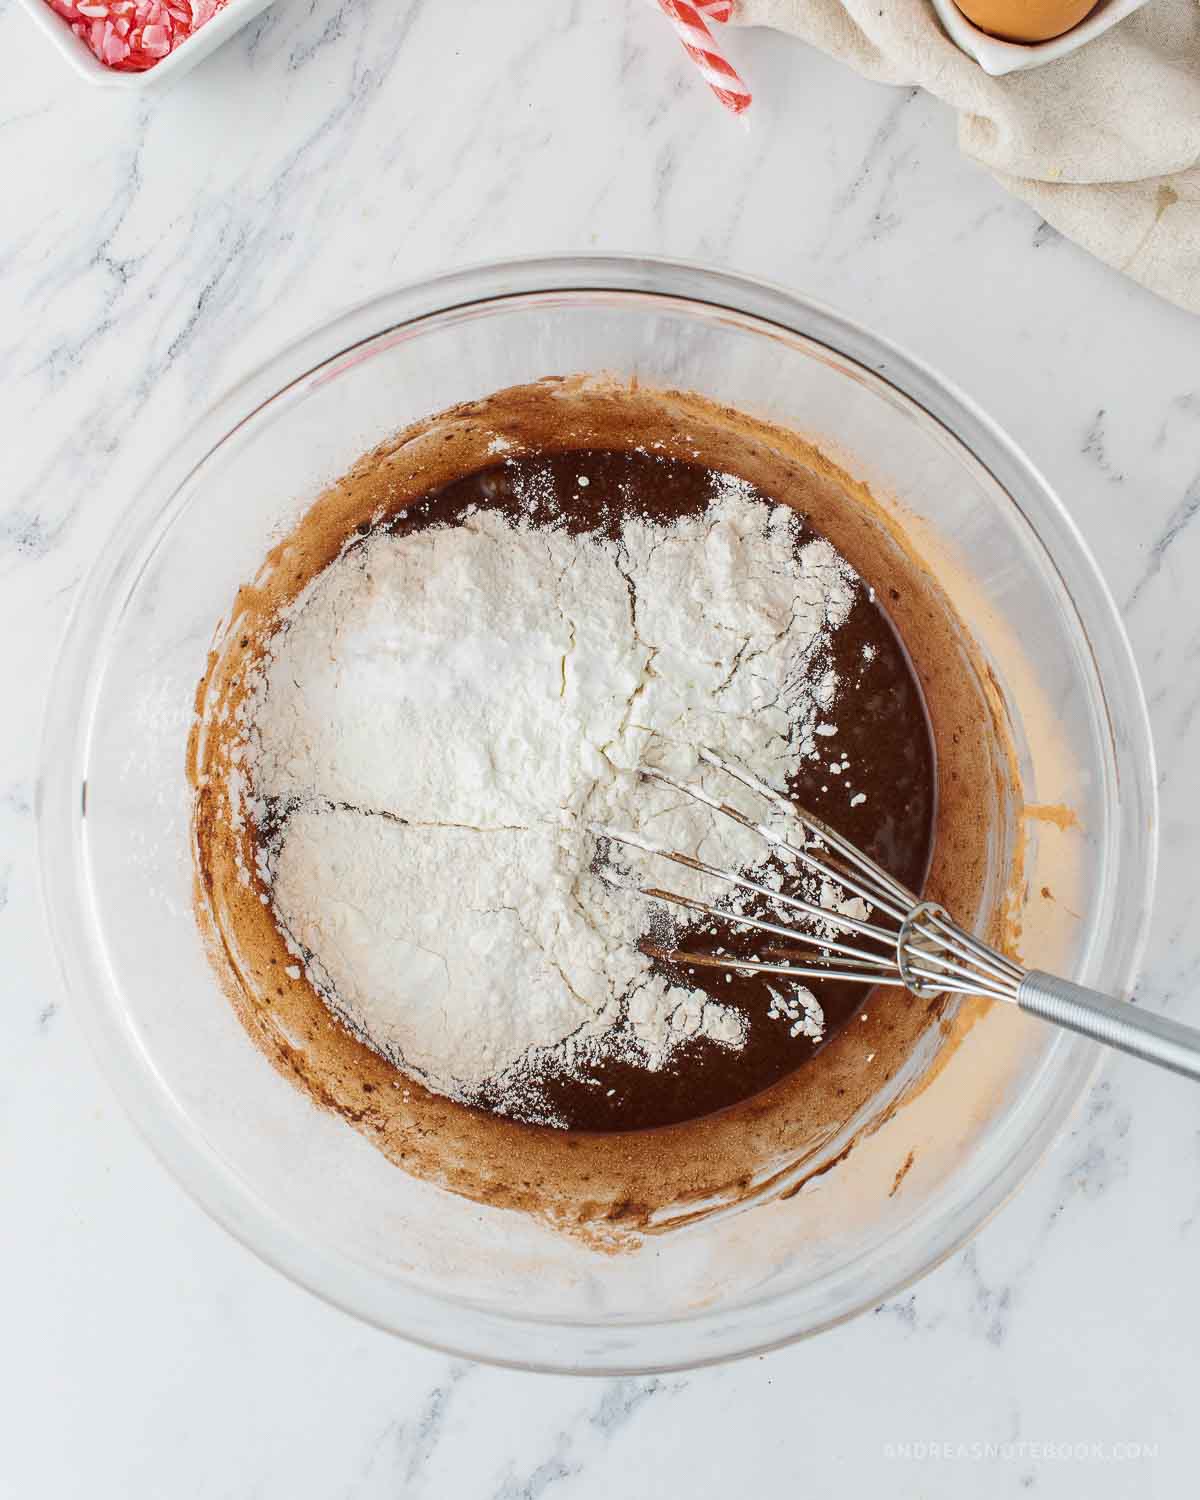
Step 3: Using a rubber spatula or a whisk, gently mix in the flour, baking soda, and cornstarch until fully incorporated.
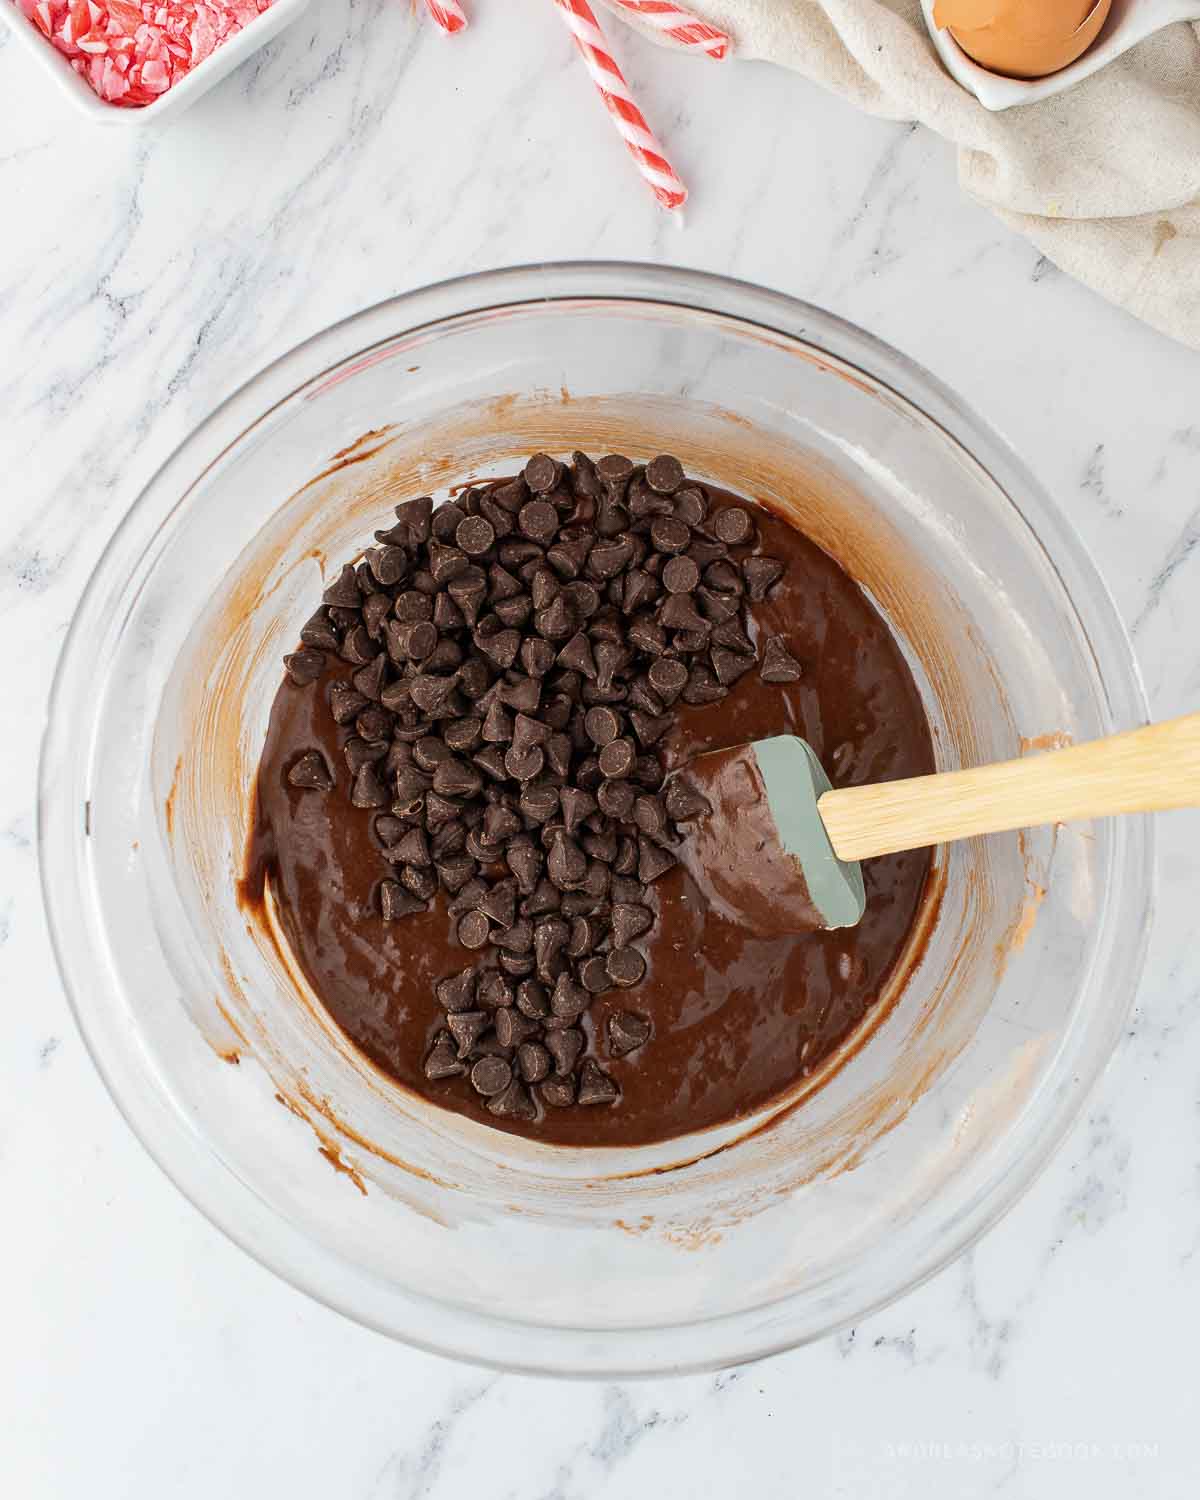
Step 4: Then, fold in the chocolate chips. Do not overmix.
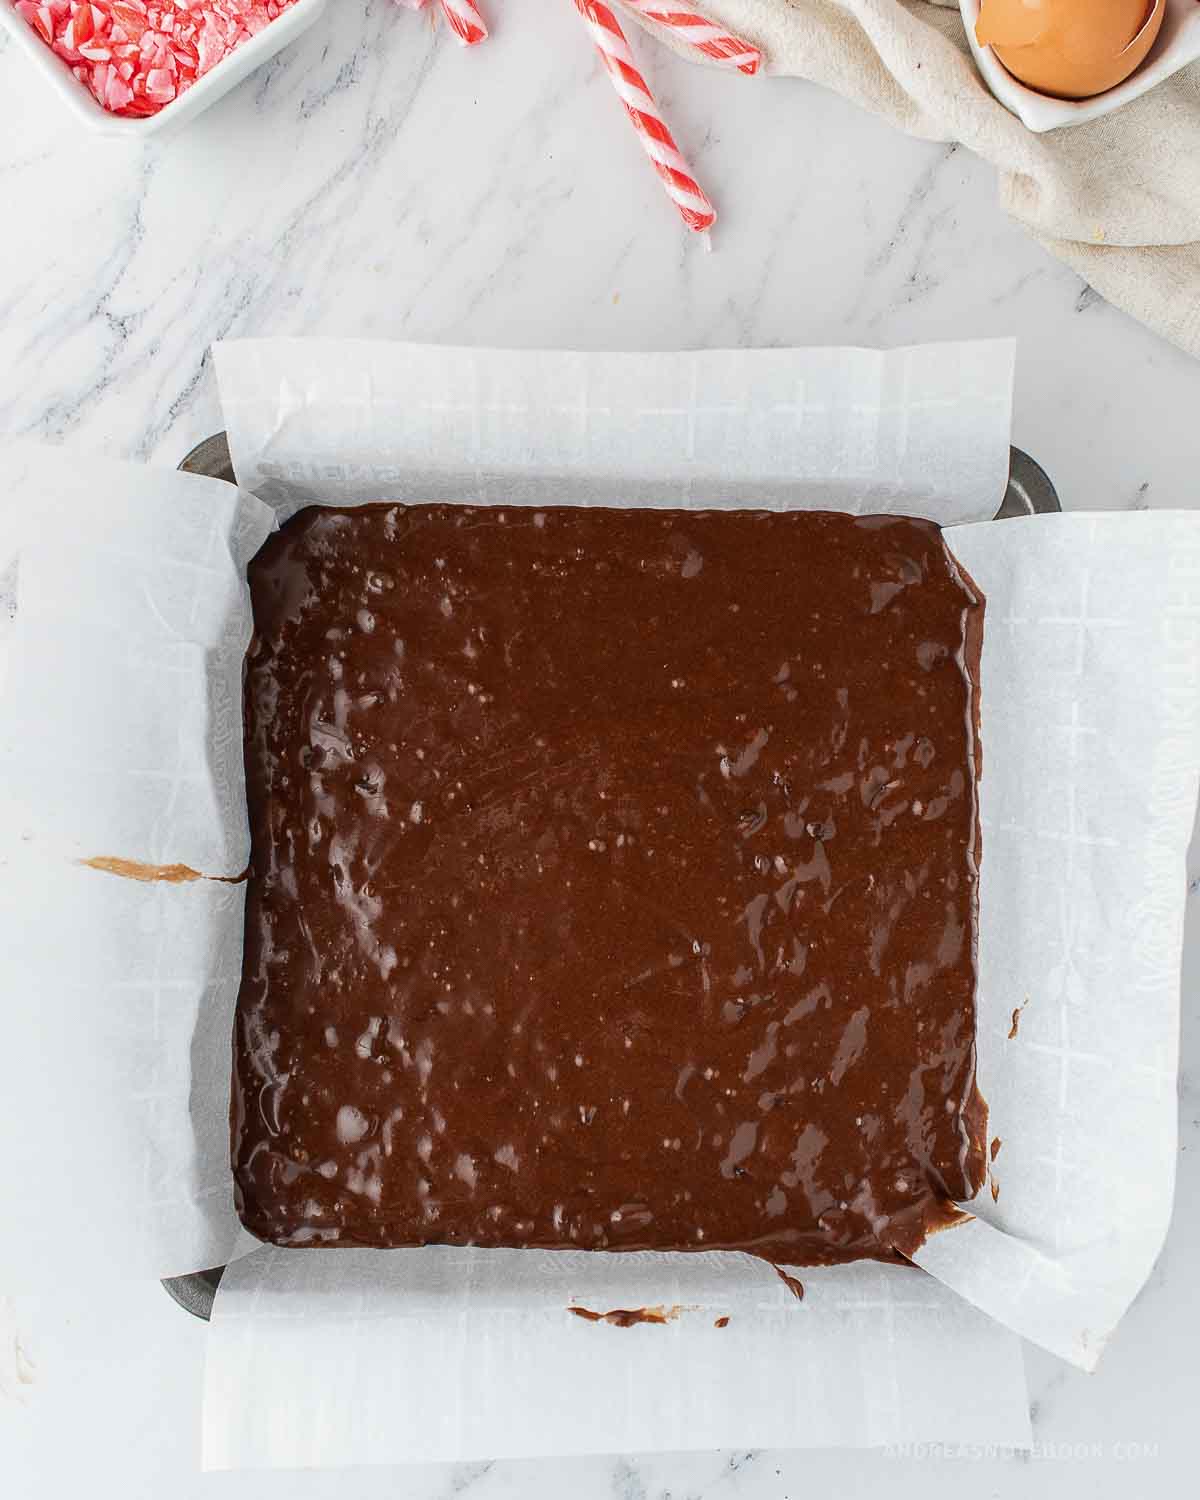
Step 5: Pour into the prepared pan. Spread into an even layer.
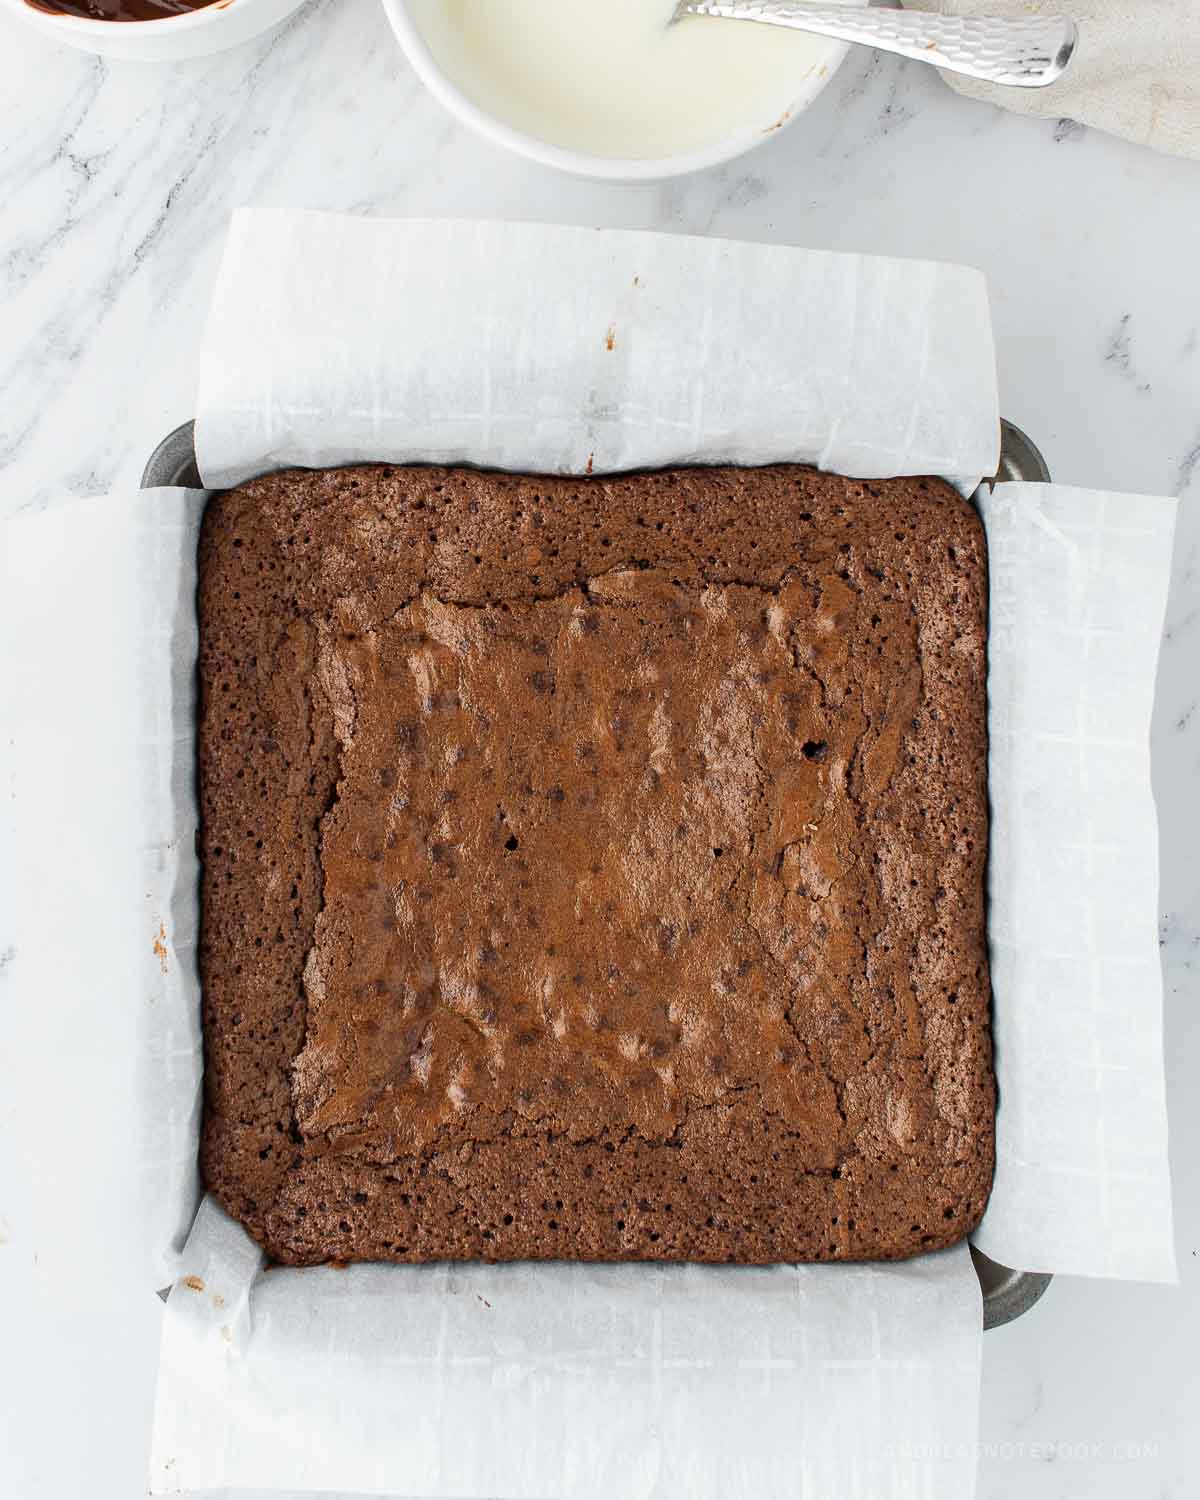
Step 6: Cook in the oven on the center rack for 30-35 minutes, or until the brownies are firm and a toothpick inserted in the center emerges with a few moist crumbs attached. Set aside while preparing the chocolate for the peppermint bark.
Step 7: Put the 1 ½ cups white chocolate and 1 ½ teaspoons of coconut oil in a small microwave-safe bowl. Microwave it, stirring every 30 seconds, until it’s almost melted. Stir until it’s all melted. Then, add in ¼ teaspoon peppermint extract and stir.
In a different microwave-safe bowl, combine ¼ cups dark chocolate and ½ teaspoon of coconut oil. Heat for 30-second intervals, stirring in between, until it melts.
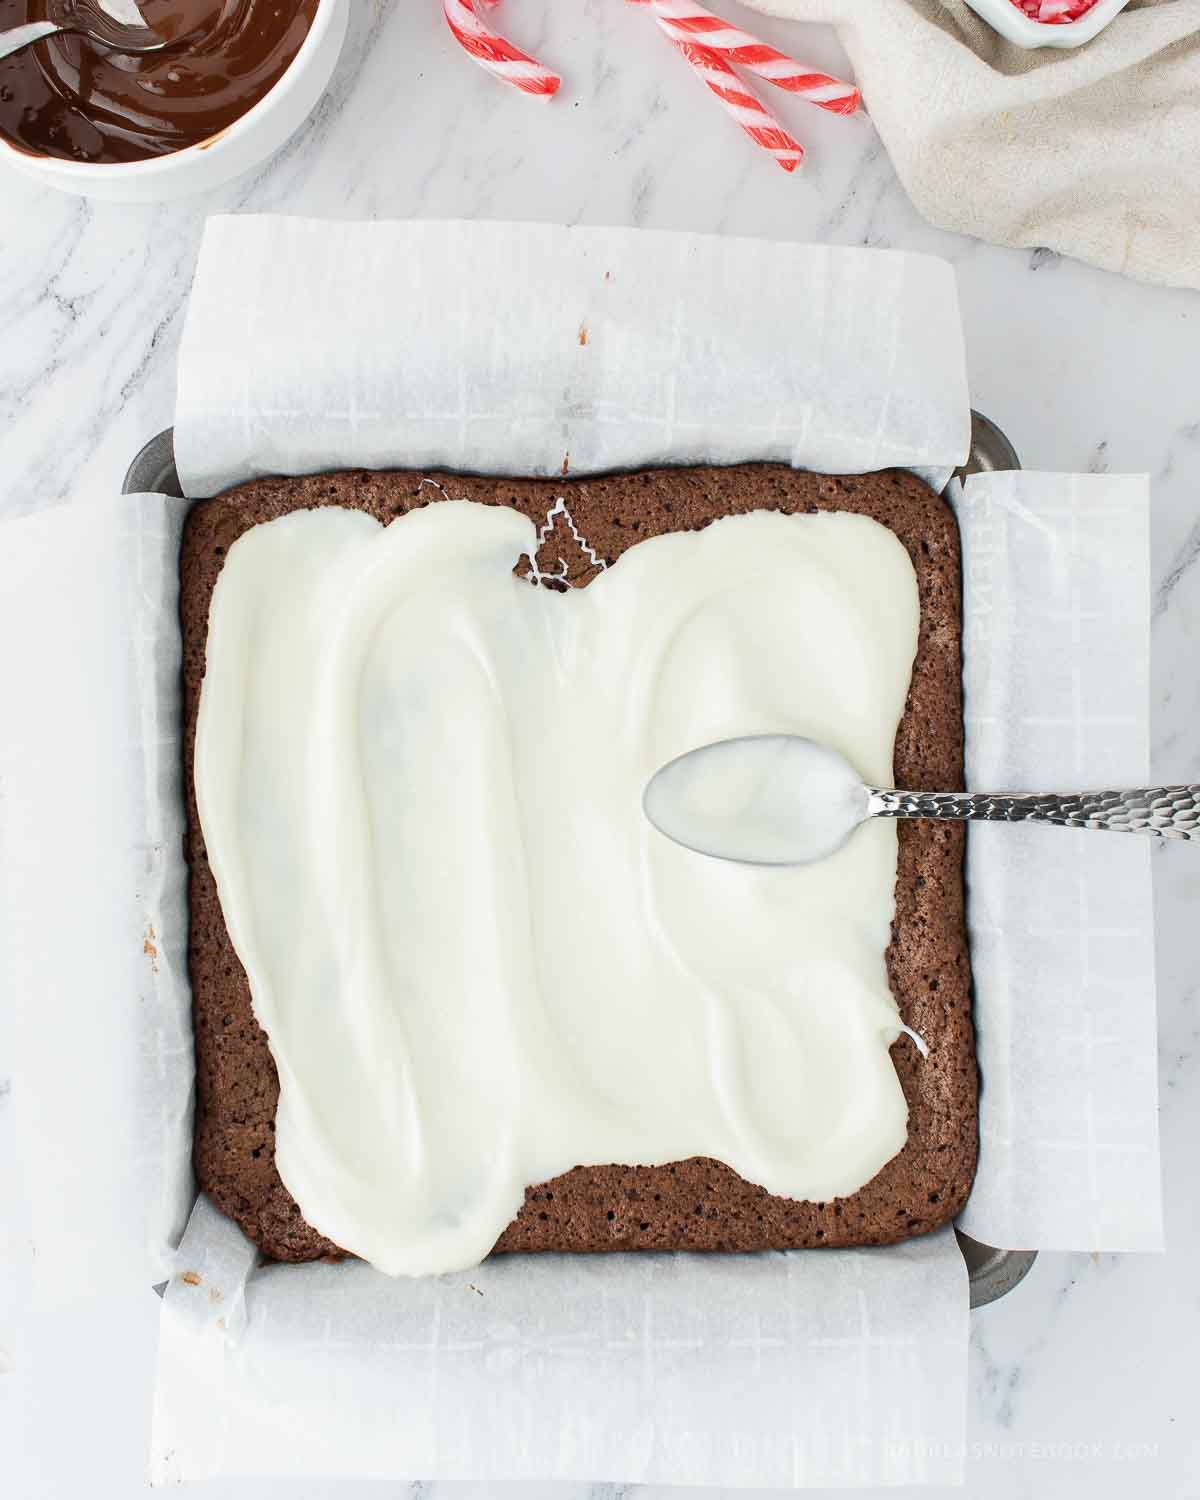
Step 8: Pour the melted white chocolate over the slightly cooled brownies and smooth into an even layer. You don’t want the brownies to be hot or cold. Slightly warm brownies will adhere to the white chocolate best.
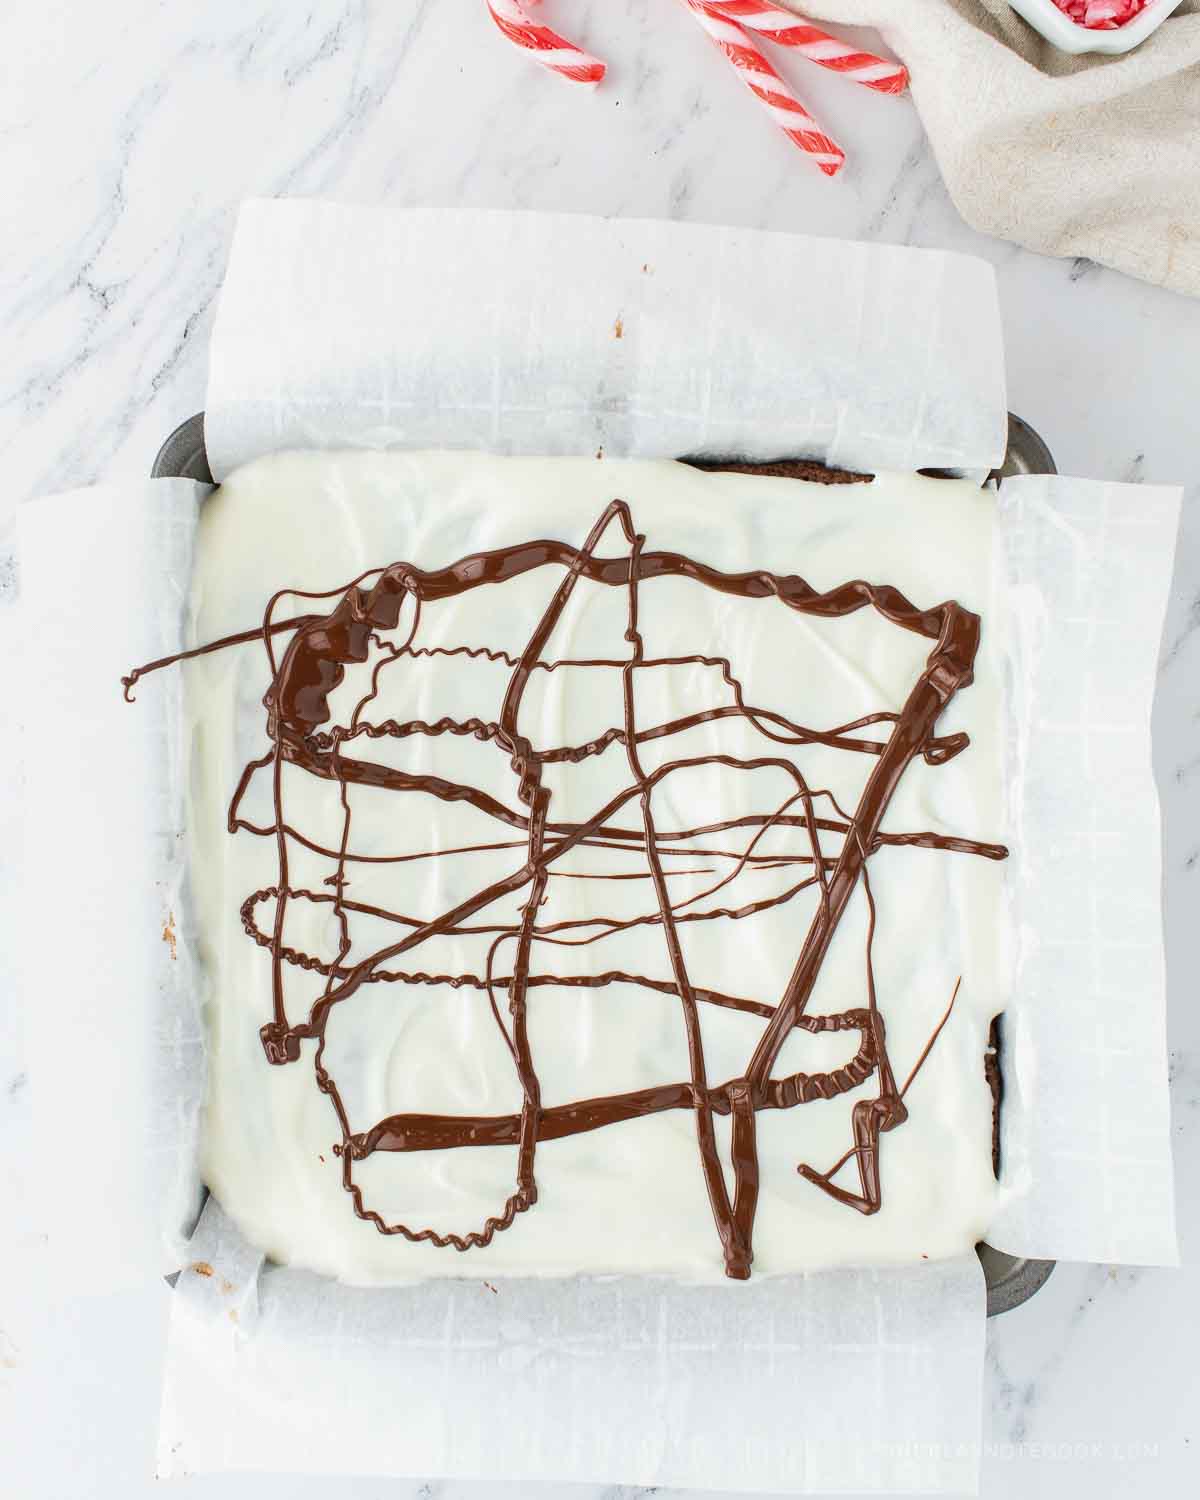
Step 9: Drizzle melted dark chocolate over the top of the white chocolate layer.
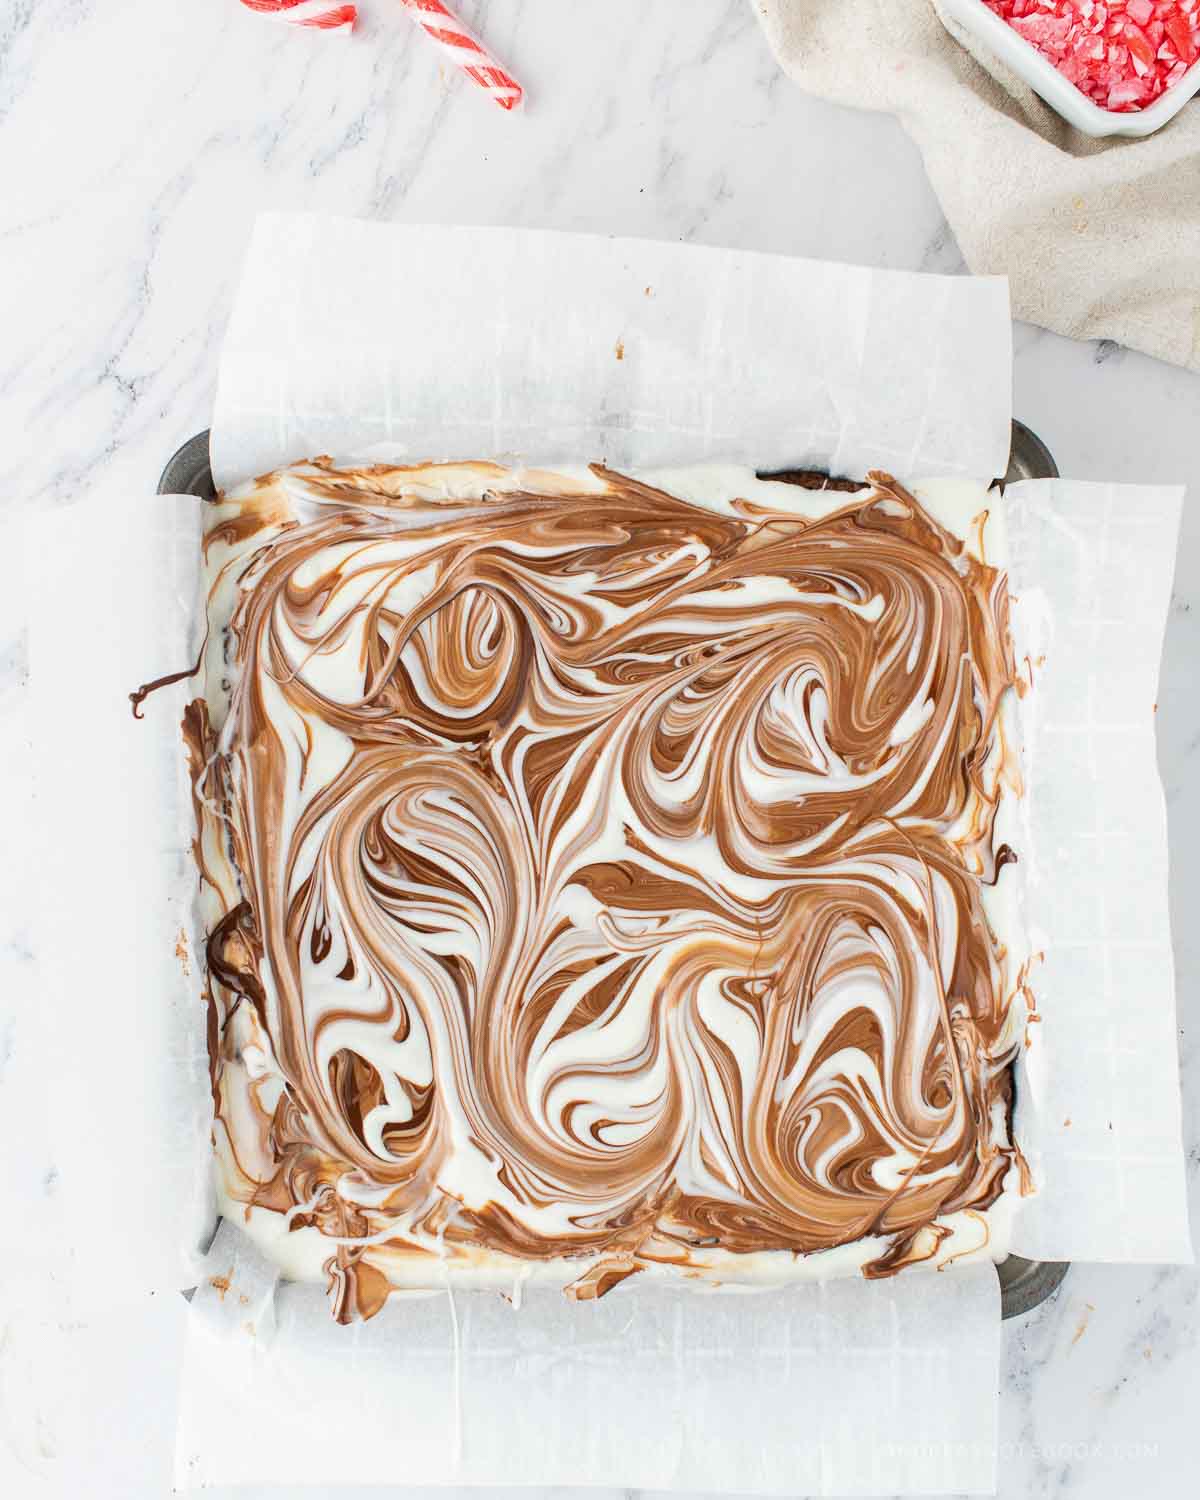
Step 10: Use a knife to carefully create swirls in the melted chocolates. Be careful not to scratch the brownie surface.
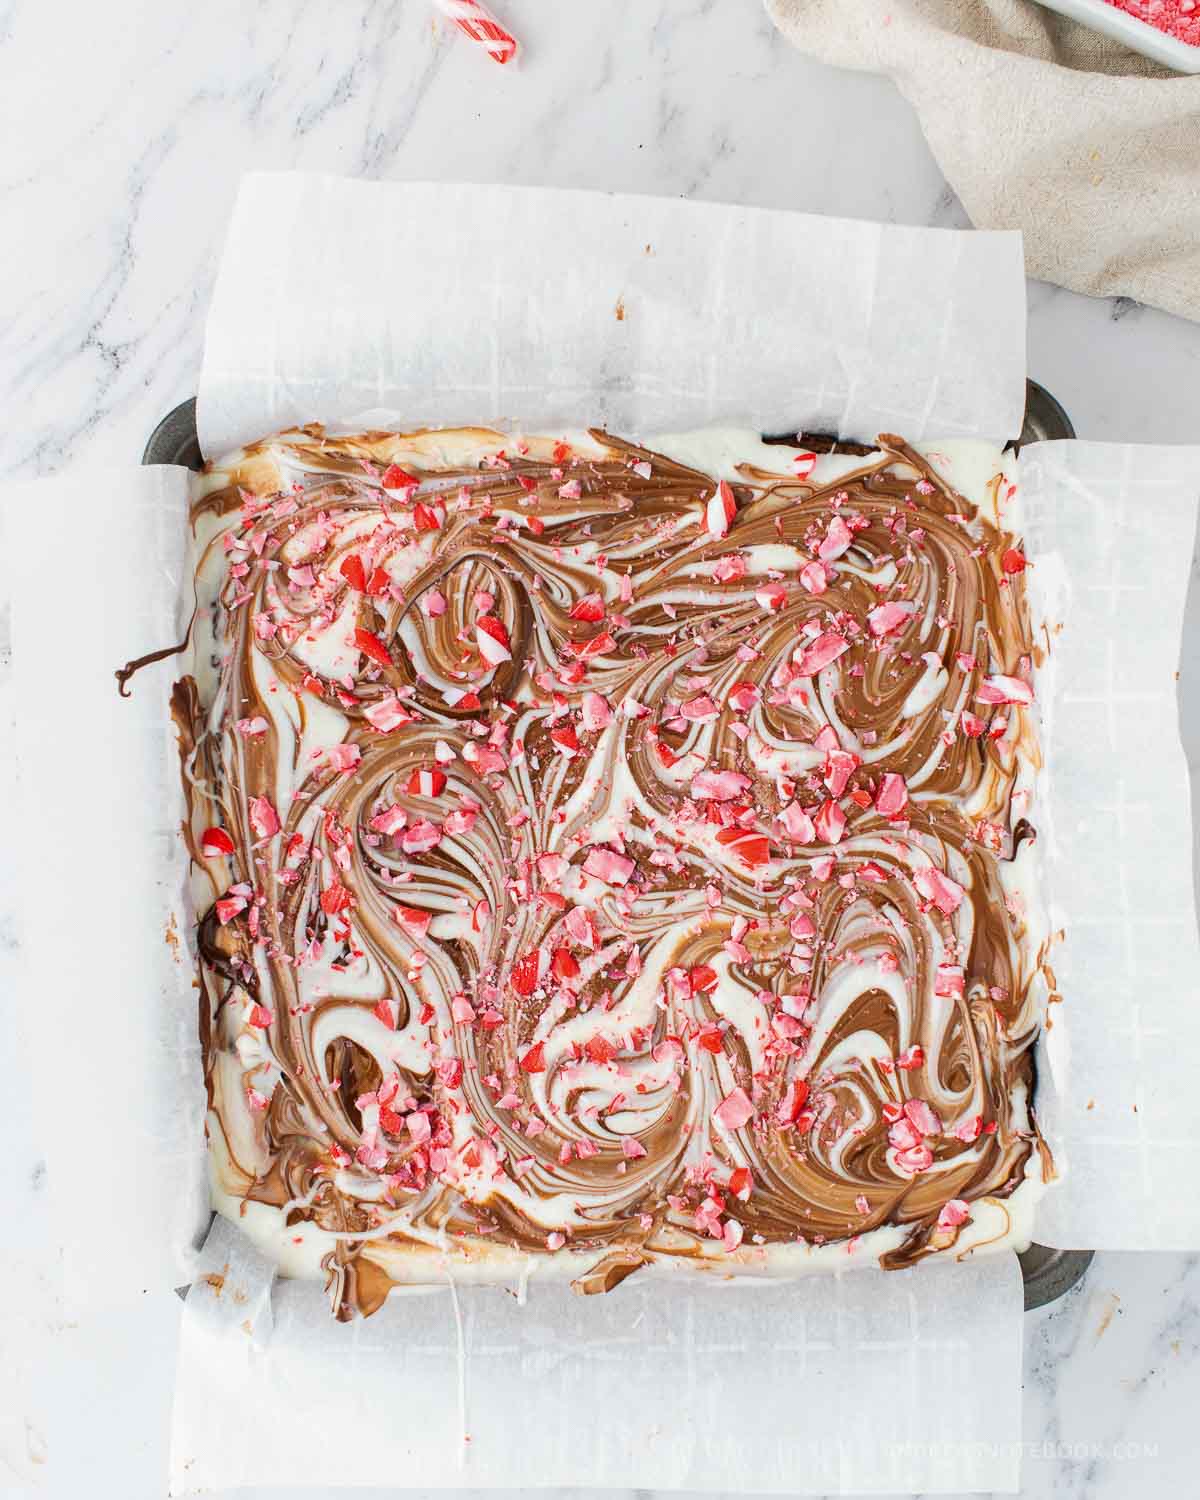
Step 11: Sprinkle crushed candy canes generously over the top of the melted chocolate. The candy cane pieces should be added before the chocolate hardens.
Place in the refrigerator for 20 minutes before slicing and serving. Allow the peppermint bark layer to harden.
See More Peppermint Recipes
Make some quick double layered chocolate mint fudge, a no bake mint chocolate cream cheese pie or some mint oreo ice cream!
RECIPE TIPS
Ready to whip up a batch of peppermint bark brownies? Here’s how to ensure they turn out perfectly every time:
- Prep Your Pan: Before anything else, line your baking pan with parchment paper. This step is a game-changer for easy removal and slicing.
- Melt Butter Properly: When preparing the brownie layer, ensure you melt butter evenly. Microwaving in short bursts is a safe bet to prevent overheating.
- Even Layers Are Key: Spread the brownie batter uniformly in the pan. An even brownie layer sets the stage for a consistent texture and baking.
- Cool Before Topping: Patience is a virtue. Let the brownies cool completely before adding the peppermint bark layer. This prevents the layers from mixing and maintains a distinct contrast.
- Use a Sharp Knife: When it’s time to cut, a sharp knife is crucial. Dip it in hot water between slices for clean, precise cuts.
With these tips, your peppermint bark brownies will be the talk of the holiday season!
Storing
Homemade peppermint bark brownies can typically be stored for up to one week. For the best quality, keep them in an airtight container at room temperature. This helps maintain their moisture and texture. If you’re in a warmer climate or if your kitchen tends to be on the warmer side, you might consider refrigerating them, which can extend their freshness for a couple of weeks. Just be sure to bring them to room temperature before serving for the best flavor and texture. Remember, the fresher they are, the better they taste!
Frequently Asked Questions (FAQs)
Substituting brown sugar for granulated white sugar in brownies can make them moister, denser, and chewier, with a richer, caramel-like flavor and a darker color. A 1:1 substitution ratio is generally fine, but expect these changes in the brownies’ texture and taste.
To ensure good adhesion, spread the peppermint bark layer over the brownie base while it’s still slightly warm. This helps the layers to fuse together as they cool.
Use a sharp knife, and for cleaner cuts, dip the knife in hot water and wipe it dry between cuts.

Fudgy Peppermint Bark Layered Brownies Recipe
Ingredients
Brownies
- 5 tablespoon unsalted butter melted
- 1 ¼ cups granulated sugar
- 3 large eggs room temperature
- 1 teaspoon vanilla extract
- ⅓ cup vegetable oil
- ¾ cup unsweetened cocoa
- ½ cup all-purpose flour
- ¼ teaspoon baking soda
- 1 tablespoon cornstarch
- ¾ cup semi-sweet chocolate chips
Peppermint Bark
- 1 ½ cups white chocolate chips or chopped
- ¼ cup dark chocolate chips or chopped
- 2 teaspoon coconut oil divided
- ¼ teaspoon peppermint extract
- ½ cup candy canes crushed
Instructions
Brownies
- Preheat the oven to 325 degrees F. Line an 8×8 inch metal baking dish with parchment paper. Set aside.
- In a large mixing bowl, whisk together the melted butter, granulated sugar, eggs and vanilla until combined.
- Add the oil and cocoa powder. Mix until combined.
- Fold in the flour, baking soda, and cornstarch with a rubber spatula until completely combined.
- Fold in the chocolate chips.
- Pour into the prepared pan and spread into an even layer. Bake for 30-35 minutes or until the brownies are set or an inserted toothpick comes out with some moist crumbs.
- Remove from the oven. Set aside.
Peppermint Bark
- Place the white chocolate and 1 ½ teaspoons coconut oil in a microwave safe bowl and heat, stirring every 30 seconds until melted.
- Stir in peppermint extract.
- In a separate microwave safe bowl, add the dark chocolate and ½ teaspoon coconut oil, and heat stirring every 30 seconds until melted.
- Pour the melted white chocolate over the brownies and smooth into an even layer.
- Drizzle the dark chocolate over top of the white chocolate layer and use a knife to create swirls.
- Generously sprinkle with crushed candy canes.
- Place in the refrigerator for 20 minutes before slicing and serving to allow the peppermint bark layer to firm up.
Notes
- Quality Ingredients: Use high-quality chocolate and cocoa powder for a rich, deep flavor. The better the chocolate, the better the brownies.
- Correct Measurements: Be precise with your measurements, especially for flour and sugar. Baking is a science, and the right ratios are key.
- Room Temperature Ingredients: Bring ingredients like eggs and butter to room temperature before mixing. This ensures a smoother batter and more even baking.
- Don’t Overmix: Once you add the flour, mix just until combined. Overmixing can lead to tough brownies.
- Use the Right Pan: The material of your pan can affect baking time and brownie texture. A light-colored metal pan is usually a good choice.
- Parchment Paper Is Helpful: Line your pan with parchment paper for easy removal and clean cuts.
- Check for Doneness: Use a toothpick to check doneness. It should come out with a few moist crumbs clinging to it, not completely clean.
Nutrition
Love This Recipe?
Make sure to share it with me on Instagram @andreasnotebook and follow on Pinterest @andreasnotebook for more!








Comments & Reviews
jesse says
I made the peppermint bark on top thickers because I looove peppermint bark.
Louise says
Get in my mouth!! I’m glad I have some leftover candy canes!