
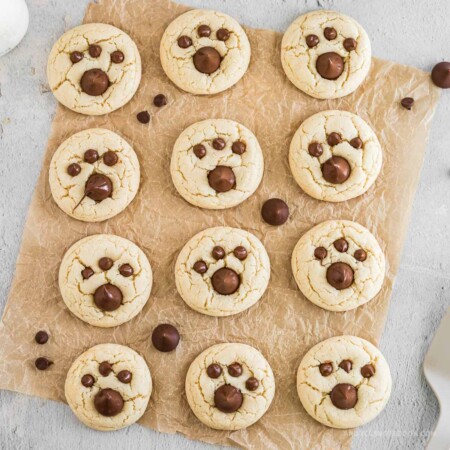
‘Tis the season to tantalize your taste buds and indulge in the delightful fusion of creamy peanut butter and velvety Hershey’s Kisses. As the holiday spirit fills the air, there’s no better time to whip up a batch of chewy peanut butter blossom cookies. These timeless treats are not just cookies; they’re a warm, comforting hug for your senses. Imagine sinking your teeth into a soft, peanut butter cookie, with a delectable surprise at its heart—a Hershey’s Kiss nestled in the center of each cookie. The result? Pure, unadulterated bliss that defines the holiday season. Join us in this culinary adventure, as we unlock the secrets of crafting perfect peanut butter blossoms, ensuring your holiday gatherings and cookie exchanges are nothing short of magical. You’ll also love these chocolate peppermint blossom cookies and these cake mix blossom cookies.
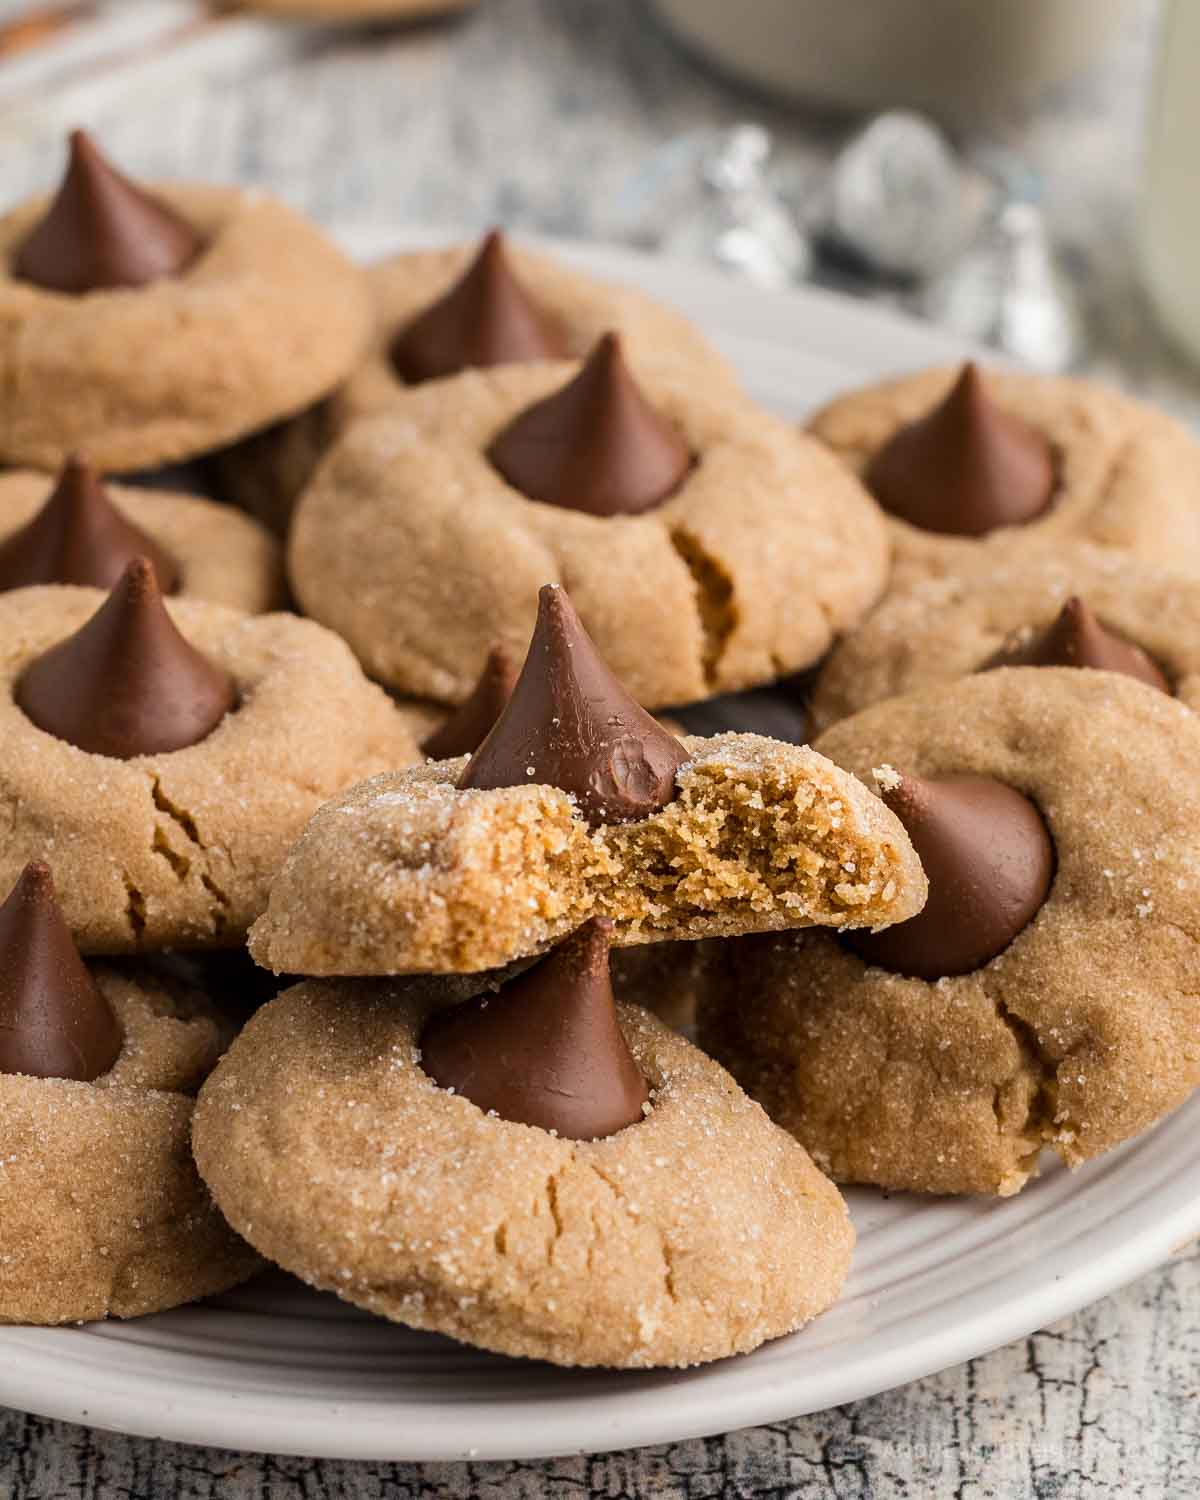
Peanut Butter Blossom Cookies are a beloved classic, but they can be known by a few different names depending on regional variations and personal preferences. Some alternate terms and variations for Peanut Butter Blossom Cookies include:
- PB Blossoms: A shortened version of Peanut Butter Blossoms.
- Peanut Butter Kiss Cookies: Referring to the Hershey’s Kiss that tops each cookie.
- Hershey’s Kiss Cookies: Emphasizing the use of Hershey’s Kisses as the cookie’s signature feature.
- Chocolate Peanut Butter Blossoms: Highlighting the combination of chocolate and peanut butter flavors.
- Chocolate Peanut Butter Kiss Cookies: Combining the key ingredients in the cookie’s name.
- Peanut Blossom Cookies: A simpler variation of the name.
- Peanut Butter Thumbprint Cookies: Some recipes use a thumbprint to create a well for the Hershey’s Kiss instead of pressing it into the cookie.
These names all refer to variations of the same delightful treat, showcasing the delicious combination of peanut butter and chocolate that makes them so beloved during the holiday season and beyond.
Why You’ll Love These Chewy Peanut Butter Blossoms
- Classic: This classic Christmas cookie is perfect for all your holiday cookie trays for your cookie exchange or just for nostalgia sake.
- Time: Compared to most classic holiday cookie recipes, these are quick and easy! No long steps, rolling, cutting or layering. These can be made by all ages.
- Diet: Vegetarian, Gluten Free option
- Method: Oven
Ingredients
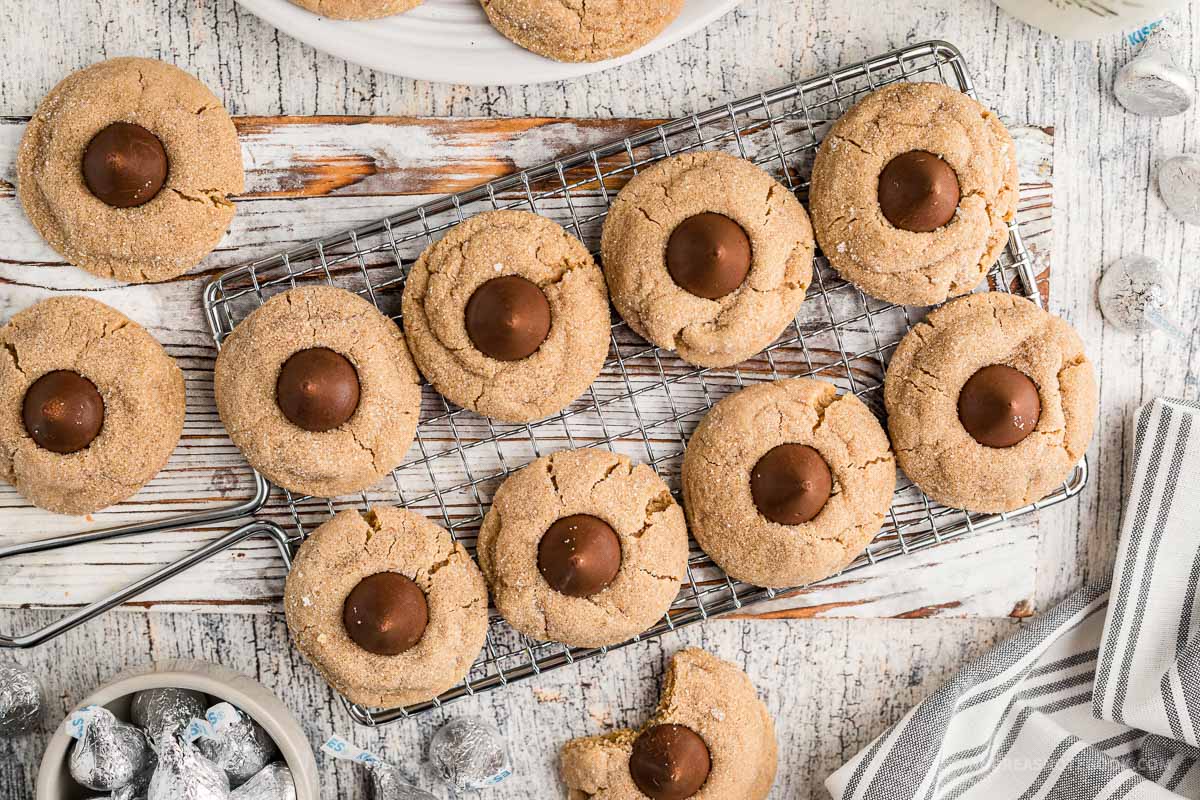
A full printable ingredients list for these peanut butter kiss cookies and printable step-by-step instructions are in the recipe card below. Enjoy as a Christmas cookie favorite!
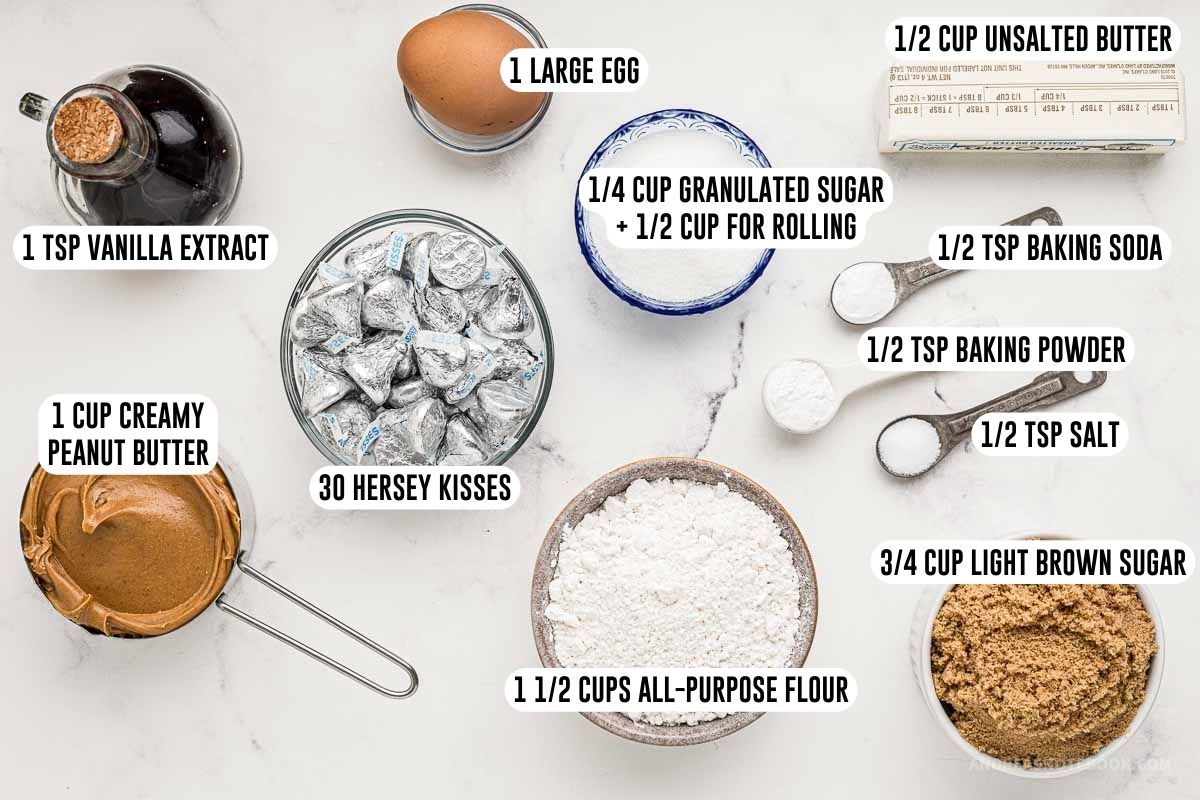
- All-Purpose Flour: To measure all purpose flour accurately, begin by fluffing up the flour in its container using a spoon. This simple step aerates the flour, preventing it from becoming densely packed. Then, gently spoon the flour into your measuring cup. To ensure an accurate measure, level off any excess flour using the back of a knife or a flat edge, creating a perfectly even amount. You might also consider sifting the flour after measuring to achieve a light and airy texture.
- Creamy Peanut Butter: When it comes to making the perfect Peanut Butter Blossom cookies, creamy peanut butter takes the lead for several reasons. Its smooth and uniform texture effortlessly integrates into the cookie dough, leaving no lumps behind. This seamless blending ensures that the iconic Hershey’s Kiss sits perfectly atop each cookie, creating that irresistible look. Moreover, the milder flavor of creamy peanut butter complements the sweetness of the cookie and the chocolate center, resulting in a harmonious taste. It’s the preferred choice for classic Peanut Butter Blossoms, guaranteeing consistent and delicious results. It’s worth noting that using natural peanut butter can alter both the texture and flavor of your cookies, so sticking with the creamy variety is the way to go for this beloved treat.
- Baking Soda: Baking soda, that little kitchen wizard, plays a crucial role in peanut butter cookies. Chemically, it acts as a leavening agent, creating tiny bubbles that make your cookies light and tender. It also interacts with the acidic components in your dough, like brown sugar, enhancing browning and flavor. In a nutshell, baking soda is the unsung hero that adds that extra oomph to your peanut butter cookies.
- Baking Powder: Baking powder, the unsung hero in your peanut butter cookies, works its magic chemically. It’s a leavening agent, producing carbon dioxide when mixed with wet ingredients. These gas bubbles get trapped in the dough, making your cookies rise and turn into delightful, tender treats. So, thank baking powder for those perfectly puffed peanut butter cookies!
- Salt: Salt, that tiny but mighty ingredient, isn’t just for enhancing flavor in your peanut butter cookies. Chemically, it strengthens the gluten structure in the dough. This helps the cookies maintain their shape and texture during baking, ensuring that perfect balance of chewiness and crispiness. So, a pinch of salt goes a long way!
- Unsalted Butter: In the world of baking cookies, unsalted butter offers precise control over your cookie’s saltiness, allowing you to achieve the perfect flavor balance. Unlike salted butter, it lets you add salt separately, ensuring your cookies are never overly salty. It’s the choice for those who seek the ideal balance and flavor customization.
- Sugars: In cookie alchemy, combining granulated sugar and brown sugar works like magic. Granulated sugar lends sweetness and structure, resulting in a crisp texture, while brown sugar’s molasses content adds moisture and a delightful chewiness. This dynamic duo is the secret to cookies that are both tender and crispy.
- Egg: Eggs provide structure, moisture, and richness to your cookie dough. With their proteins and fats, eggs create a tender, moist texture while adding flavor and color. Think of them as the binding agents that hold your cookie masterpiece together making a delicious chewy peanut butter cookie.
- Vanilla Extract: Without vanilla extract, peanut butter cookies lose their aromatic charm. The absence of this flavorful essence makes the cookies less vibrant and can lead to a slightly dull taste. It’s like a missing note in a beautiful symphony, a subtle but noticeable difference in the overall cookie experience.
- Hershey’s Kisses: There are many varieties of Hersheys kisses but the original variety of milk chocolate kisses works best in this classic recipe.
Gluten Free Option
To make this gluten free simply substitute the all-purpose flour with a gluten free baking flour mixture. Ensure your baking powder is gluten free. Name brand chocolate kiss candy is gluten free but off-brands might not be so make sure to check labels.
Variations
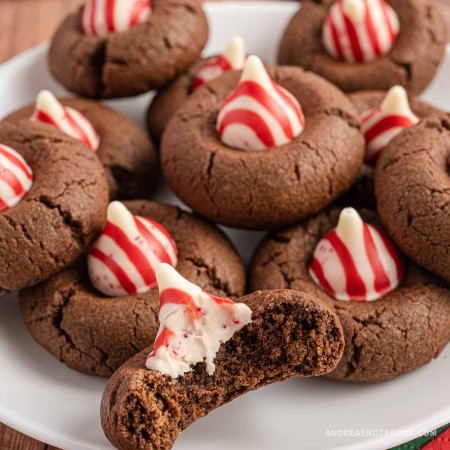
- Make a chocolate peppermint version of this classic cookie by following this chocolate peppermint blossom cookie recipe!
- Try a version with mini peanut butter cups instead of chocolate kisses!
Instructions
Full step-by-step instructions are in the recipe card below. You can print or save to Pinterest for later.
Prep: Gather a large bowl, medium bowl, small bowl, cookie sheet, parchment paper, hand mixer or electric stand mixer.
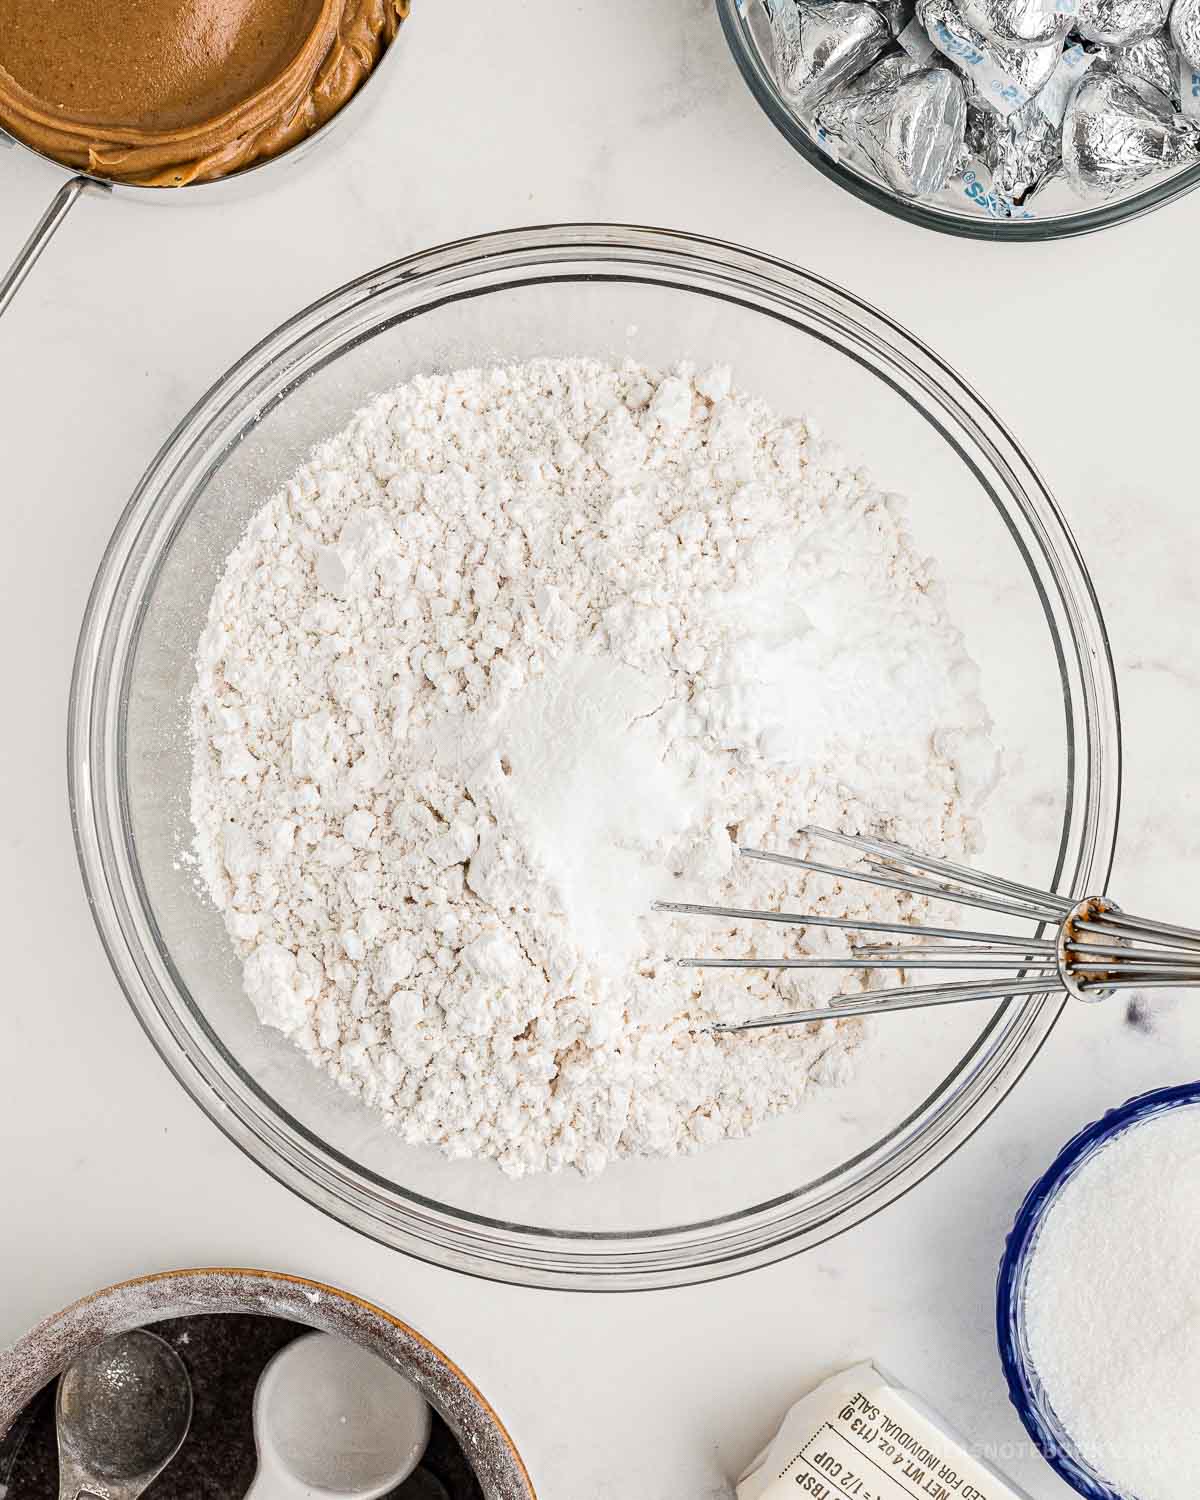
Step 1: Mix dry ingredients (flour, baking powder, baking soda and salt) in a medium mixing bowl, with a whisk.
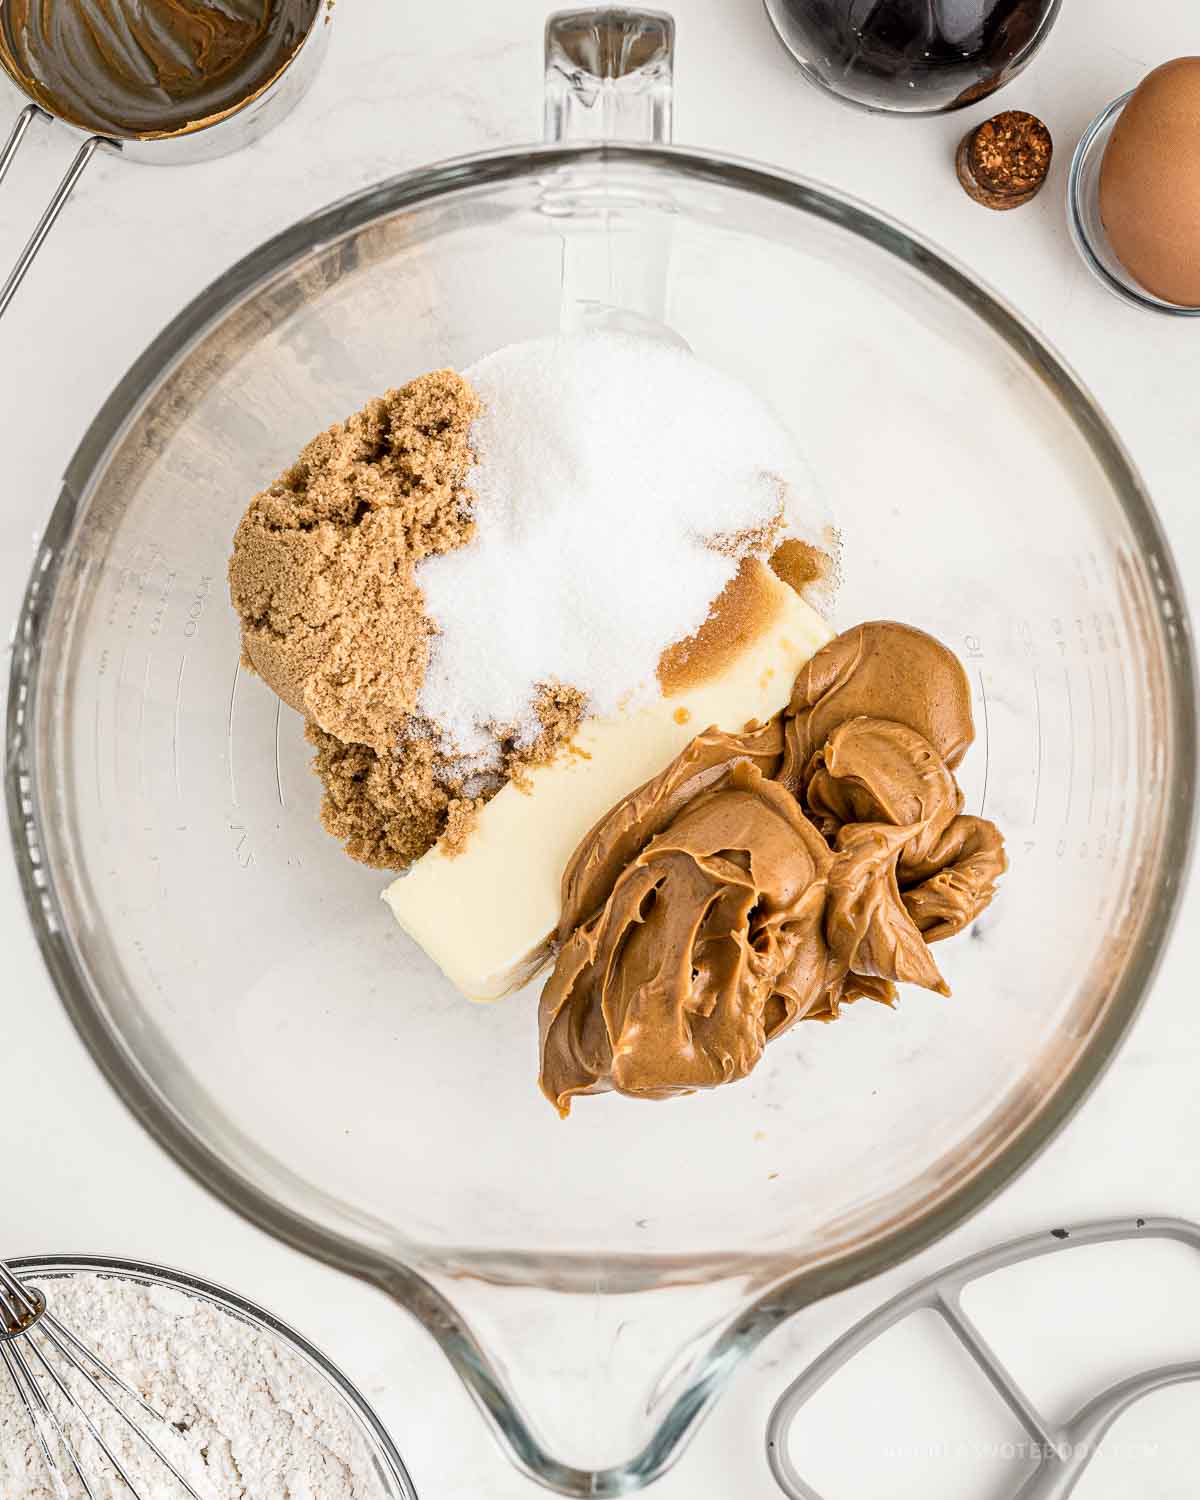
Step 2: In the bowl of your stand mixer, add the softened butter, peanut butter, light brown sugar, granulated sugar and vanilla extract. Mix with the paddle attachment on low speed until creamy, about 2-3 minutes.
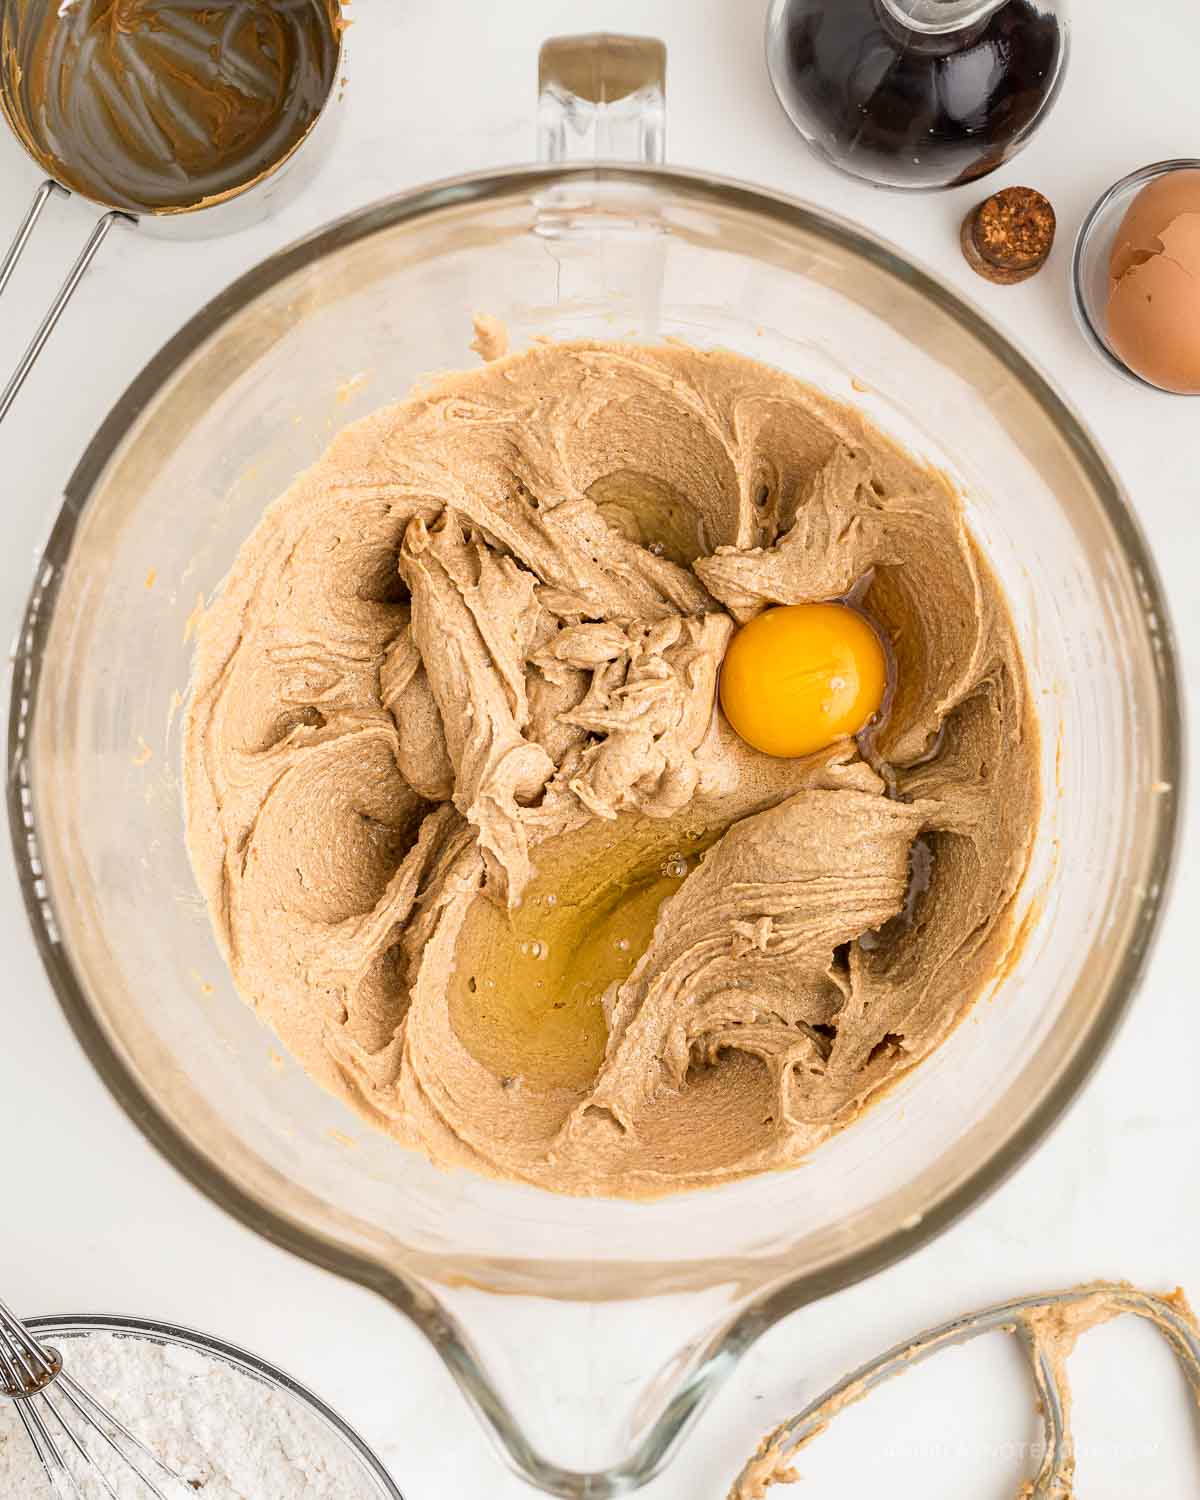
Step 3: Add the egg and mix again until combined.
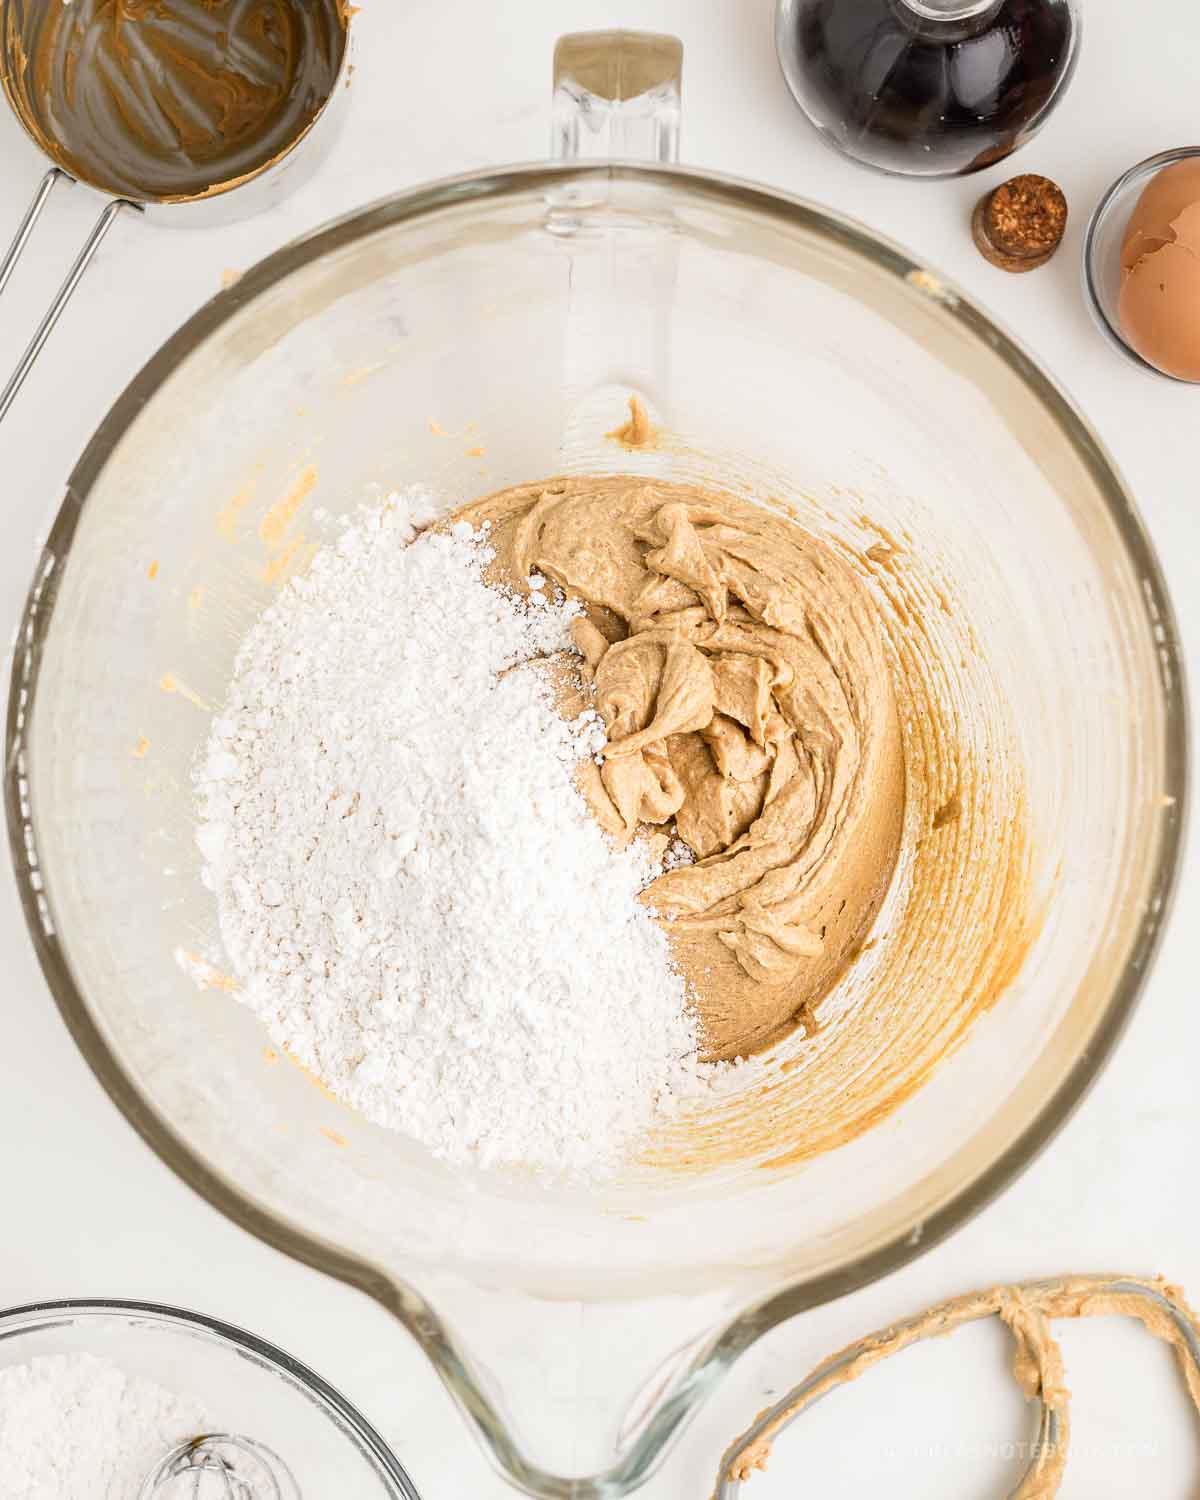
Step 4: Add the dry ingredients to the wet ingredients. Mix until just combined.
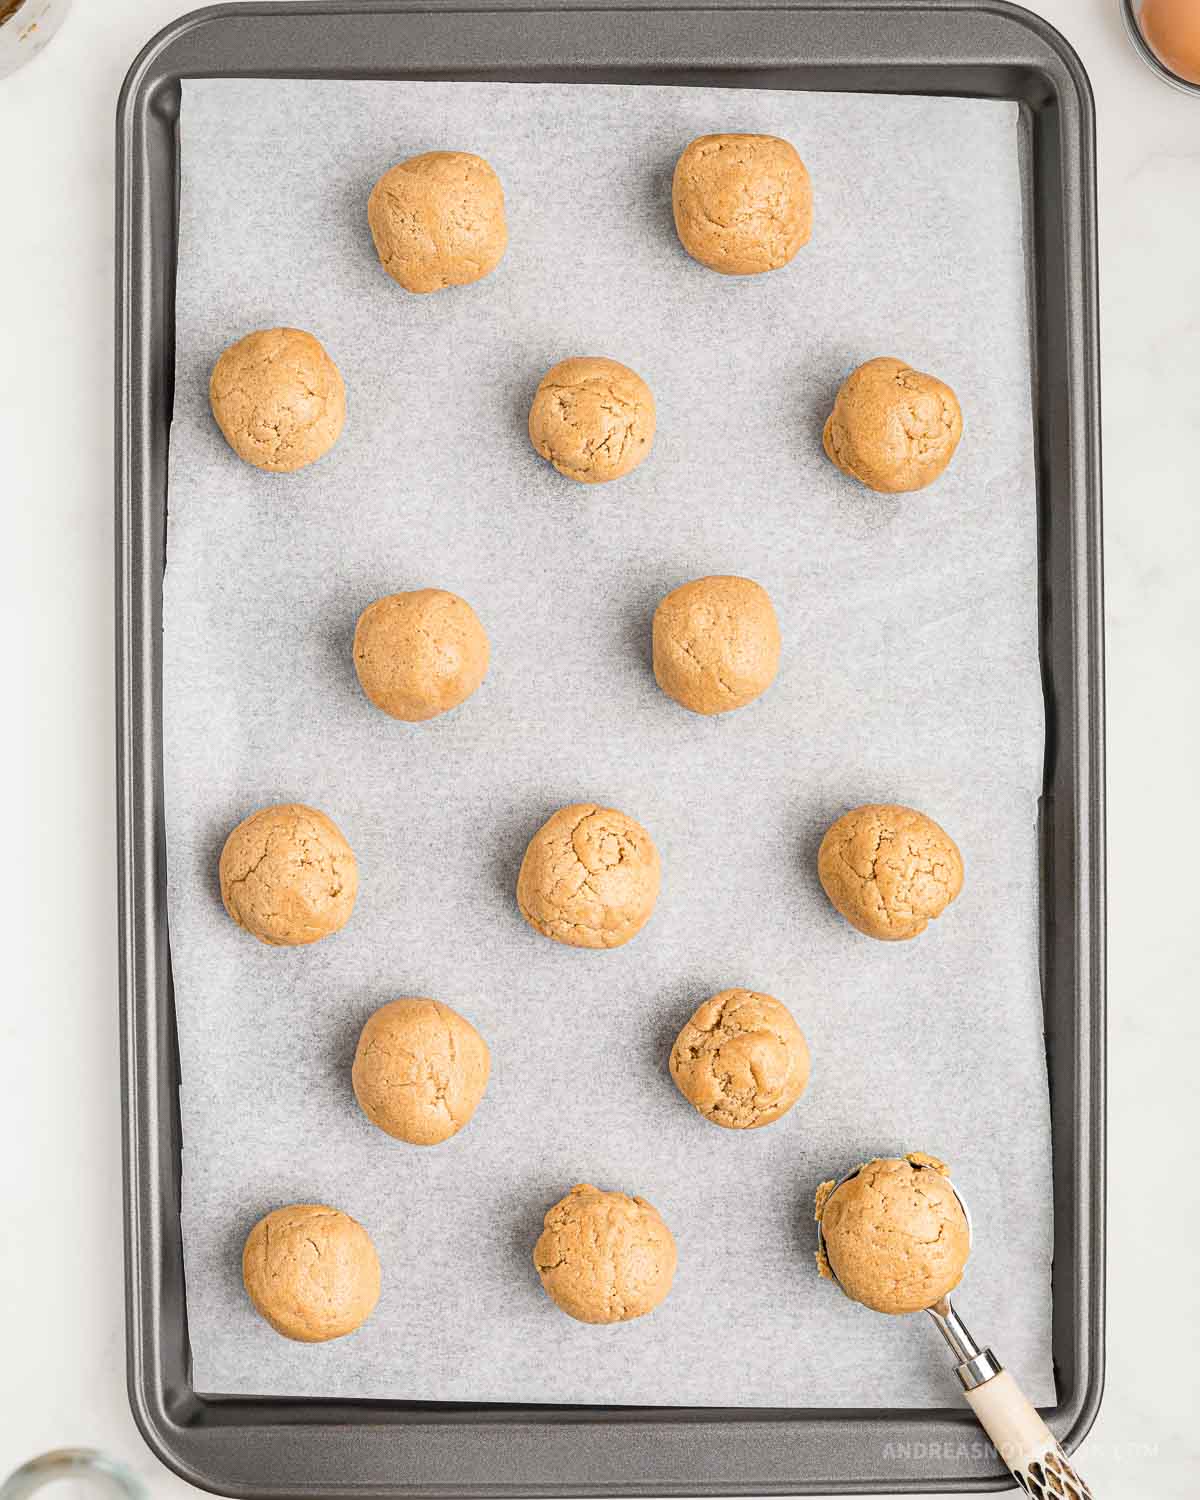
Step 5: Cover the bowl with cling wrap and refrigerate for 30-40 minutes. Preheat the oven the 350°F and line a baking sheet with parchment paper. Take heaping 1 Tablespoon of the refrigerated dough and roll into a ball. Use a small melon baller to make about 1-inch balls.
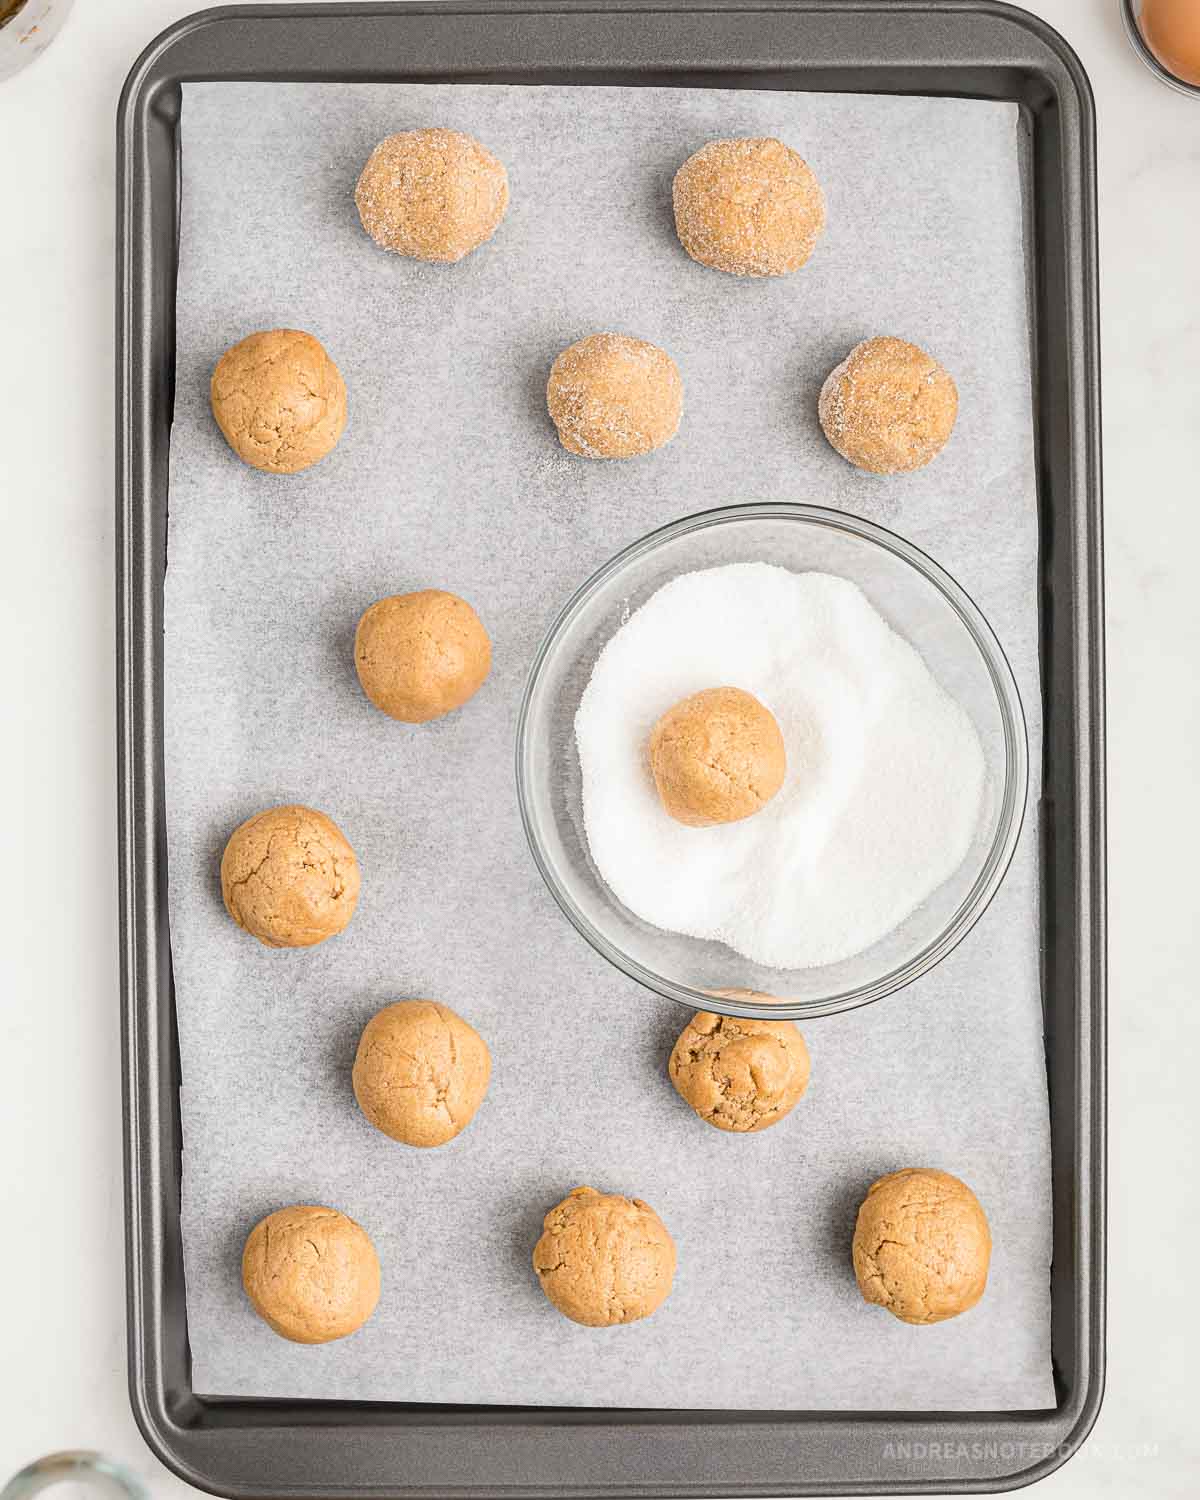
Step 6: Add the ½ cup sugar to a small bowl. Roll the cookie dough balls into the sugar and lay on the baking sheet. Repeat with the remaining dough. Place cookies large baking sheets.
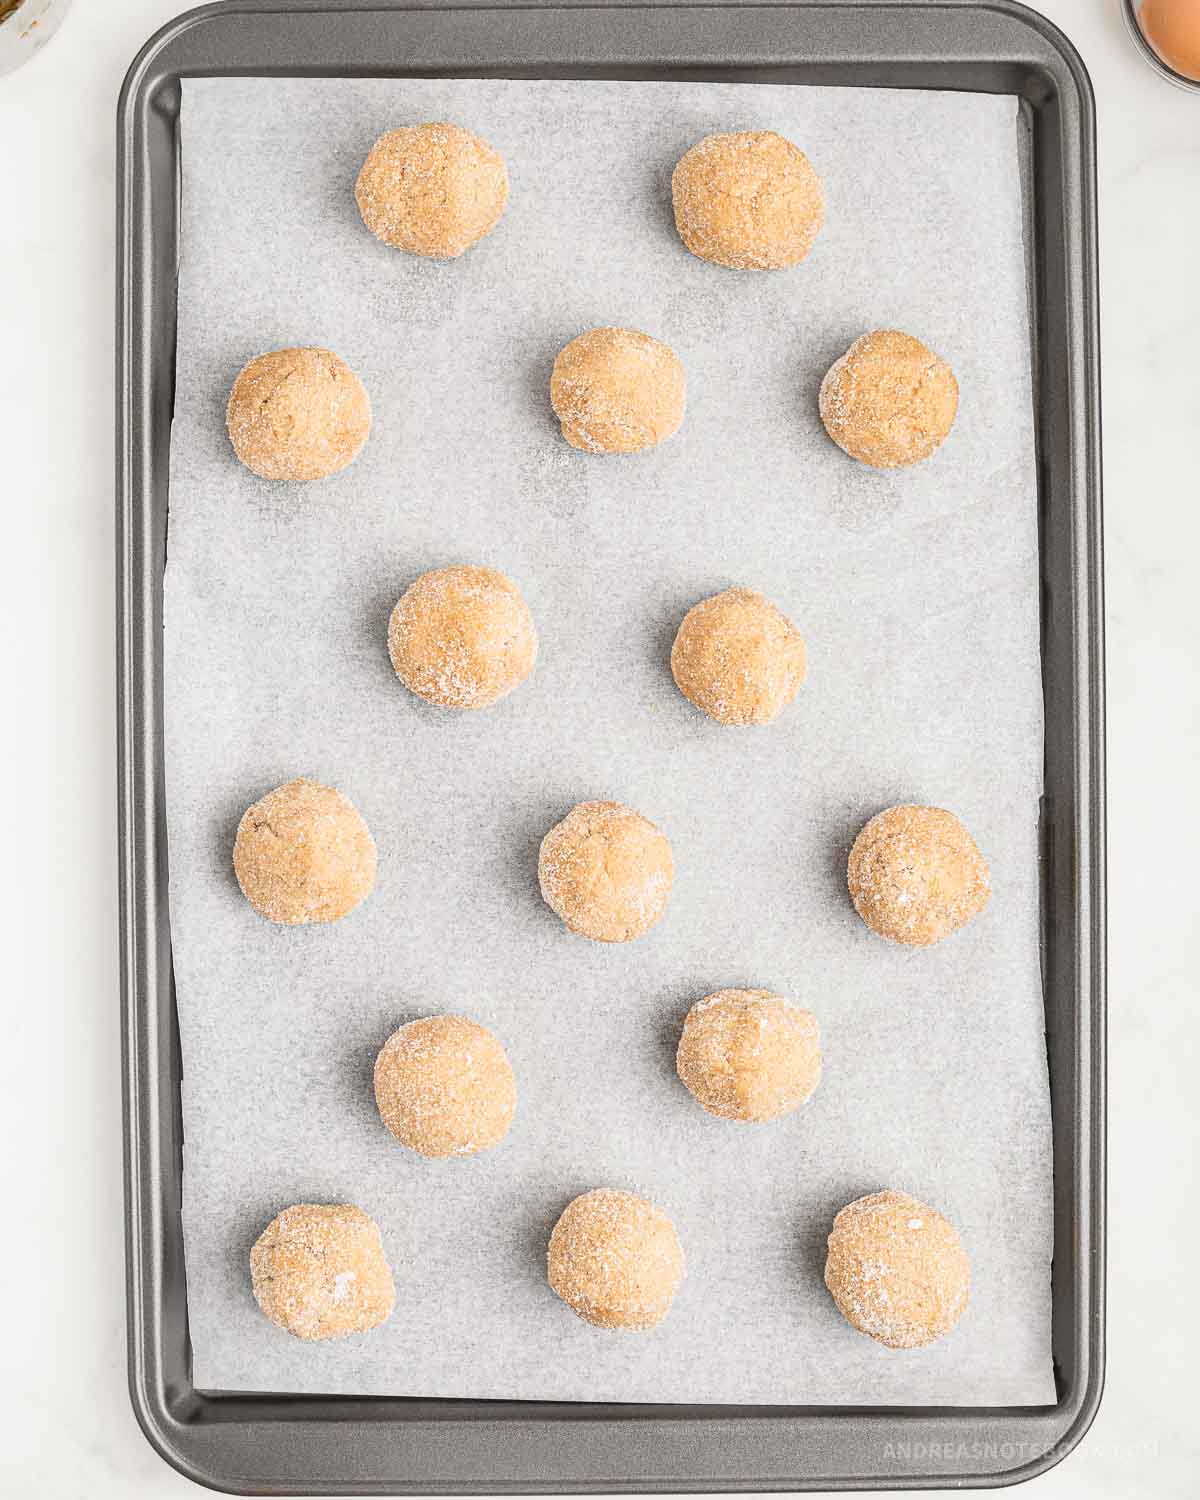
Step 7: Bake in the oven for 8-9 minutes. While the cookies are baking unwrap the Hershey Kisses.
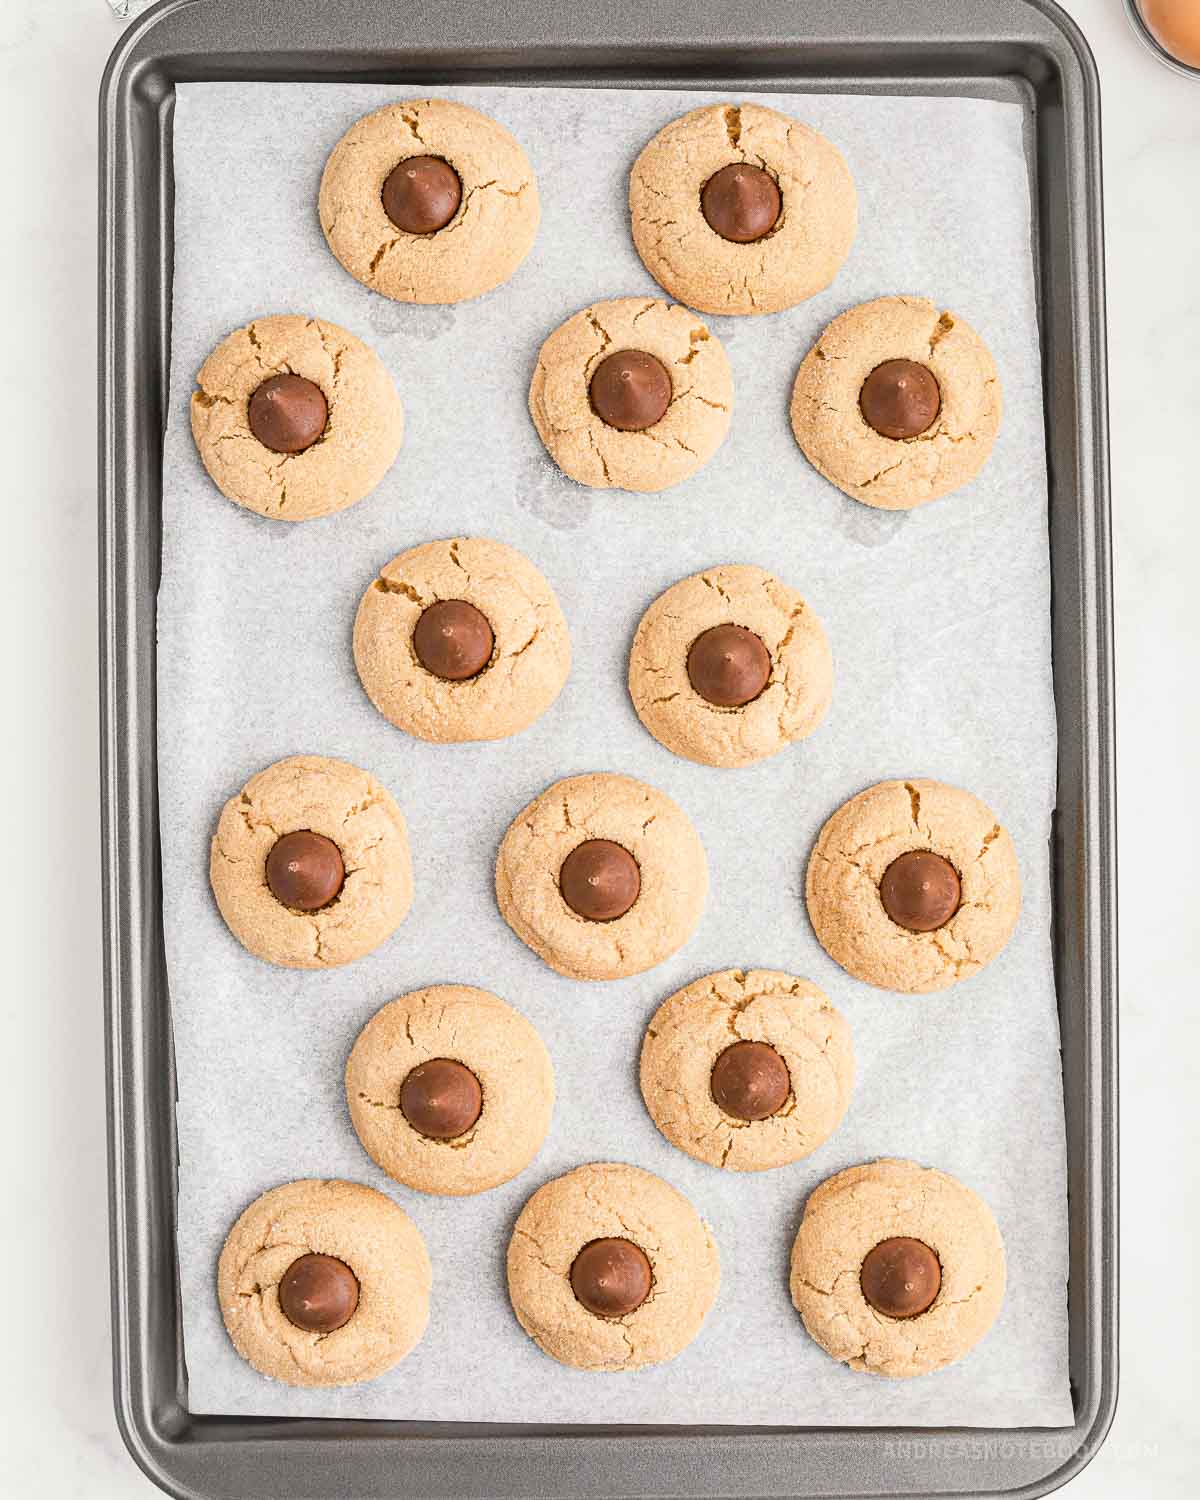
Step 8: Remove from the oven and gently push a Hershey Kiss into the center of each cookie. Place back into the oven for a second time and bake for another 2 minutes until the peanut butter part of the cookie is golden brown and the hershey kiss is a little soft, then remove to cool.
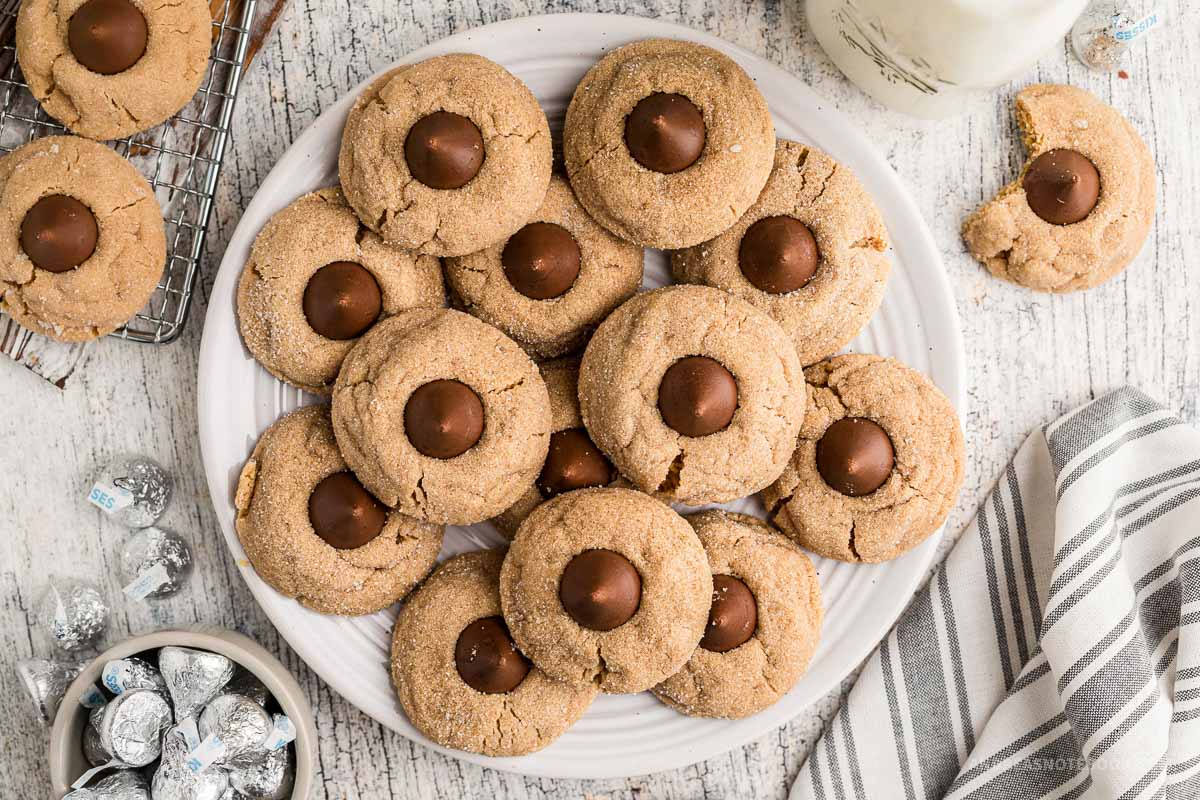
Serve: After the cookies have cooled for 5-10 minutes transfer to a cooling rack to cool completely.
More Cookie Recipes
Love this classic holiday cookie? Enjoy some of my other favorite cookie recipes! Take take them to your next cookie exchange!
Peanut Butter Blossom Cookie RECIPE TIPS
Peanut Butter Blossom Cookies, the classic holiday delight, are more than just a recipe; they’re a tradition. To ensure your batch turns out as delightful as you remember, follow these expert tips:
- Cream the Butter and Sugar Thoroughly: Start with softened butter and blend it well with the sugars. This creates a smooth base for your cookies.
- Use the Right Peanut Butter: Opt for creamy peanut butter for that ideal texture. It mixes seamlessly into the dough.
- Don’t Skimp on Vanilla: Vanilla extract enhances the flavor. Don’t underestimate its importance.
- Gradually Incorporate Dry Ingredients: Mix your dry ingredients into the wet mixture slowly to avoid overmixing.
- Get the Perfect Cookie Shape: Use a small cookie scoop to get uniform 1-inch dough balls.
- Roll in Sugar: Coating your dough balls in sugar adds a delightful sweetness and a touch of sparkle.
- Proper Placement: Place your cookies about 2 inches apart on the baking sheet to allow for spreading.
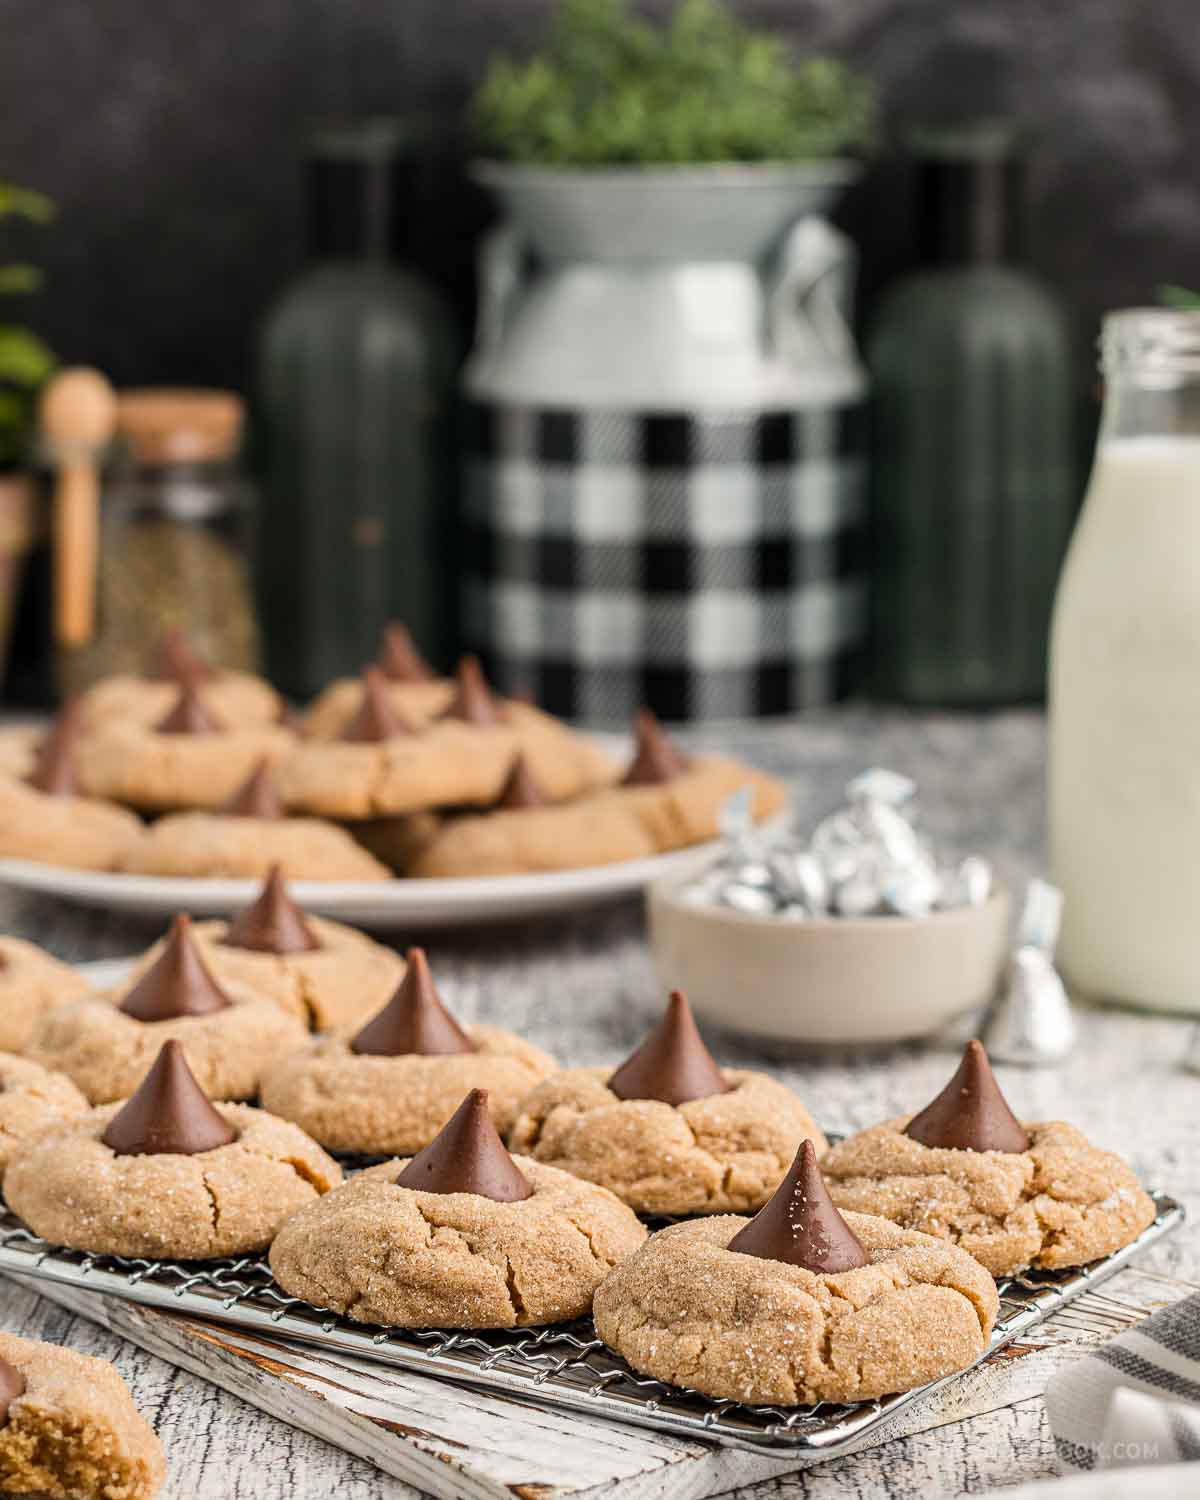
- The Kiss of Chocolate: Press the Hershey’s Kiss into each cookie immediately after they come out of the oven for that classic look.
- Cool on a Wire Rack: Let the cookies cool on a wire rack to ensure they retain their chewy texture.
With these tips, your Hershey Kiss cookies will be the highlight of your Christmas cookies collection. Enjoy the delicious tradition, and share the love of these timeless treats with family and friends.
How To Store
For detailed instructions and the best ways to keep your cookies tasting chewy and fresh, refer to this post: How To Store and Freeze Peanut Butter Blossoms.
- First cool to room temperature.
- Next store in an airtight container or make up your holiday cookie trays and store on the tray wrapped tightly in plastic wrap for your cookie exchange.
- Eat within one week.
Read more details about the best ways to make, store and freeze Hershey kiss cookies.
Frequently Asked Questions (FAQs)
When mixing your butter and sugar you want to use an electric hand mixer or the bowl of a stand mixer on low speed or medium speed for about 3 minutes to insure that your sugar and butter are fully smooth. Do not mix for more than 5 or 6 minutes.
If you’re short on time you absolutely can use refrigerated dough. Roll the dough into 1-inch balls and roll in sugar, as these instructions indicate. Then bake and place the chocolate kiss as instructed.

Peanut Butter Blossoms Recipe
Ingredients
- 1 ½ cups all-purpose flour spooned into measuring cup and leveled
- ½ teaspoon baking powder
- ½ teaspoon baking soda
- ½ teaspoon salt
- ½ cup unsalted butter softened
- 1 cup creamy peanut butter
- ¾ cup light brown sugar packed
- ¾ cup granulated sugar divided
- 1 teaspoon vanilla extract
- 1 large egg
- 30 Hershey kisses unwrapped
Instructions
- In a medium bowl, mix flour, baking soda, baking powder and salt with a whisk.
- In a large mixing bowl or the bowl of the stand mixer, add the softened butter, peanut butter, brown sugar, ¼ cup granulated sugar and vanilla extract. Mix with the paddle attachment or an electric hand mixer for 2-4 minutes until smooth and creamy.
- Add the egg and mix again until combined.
- Slowly add the dry ingredients to the bowl of wet ingredients and mix on low speed until all is combined.
- Cover the bowl with plastic wrap and refrigerate for 30-40 minutes.
- Preheat the oven to 350°F.
- Line a baking sheet or cookie sheet with parchment paper.
- Add the last ½ cup of granulated sugar to a small bowl.
- Using a cookie scoop or spoon, roll about 1 tablespoon of dough into a 1-inch ball. Roll the ball in the sugar and place on your baking sheet, spacing balls so they don't bake into each other.
- Place baking sheet in the oven and bake for 8-9 minutes until the cookie is just about fully cooked. Remove from the oven.
- Place one Hershey kiss into the center of each cookie. Press down slightly.
- Place baking sheet back into oven. Cook for 2 more minutes.
- Remove from oven. Allow to cool on the baking sheet for 5-10 minutes then transfer the cookies to a wire cooling rack.
Notes
Nutrition
Love This Recipe?
Make sure to share it with me on Instagram @andreasnotebook and follow on Pinterest @andreasnotebook for more!


Comments & Reviews
kathy says
I didn’t read and put the kiss on before cooking. Didn’t work.
Margaret says
these remind me of childhood. Making them for myself.