
Get ready, because the most spooky time of the year just became a whole lot sweeter! Who can resist a fun treat that’s both delicious and eerily delightful? If you’ve never encountered halloween dipped oreos before, you’re in for a thrilling surprise. Picture your favorite cookie, enveloped in luscious halloween chocolate covered oreos magic. The twist? These aren’t your everyday dipped goodies. They come adorned with the most spine-chilling decorations, making them the ultimate fun halloween treats for your festive soirées. Whether you’re hosting a party or simply wanting to get into the spirit, these chocolatey creations will captivate your taste buds and enchant your senses. Pair them with these spooky graveyard Halloween brownies or one of these silly Halloween treats.

Why You’ll Love This
- Flavor: Candy coated oreos, yum!
- Time: Prep time: 5 minutes, Decorating Time: 20 minutes
- Diet: Vegetarian, Gluten Free (optional), Dairy Free (optional)
Ingredients
A full printable ingredients list for these Halloween Oreos and instructions on how to make this easy Halloween treat are in the recipe card below.
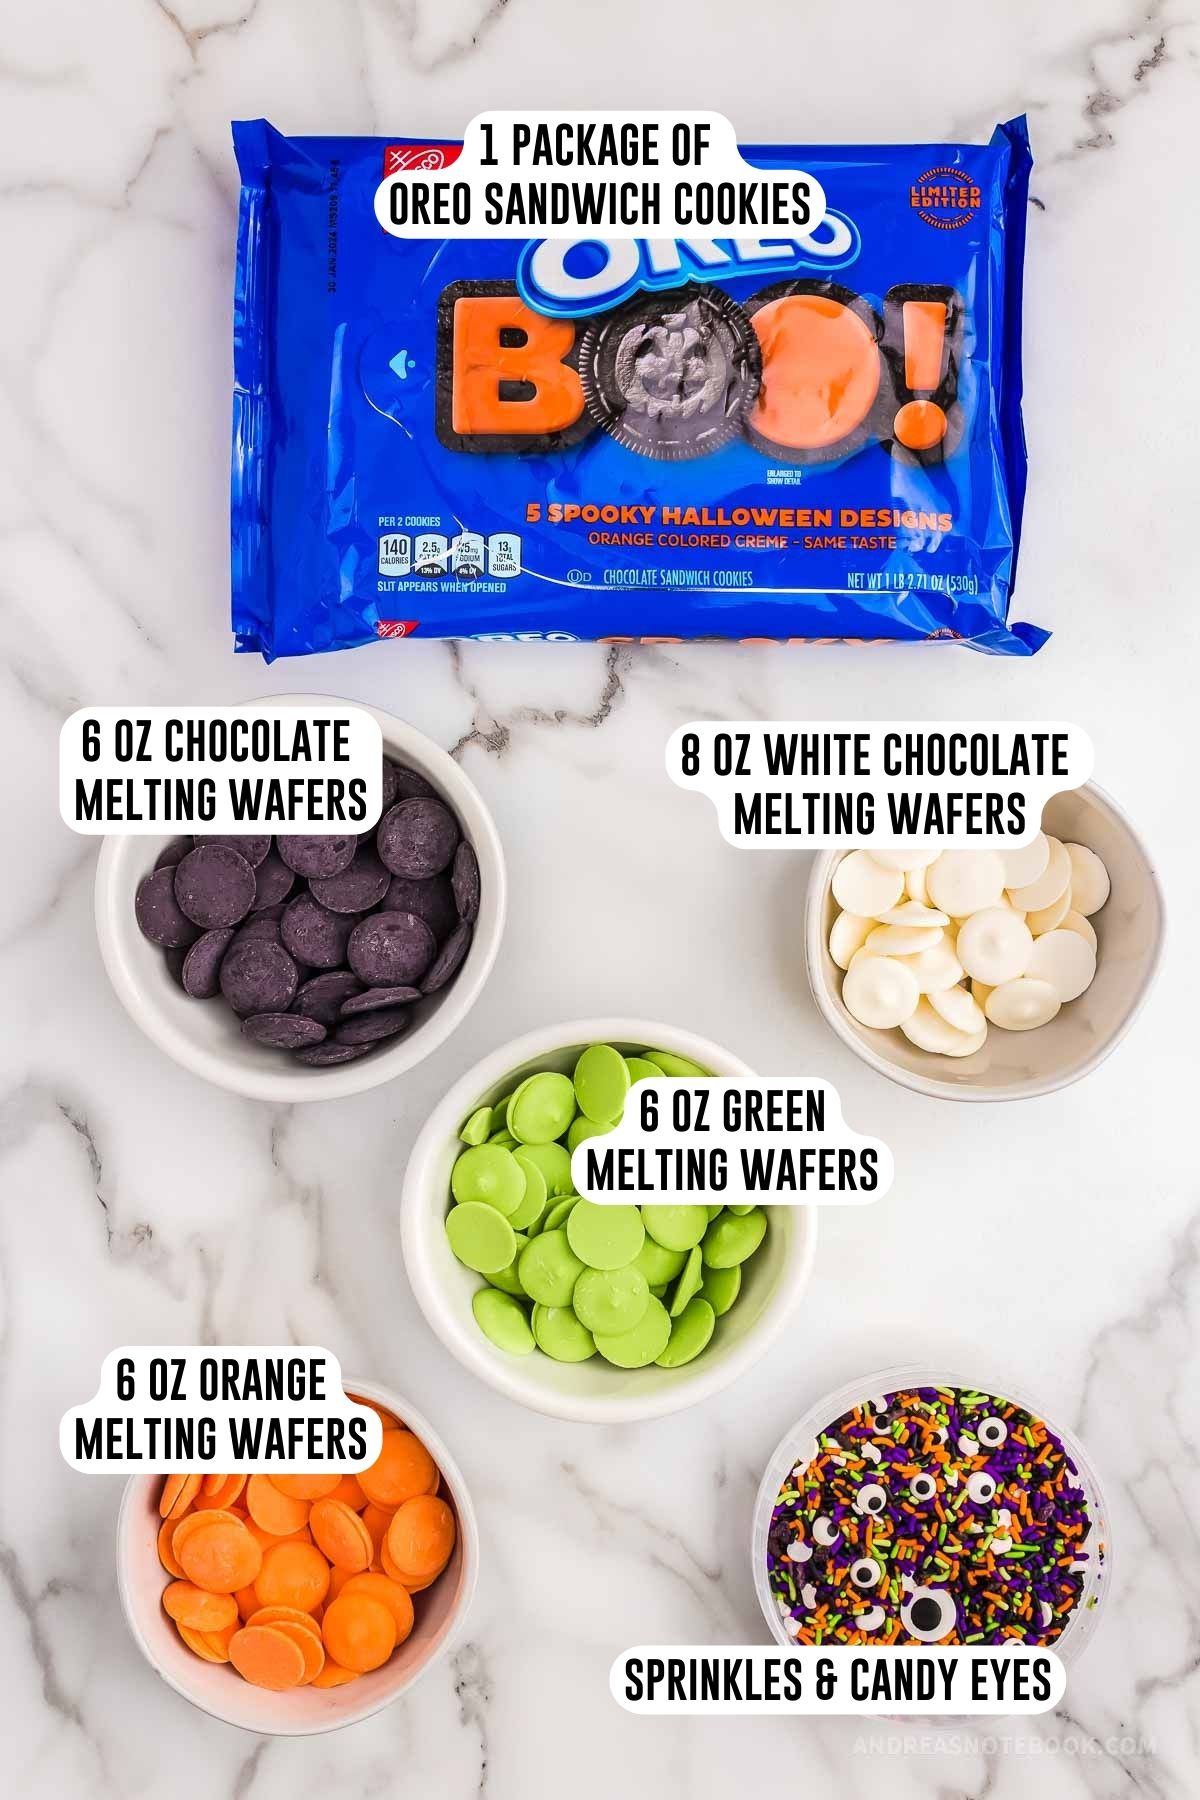
- Melting Wafers: Melting wafers are the optimal choice for dipping Oreos, surpassing traditional white chocolate chips and milk chocolate chips in both performance and outcome. Unlike standard chocolate, melting wafers are engineered to provide consistent meltability and an even coating. The difference is evident in the end product. For a diverse range of projects, melting wafers come in various bright colors, including purple candy melts and white candy melts. If specific hues like orange chocolate or green chocolate are required, they’re readily available. Individual colors of candy melts also allow for greater customization. In a direct comparison between the type of chocolate used, melting wafers offer superior results for dipping Oreos.
- Oreos: Use any type of sandwich cookie you prefer.
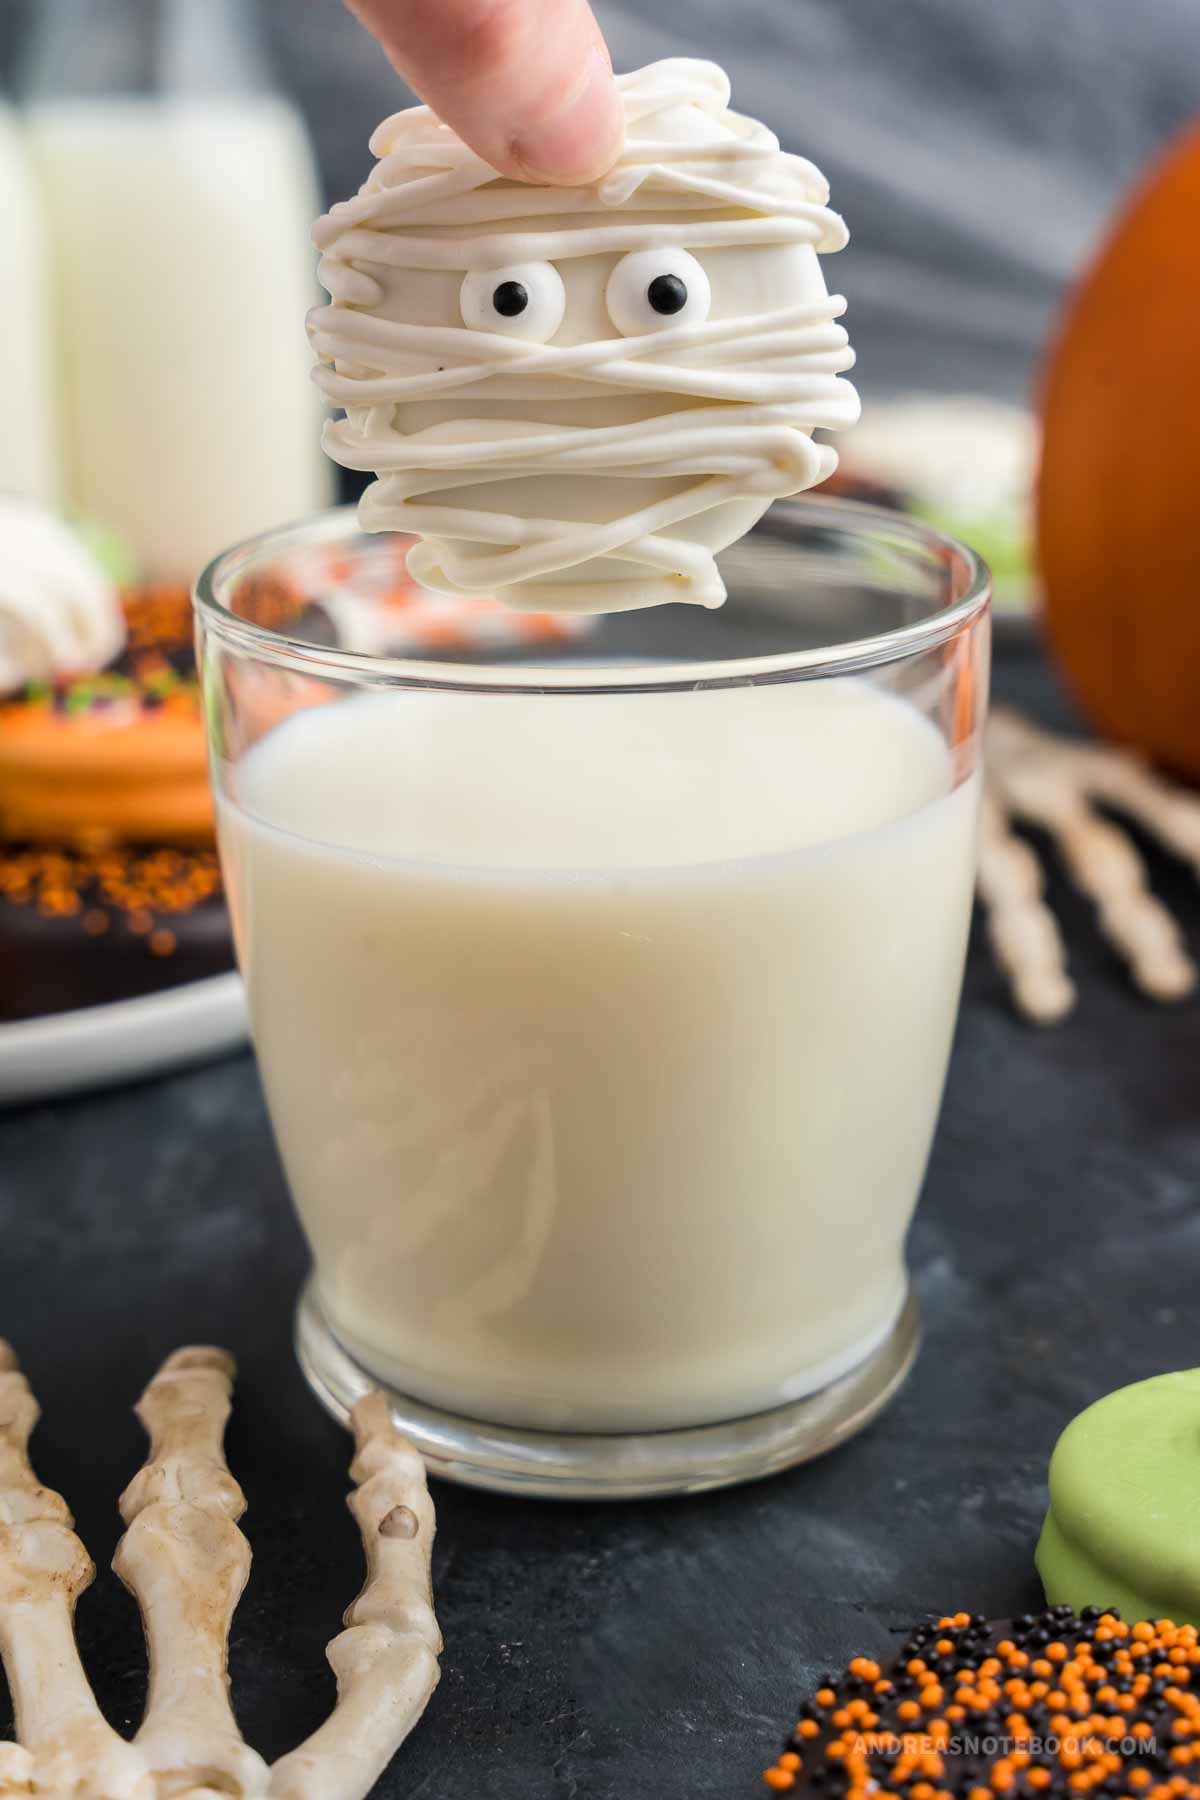
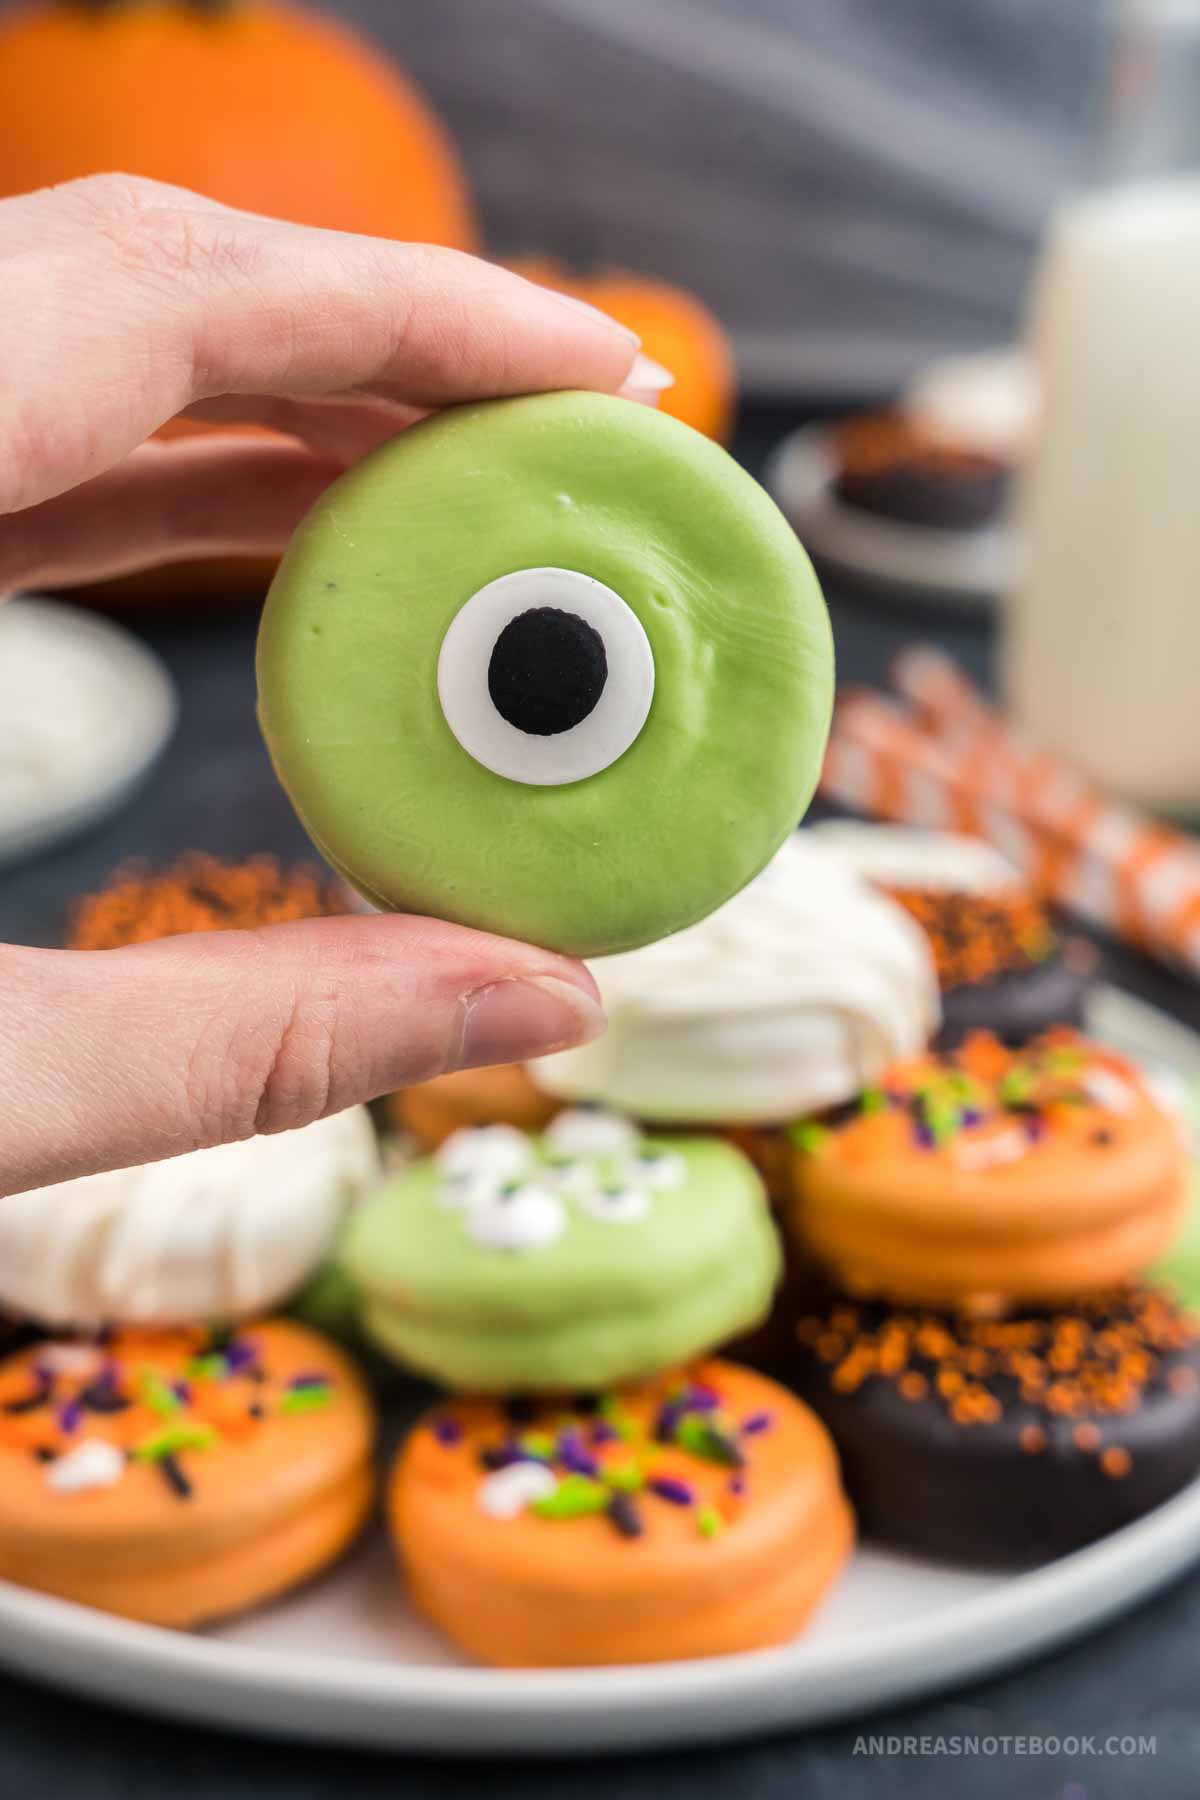
- Decorations: Grab some candy eyeballs to make Halloween eyeball desserts! Add candy eyes to a green cookie to make scary little monsters or purple cookie for a cute purple people eater. Use on a white cookie with some piped lines to make cute little mummy oreos. You might also want to pick up some Halloween sprinkles for a little fun as well.
Gluten Free Option
There are a few gluten free Oreo sandwich cookie options now. You can buy Oreo brand or Glutino brand, which can be found in many grocery stores and online. Make sure your melting wafers and sprinkles are all gluten free!
Instructions
Full step-by-step Oreo Halloween cookies instructions are in the recipe card below. There’s just a few easy steps anyone can do! You can print or save to Pinterest for later.
Prep: Line a cookie sheet with wax paper.
Step One – Melt Candy Melts: Melt candy melts in a microwave-safe bowl for 30-second increments. Stir and repeat until the melts are melted. Do not overheat. Repeat with all colors when you are ready to dip them.
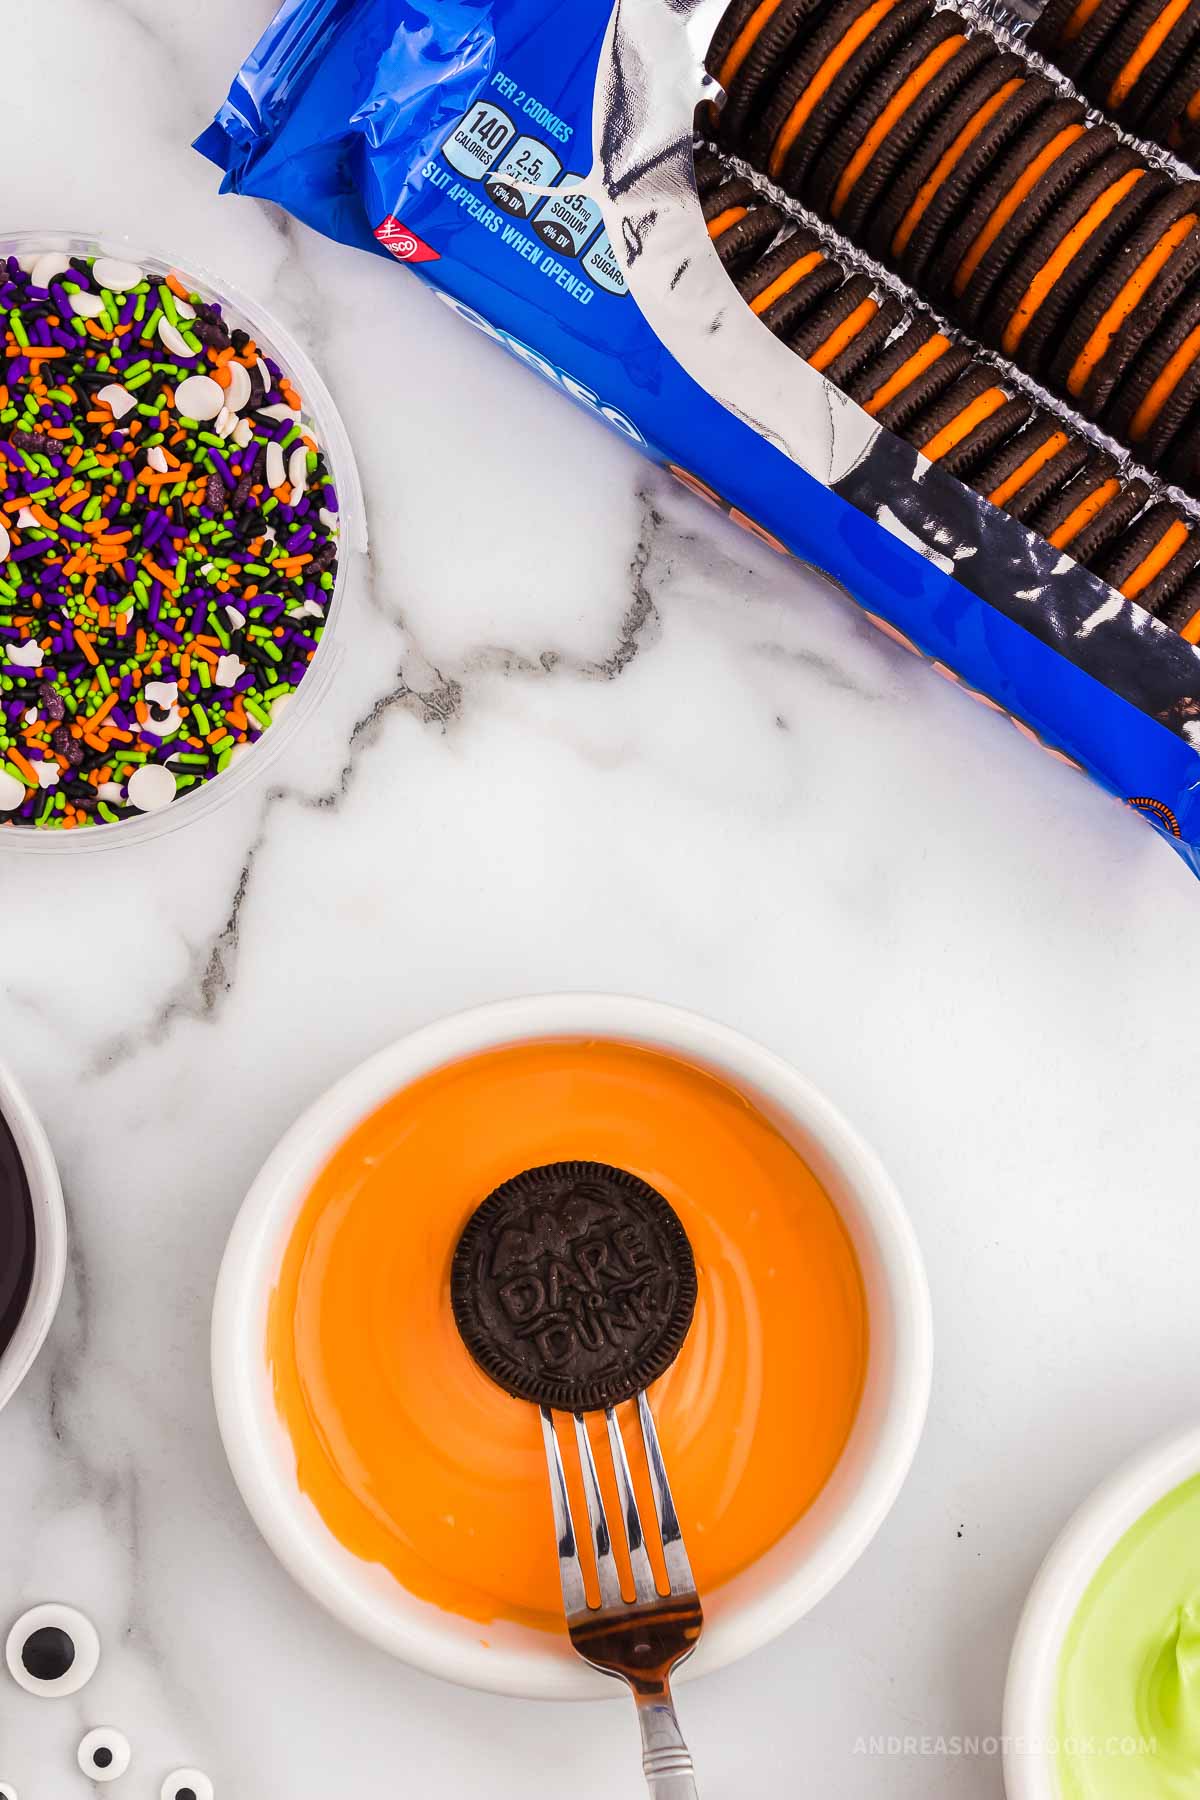
Step Two – Dip Oreos: Place an entire Oreo in the melted candy wafers or chocolate and use a spoon to cover the whole cookie.

Step Three – Remove Oreo: Use a fork to scoop out the cookie and gently tap on the side of the bowl to remove excess. You don’t want the candy coating to be too thick so make sure you tap a few times to remove the excess.

Step Four: Transfer to a cookie sheet and decorate with sprinkles immediately so the toppings stick. Let harden for 1 hr before using a piping bag and small tip to add designs.

Serve: Share your adorable spooky Halloween dipped Oreos! See below for how to store your Halloween oreo cookies.
Tips For Dipping Cookies in Chocolate
First, let’s chat about your chocolate choices. While many opt for traditional melted chocolate, there’s also the option of candy wafers. These little wonders offer a silky-smooth candy coating, and for those searching for the easiest option, this might just be it. I like them because they melt perfectly in the microwave and you don’t have to worry about a double boiler or candy temperature.
Once your desired melt is ready, grab that entire cookie and gently dip it, ensuring every inch gets its fair share of chocolatey goodness. Use a fork to help you keep your fingers out of the melted chocolate.
The next step? Ensuring you’re not left with a chocolate puddle. As tempting as it is to see your Oreo swimming in a chocolate pool, it’s key to let the excess chocolate drip off. A little shake will do the trick. Just enough to ensure you’re left with an even coating, but not so much that you lose all that delectable melt. This is easiest if your Oreo is on your fork and you gently tap the fork on the side of you bowl.
Now, for the landing. A baking sheet is a good choice, but for a flawless finish, a sheet of wax paper is your best friend. It ensures the cookie doesn’t stick, leaving you with a pristine, glossy finish every time. You can also use aluminum foil or parchment paper.

Storing
Ready to store those scary good treats, the Halloween dipped oreos? Here’s the breakdown for ensuring they remain as delightful as the day you made them:
- Room Temperature:
- Keep away from direct sunlight to prevent melting.
- Store in an airtight container or a sealed ziplock bag.
- Ideal for short-term storage and when you plan to munch on them soon.
- Refrigerator:
- Optimal choice for medium-term storage.
- Pack them in an airtight container to retain freshness and prevent other fridge odors from seeping in.
- They remain crisp and will taste just as fresh.
- Freezer:
- Best for long-term storage or when you’ve got a big batch.
- Place in a freezer bag, squeezing out all the air to preserve quality.
- When the craving strikes, take them out and allow a short thawing period.
No matter which method you choose, those Halloween dipped oreos are bound to be a big hit whenever you serve them! 🍪🎃🍫
More Halloween Ideas
If you love the halloween dipped oreos try some of these other fun Halloween ideas!
Frequently Asked Questions
Add 1 teaspoon of vegetable oil and heat in the microwave for 10 second increments, stirring frequently. Never add water, it will make it seize and harden without a way to reverse it.
Only use gel food coloring to add color to your white candy melts. Add after the candy melts are heated. You will need about ¼ teaspoon of gel food coloring for 6 ounces of melted wafers.
Absolutely. However, don’t melt more than 6-8 ounces of candy melts at a time. Even if doubling or tripling the recipe. Work in smaller batches to reduce the risk of burning the candy while heating. This will also help prevent the candy from beginning to harden before you’ve used it.

Easy Halloween Dipped Oreo Cookies Recipe
Equipment
- 4 microwave safe bowls
- parchment paper
- piping bag (optional)
Ingredients
- 1 package Halloween Oreos or any type of sandwich cookie
- 6 oz chocolate melting wafers
- 6 oz orange candy melting wafers
- 8 oz white candy melting wafers
- 6 oz purple candy melting wafers
- sprinkles and candy eyes
Instructions
- Line a cookie sheet with wax paper or parchment paper.
- Melt candy melts in a microwave bowl for 30-second increments (approx. 1 minute). Repeat with all colors.
- Place one Oreo in the melted candy wafers or chocolate and use a spoon to cover the whole cookie. Use a fork to scoop out the cookie and gently tap on the side of the bowl to remove excess.
- Transfer to a cookie sheet and decorate with sprinkles immediately so the toppings stick.
- Let harden for 1 hr before using a piping bag and small tip to add mummy designs.
Notes
- Don’t melt more than 6 oz of the candy melts at a time. Even if doubling or tripling the recipe, work in smaller batches to reduce the risk of it burning while heating or starting to thicken and cool before you’ve coated all the cookies.
- Dip and decorate one cookie at a time. The sprinkles will only stick if added right away.
- If the candy melts start to thicken or seize add 1 teaspoon of vegetable oil and heat for 10 sec increments, stirring frequently. Never add water. It will make it seize and harden without a way to reverse it.
- If you want to mix your color for the melting wafers, only use gel food coloring, ¼ teaspoon for every ¾ cup of wafers (or until desired color).
Nutrition
Love This Recipe?
Make sure to share it with me on Instagram @andreasnotebook and follow on Pinterest @andreasnotebook for more!










Comments & Reviews
Andrea says
I made these at Halloween then made some christmas themed ones now making valentines themed ones. Very easy.
Flo says
I made some valentine themed dipped oreos with red and pink and white chocolate coating and they were cute! I just used heart sprinkles on top.