
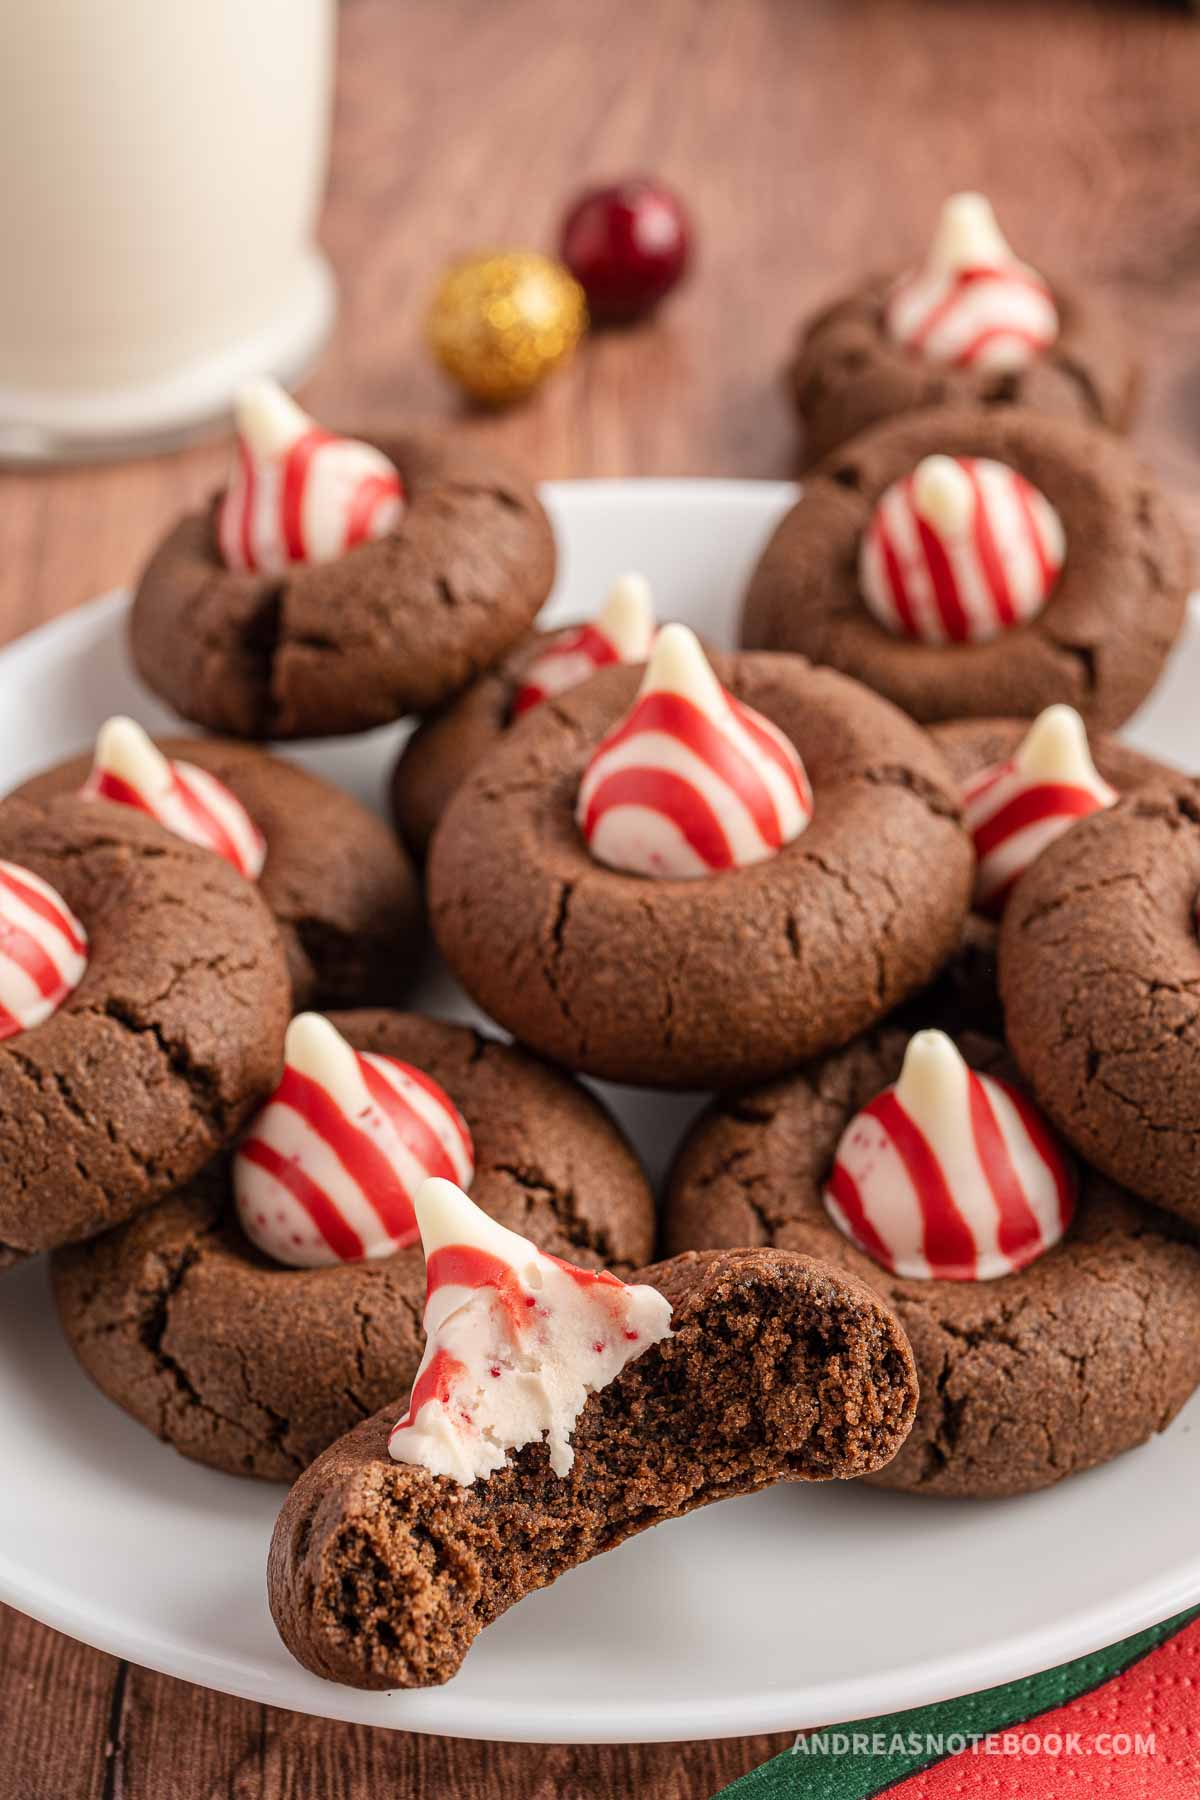
Chocolate kiss cookies have been a classic for holiday season cookie exchanges, but ever tried a twist that takes the flavor up a notch? Here’s where the magic of chocolate peppermint blossom cookies comes in. The dance of cocoa and peppermint, punctuated by candy cane Hershey’s kisses, is a culinary ballet worth tasting. These aren’t just any cookies with a Hershey kiss they are Christmas kiss cookies. They’re a tantalizing fusion that promises a festive flavor explosion. Make these Hershey kiss cookies recipes for Christmas with or without gluten. See gluten-free instructions for details on how to make the chocolate kiss cookies without gluten. A peppermint blossom cookie is cute and is perfect for your holiday cookie plate with mint chocolate pretzel rods, peppermint bark, mint chocolate layered fudge or a s’mores cookie.
What Is a Peppermint Blossom Cookie?
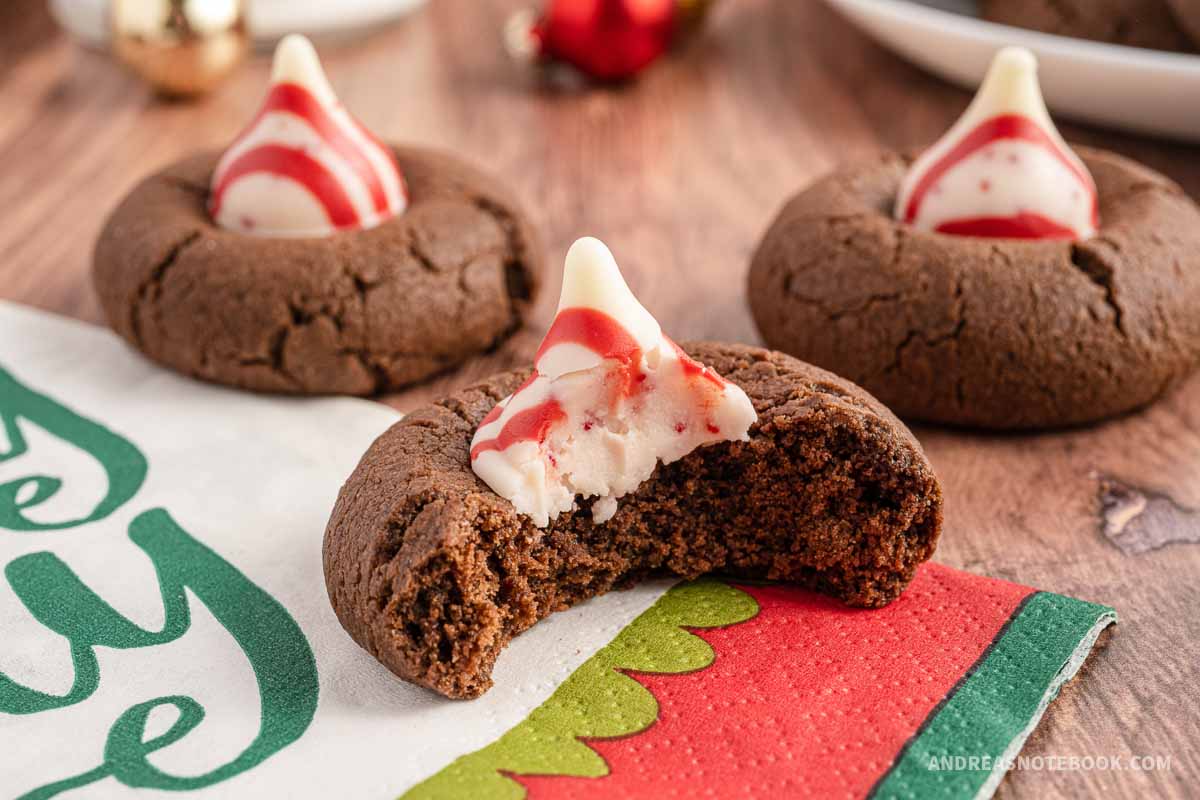
A blossom cookie is usually a cookie with a hershey kiss on top. The most common kind of Hershey’s kiss cookies are peanut butter blossoms. They are made from peanut butter cookies and milk chocolate kisses. They are favorite Christmas cookies for many people. However, these Christmas peppermint blossom cookies have a chocolate shortbread cookie and a candy cane Hershey’s kiss that is made from white chocolate with peppermint stripes and bits of peppermint candy.
This type of cookie is perfect for a Christmas party or a great addition to a cookie platter. Your holiday cookie tray will look festive with these!
Why You’ll Love This Perfect Christmas Cookie
- Texture: Crumbly cookies similar to chocolate shortbread cookie with smooth candy kisses.
- Total Time: Prep time takes only 15 minutes and bake time is 15 minutes.
- Equipment: hand mixer or stand mixer, cookie scoop, mixing bowl, measuring cups and measuring spoons, parchment paper
- Diet: Vegetarian, Gluten Free (see instructions)


If you love these festive cookies you’ll love this Chocolate Peppermint Cheesecake Pie.
Ingredients
For a full printable chocolate peppermint blossom cookie ingredients list and instructions are in the recipe card below.
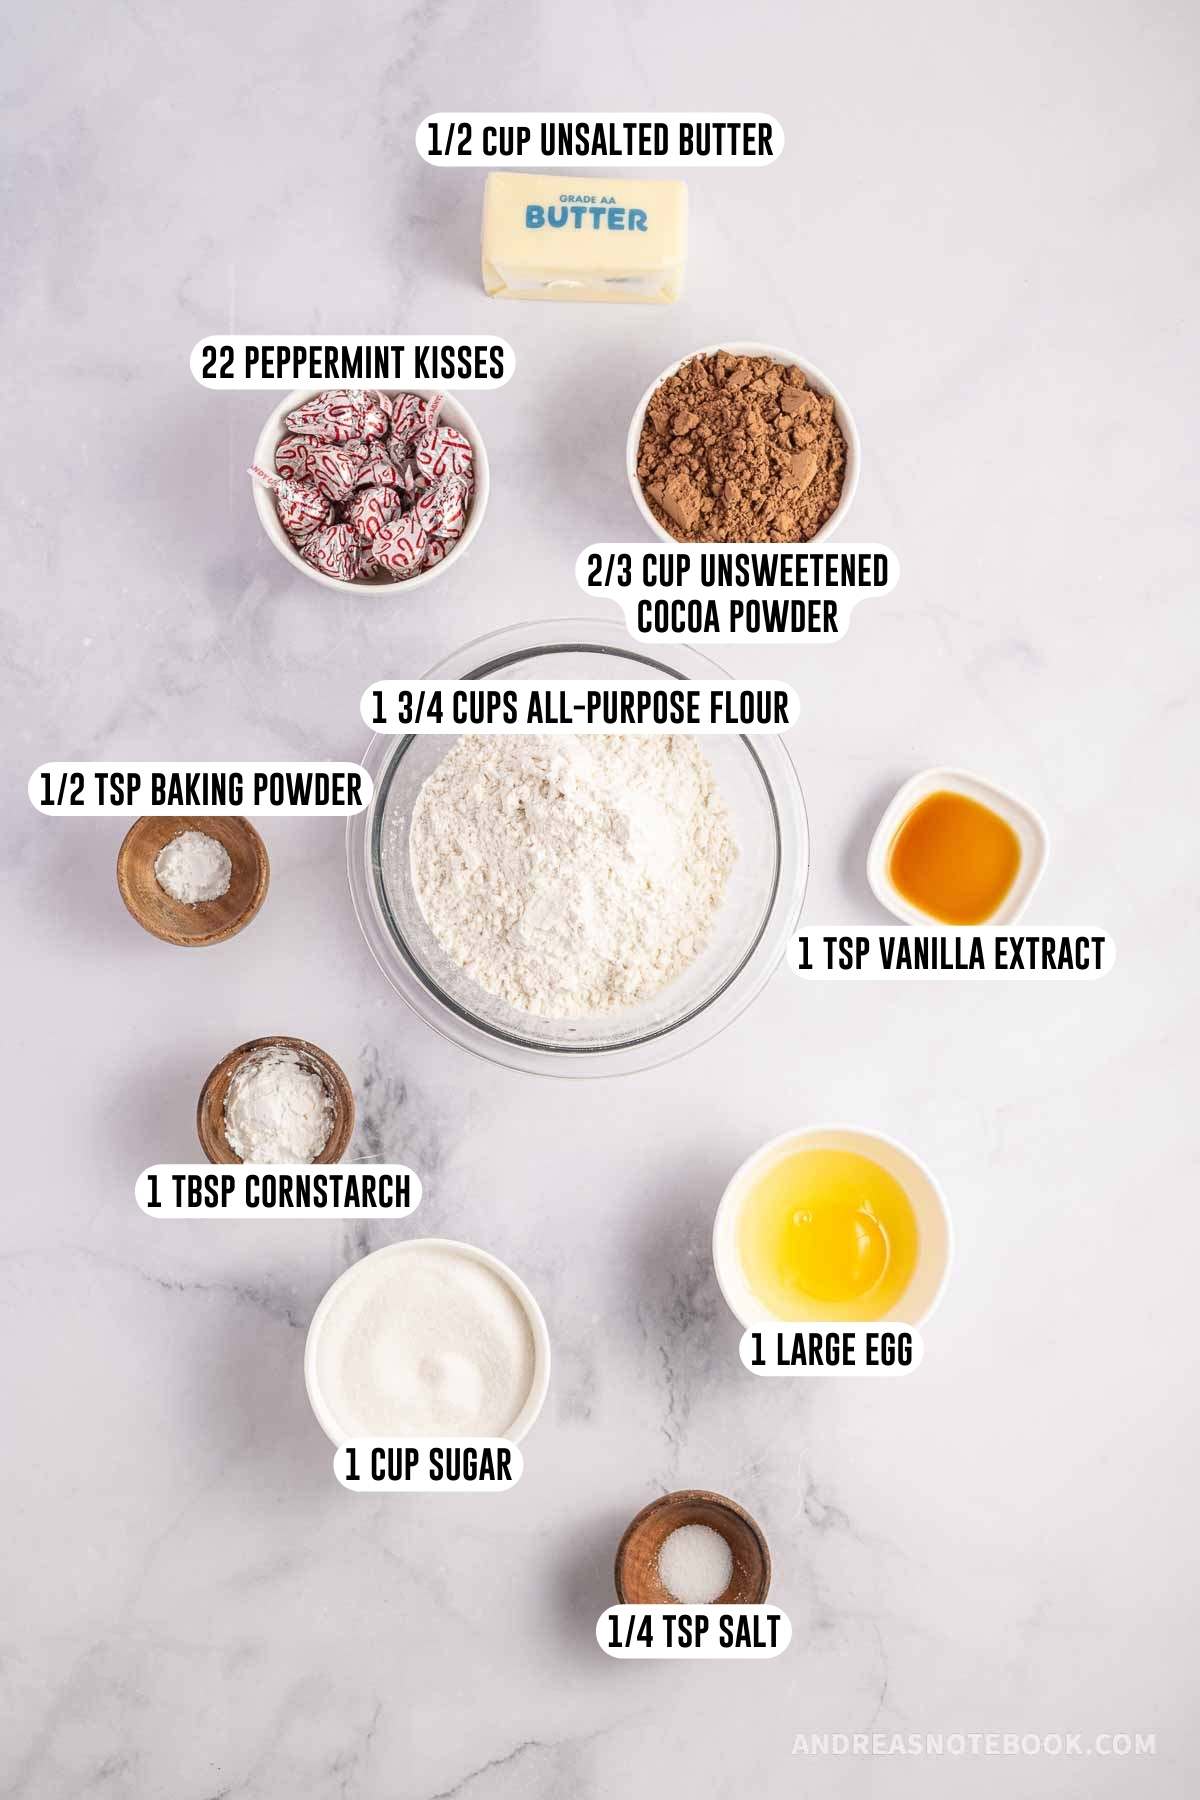
- Flour: Use all-purpose flour. Make sure you spoon it into your measuring cup and level with something flat, like a knife.
- Cocoa Powder: Unsweetened cocoa powder is essential in baking for true chocolate flavor. It has no added sugars. A popular variant is dutch processed cocoa powder. It offers a deeper hue and mellow flavor. Both types provide an authentic cocoa taste in baked goods.
- Cornstarch: In baking, cornstarch plays a key role. It thickens pie fillings, making them luscious. In cookies, it ensures tenderness. Often, bakers combine cornstarch with other flours. This technique moderates protein content, yielding softer textures. Thus, it’s a subtle, yet vital, ingredient in various treats.
- Baking Powder: In the realm of baking, baking powder is a star leavening agent. It releases carbon dioxide, making doughs and batters rise. This results in fluffy cakes and light pastries. It’s vital to measure baking powder precisely; too much can lead to an off taste. Simply put, baking powder elevates baked goods, both figuratively and literally.
- Salt: In cookie recipes, salt does more than just flavor. It enhances and balances the sweet taste. Moreover, salt can affect the protein structures, making cookies chewier. But remember, too much can overpower. Properly using salt ensures a delightful, harmonious treat. Always measure accurately, ensuring that delightful bite. So, in baking, salt isn’t just a background player; it’s pivotal.
- Unsalted Butter: When baking cookies, the type of butter you use matters. Unsalted butter gives you full control over the saltiness. On the other hand, salted butter introduces an unpredicted salt amount. For precision and consistency in flavor, many bakers lean towards unsalted.
- Granulated Sugar: In cookie baking, the type of sugar you opt for can change the game. Granulated sugar offers a crisp texture. Meanwhile, brown sugar, with its molasses content, imparts moisture and a chewy finish. It also brings a deep, caramel-like flavor. Selecting between them hinges on the desired cookie outcome. Both have their merits, but the end texture and taste differ significantly.
- Eggs: When venturing into cookie baking, the choice of egg is paramount. Farm fresh eggs bring unparalleled flavor and moisture. Among sizes, large eggs offer consistency, while medium eggs might adjust moisture levels. Thus, for optimal consistency and a richer taste, it’s wise to opt for large eggs and farm fresh eggs will work great as well.
- Vanilla Extract: Vanilla extract is the unsung hero in cookie baking. It elevates flavors, adding a depth that’s unmistakably warm. Though often used in scant amounts, vanilla extract harmonizes with other ingredients, forging a symphony of taste. Its presence, while subtle, makes the difference between good and extraordinary cookies. This aromatic ingredient ensures your baked goods are always top-notch.
Substitutions and Variations
Hershey’s Kisses: Use any of your favorite kisses. There are many flavors to choose from now! Try making a peanut butter kiss cookies recipe by swapping the candy cane kiss for a peanut butter kiss. The red and white striped kiss would make a cute Valentine’s Day cookie as well.
Gluten Free: To make gluten-free Hershey’s kiss cookies, substitute all-purpose flour for King Arthur’s gluten free flour mix, or your favorite GF flour mixture that contains xanthan gum. Please check the labels on all your other ingredients, especially cornstarch, baking powder and kisses. These make delicious gluten free Christmas cookies!
Dairy Free: Substitute butter for your favorite non-dairy butter substitute like butter flavored shortening or margarine.
Peanut Free: Substitute the peppermint candy cane kisses for plain Hershey’s kisses.
Refrigerated Cookie Dough: Low on time? Use refrigerated cookie dough from the grocery store. Try sugar cookies or, if you’re lucky, they’ll have chocolate cookie dough. Sugar cookie dough is fun to add food coloring to, as well. Make them any color you want.
Instructions
Full step-by-step Hershey’s kiss cookies instructions are in the recipe card below. You can print or save to Pinterest for later.
Prep: Preheat the oven to 350°. Lay out 2 pieces of parchment paper on 2 large cookie sheets. Set prepared baking sheets aside for baking the chocolate peppermint blossom cookies.
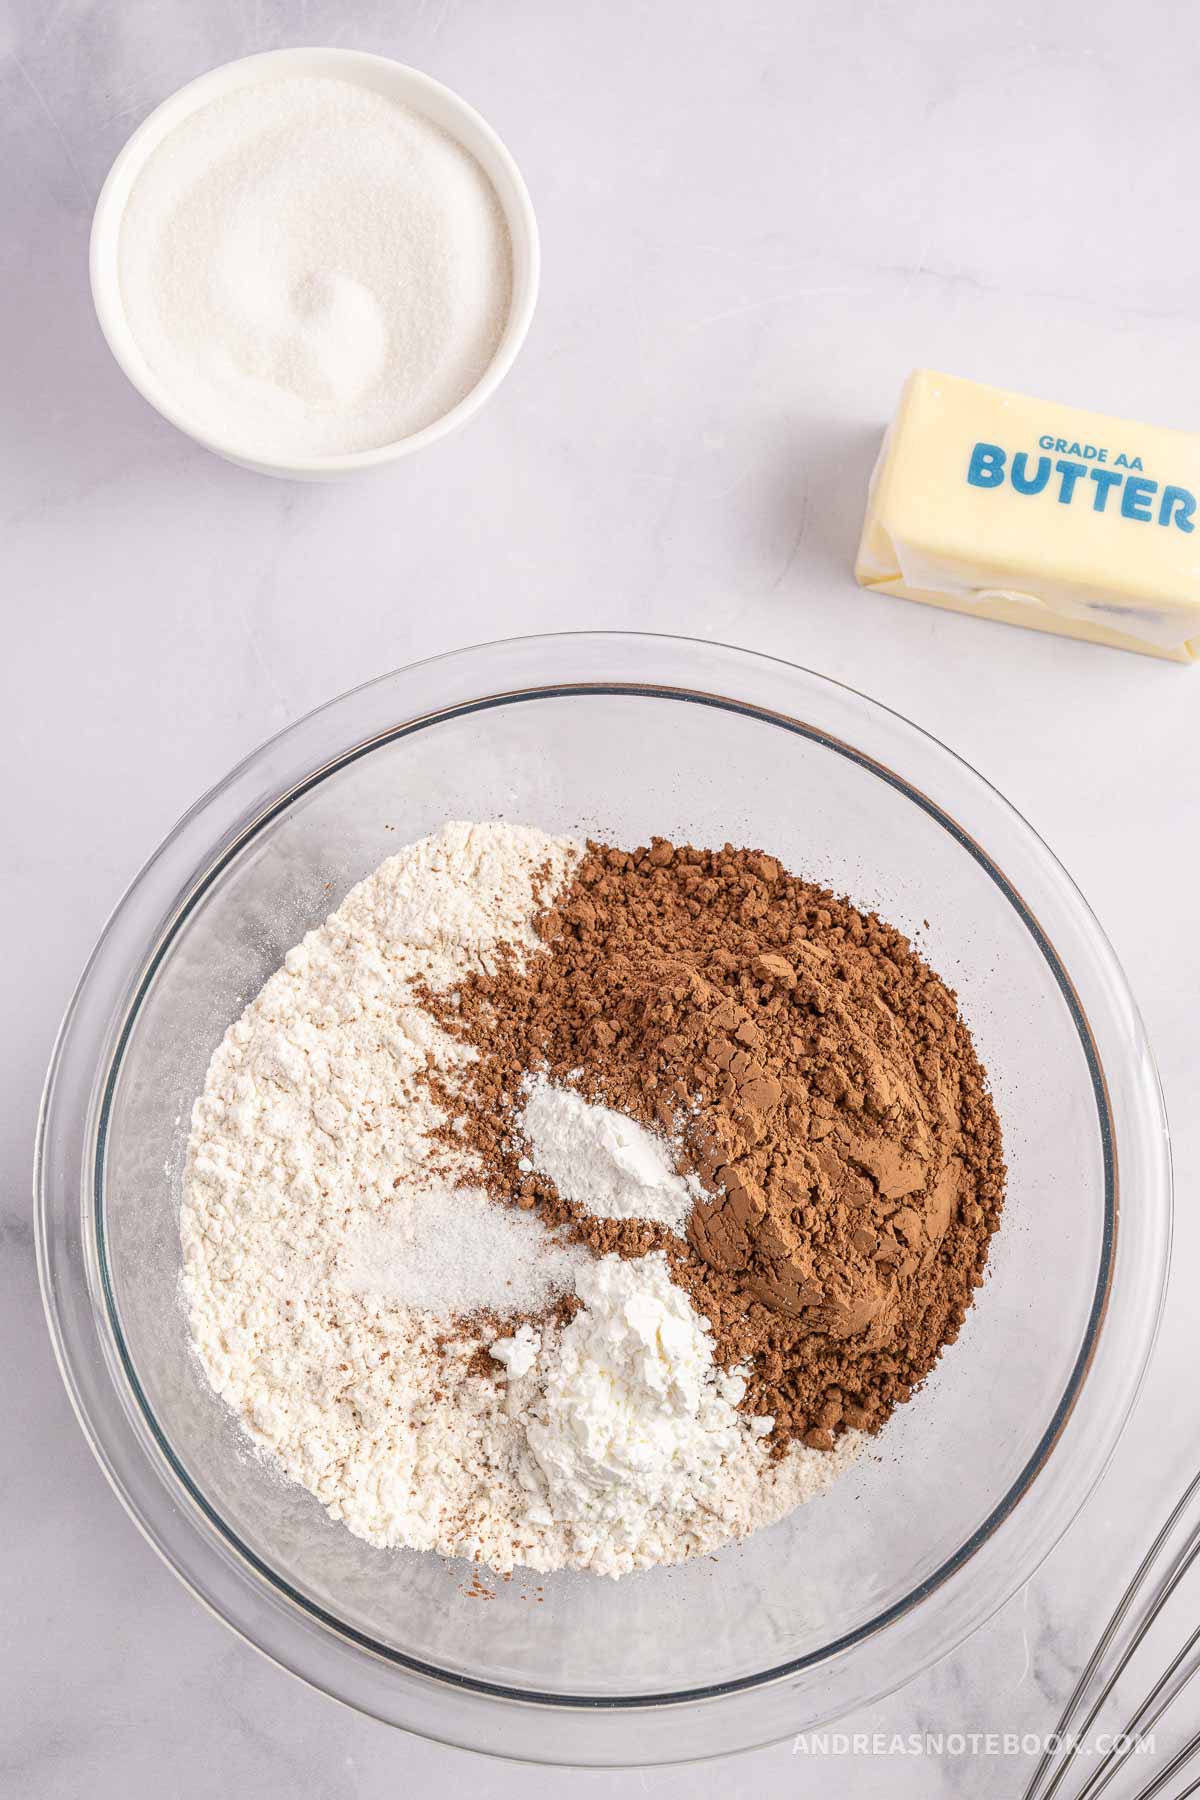
Step One – Mix Dry Ingredients: Combine the flour, cocoa powder, cornstarch, baking powder, and salt in a medium bowl and whisk.

Step Two – Mix Sugar and Wet Ingredients: In a separate large bowl, use an electric hand mixer or stand mixer on high speed to mix the butter and sugar until they are fluffy. Sugar and butter should be creamed for about 2-3 minutes. Add the egg and vanilla extract, and continue mixing.
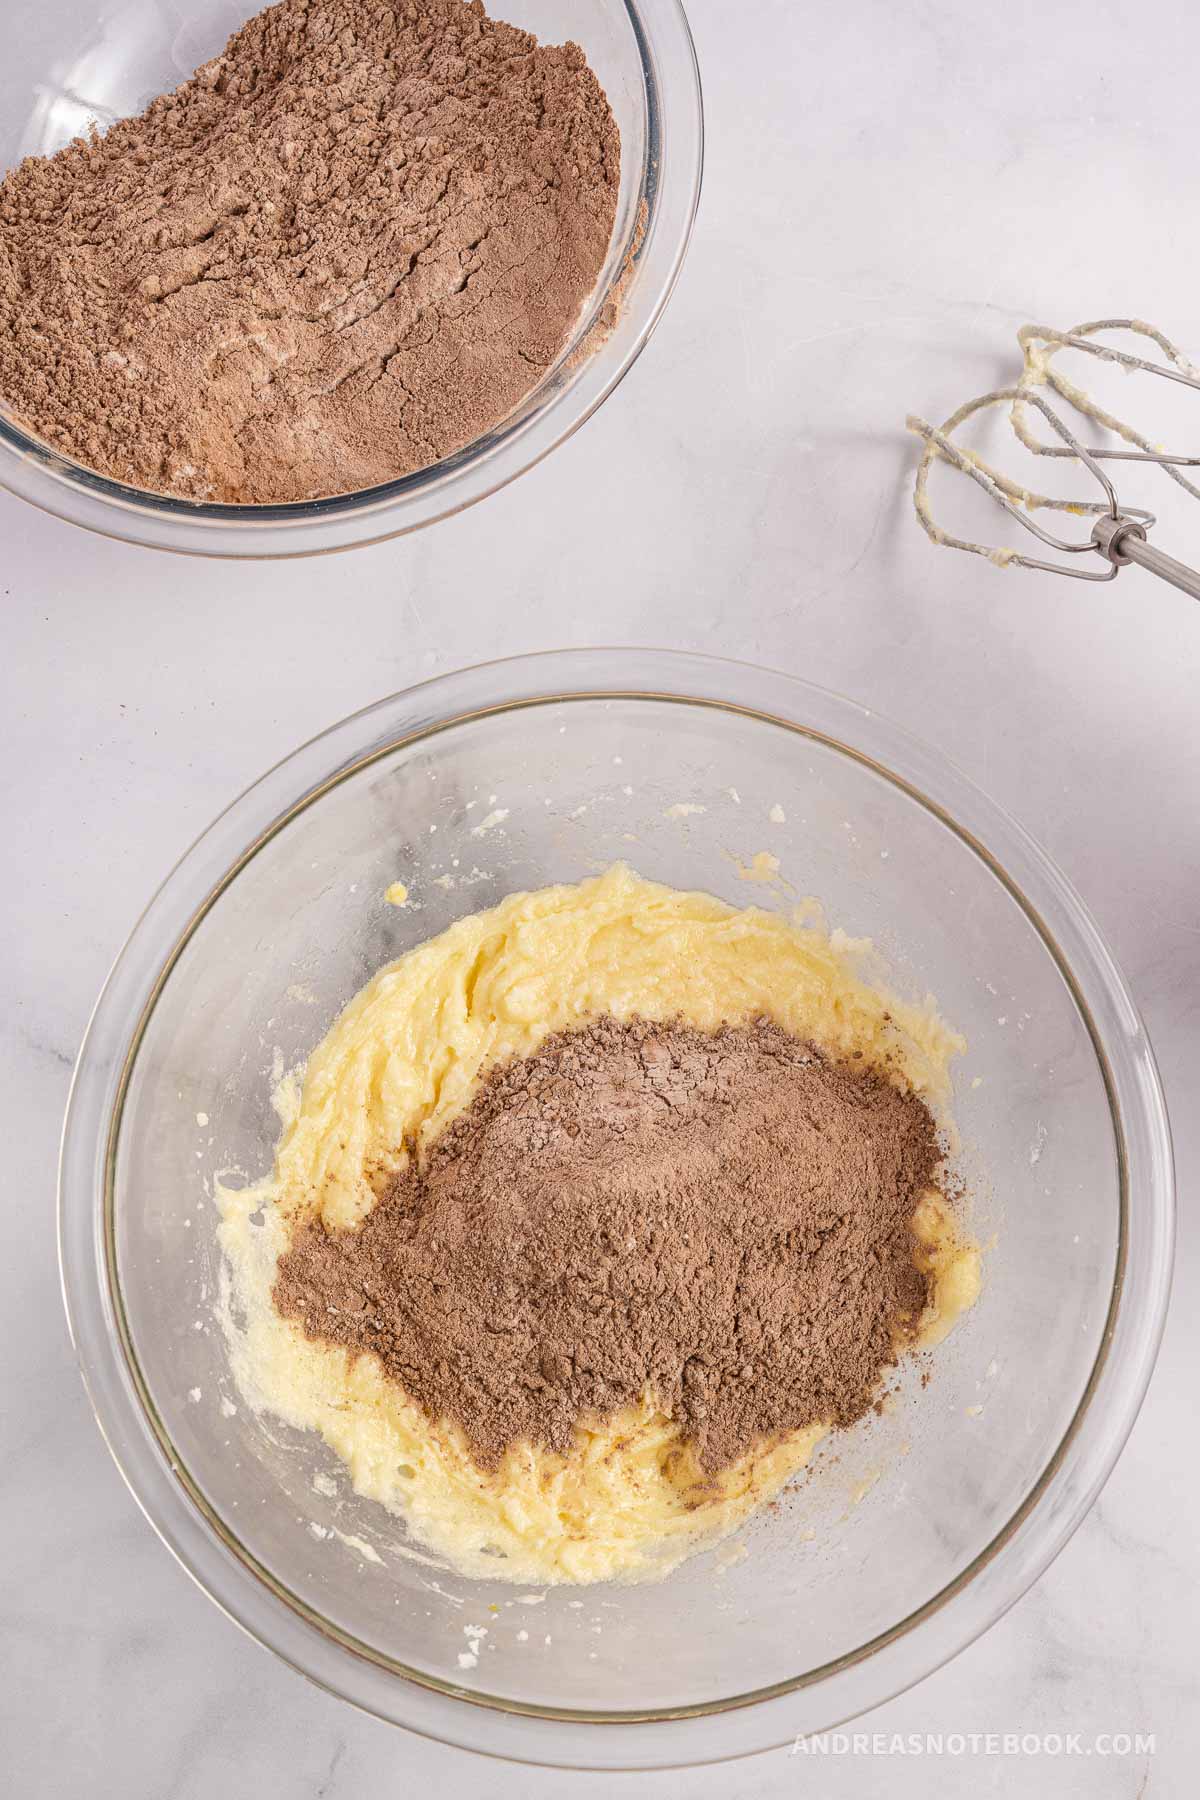
Step Three – Combine Ingredients: Pour in the dry ingredients, and mix at low speed until the dough is crumbly and pliable.
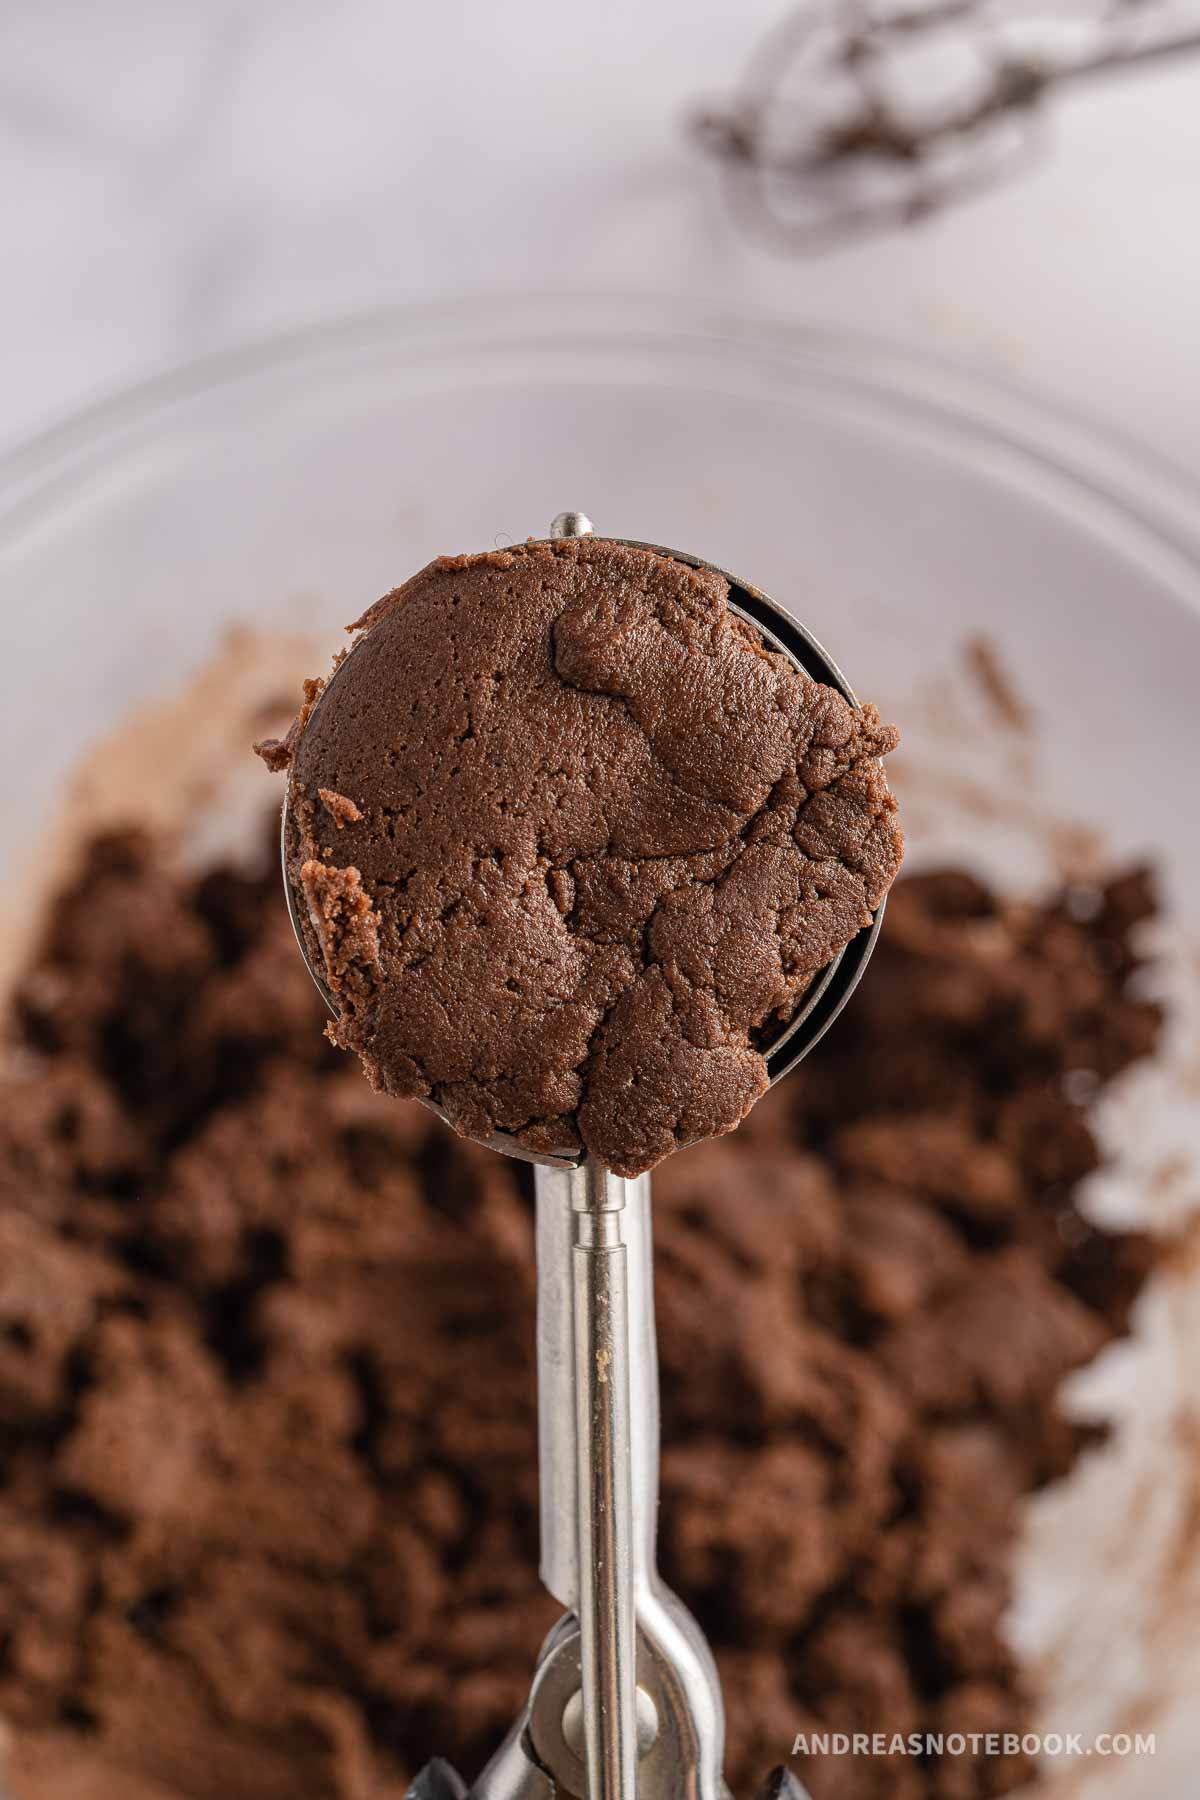
Step Four – Form Cookies: Use a 1 ½ tablespoon cookie scoop to scoop out balls of dough and roll them with your hands until they are smooth, tight balls. Set the dough balls on the cookie sheets about 2 inches apart. (I fit 12 cookies on 1 cookie sheet.)
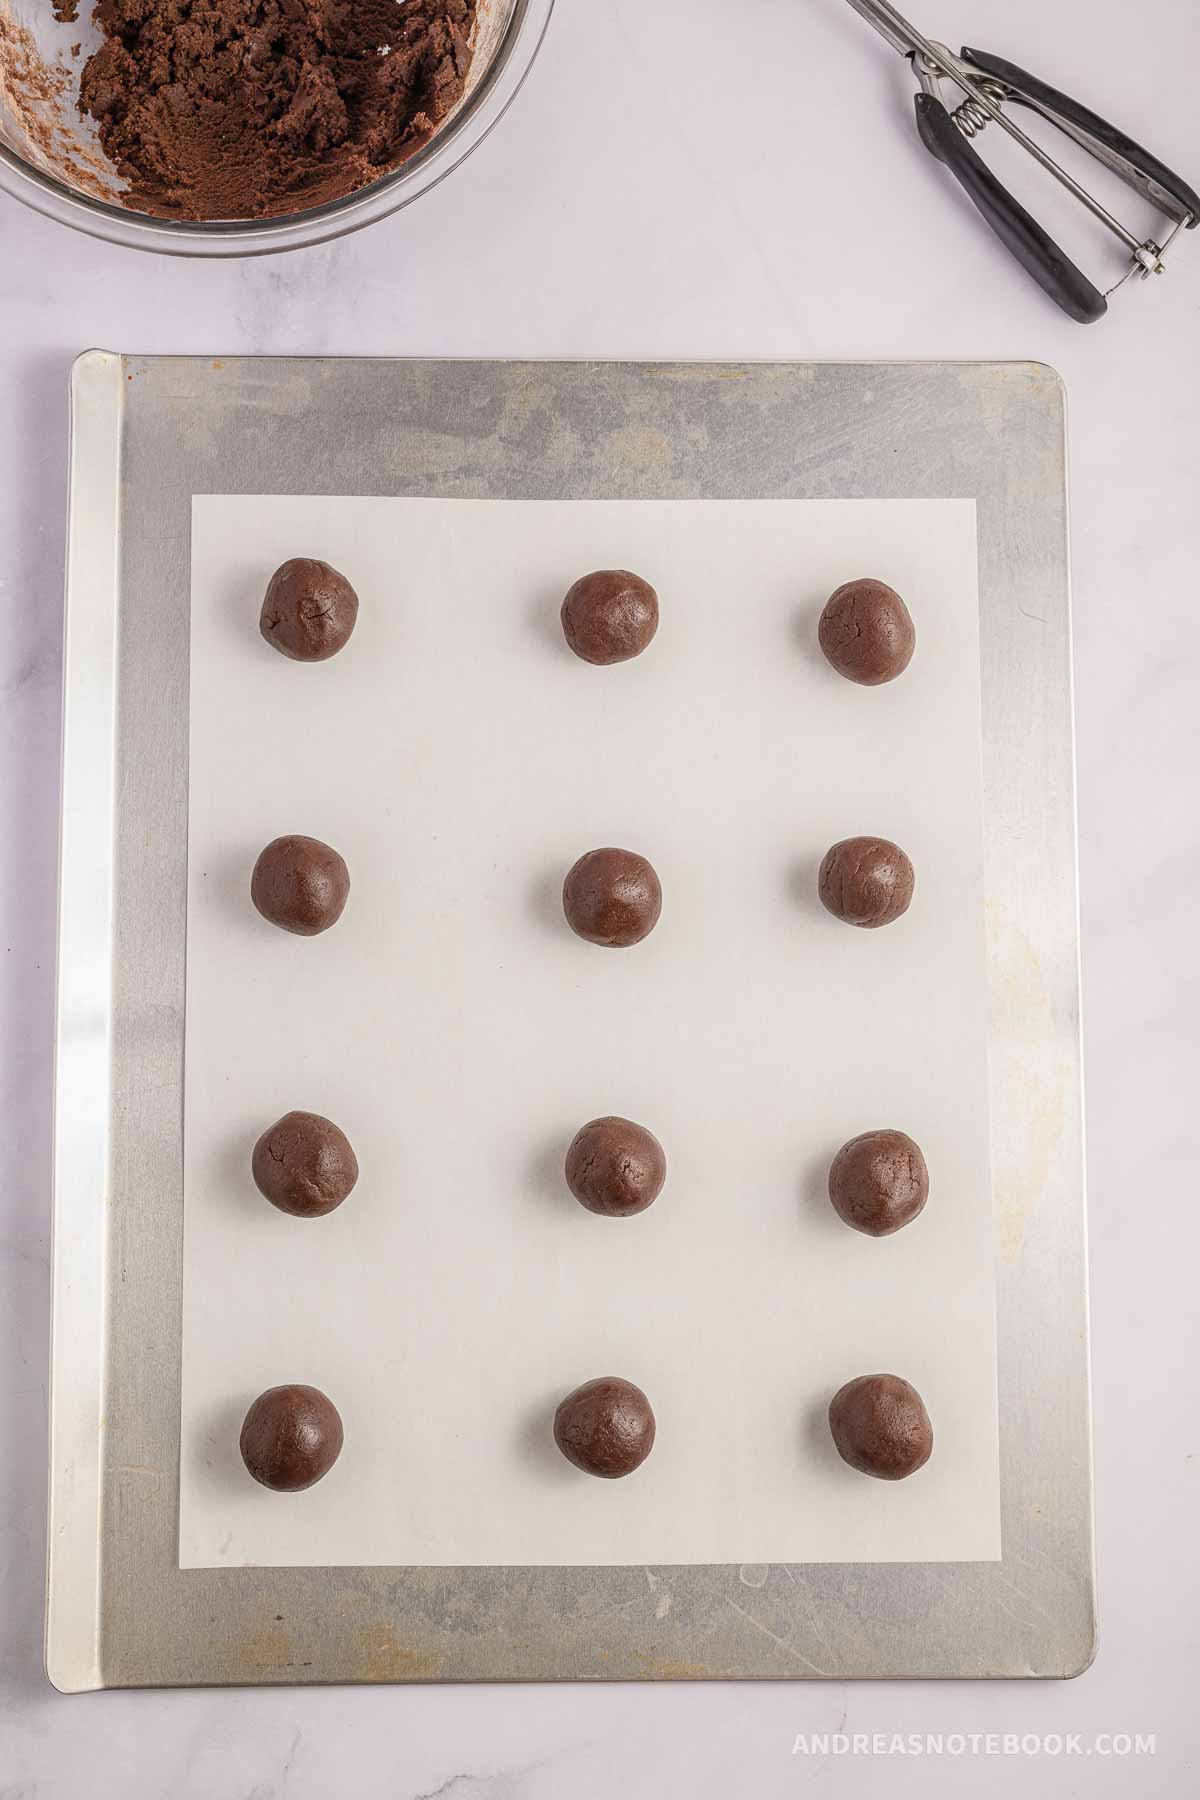
Step Five – Place Cookies on Sheet: Set the dough balls on the cookie sheets about 2 inches apart. (I fit 12 cookies on 1 cookie sheet.)
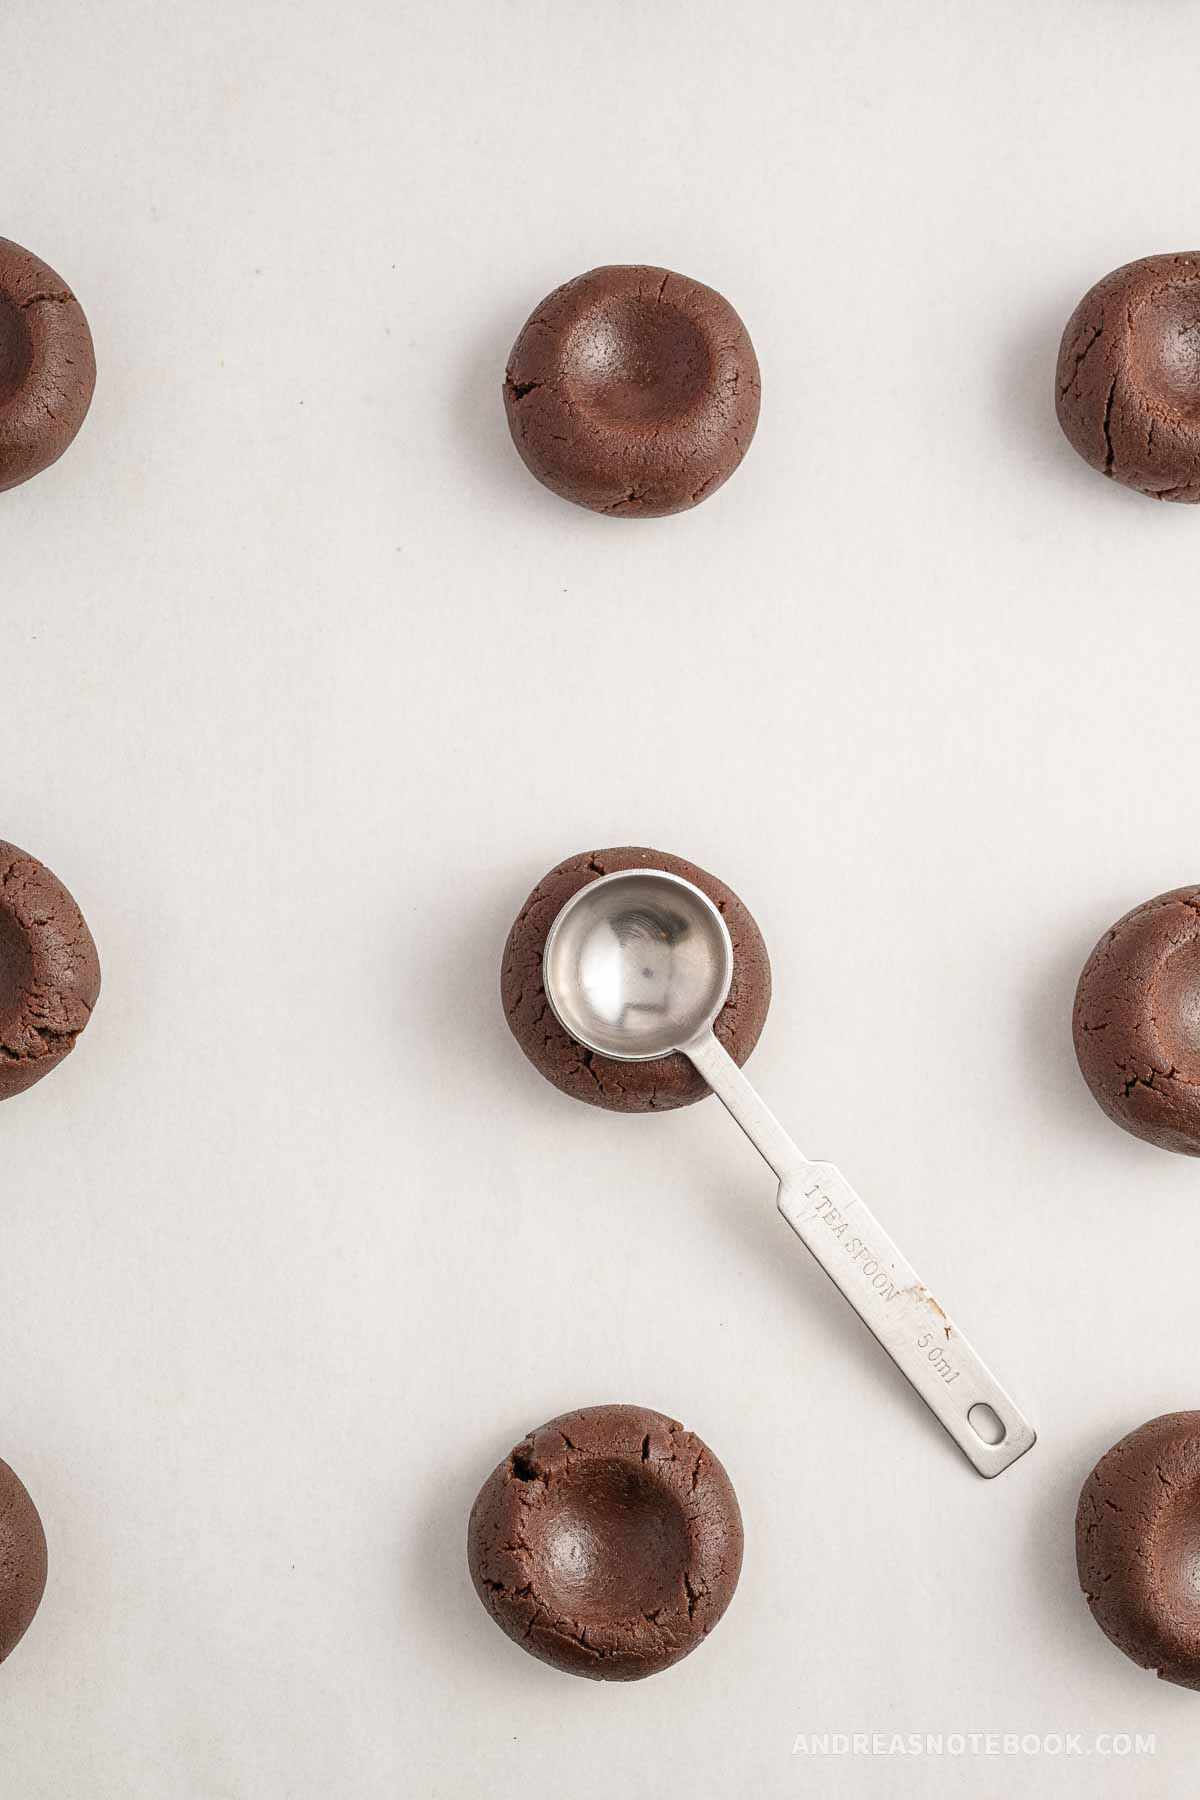
Step Six – Indent Cookies: Press down the center of each cookie slightly with a measuring teaspoon. It’s okay if the dough cracks a little bit. The indent in the center of the cookies is where you’ll put the chocolate candy after the cookies are cooked.
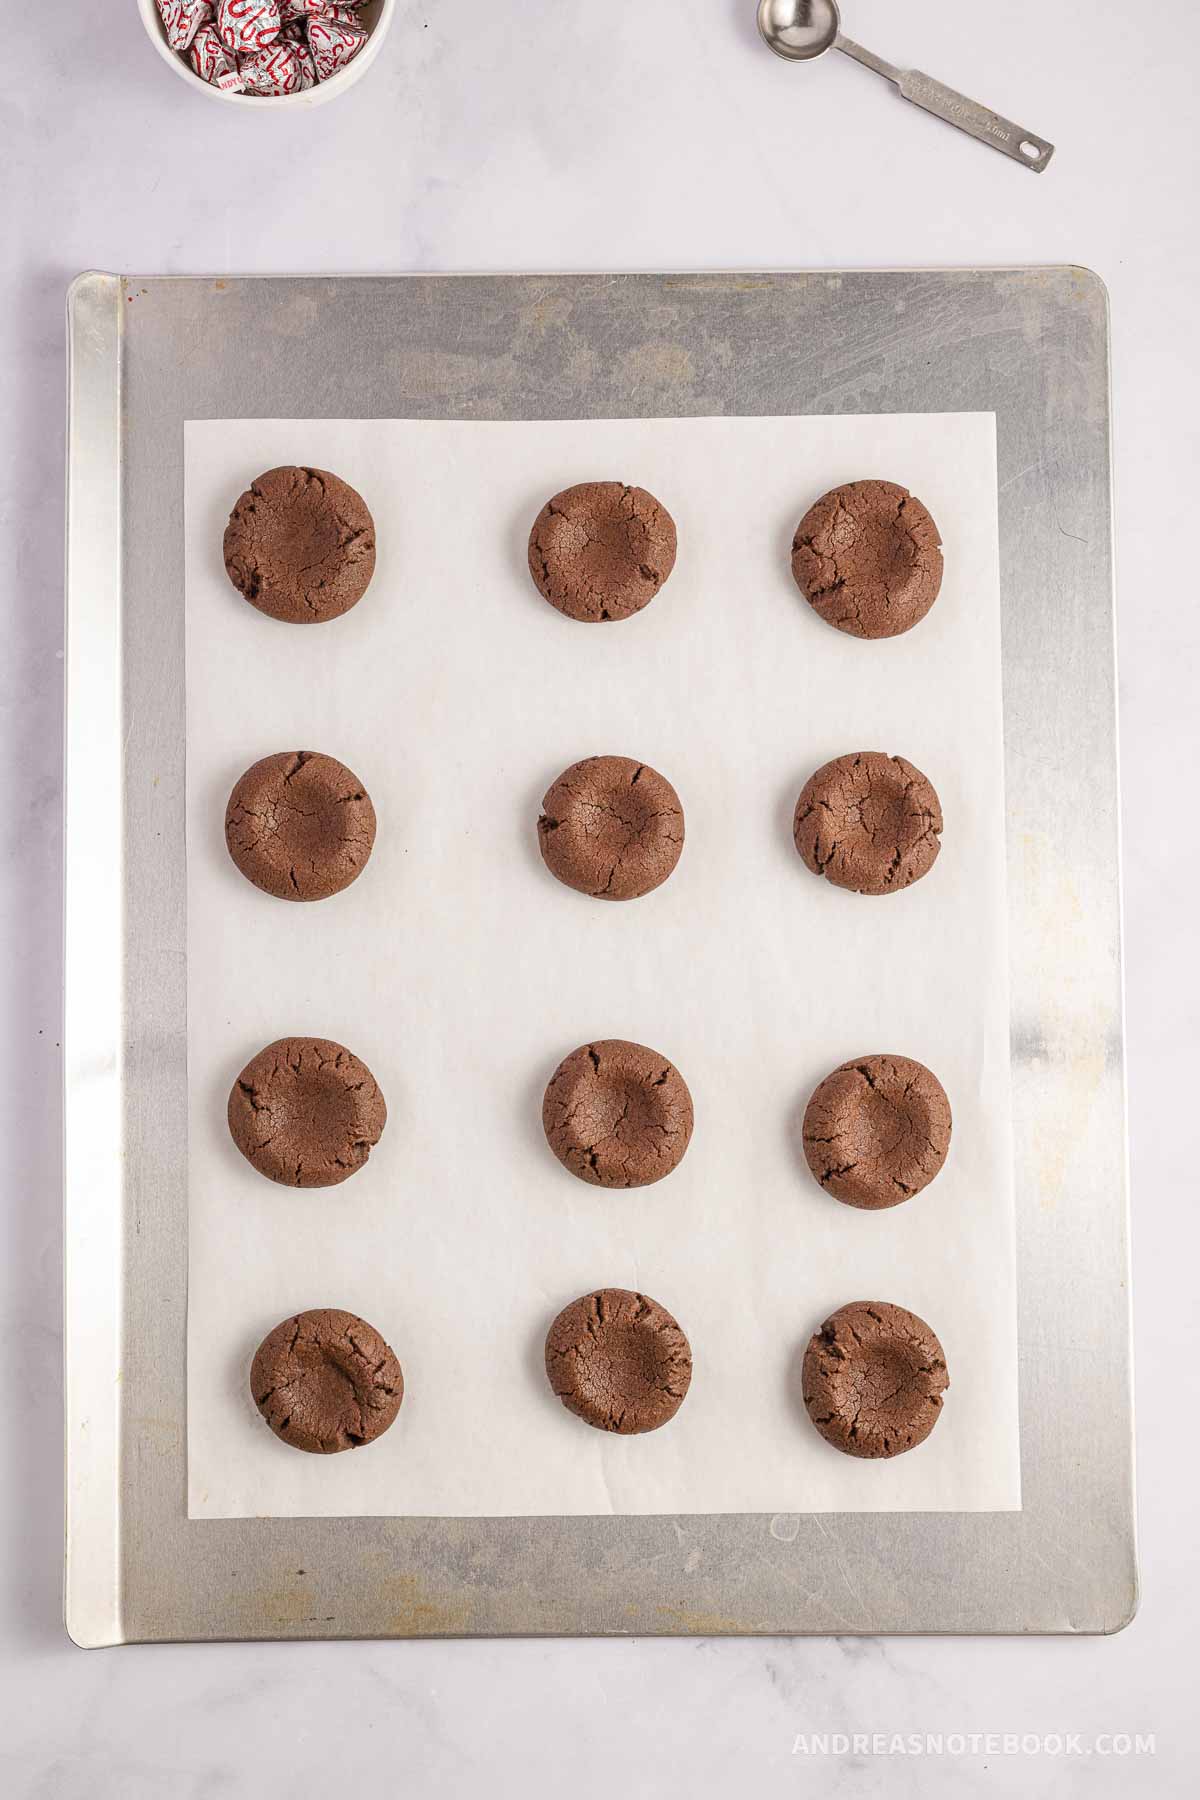
Step Seven – Bake: Bake the cookies, 1 cookie sheet at a time, for 15 minutes or until they have risen slightly. Press the centers of the cookies down again if they have risen too much while baking.
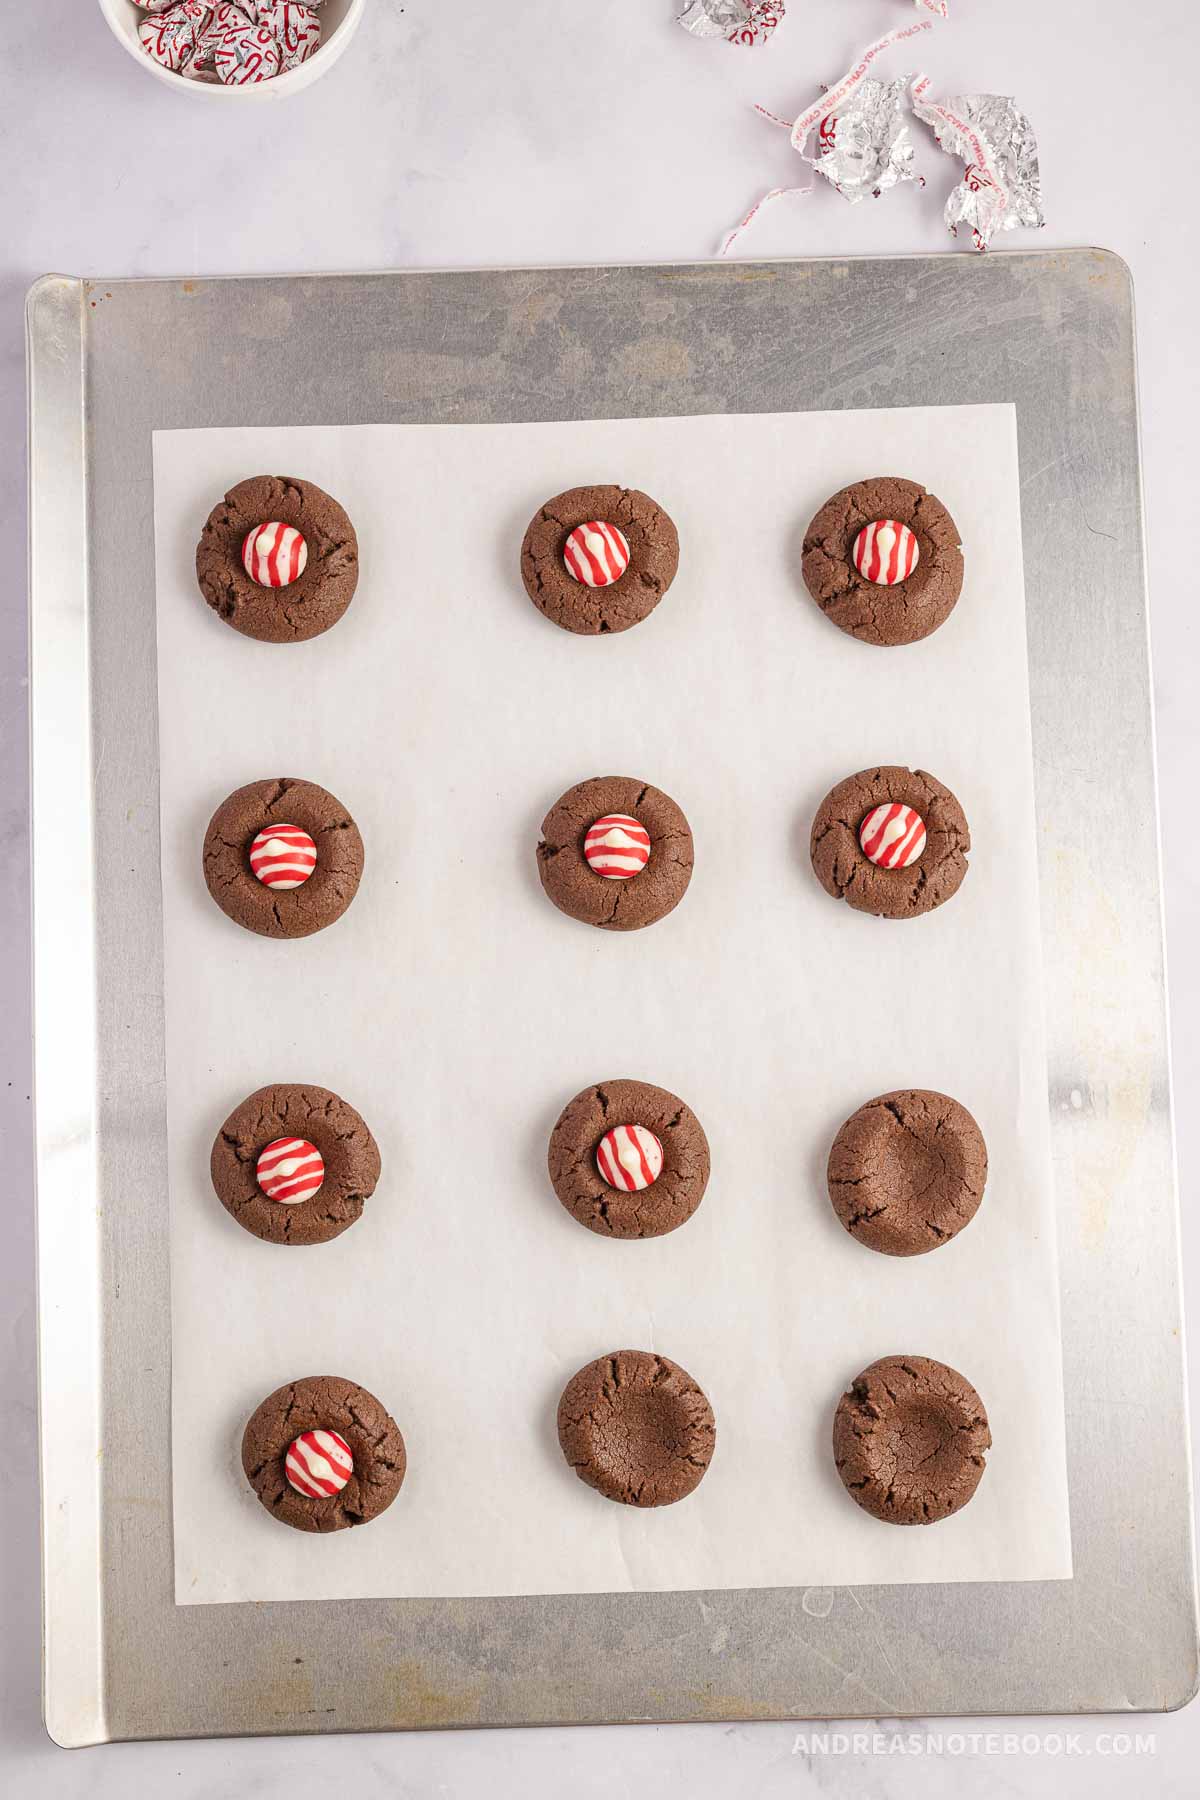
Step Eight – Add Candy Cane Kisses: Rest the cookies on a cooling rack for about 5 minutes (or until they are still warm but not hot to the touch), then press a peppermint kiss into the center of each cookie. Let the cookies cool completely, then serve.
Tips For The Best Chocolate Peppermint Kiss Cookies
- Try not to over-mix the egg. Over-mixing may affect how much the cookies rise in the oven.
- If you put the kisses on the cookies too soon after they are out of the oven, they will melt, but if you wait too long, they won’t stick to the cookies. That’s why it’s important to keep an eye on the temperature of the cookies while they are resting. I found that waiting 5-10 minutes is a good amount of time before adding the kisses. They stick to the cookies without melting too much.
- It’s important to use baking powder and not baking soda. Baking powder will help the cookies rise slightly, but baking soda will cause the cookies to spread and lose their shape.
More Chocolate Mint Recipes
Looking for more Christmas cookie recipes? Try these at Christmas time or any time of year. They’re fun for special occasions or whenever you’re looking for a great mint chocolate treat.
If you love Hershey kisses cookie recipes for Christmas, try the MOST DELICIOUS Peppermint Bark Recipe.
Storing
Most of the time you won’t be eating your chocolate peppermint blossom cookies the same day you bake them. Here are some tips on storing them.
- Room Temperature: Store in an airtight container on the counter for up to 6 days. Please be mindful that if the cookies are in a warm room or left out in a warm area, the kisses may melt.
- Refrigerator: Store in an airtight container in the refrigerator for up to 10 days. Bring the cookies to room temperature before serving. The cookies may get a little harder at cooler temperatures.
- Freezer: Store in an airtight container in the freezer for up to 3 months. Thaw completely before serving as the cookies will be too hard to eat at cold temperatures. Place in an airtight container or large ziploc bag. Use parchment paper or freezer paper between layers of Christmas cookies.
Frequently Asked Questions
You do not have to make the indent before cooking though it is recommended. The hershey’s kiss will sit perfectly in the cookie if you make the indent before you cook. If you forget to make the indent just gently press the kiss down on top of the hot cooked cookie.
No, you cannot cook the cookie with the kiss on top of the cookie. It will melt completely.
More Chocolate Peppermint Recipes You’ll Love

Christmas Candy Cane Kiss Blossom Cookies Recipe
Ingredients
- 1 ¾ cups all-purpose flour spooned and leveled
- ⅔ cup unsweetened cocoa powder
- 1 tablespoon cornstarch
- ½ teaspoon baking powder
- ¼ teaspoon salt
- ½ cup unsalted butter room temperature
- 1 cup granulated sugar
- 2 large eggs room temperature
- 1 teaspoon vanilla extract
- 22 peppermint kisses
Instructions
- Preheat the oven to 350°. Lay out 2 pieces of parchment paper on 2 large cookie sheets. Set aside.
- Combine the flour, cocoa powder, cornstarch, baking powder, and salt in a medium bowl and whisk.
- In a separate large bowl, use an electric hand mixer to mix the butter and sugar until they are fluffy.
- Add the egg and vanilla extract, and continue mixing.
- Pour in the dry ingredients, and mix at low speed until the dough is crumbly and pliable.
- Use a 1 ½ tablespoon cookie scoop to scoop out balls of dough and roll them with your hands until they are smooth, tight balls. Set them on the cookie sheets about 2 inches apart. (I fit 12 cookies on 1 cookie sheet.)
- Press down the center of each cookie slightly with a measuring teaspoon. It’s okay if the dough cracks a little bit.
- Bake the cookies, 1 cookie sheet at a time, for 15 minutes or until they have risen slightly. Press the centers of the cookies down again if they have risen too much while baking.
- Rest the cookies on a cooling rack for about 5 minutes (or until they are still warm but not hot to the touch), then press a peppermint kiss into the center of each cookie.
- Let the cookies cool completely, then serve.
Notes
- Room Temperature: Store in an airtight container on the counter for up to 6 days. Please be mindful that if the cookies are in a warm room or left out in a warm area, the kisses may melt.
- Refrigerator: Store in an airtight container in the refrigerator for up to 10 days. Bring the cookies to room temperature before serving. The cookies may get a little harder at cooler temperatures.
- Freezer: Store in an airtight container in the freezer for up to 3 months. Thaw completely before serving as the cookies will be too hard to eat at cold temperatures.
- Try not to over-mix the egg. Over-mixing may affect how much the cookies rise in the oven.
- If you put the kisses on the cookies too soon after they are out of the oven, they will melt, but if you wait too long, they won’t stick to the cookies. That’s why it’s important to keep an eye on the temperature of the cookies while they are resting. I found that waiting 5-10 minutes is a good amount of time before adding the kisses. They stick to the cookies without melting too much.
- It’s important to use baking powder and not baking soda. Baking powder will help the cookies rise slightly, but baking soda will cause the cookies to spread and lose their shape.
Nutrition
Love This Recipe?
Make sure to share it with me on Instagram @andreasnotebook and follow on Pinterest @andreasnotebook for more!





Comments & Reviews
Oshino Shinobu says
Excellent! Made them for a party.
Adam Ohara says
Made these for a party. They were a hit.
valaika says
I’ve never had cookies like this but they looked cute so I made them. Fun treat for the kids.
Ken says
I couldn’t find the candy cane kisses but there were mint ones so I used those and they were very good.