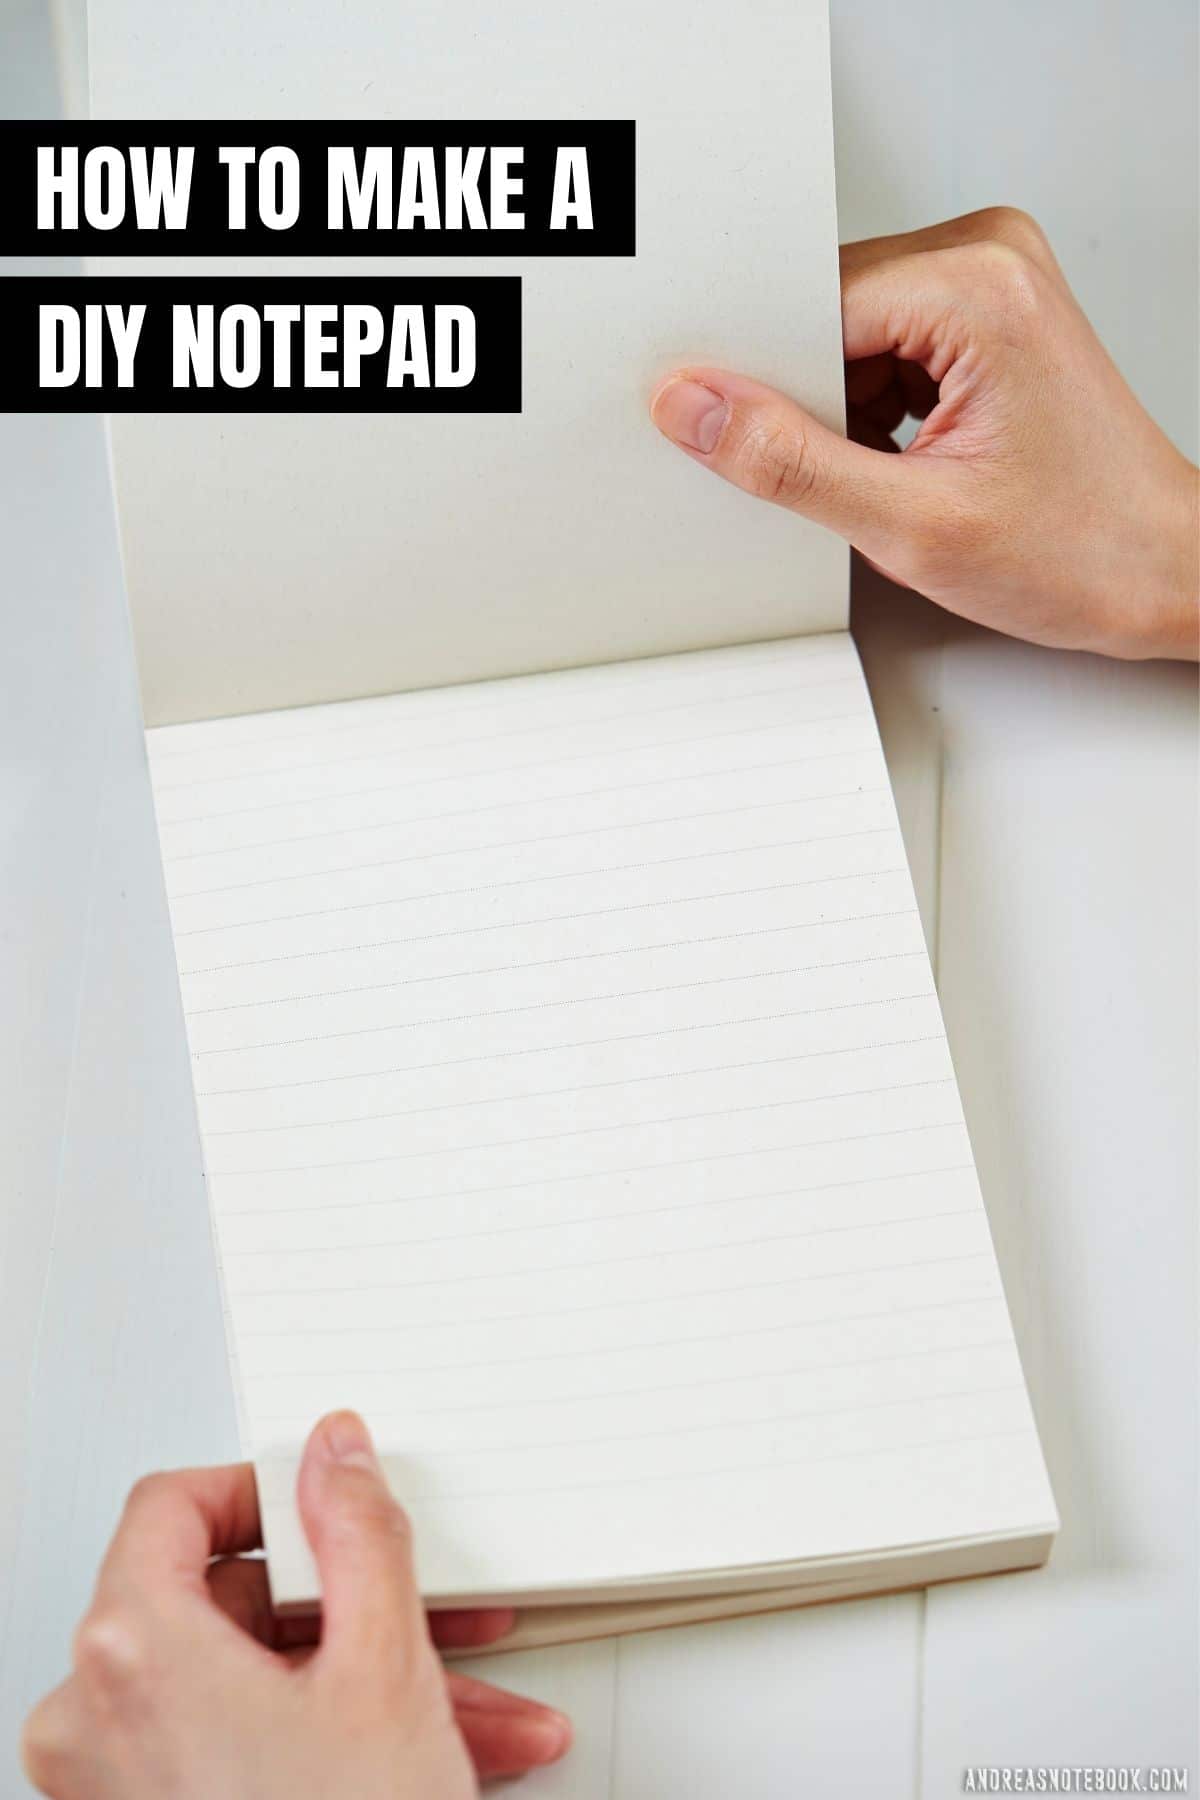
Have you ever wanted to make your own DIY notepad? You can use scrap paper or print some cute sheets to pad together. These are fun if you want to make your own lunchbox notes or grocery shopping lists. I’ll show you how to make a notepad the easy way. You’ll need some paper, glue for binding notepads (padding compound) and you can make as many notepads as you want.
These also make really fun gifts. Put one in a gift basket for your grandparents or a teacher.
DIY Notepad Supplies
- Paper: Reuse paper or print out some cute to-do list or coloring pages.
- 2 rulers: You can use 2 wood blocks or shingles as well.
- 2 or 3 binder clips: You can also use clamps if you are using wood blocks.
- Paintbrush: Use for painting on glue for binding notepads.
- Padding compound: Buy glue for binding, or notebook adhesive. Professional padding compound makes great notepads with the perfect binding and cleans up easily. You’ll find a lot of tutorials will use a homemade glue but this is one area you should just buy the real product.
- Cardboard or chipboard: You can buy it or use an old cereal box.
- Paper cutter: This is an optional tool to cut your paper evenly.
How To Make A Notepad
Time needed: 5 minutes.
Learn how to make a notepad in about 5 minutes plus drying time!
- Cut your paper and backing to the same size.
Using a paper cutter is best to make it uniform. See the video below for other ways to cut paper.
- Straighten your paper and backing along the edge you are going to bind.
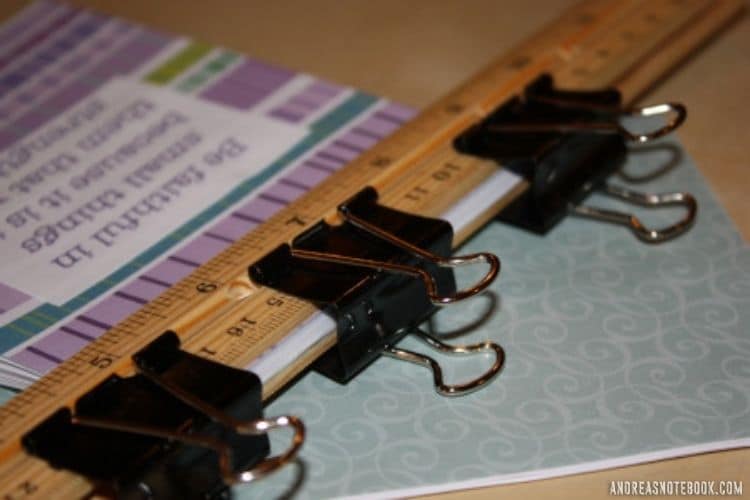
- Put a ruler on either side of the stack of paper along the edge you are going to bind with glue for binding notepads.
Line the ruler up with the edge to make painting the notebook adhesive easier.
- Secure ends of rulers with binder clips.
I like to put the clips right at the ends of the paper stack to have the easiest access to the edge of the notepad.
- Use a small paintbrush or foam brush to paint a layer of padding compound on the edge of the paper.
Apply a thin layer but make sure it is fully coated.
- Secure with another binder clip in the middle.
You can use as many binder clips as you want. The more the merrier.
- Allow the notepad to dry. Remove binder clips and rulers.
Drying time varies.
Frequently Asked Questions
I recommend using a padding compound especially made for making notepads. You can also use rubber cement. I don’t recommend using white craft glue.
Yes! Making your own sticky notes is easy. Just use this tutorial for making a notepad. Use a repositionable glue stick to swipe along the top of each of the sheets in the notepad. Stack them together on top of the backing cardboard, glue side down.
More DIY Projects You’ll Enjoy
Watch this YouTube video to see how someone else makes these notepads. As mentioned above, I don’t recommend using the glue she uses but you could always try and see what you think!


Comments & Reviews
april says
I love making notepads. Such a great for-no-reason kind of gift. Quick, cheap, easy, and personal!
Colleen says
Love it!