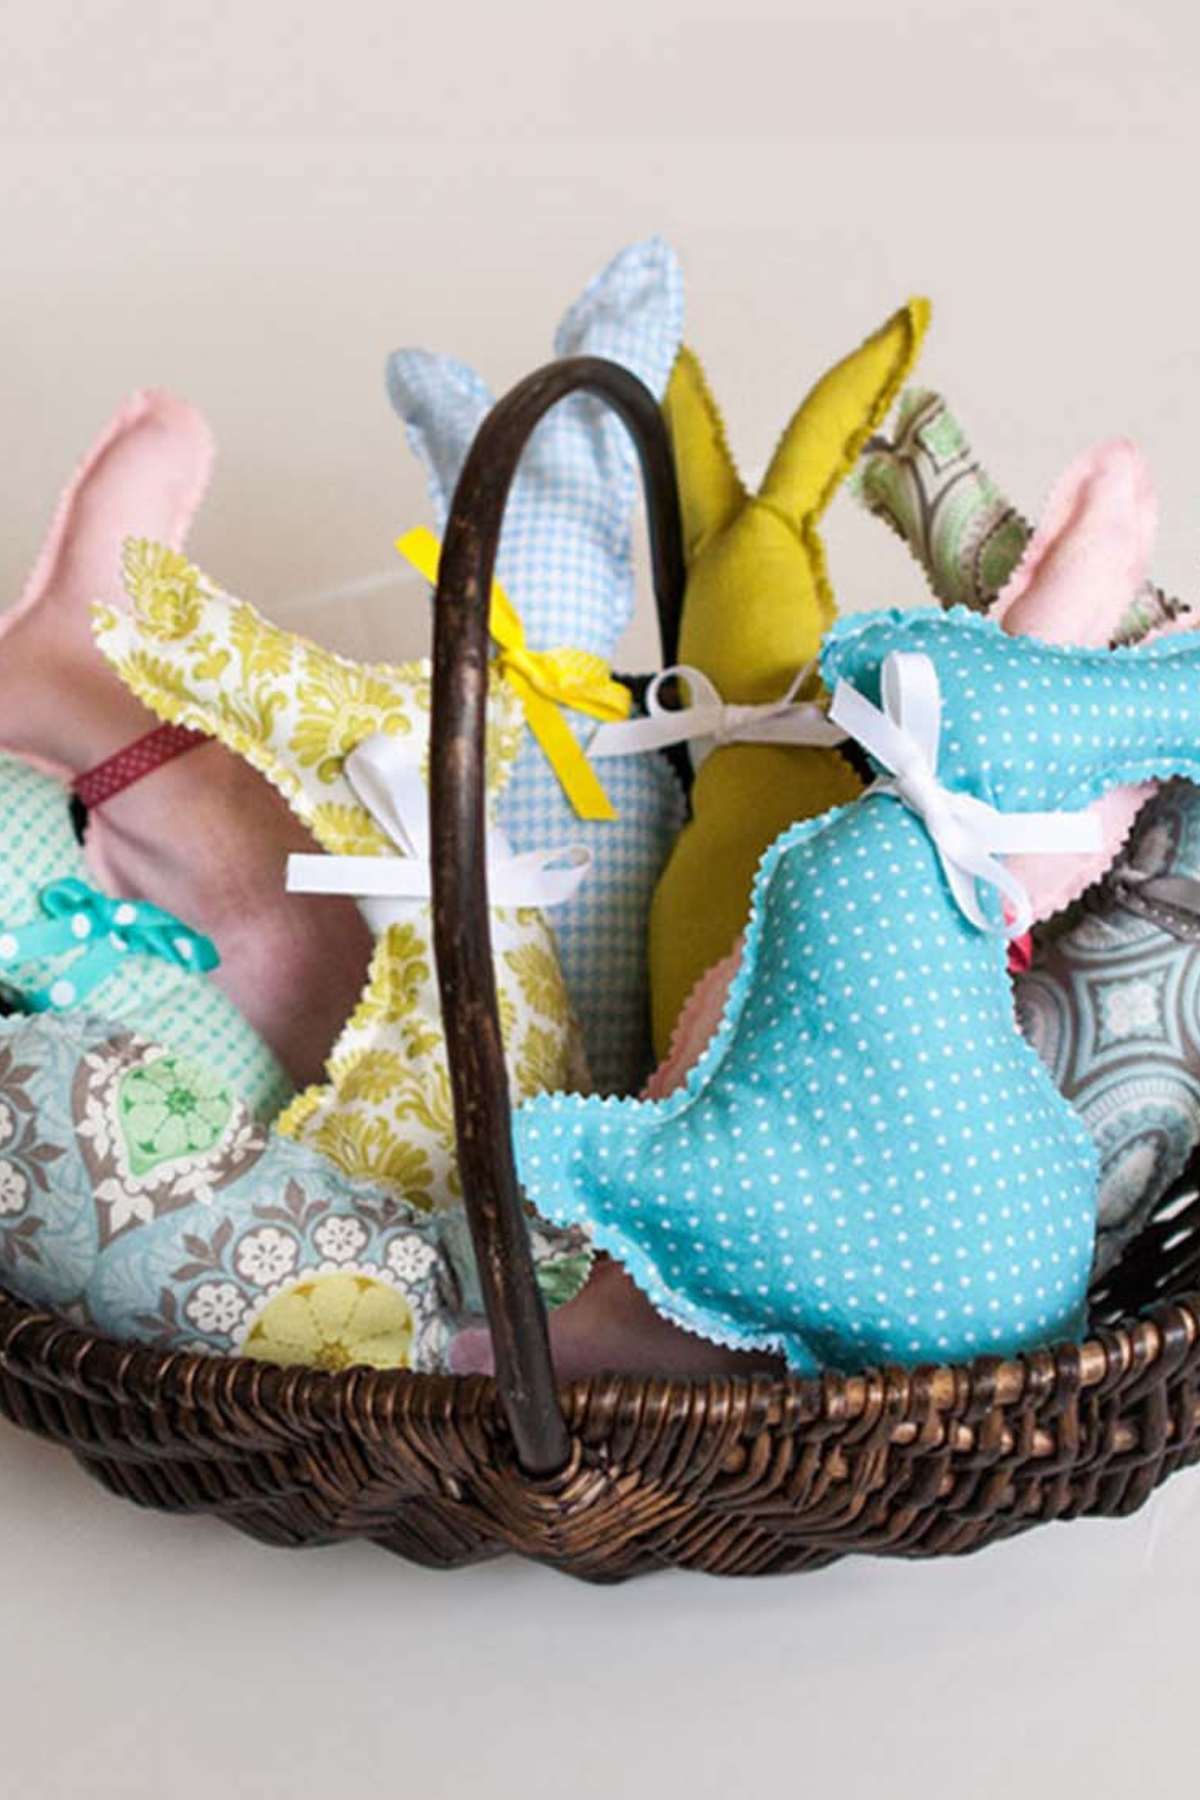
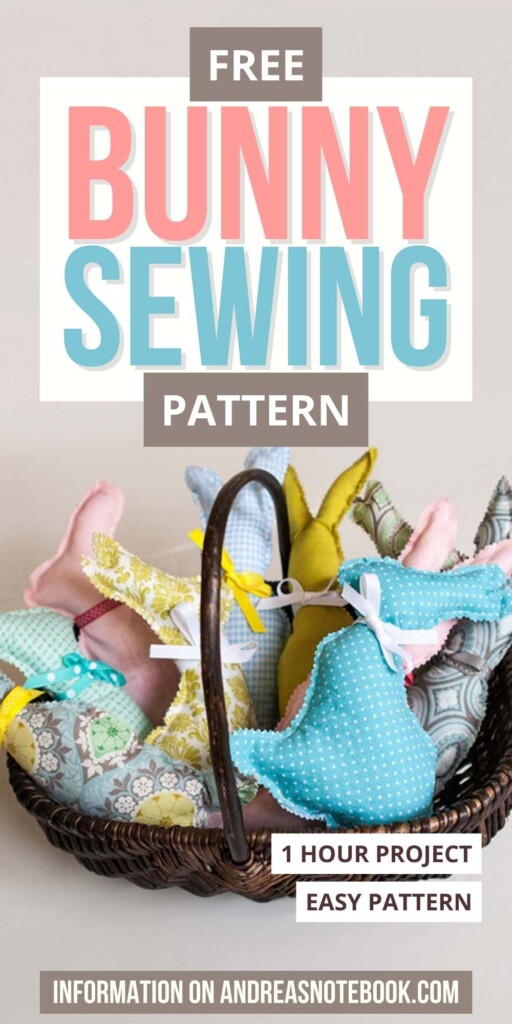
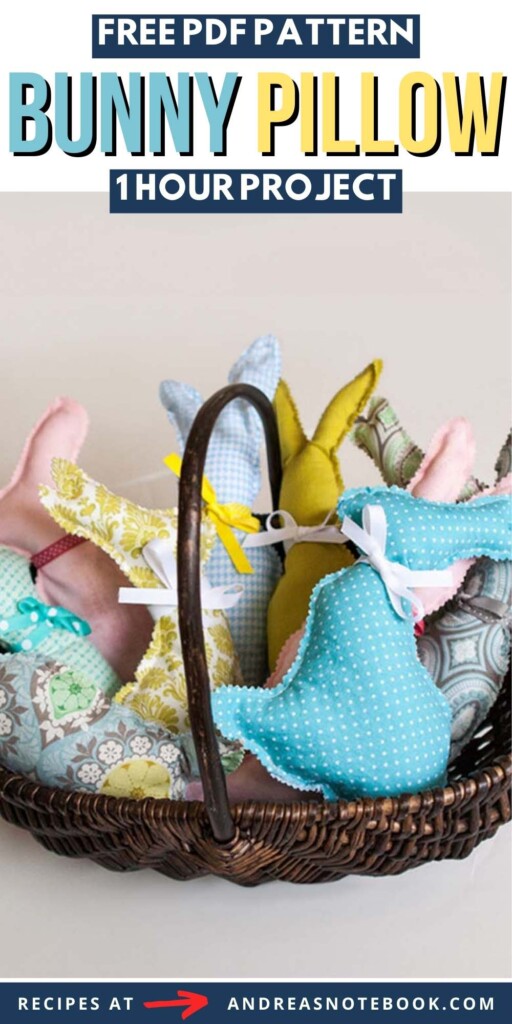
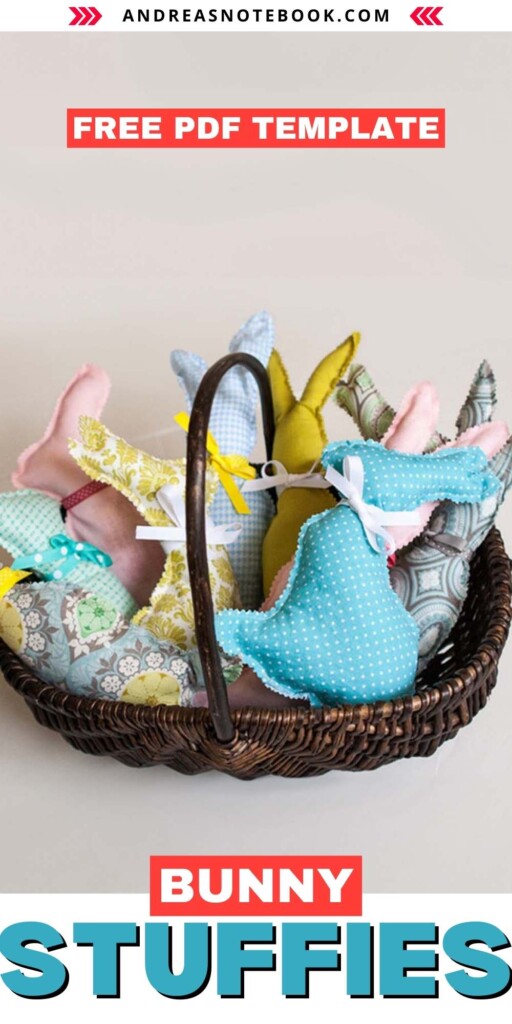
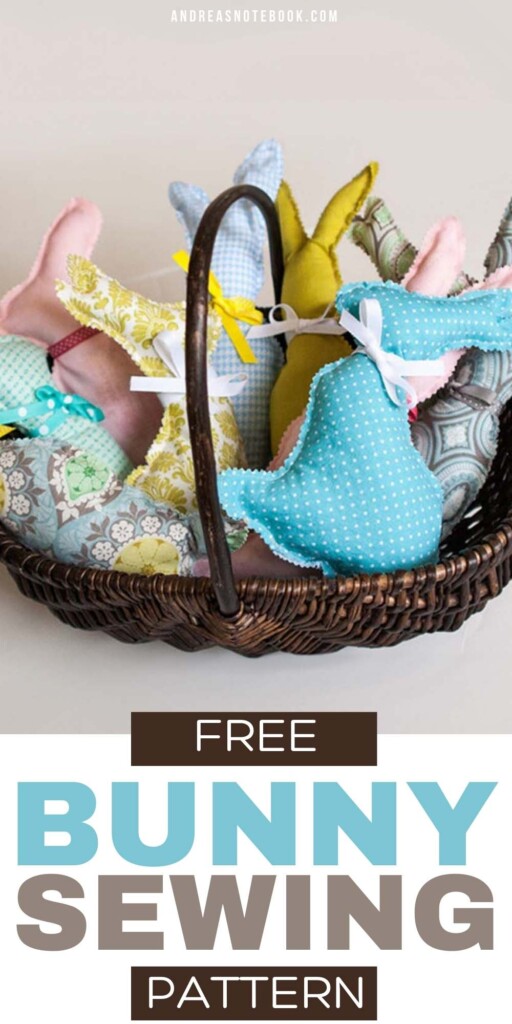
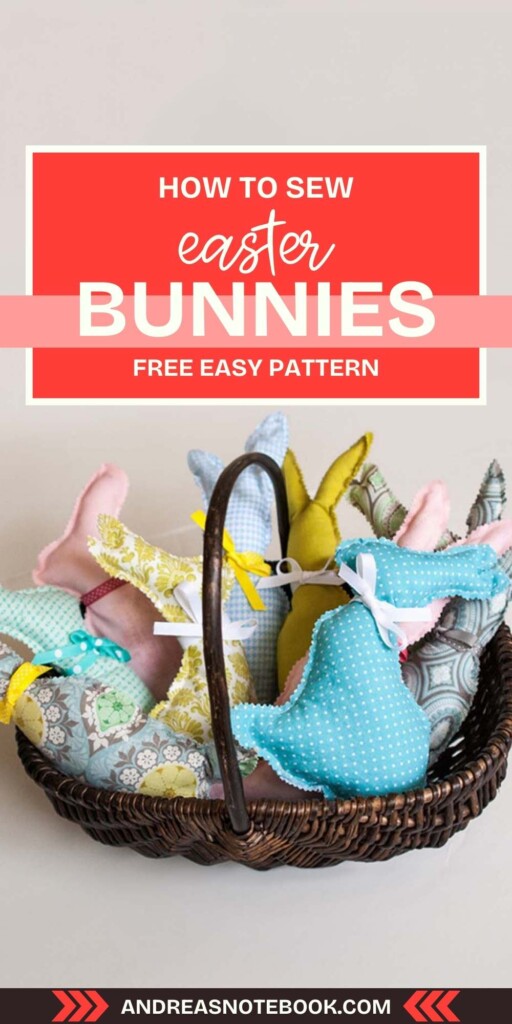
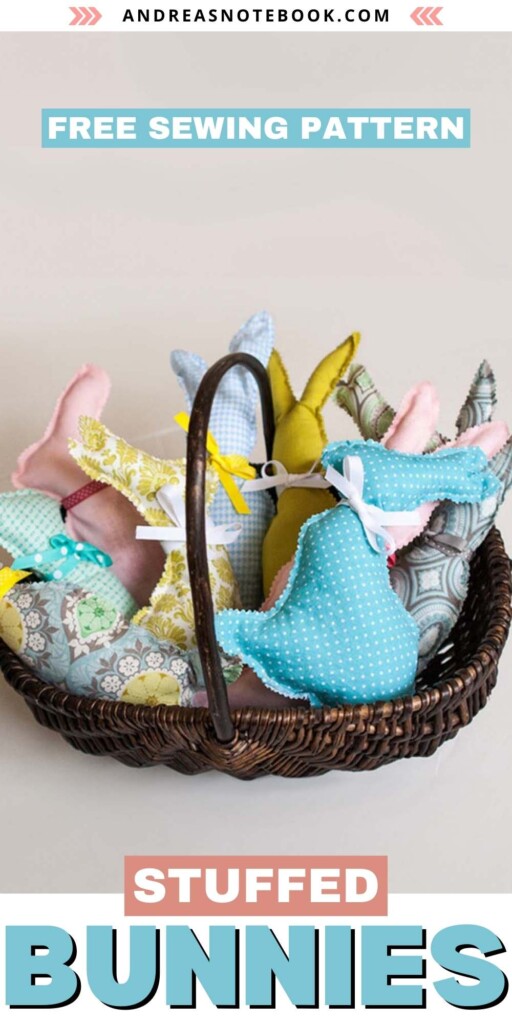
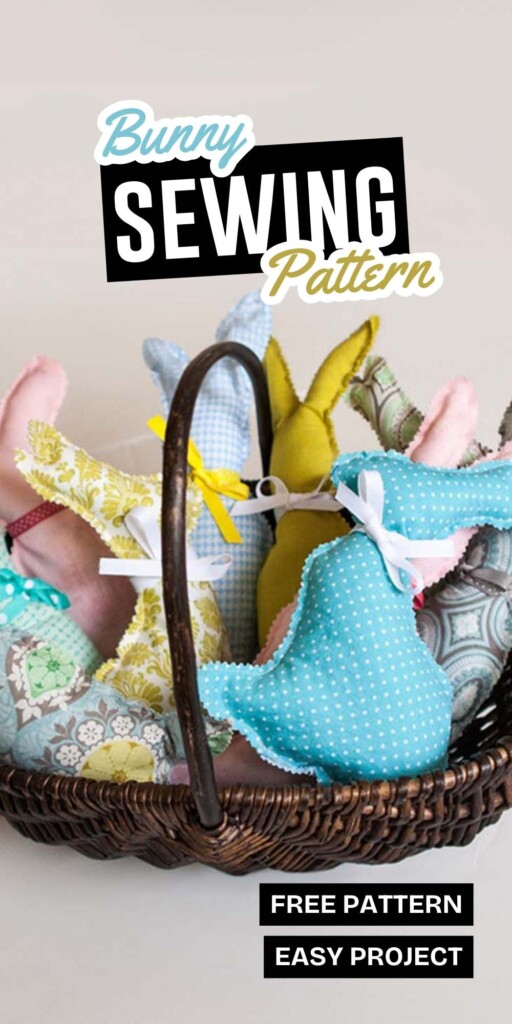
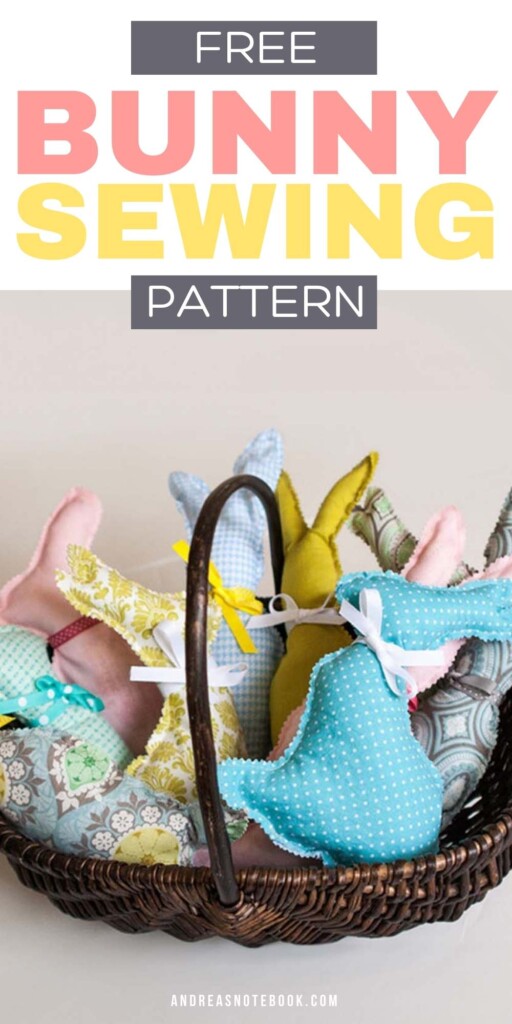
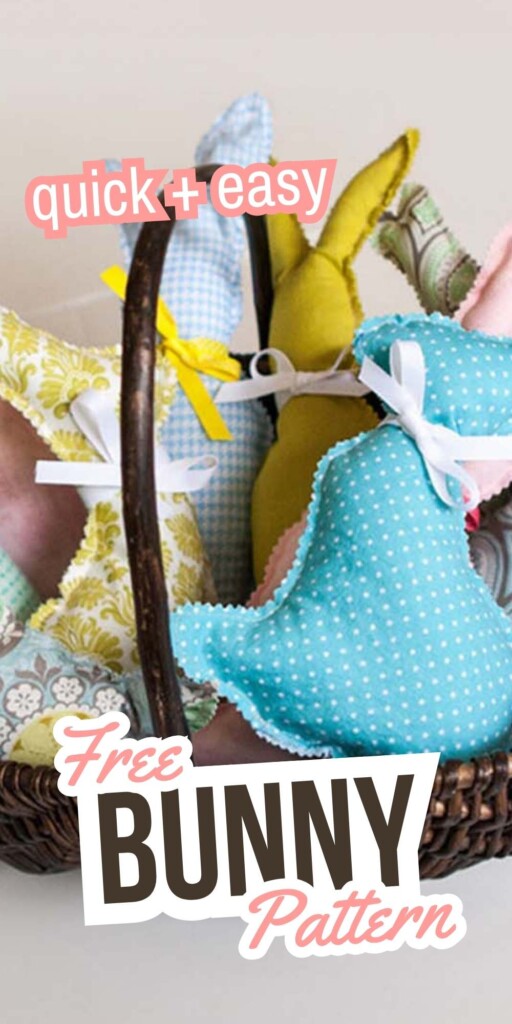
Looking for a quick and easy project to sew for Easter? Try this free stuffed bunny sewing pattern! These cute Easter bunny pillows can be sewn up in a flash using your fabric scraps! They’re so simple and cute, you can even give a few as gifts to your friends! Download the free PDF sewing pattern and follow the easy picture tutorial.
If you’re looking for more Easter crafts, try these 11 Easter Chick and Bunny Sewing Patterns or 30+ DIY Bunny Bags.
Why You’ll Love This Easy Bunny Pattern
Safe For Babies: There are no bead eyes or button eyes on the bunny face or little parts that a baby can choke on. It’s soft and good for a cuddle. This bunny doll makes great Easter gifts for babies.
Quick To Sew: Even beginning sewers will have this quick project completed within an hour.
Easy Pattern: As far as free sewing patterns go, this one couldn’t be easier. The free bunny pattern template is easy to use and the bunny pillow is easy to sew.
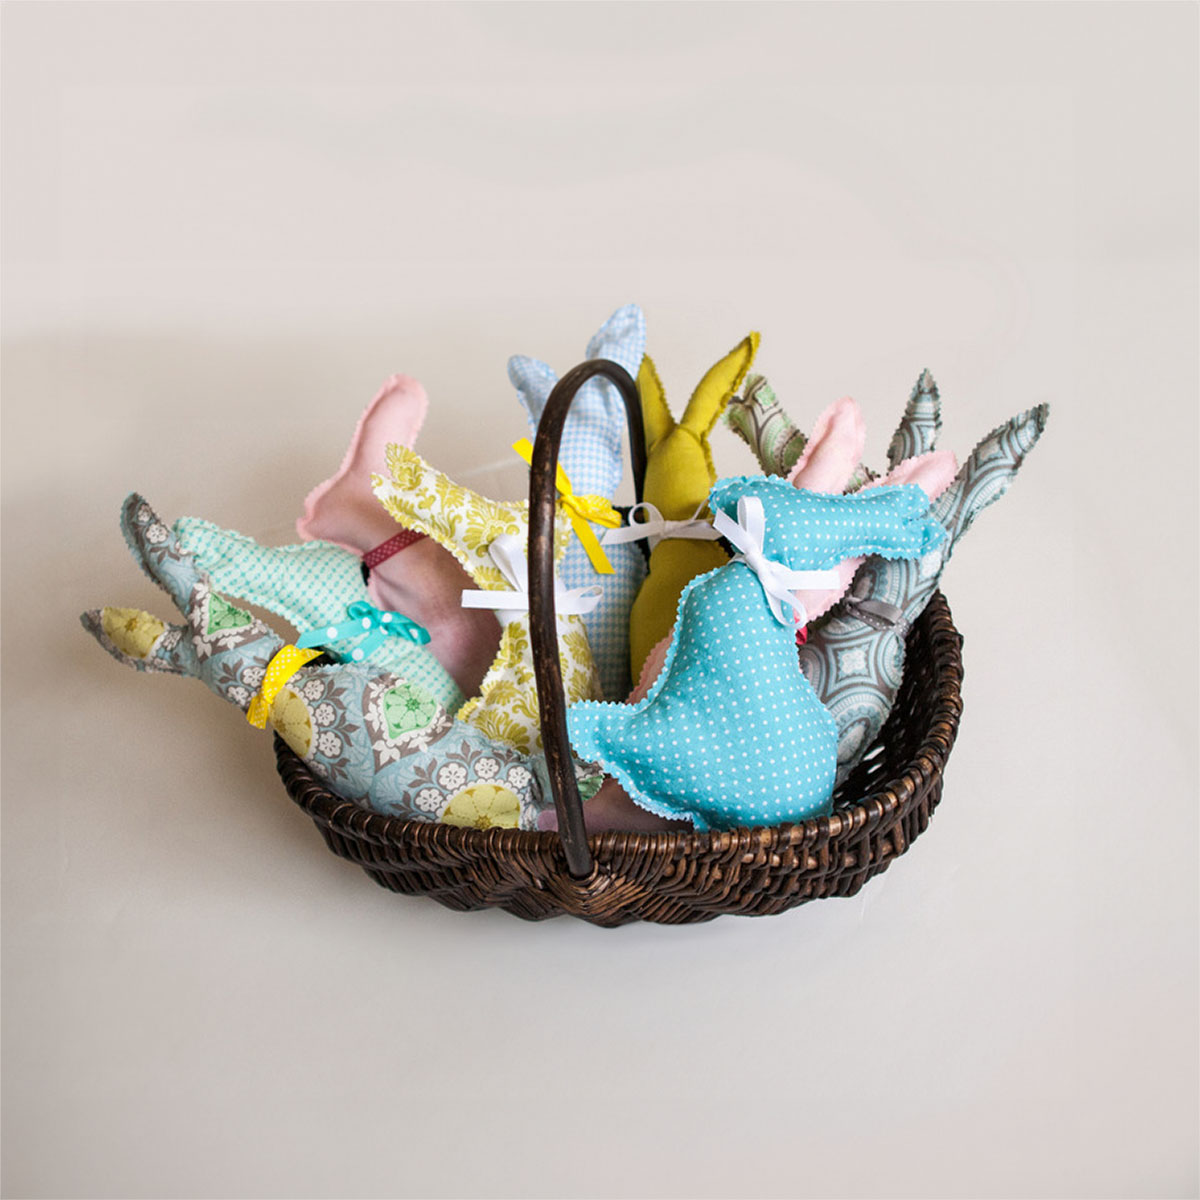
These bunny pillows make perfect Easter basket stuffers, but also are a fun way to add some Easter spirit to your home decor. Sew several in fun, coordinating fabrics and throw a few on the couch, create a whimsical centerpiece…endless possibilities!
Sewing Glossary
Seam Allowance: The area between the edge of the fabric and the stitching line. This space is necessary for constructing the garment or project without compromising its size. Seam allowances can vary, but a common measurement is ⅝ inch for garments.
Right Sides: Refers to the outer or printed side of the fabric, which will be visible in the finished project. When sewing pieces together, often place the right sides facing each other to hide the seams inside the finished work.
Wrong Sides: This is the reverse side of the fabric, opposite the right or printed side. It is usually less vibrant and not meant to be shown in the final product. When instructions mention the wrong side, it means this side should be facing you or another piece of fabric in a specific step.
Running Stitch: A basic hand-sewing stitch that weaves in and out of the fabric, creating a straight line. This stitch is used for seams, gathering, or basting and is characterized by its quick and easy application.
Fat Quarter: A term used in quilting and sewing to describe a specific cut of fabric. It is a quarter-yard cut that measures approximately 18 inches by 22 inches, larger than a standard quarter-yard cut from a bolt. Fat quarters are popular for small sewing projects, quilting, or any project that requires smaller pieces of various fabrics.
More Free Bunny Sewing Patterns
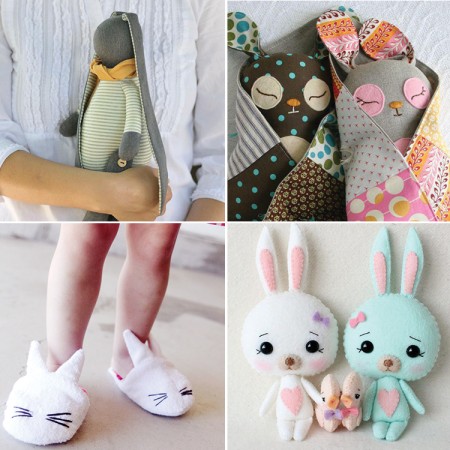
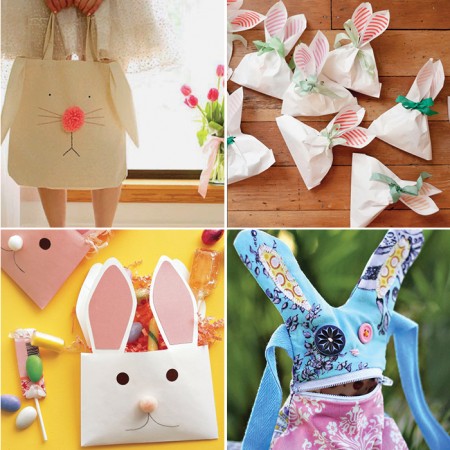
Looking for a great idea? Sew one of these little bunny plush toys or bunny bags! Add them to Easter baskets!
Bunny Sewing Pattern Tutorial
Sew up a cute bunny with your sewing machine (or sew by hand!) as an Easter gift. Follow the detailed instructions to whip up your Easter bunny softies. This simple bunny should take you about 1 hour to complete, less if you’re an experienced sewer.
Sewing Pattern by Sewing Mama RaeAnna
Materials List
Gather your materials for your little chubby Easter bunnies. Links to amazon are affiliate links. I recommend purchasing items at your local sewing and craft store.
- Free Pattern: Free Bunny Template Printable Pattern
- Fabric: Scraps or a fat quarter is all you need for these bunnies. You will need 2 pieces 16″ H x 7″ W for skinny bunny or 13″ H x 9″ W for side profile bunny.
- Fabric Marker: Water soluble fabric markers are great for writing on fabric. However, you can also use a regular marker because you’ll be trimming off the pen mark.
- Stuffing: Any type of poly-fil or fiber-fil will work. You can even reuse stuffing from an old plush toy.
- Pinking Shears: Pinking shears, also known as zig-zag scissors, trim the edges of the fabric after sewing the seams. It’s a cute little detail that will also prevent the fabric from fraying.
Fabric Recommendations: Use quilting fabric for best results. You could also use wool felt, a thin fleece fabric or flannel fabric. Do not use a stretchy knit fabric unless you have experience sewing with knit.
Step-by-Step Instructions
Once you’ve gathered your supplies it’s time to start sewing. Set your timer, this won’t take you more than an hour!
Print Pattern
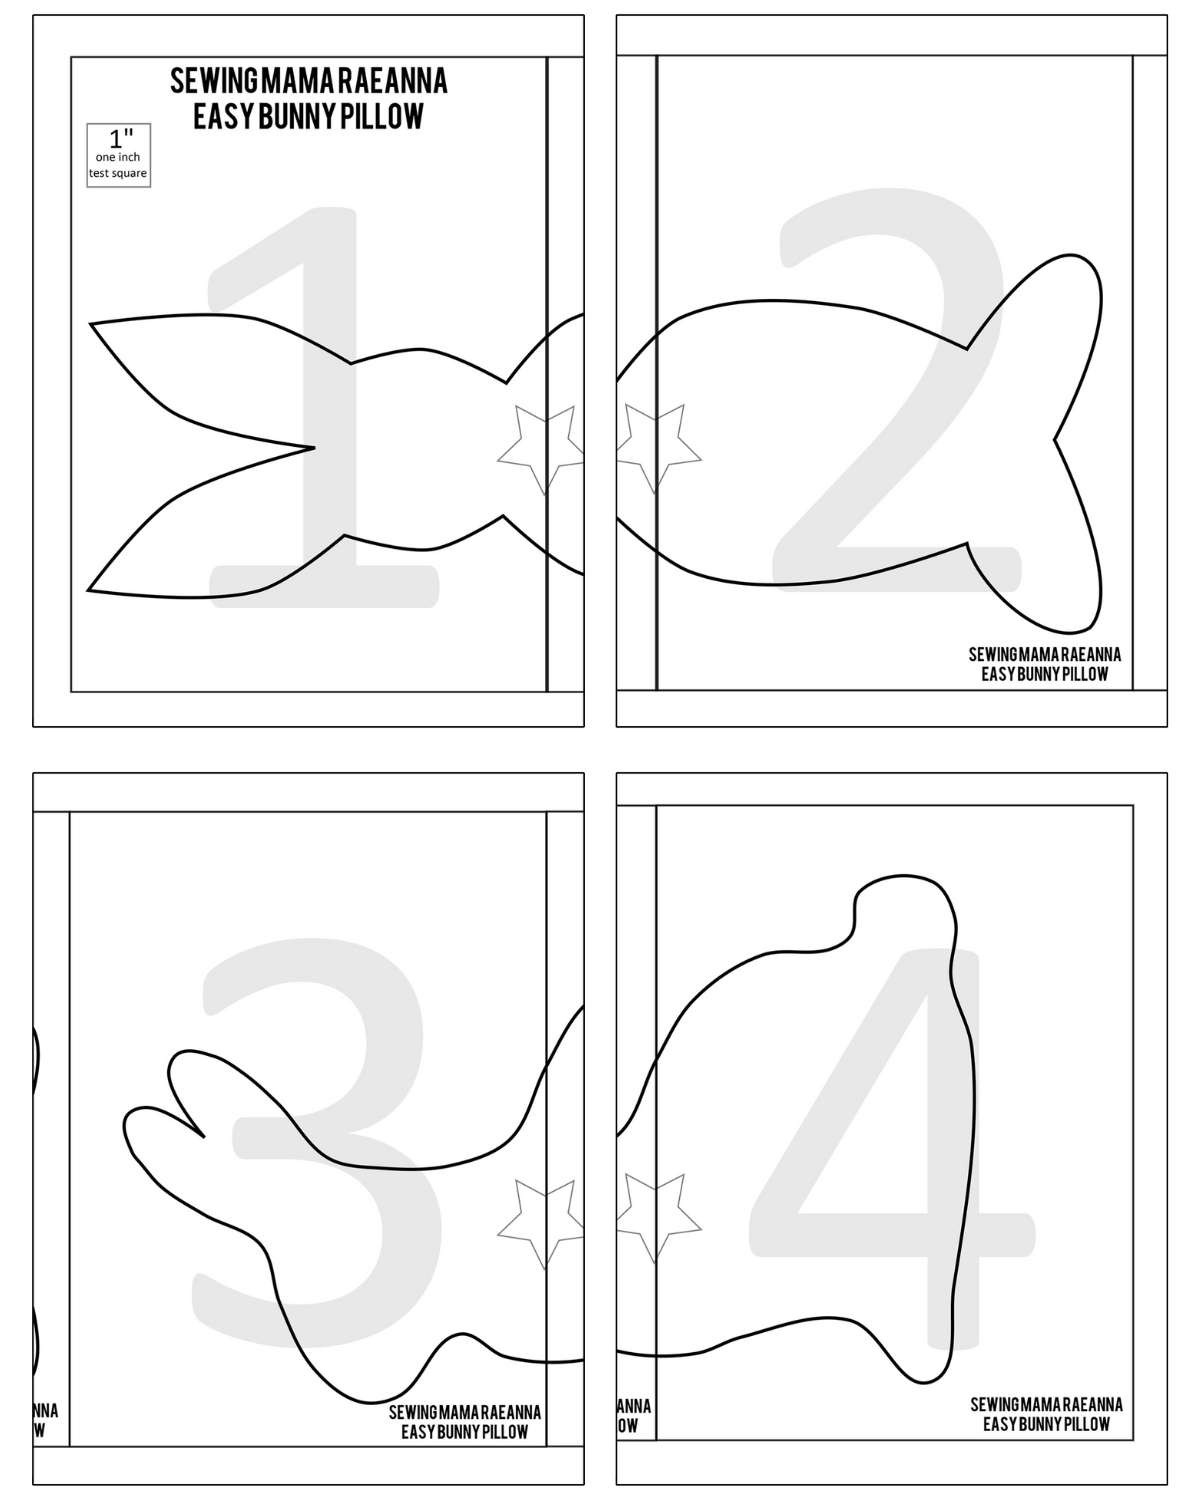
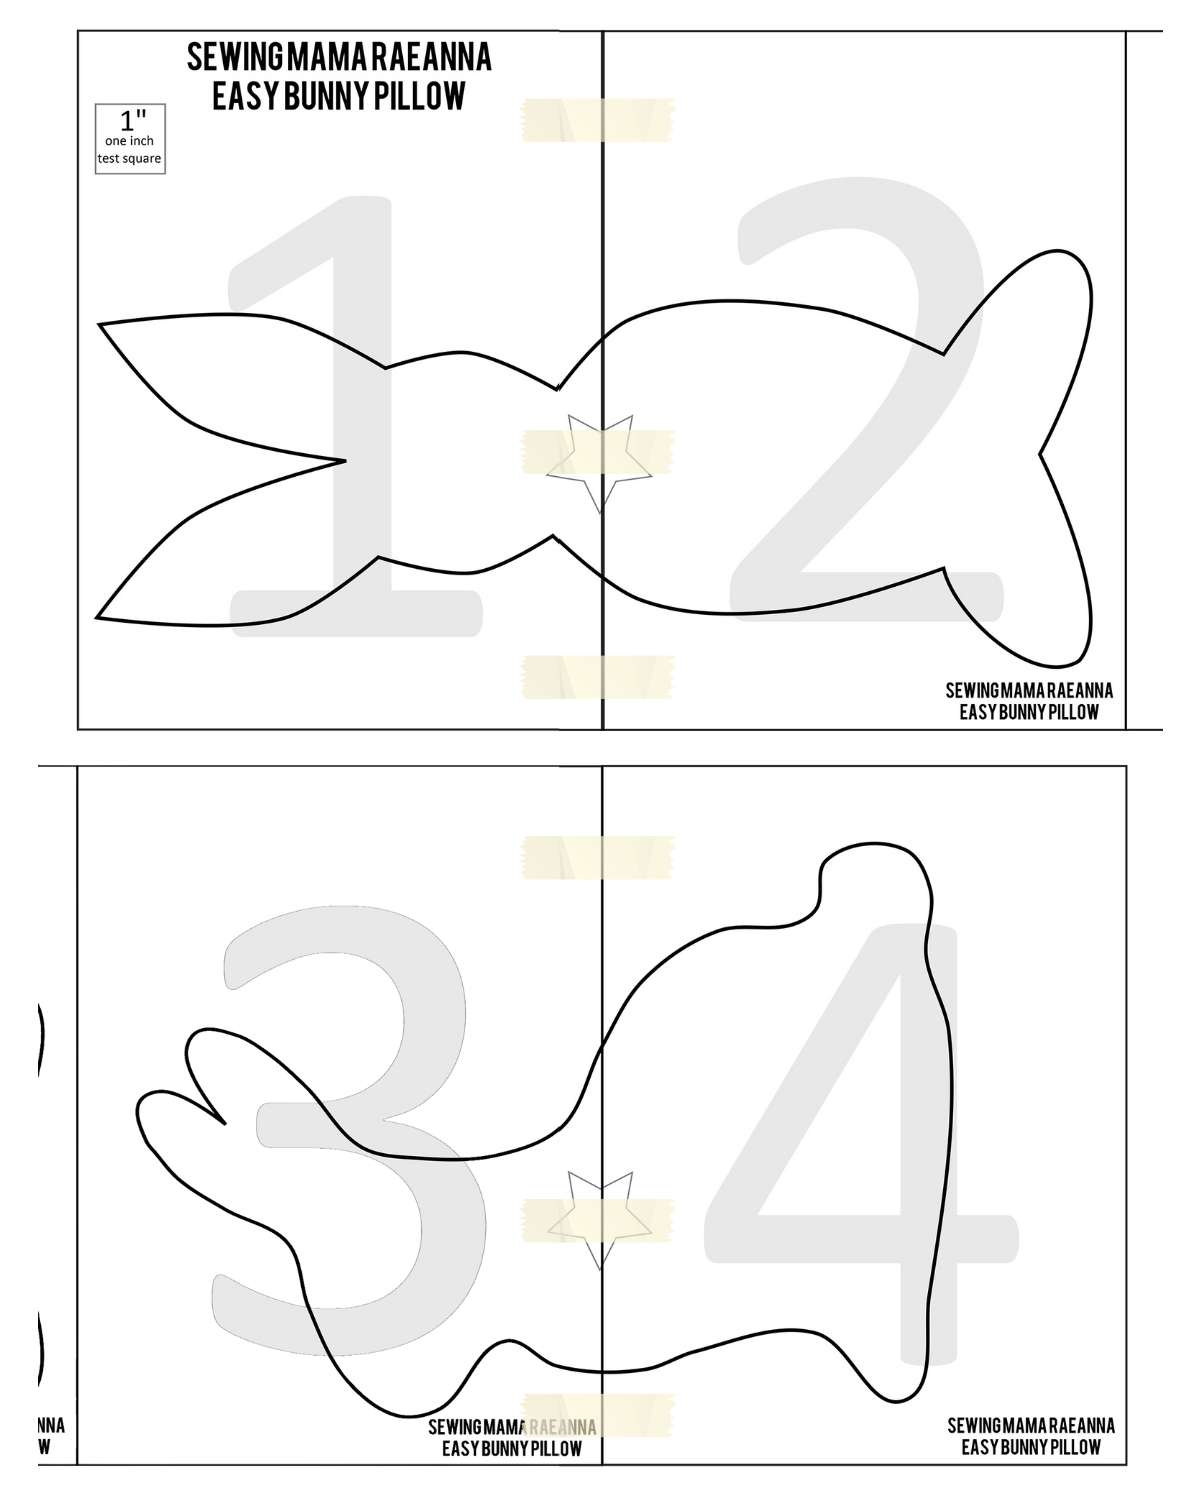
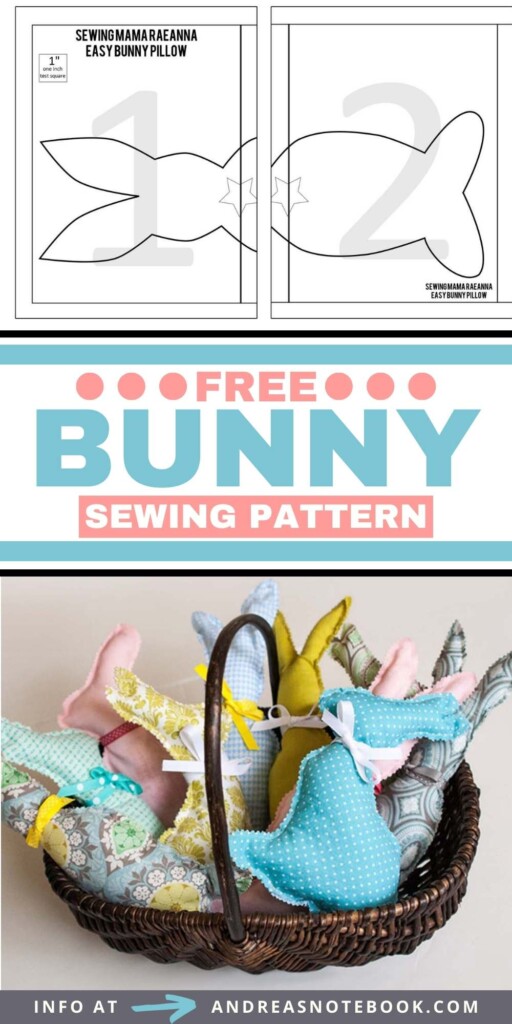
Download the pattern piece then print the pieces full size. There are downloadable PDF patterns in 2 different styles of bunny. The skinny bunny uses pages 1 and 2. The side view bunny uses pages 3 and 4.
Cut Out Pattern
Line up bunny pattern pieces and tape pages together. Using paper scissors, cut along the outline of the bunny pattern.
Trace Pattern on Fabric
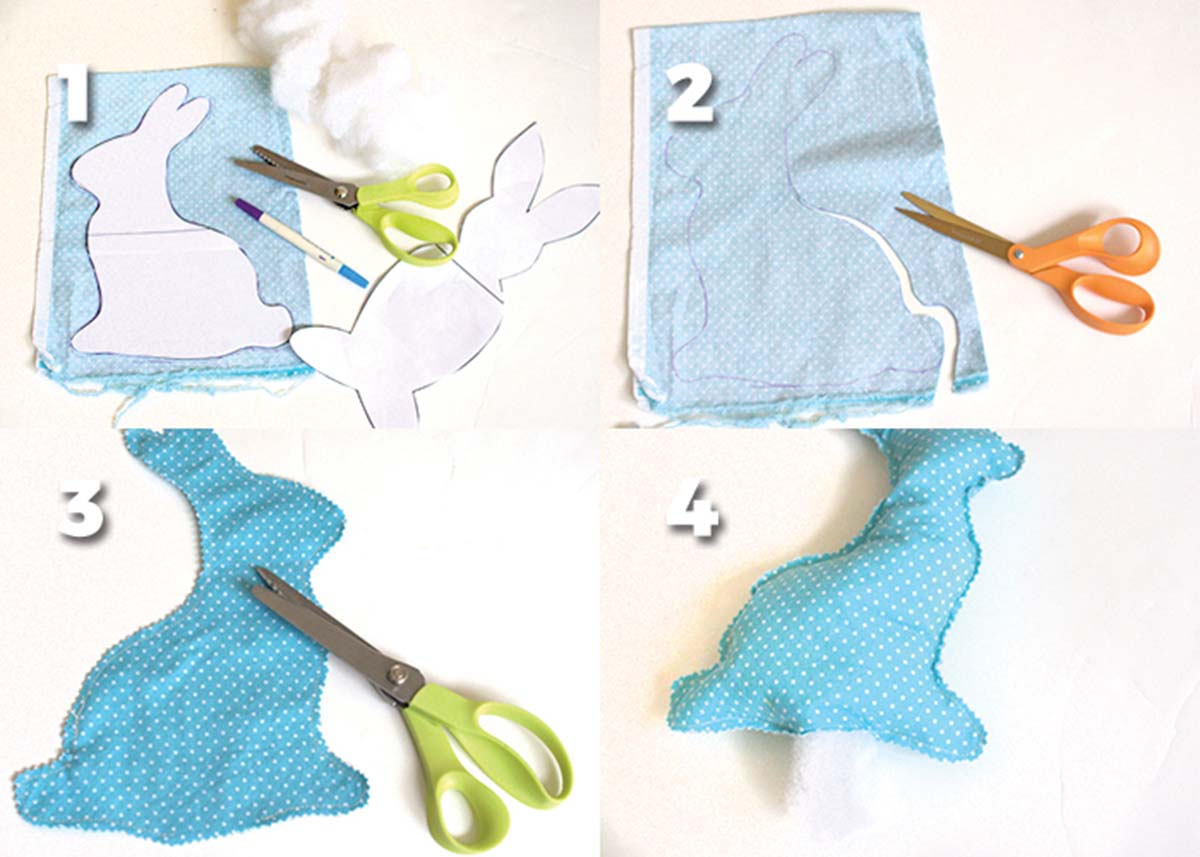
Place fabric right sides together. Place pattern piece on fabric and trace with a fabric marker. (image 1)
Cut Out Fabric
Cut out fabric bunny pieces with fabric scissors. If you used a non-dissolvable marker, cut just inside the line. If you used a dissolvable fabric marker you can mist the fabric with water when you’re finished and the mark will disappear. (image 2)
Sew Outside of Bunny
Place fabric wrong sides together and sew ¼″ from edge all along the rabbit, leaving a 2″ opening to stuff. It’s easiest to leave an opening on the bottom or a straight edge so it’s easier to close after stuffing. Trim raw edges with pinking shears. (image 3)
Finish Bunny
Stuff bunny with filling. More stuffing will make a firmer bunny. Use a blunt chopstick or pencil to push stuffing into the ears. Stitch the opening closed by hand using a running stitch or sew carefully with a sewing machine. (image 4)
Optional: Finish with a ribbon bow on the finished bunny ears or bunny neck. Hand sew it into place if it will be a gift for a baby.
More Easter Basket Filler Ideas
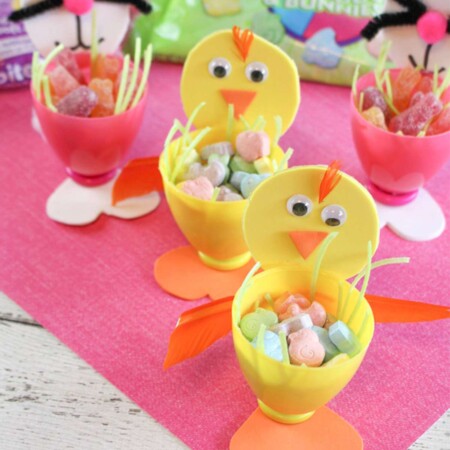
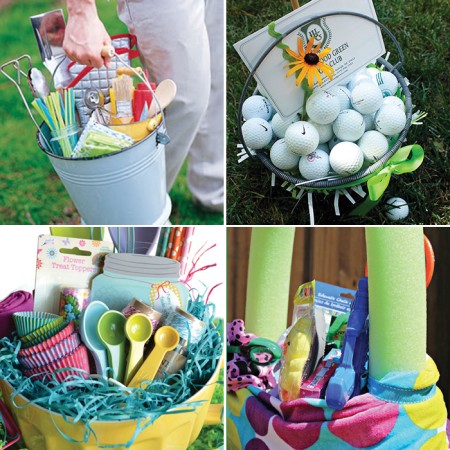
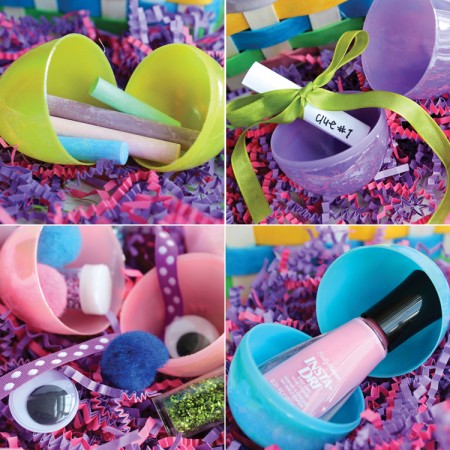
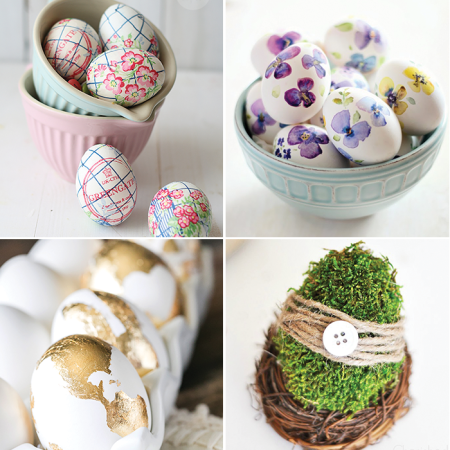
Easter time is a great time to put together a fun basket for kids or friends. Try one of these Easter basket ideas or Easter egg projects.
Stuffed Bunny Sewing Pattern
Tools
- sewing machine
Supplies
- printable pattern
- 2 pieces fabric 16"x7" for skinny bunny, 13"x9" for side profile bunny
- fabric marking pen
- stuffing
- pinking shears
- thread
Instructions
- Print bunny pattern. Tape pattern pieces together then cut around the bunny outline.
- Place two fabric pieces right sides together. Place the cut out bunny pattern on top of the wrong side of the fabric. Trace the bunny onto the fabric using a fabric pen or sharpie. Cut along the traced lines.
- Turn fabric so their right sides are facing each other. Pin edges. Using a ¼" seam allowance, sew along the edge of the rabbit, leaving a 2" opening.
- Trim the edges of the rabbit with pinking shears.
- Stuff the bunning with filling.
- Stitch the opening closed.
- Finish by adding a ribbon bow.
Love This Project?
Make sure to share it with me on Instagram @andreasnotebook and follow on Pinterest @andreasnotebook for more!
Comments & Reviews
Veronica Lovvorn says
So cute and kitschy!
Veronica Lovvorn says
Oops! I really meant they are so cute and shabby chic/retro looking! I need to make a few of these for Easter for sure.
RaeAnna Goss says
Thank you friend!!! They look so cute all bundled together in the basket – I’m going to be sad to see them go at the craft fair! haha!
Gail says
Love it.. I just finished a pattern my son made for me.. I will have to do some of these too. Love the colors.
Amy says
So, so cute! Can’t wait to make a few! Thank you for also including a pattern ~ Amy