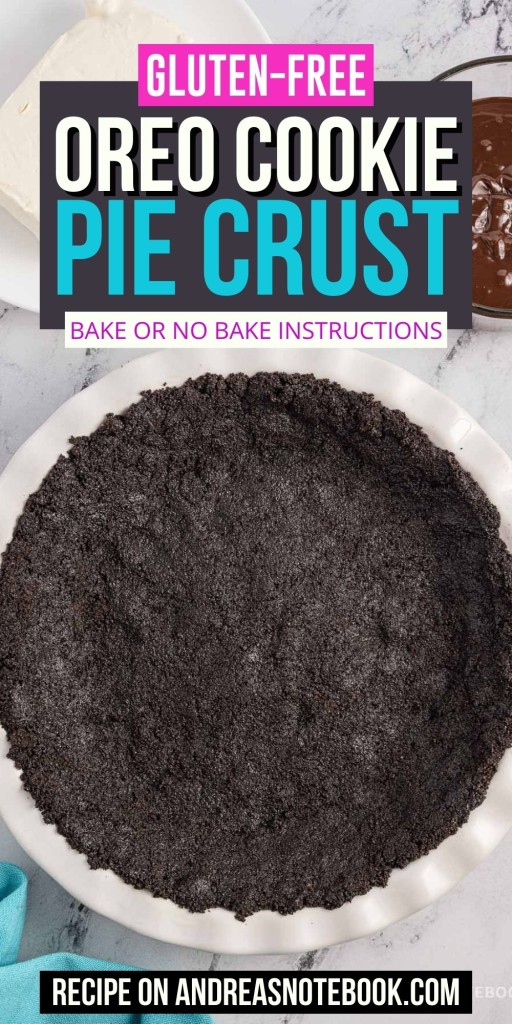
A chocolate Oreo pie crust is a great base for many kinds of pies and can be made gluten-free, if you prefer. It’s one of the easiest pie crusts and can be made as a no bake pie crust or you can bake it. There are benefits to both methods but you can’t beat how quick it is to make this easy Oreo cookie pie crust recipe either way!
Why You’ll Love This Easy Oreo Pie Crust
- Flavor: Chocolatey cookie crust tastes like Oreos. This Oreo crust recipe from scratch tastes so much better than the pre-made crusts you can buy at the grocery store.
- Time: Prep time takes only 5 minutes!
- Equipment: A food processor is recommended though instructions for making it without a food processor are included.
- Diet: Vegetarian, Gluten Free (optional)
TRY THIS: Use this pie crust to make this silky No Bake Chocolate Mint Pie.
Ingredients
For a full printable no bake chocolate pie crust ingredients list and instructions are in the recipe card below.
- 2 cups chocolate Oreo crumbs (about 24 cookies). Substitute for golden oreos, mint oreos or any type of sandwich cookies or flavor Oreo you prefer.
- 4 tablespoons salted butter, melted. If you use unsalted butter, add a pinch of salt to the melted butter and stir together to combine.
How To Make A Gluten Free Oreo Pie Crust
To make a gluten-free oreo pie crust just substitute the gluten free Oreos for the regular Oreos. Gluten free foods are usually more likely to crumble and fall apart but luckily that’s a feature by design of the cookie pie crust! The gluten free Oreos will behave the same as the regular Oreos in this recipe.
This easy Oreo pie crust recipe has the same instructions whether you use gluten free Oreos or regular oreos (or Glutino sandwich crackers). You can freeze a gluten-free chocolate pie crust or bake crust as directed below. As long as your pie filling is gluten-free, you can use this gluten-free pie crust to make a fully gluten-free pie.
Please note allergen content on gluten-free Oreos product packaging. Currently, these chocolate sandwich cookies are made with rice flour, oat flour, cocoa powder, cornstarch, xanthan gum, soy lecithin, tapioca starch, sugars, oils, and more. They are labeled as certified gluten free.
Instructions
Full step-by-step Oreo cookie crust instructions are in the recipe card below. You can print or save the chocolate crust recipe to Pinterest for later.
How To Crush Oreo Cookies. Do not separate the cookie from the stuff in the middle. Crush cookies into fine crumbs using one of these easy methods:
- Food processor: This is the recommended method for making Oreo cookie crumbs. Put cookies into a food processor and pulse until all the cookies are fine crumbs and no chunks are left. Measure cookie crumbs in a measuring cup to make sure they measure 2 cups of cookie crumbs. Return the cookie crumbs in the food processor for the next step.
- Ziploc and rolling pin: Place Oreos into a gallon ziploc bag or other food safe plastic bag. Seal the bag. Use a rolling pin to gently roll across the cookies until they’re all crumbs. If you’re too rough, holes will form in the bag. Make sure there are no chunks left. Large chunks left in the crumbs can make a less sturdy crust. Measure cookie crumbs in a measuring cup to make sure they measure 2 cups of cookie crumbs. Pour crumbs into a medium bowl or large mixing bowl.
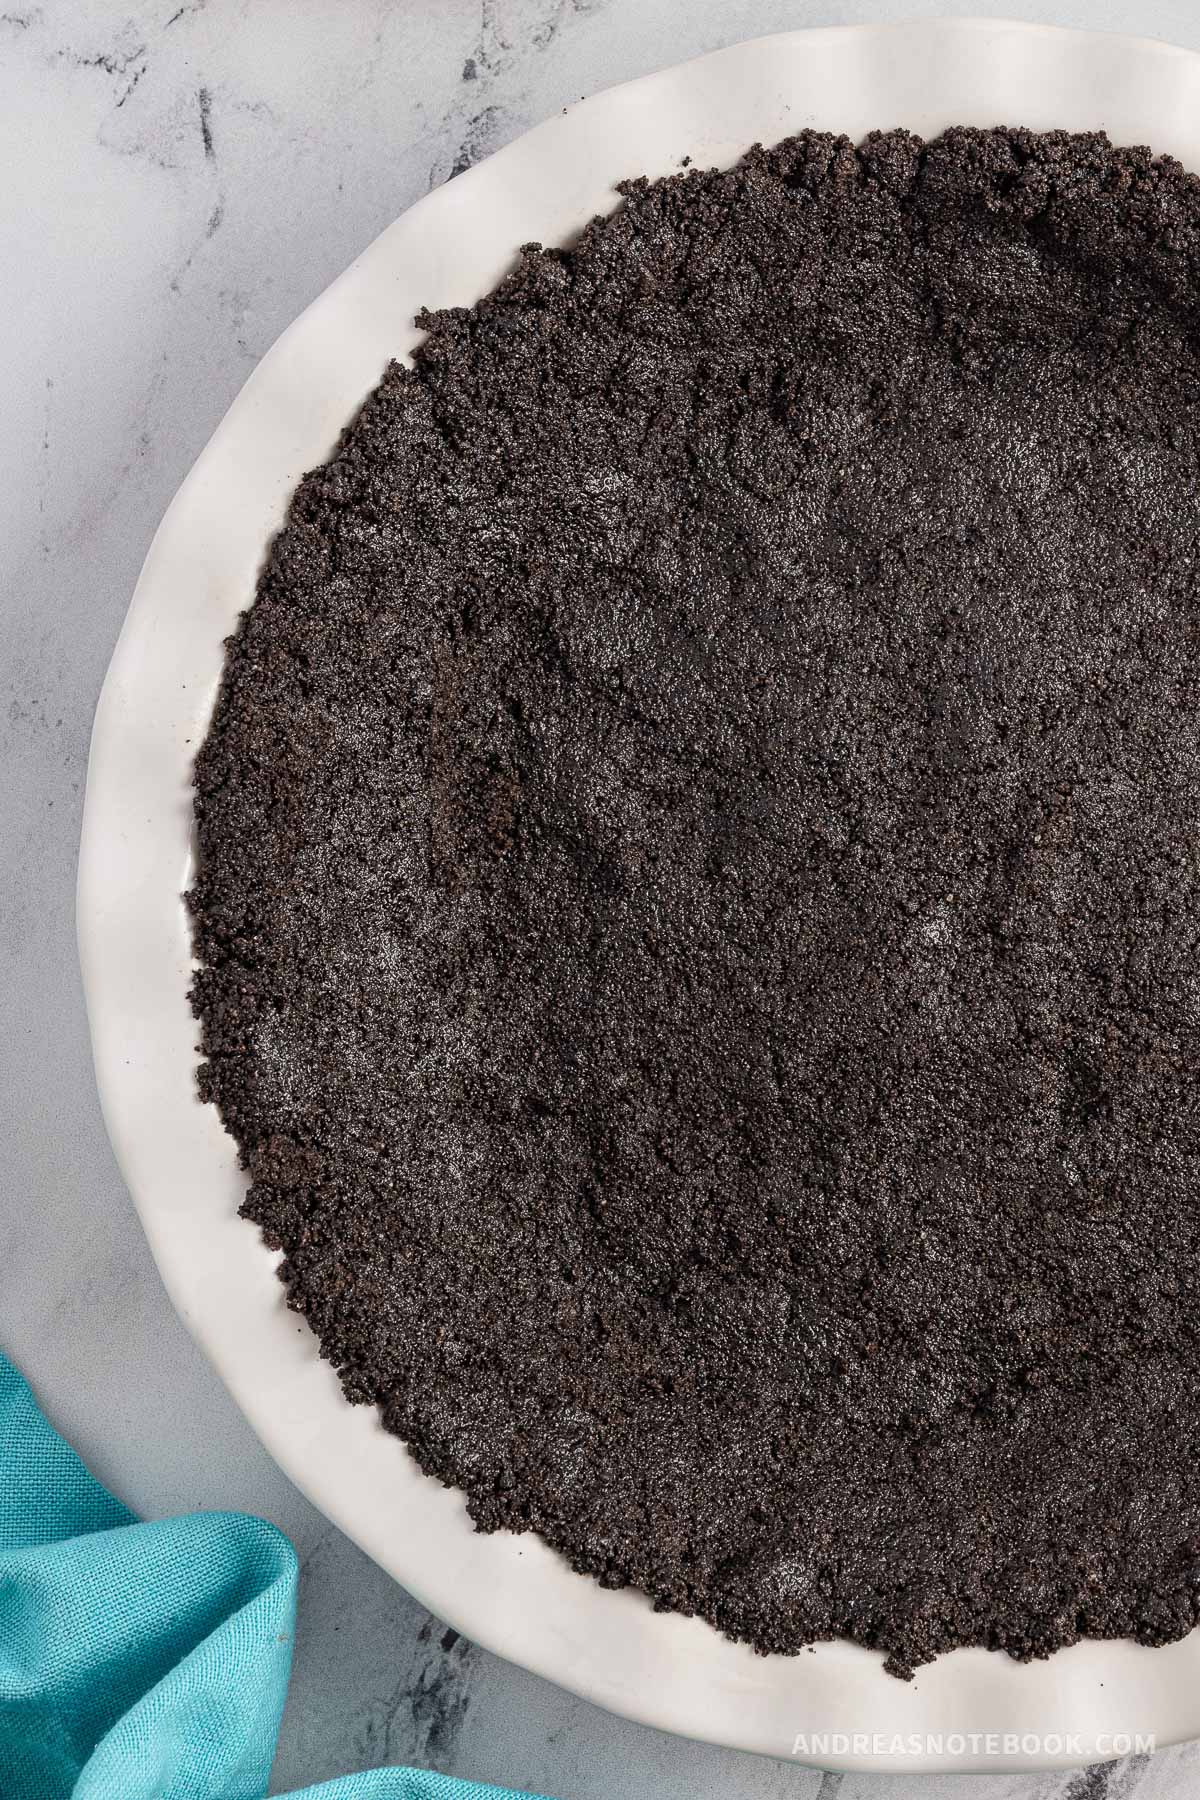
Add Butter: Microwave the butter in a small microwave safe bowl to melt. In your food processor or a large bowl, combine melted butter with cookie crumbs. Mix until butter and crumbs form a wet sand like consistency. If your chocolate mixture is too dry, add one more tablespoon of melted butter.
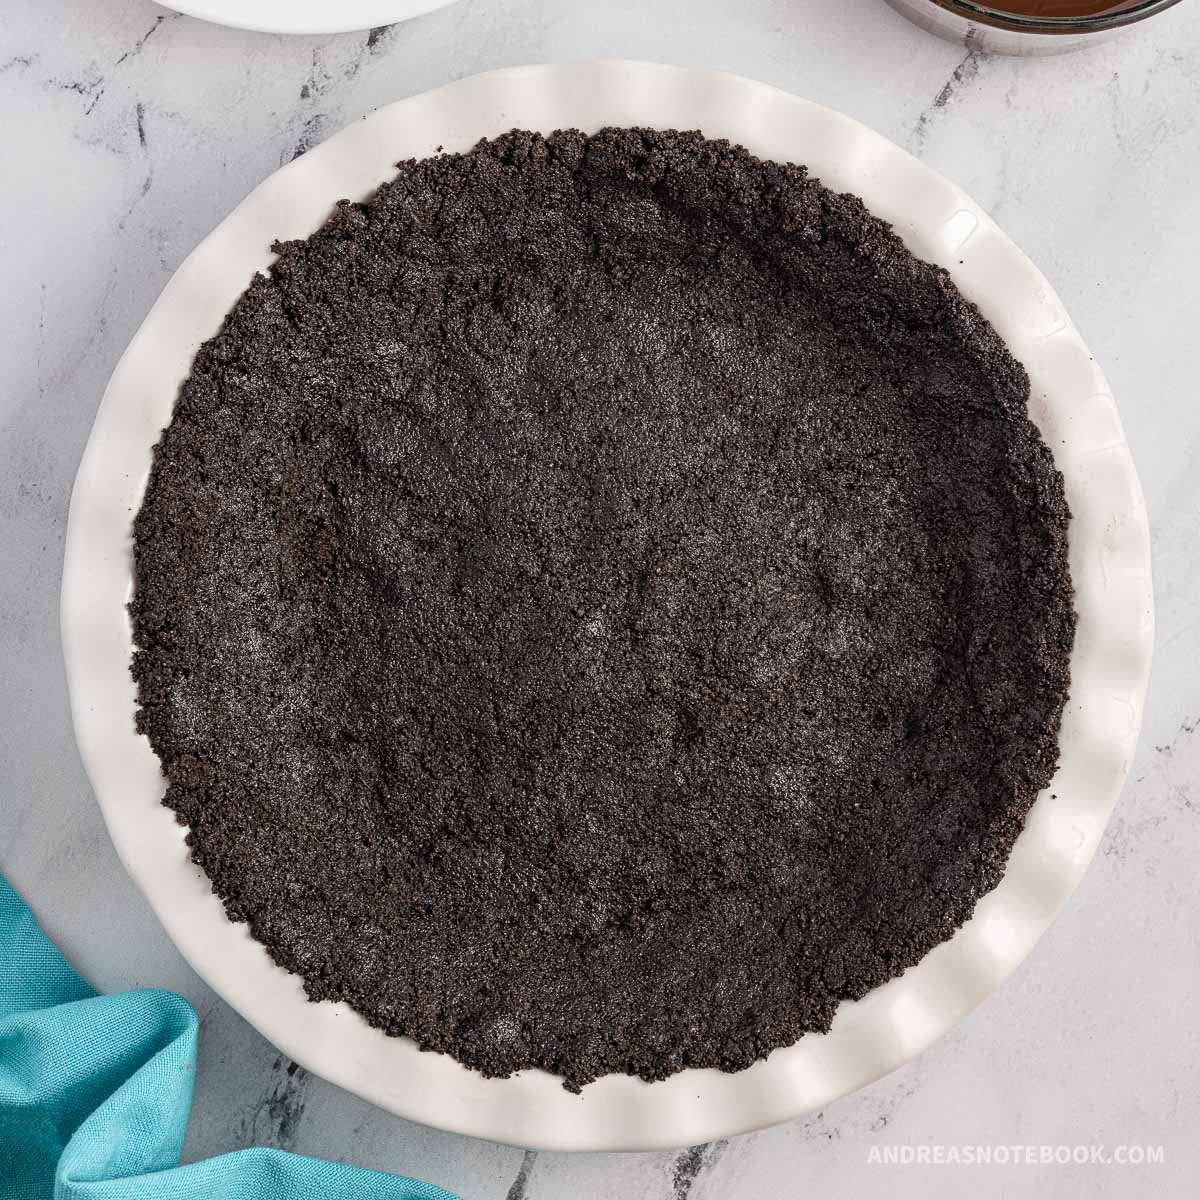
Form Crust: Pour crumb mixture into a 9-inch pie pan or springform pan. Use your hands to spread the crumbs out and press them into the bottom and sides of the pie plate.
Freezing vs. Baking Oreo Pie Crusts
For no-bake pies, you can either freeze your homemade Oreo pie crust for 30 minutes or bake it at 350°F for 8 to 10 minutes. There are advantages for each method. For a baked pie recipe, fill your pie crust with the pie filling and bake filling as directed in your pie recipe. Bake gluten free pie crusts the same as the gluten crusts.
No Bake Pie Crust
Pros: This is a great method for making a chocolate cookie crust if you are short on time and are making a no-bake pie. Chilling 30 minutes in the freezer will help the butter congeal and seal the crumbs together. No need to wait for it to cool in order to pour pie filling into it!
Cons: Freezing a cookie pie crust makes it slightly less sturdy than a baked pie crust. In most cases, that doesn’t matter. The crust should stay together while serving the slice of pie and while you’re eating the pie it is presumably ok if it crumbles some.
Oven Baked Pie Crust
Pros: Baking an oreo crust for 8-10 minutes at 350°F will be the best method for making a strong pie crust. Heating the butter and sugars from the cookie helps create solid bonds. Baking it creates a slightly crunchier crust.
If your pie is going to be cooked, there is no need to pre-bake it. Just fill the pie crust and bake dessert as directed.
Cons: You must wait until the crust is fully cool before pouring in your pie filling. Do not put a hot pie crust into your freezer or it will raise the temperature of the freezer above safe levels for any meats frozen inside.

Tips For The Best Cookie Pie Crust
- Use any sandwich cookies with cream filling. Leave the filling in the cookies when you break them up. The sugar from the filling helps bind the pie crust together.
- Make sure there are no chunks of cookie. Grind the cookie crumbs up so they’re fine. Large chunks will make the crust more likely to crumble.
- Press the crust down firmly in the pie dish. The more compacted it is the better it will hold together. The crust on the bottom of the pan and the sides of the pan should be an even layer of the same thickness.
- Freeze or bake pies (or bake cheesecake) to bind the pie crust together.
Serving
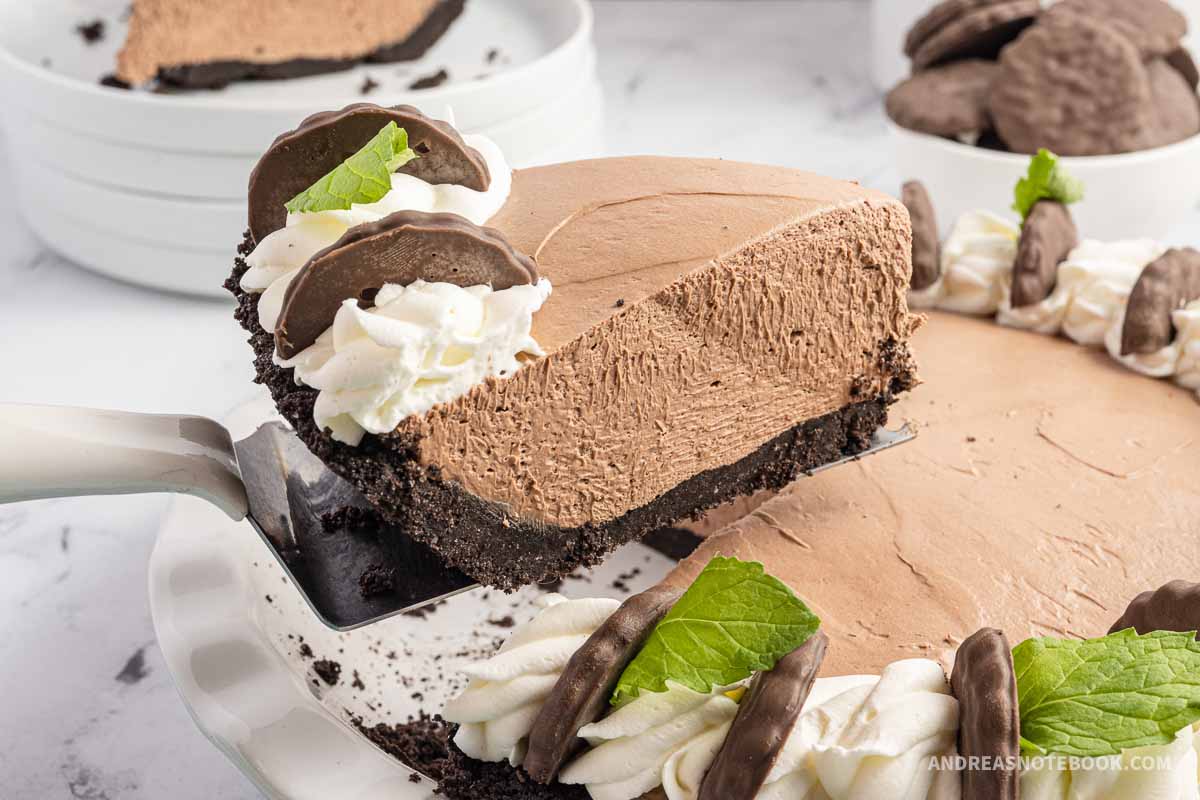
Once your pie crust is baked or frozen, you can pour a no-bake pie filling into it and freeze as directed. Alternatively, make a cooked pie in your pie crust by following the pie cooking instructions. This Oreo cookie crust recipe is a perfect base for many types of desserts. These pies and cheesecakes taste delicious in an oreo pie crust:
Chocolate Mint Pie: Chocolate and peppermint are my favorite flavor combination. This no-bake chocolate cream pie recipe is perfection. The chocolate filling is made with cream cheese, semi-sweet chocolate chips (or use dark chocolate), sugar, heavy cream, and whipped topping. Use a homemade pie crust rather than a store-bought pie crust for best results. You can easily make this a gluten-free chocolate cream pie by making the cust gluten-free as directed above.
Banana Pudding Pie: This no-bake banana pie is delicious. If you’ve never tried it now is the time. It’s creamy like a cheesecake but there’s no difficult steps involved. It involves banana pudding, cream cheese, whipped cream and bananas! Substitute the graham cracker crust for this homemade oreo cookie crust
Snickers Pie: This no-bake peanut butter pie is perfection if you love Snickers candy bars! Who doesn’t love a chocolate peanut butter pie?
No Bake Oreo Cheesecake: Make this easy dessert for Oreo lovers. Obviously, a homemade Oreo crust is the best pie crust for an Oreo pie recipe!
Coconut Cream Pie: Bake a homemade coconut cream pie using a chocolate cookie pie crust. This coconut cream is made with egg yolks, unsweetened coconut milk, starch, sugar, butter, shredded coconut, vanilla extract, heavy whipping cream and powdered sugar. You will need to cook part of this filling on the stove before pouring into your pie shell.
NOTE: If you made the gluten-free version, please check to make sure your pie filling is also gluten free.
Storing
Wrap your cookie pie crust in plastic wrap and store in the freezer for up to 3 months until you’re ready to use.
After you’ve made your pie, you may store this crust at room temperature for 3-5 days if your pie filling is safe at room temperatures. Otherwise refrigerate according to your pie filling instructions.
Frequently Asked Questions
Approximately 22-24 Oreos make 2 cups of Oreo crumbs.
Place Oreos into a gallon ziplock bag. Seal the bag. Use a rolling pin to gently roll across the cookies until they’re all crumbs. If you’re too rough, holes will form in the bag. Make sure there are no chunks left. Large chunks left in the crumbs can make a less sturdy crust.

Oreo Pie Crust Recipe (Bake or No Bake)
Ingredients
- 24 Oreo cookies with regular filling (2 cups Oreo crumbs)
- 4 tablespoon salted butter
Instructions
- In a food processor, pulse Oreos until they're broken into fine crumbs with no chunks.
- Add melted butter to the food processor. Blend until the butter and cookie crumbles are fully combined. It should have a wet grainy beach sand texture.
- Pour crumbs into a pie pan. Use your hands to press the crust down evenly throughout the pan and up the sides of the pan.
- Option 1: Freeze for 30 minutes.
- Option 2: Bake at 350°F for 8-10 minutes. Remove from oven and allow to cool completely before pouring in the no-bake pie filling.
- Option 3: Pour in pie filling and bake as directed for pie filling.
Notes
Tips For The Best Cookie Pie Crust
- Use any sandwich cookies with cream filling. Leave the filling in the cookies when you break them up. The sugar from the filling helps bind the pie crust together.
- Make sure there are no chunks of cookie. Grind the cookie crumbs up so they’re fine. Large chunks will make the crust more likely to crumble.
- Press the crust down firmly in the pie pan. The more companted it is the better it will hold together.
- Freeze or bake to bind the pie crust together.
Storing
Wrap your cookie pie crust in plastic wrap and store in the freezer for up to 3 months until you’re ready to use.Nutrition
Love This Recipe?
Make sure to share it with me on Instagram @andreasnotebook and follow on Pinterest @andreasnotebook for more!
