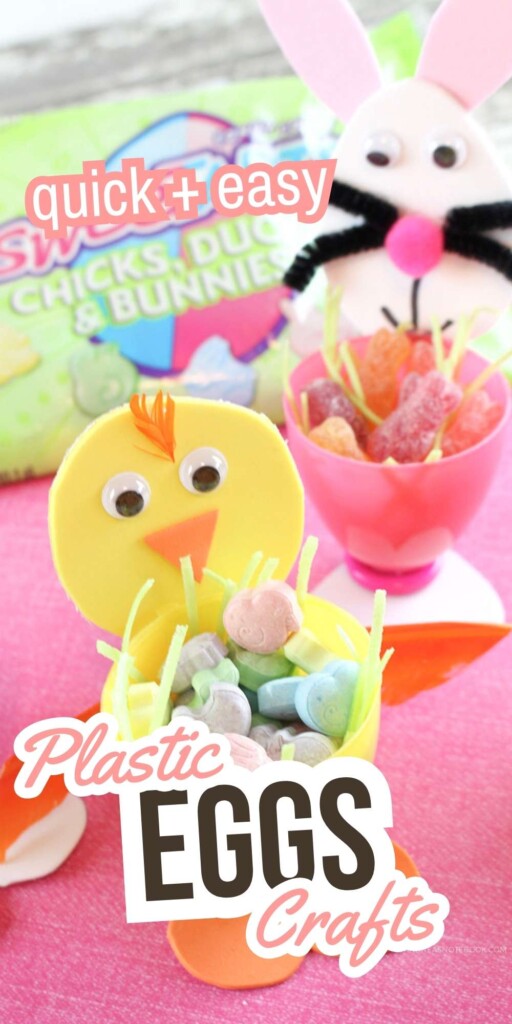
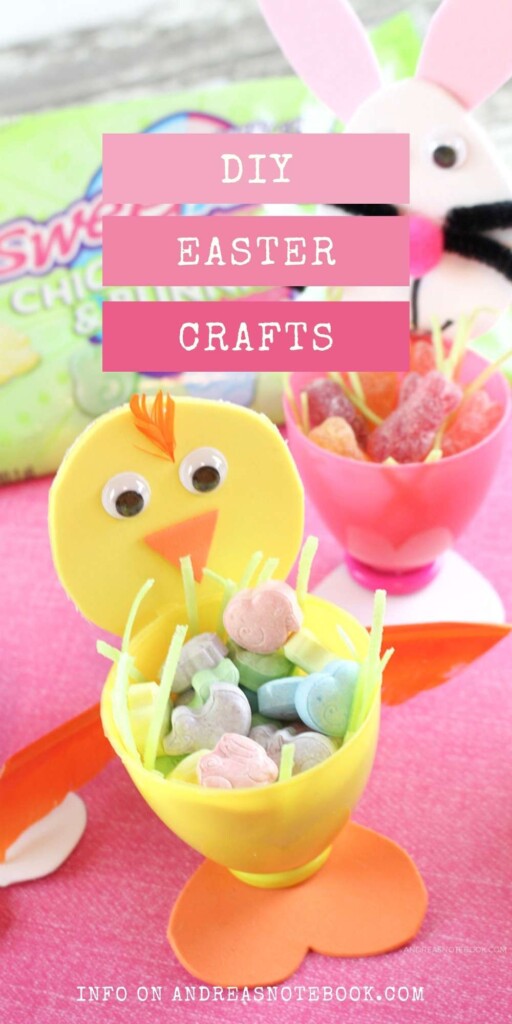
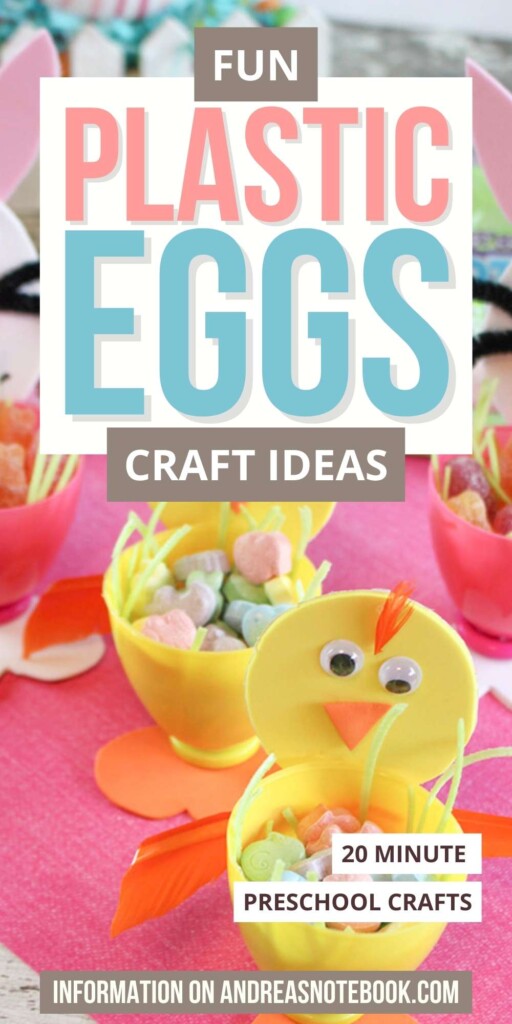
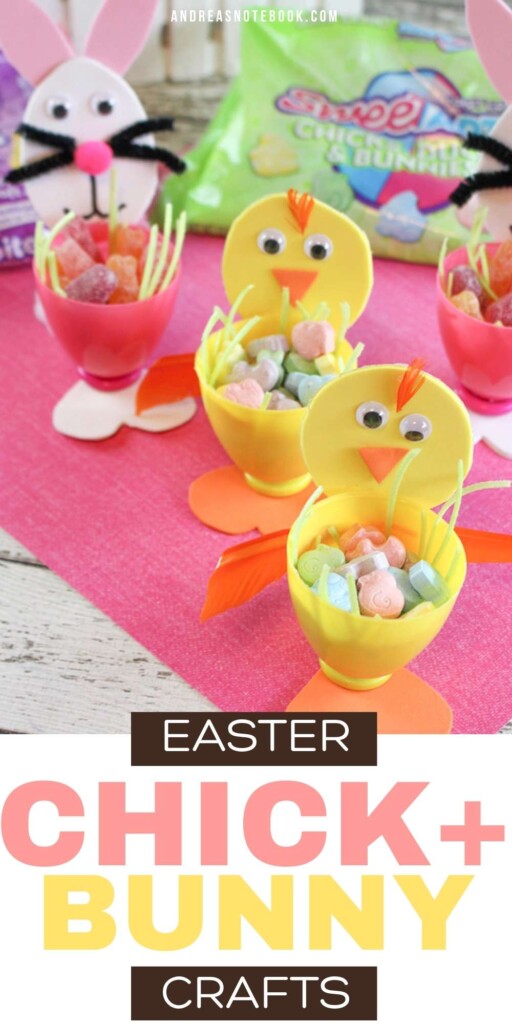
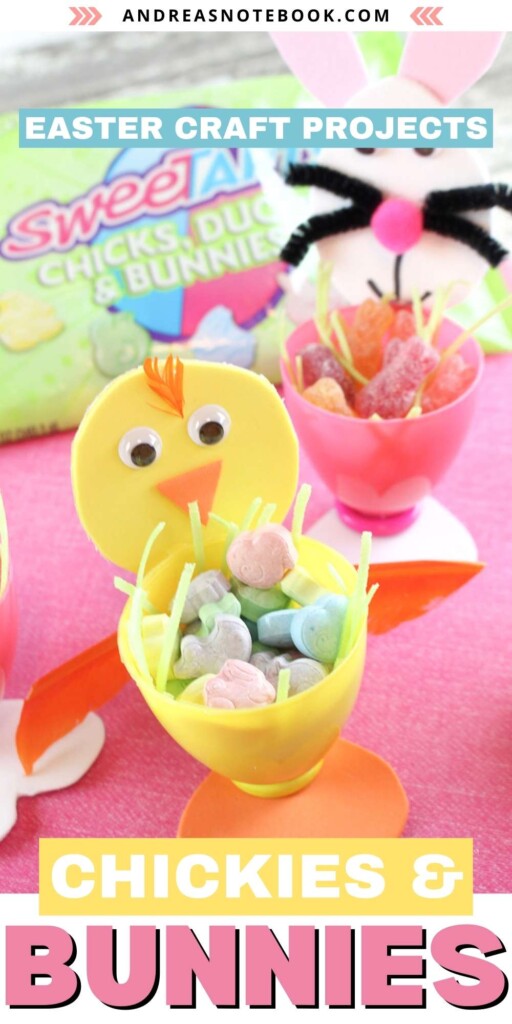
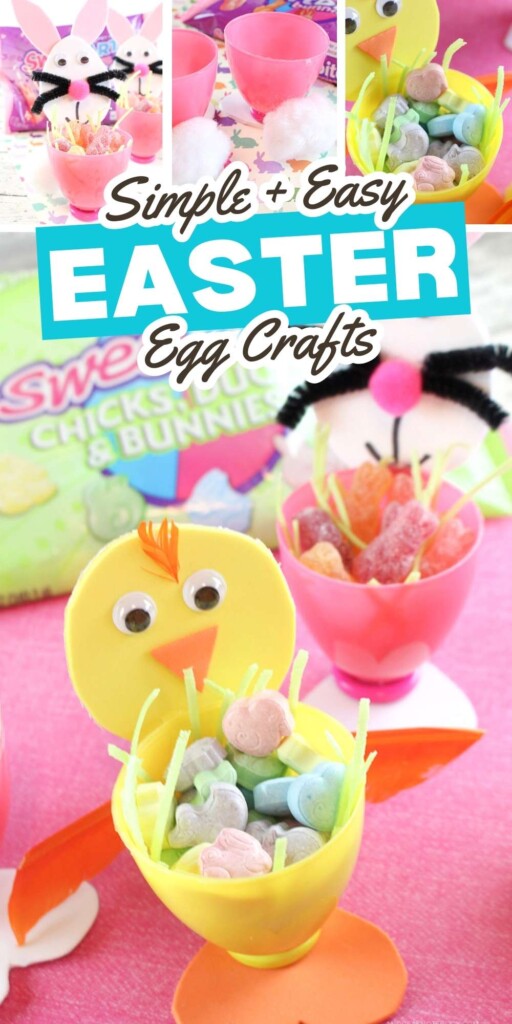
Transform those leftover plastic Easter eggs from your Easter egg hunt into adorable decorations with our plastic Easter egg craft guide. Discover fun ways to turn plastic Easter eggs into cute Easter chicks or Easter bunnies, perfect for kids of all ages. This guide offers creative ways to re-imagine those colorful shells into charming Easter craft ideas. Get ready to craft memorable, smile-inducing pieces that will brighten any corner of your home this spring. Start crafting today and bring a burst of joy to your Easter celebrations.
If you love Easter, don’t miss 26 Non Candy Easter Egg Fillers, 25 Themed Easter Baskets and Free Stuffed Bunny Sewing Pattern.
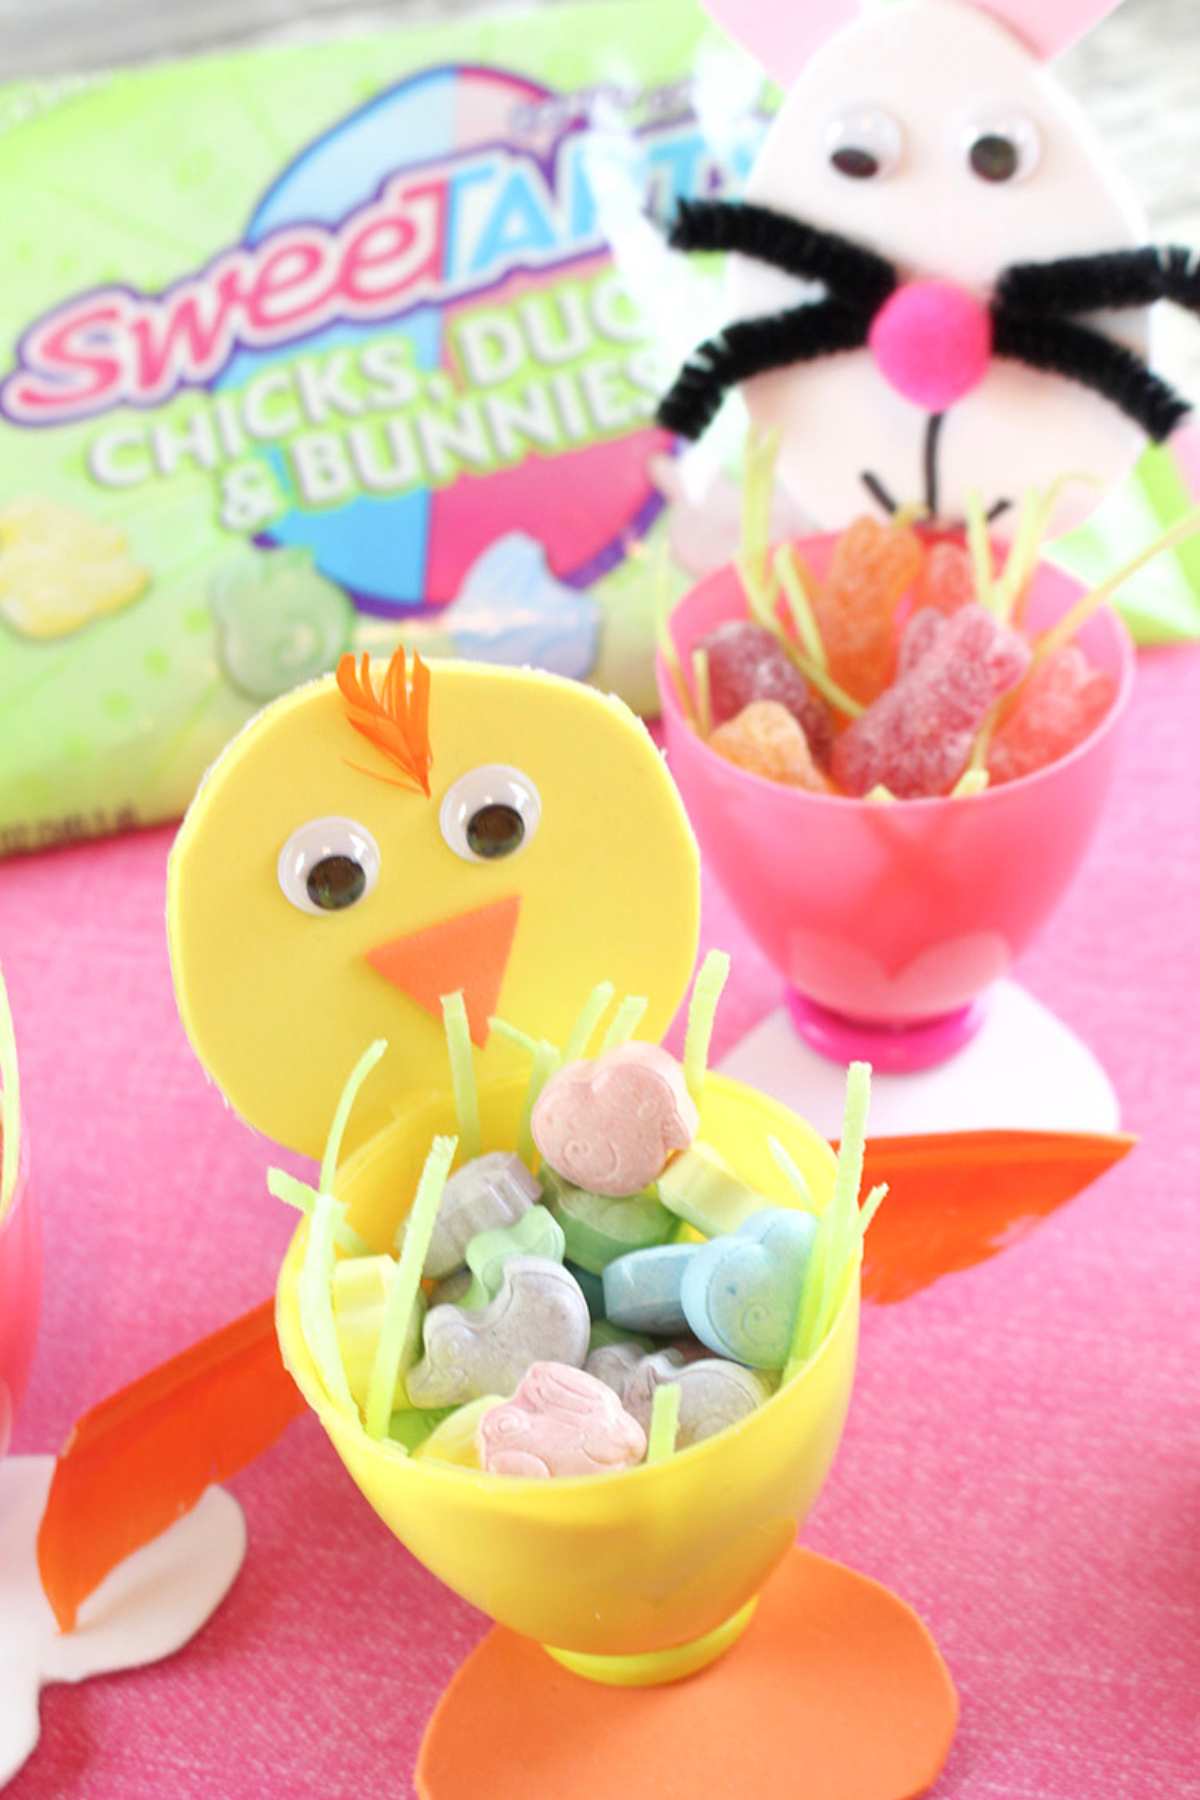
Plastic Easter egg crafts are fun to do before Easter with younger kids or even after the Easter egg hunt with older kids. You can do Easter crafts after they get their Easter baskets. This simple Easter craft is an easy way to use old plastic Easter eggs and supplies you already have on hand. If you make them with kids you can fill them with some Easter candy and display them as Easter decorations for years to come!
What To Do With Your Plastic Egg Crafts
Transform your DIY plastic Easter egg chick and bunny cups into versatile treasures with these creative ideas:
- Candy dish: Fill these adorable cups with jelly beans or chocolate eggs. They’re perfect for Easter gatherings or as a sweet treat for visitors.
- Plastic Easter egg flower pots: Small succulents or spring flowers fit perfectly. These make for lively home decor or thoughtful gifts.
- Easter egg planters: Teach kids about gardening by planting easy-to-grow seeds. Watch as your mini garden comes to life.
- Easter egg candle holder: Place small electric votive candles inside for a festive glow. Ideal for Easter dinner tablescapes or to add warmth to any room.
- Home decor: Use them as colorful accents around your home. They brighten shelves, mantels, and reading nooks with a touch of spring.
Each idea not only repurposes but the fun project also brings a unique charm to your Easter celebrations.
Supplies
You will need some simple supplies that are available at any craft department, dollar store or craft store. You can also buy all of these things online. Links are affiliate links to Amazon online but get creative and use things you have on hand! No craft foam? Use little bits of cardboard or whatever you want! No feathers? Try using tissue paper or some other craft supply.
- Plastic Easter Eggs: Use your extra plastic Easter eggs to make these fun crafts. Use pink eggs for the bunnies and yellow eggs for the chicks. The jumbo plastic eggs are best.
- Jumbo Buttons: Get jumbo plastic buttons that are the same or similar color to your plastic eggs.
- Foam Sheets: These craft foam sheets are found in the kid crafts aisle. You will need white and pink for the bunnies and yellow and orange for the duckies.
- Small Pom Poms: Little craft pom poms are used as tails for the bunnies and duckies. Get white for bunnies and yellow for ducks. You might want to use different sizes of pom poms for the chicks and bunnies.
- Pipe Cleaners/Chenille Sticks: One black pipe cleaner is used as bunny whiskers.
- Black Marker: This marker is used to draw the bunny mouth. You could also use paint pens.
- Adhesive Googly Eyes: Little googly eyes are used for both animals.
- Feathers: Small pieces of orange feathers or yellow are used as chick feathers.
- Glue: We used glue dots and hot glue. You could use all hot glue in a hot glue gun, if you prefer.
- Scissors: You will need scissors to cut out the foam, chenille sticks and feathers.
Once your supplies are gathered you’re ready to start your plastic easter egg craft! It’s the perfect activity for a crafty morning with kids.
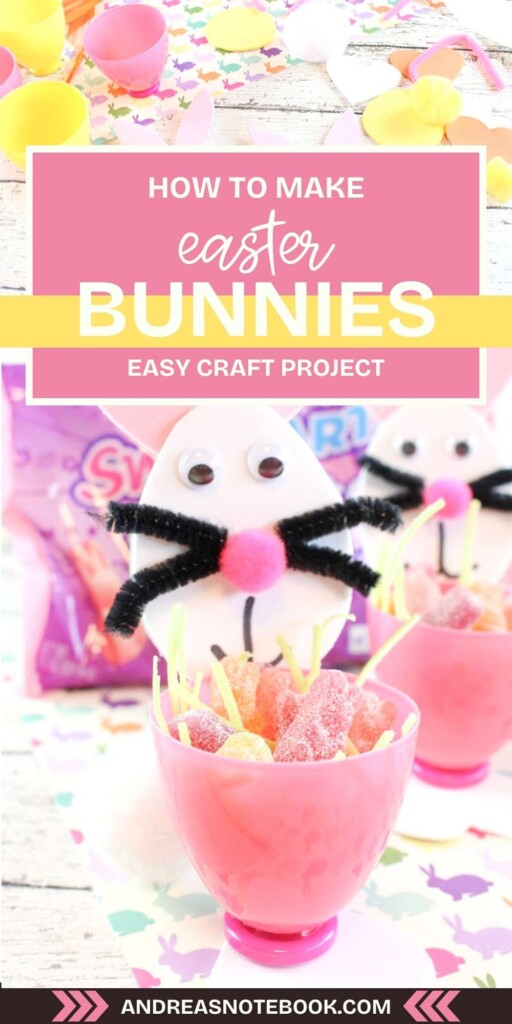
How To Turn A Plastic Easter Egg Into A Bunny
Get started on your easy Easter craft! These are fun ideas for little hands to practice fine motor skills. Always have adult supervision when working with hot glue guns.
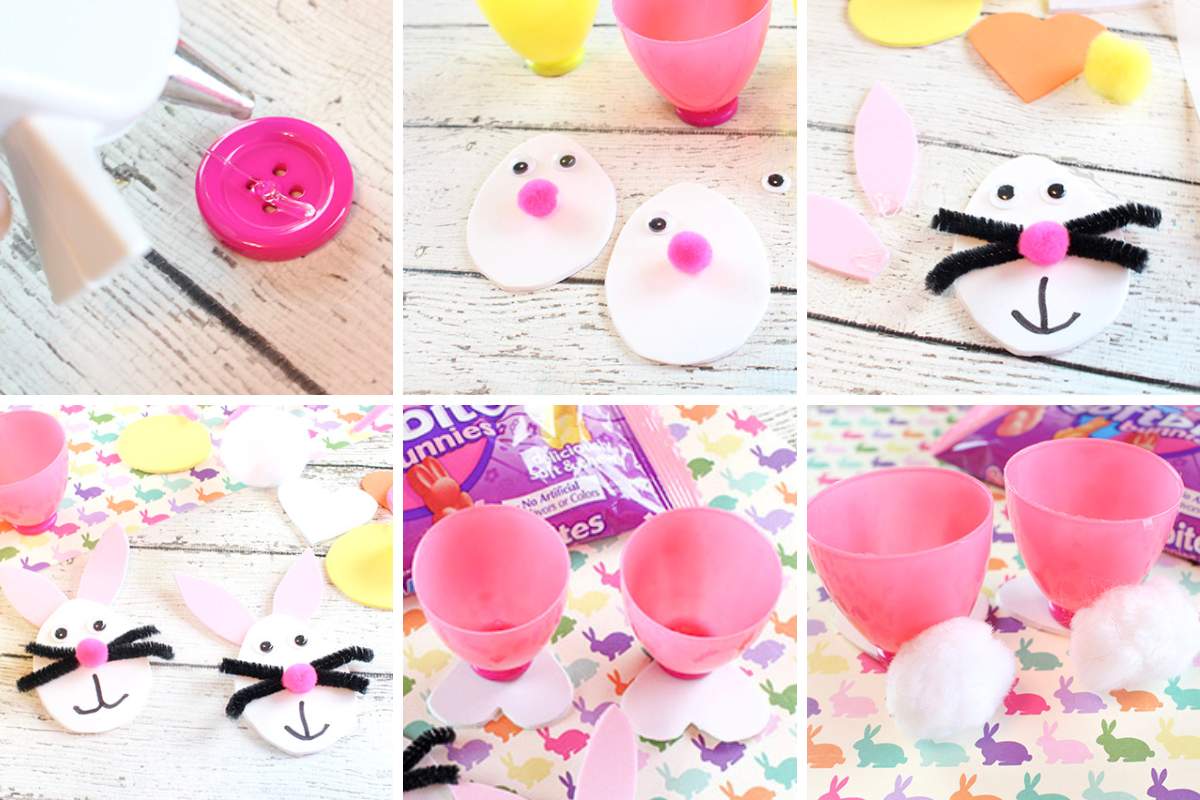
- Apply glue to the middle of each button and place the bottom of the Easter eggs on top, pressing down firmly until secure. Set aside.
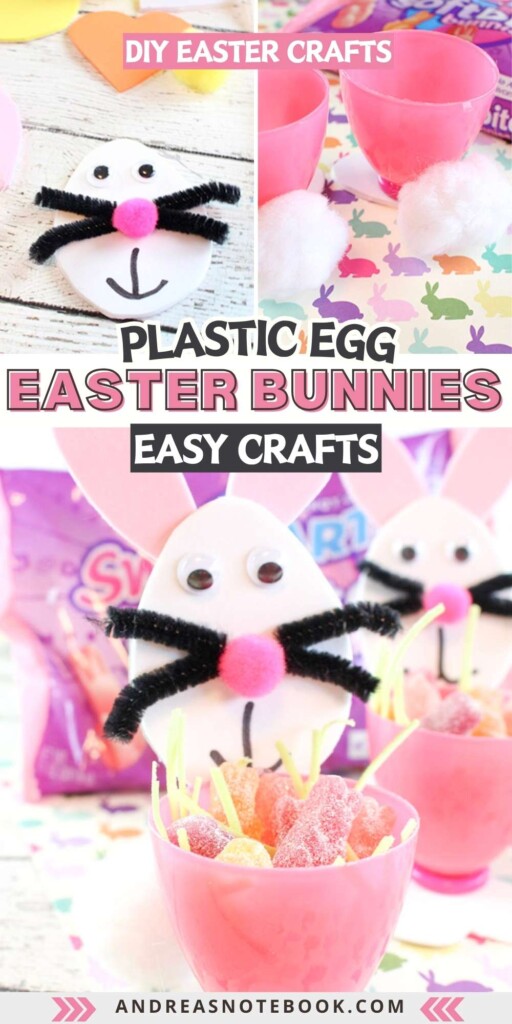
- Cut out 2 oval shapes from the white foam paper, approximately 2 ½ inches long. This will be the face of the bunnies. Cut out 2 heart shapes from the white foam board, about 2 inches across and 2 inches long. Apply hot glue to the pointy ends of each heart and lay the eggs on top. (The round parts of the heart will be the feet). Press down firmly and hold for 10-15 seconds. Set aside.
- Add 2 adhesive eyes to each oval shaped face. Apply a glue dot in the middle of the face for the nose. Place a mini pink pom pom onto each glue dot and press down firmly. For the whiskers, use hot glue to attach the pipe cleaner strips (2 on each side of the nose). For the mouth, draw the letter “J” and then a backwards “J” on top. Set aside.
- For the tail, apply hot glue to the back of each egg. Press a medium white pom pom into the glue and hold firmly for 10-15 seconds.
- Cut out 4 bunny ears from the pink foam board, 2 inches long. Attach 2 ears to the back of each face with glue dots.
- Apply hot glue to the very bottom of each face and attach to the back of each pink Easter egg cup. Hold and press firmly for 10-15 seconds.
- Fill with edible Easter grass and your favorite Easter treats.
How To Turn A Plastic Easter Egg Into A Chick
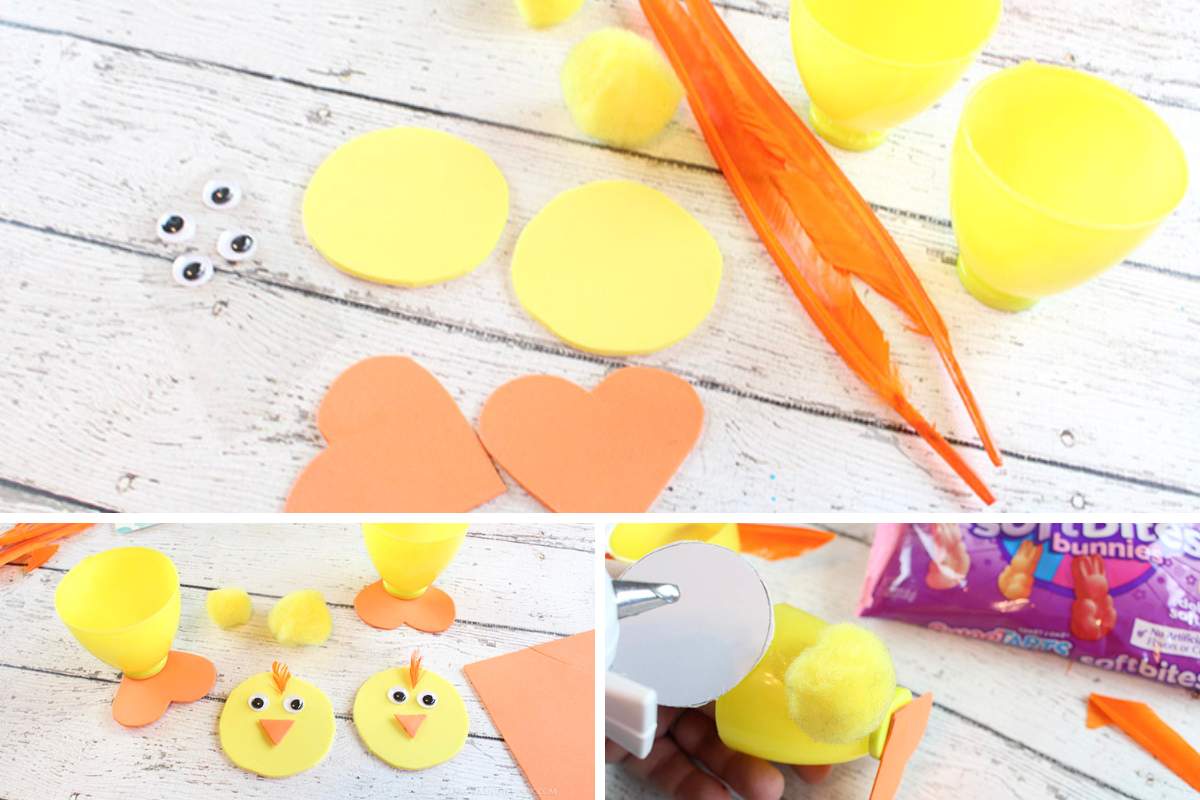
- Apply glue to the middle of each yellow button and place the bottom of the Easter eggs on top of the glue, pressing down firmly until secure. Set aside.
- Cut out 2 round shapes from the yellow foam paper, 2 inches in diameter. This will be the face of the chicks.
- Cut out 2 small triangles from the orange foam paper for the beak. Set aside.
- Cut out 2 heart shapes from the orange foam paper, approximately 2 inches across and 2 inches long. Apply hot glue to the bottom of the heart shapes and place the eggs on top. (The round parts of the heart will be the feet). Press down firmly and hold for 10-15 seconds. Set aside.
- Add 2 adhesive eyes to each face. Stick a glue dot in the middle of each chick face and place an orange triangle on top for each beak.
- For the tail, apply hot glue to the back of each egg. Press a medium yellow pom pom into the glue and hold firmly for 10-15 seconds.
- Add a glue dot to the top of each chick head, directly in the middle. Snip off a tiny amount from an orange feather and place on top of each glue dot. With a glue gun, attach 2 orange feathers to the back of each chick.
- Apply hot glue to the very bottom of each face and attach to the back of each yellow Easter egg cup. Hold and press firmly for 10-15 seconds.
- Fill with edible Easter grass and Easter treats. Have a Hoppy Easter!

Comments & Reviews
baccarat online says
I’m impressed, I have to admit. Seldom do I encounter a blog that’s equally educative and amusing, and without a doubt, you have hit the nail on the head. The issue is something too few people are speaking intelligently about. Now i’m very happy that I found this during my hunt for something relating to this.
roulet online says
Oh my goodness! Incredible article dude! Thanks, However I am going through difficulties with your RSS. I don’t know the reason why I am unable to subscribe to it. Is there anybody else getting identical RSS issues? Anyone that knows the answer will you kindly respond? Thanx!!
situs slot online terbaik says
Greetings, I do think your web site could possibly be having browser compatibility issues. When I take a look at your web site in Safari, it looks fine however, if opening in IE, it’s got some overlapping issues. I just wanted to give you a quick heads up! Other than that, great website!
dragon tiger online says
Having read this I believed it was extremely enlightening. I appreciate you finding the time and energy to put this informative article together. I once again find myself personally spending a significant amount of time both reading and commenting. But so what, it was still worthwhile!
situs ceme online says
Thanks for sharing the really great info with us. I like it a lot. Keep doing what you love! If you dont visit of my blog as well, just click my name. Thanks!
daftar casino online says
It’s really lovely day to find your blog! I really like kind of your content. It’s really amazing blog. I’ll waiting for your next post. Check out of my website too! 😀
aplikasi pkv games says
Wow amazing post!! I like that SweeTARTS, I wish there’s available in my country. But if you wanna see some similiar content as yours, yes I have on my blog. Tap me!
main dadu online says
Oh yes that’s a beautiful article that you share! My goodness, you really have talent to create a lovely blog. Share the idea with me please! Come thru my blog 🙂
jungg says
wow so good article…
clara says
This post is very interesting, also visit our post
ananda says
I have read your blog it is very helpful for me.
bunga says
I am a beginner and I feel greatly helped by your article . Thank you and I have learned one new thing today
شركة تعقيم بالرياض says
I have read your blog it is very helpful for me.
Blackjack says
i really love it
http://dadusicbo.cc/ says
thank u for sharing
http://88tangkas.best/ says
i like it
http://joker123login.me/ says
i love it
http://loginosg777.me/ says
please come and visit
http://s1288net.live/ says
its verry helpfull
Seo Company In Delhi says
Now-a-days every industry is getting competitive , it is eventually causing the prices to get inflated. This results exorbitant prices for designing basic websites. However, Wondermouse, a SEO Company In Delhi offers you affordable packages and rates for bringing your brand visibility on the top of SERP
bandar poker online says
thanks for sharing
http://www.horseriding-holidays.com/ says
I think this is an informative post and it is very useful and knowledgeable. therefore, I would like to thank you for the efforts you have made in writing this article
http://www.pvpumps.com/ says
Thank you for the information that you have given us, it is very beneficial for many people, we will wait for the next information
http://www.horseriding-holidays.com/ says
Thanks for sharing us a piece of great information
http://www.ebusiness-cards.co.uk/ says
this article is very useful for me