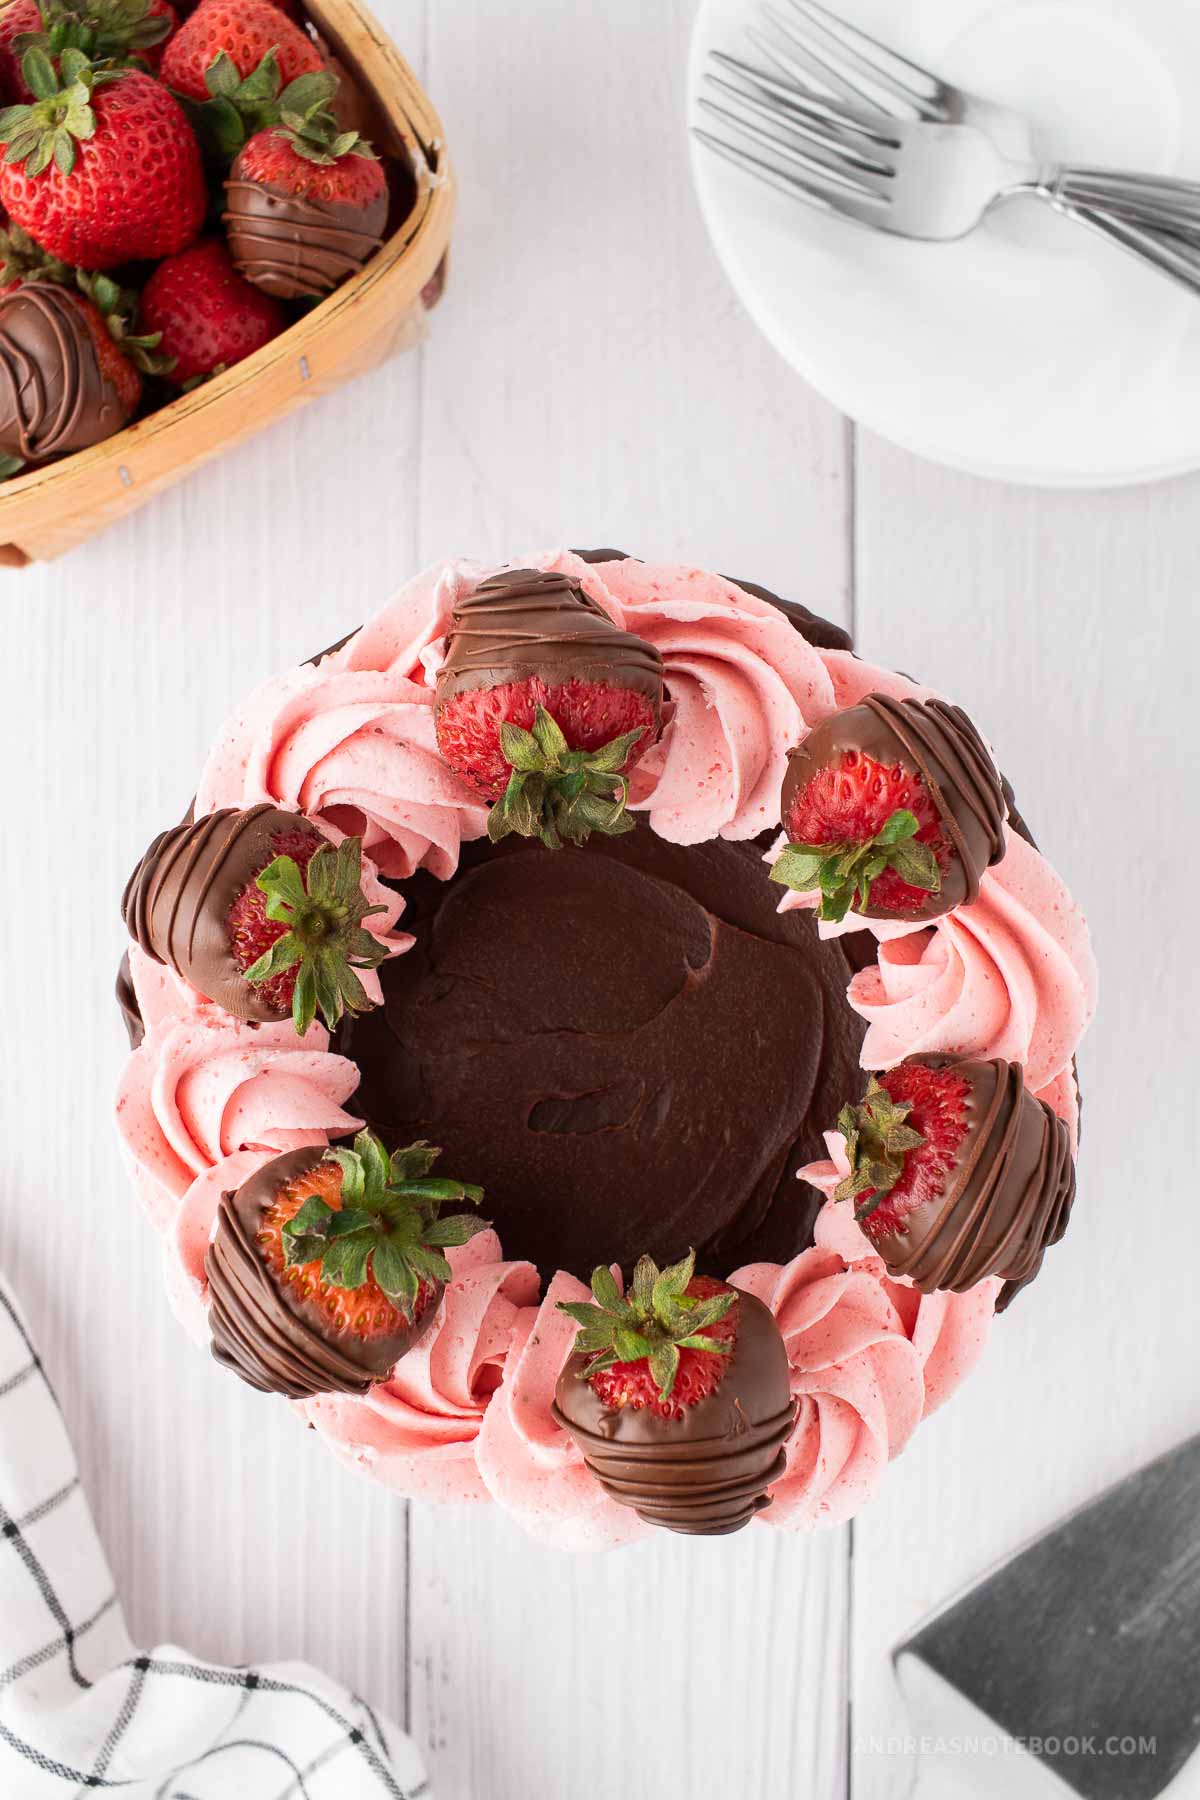
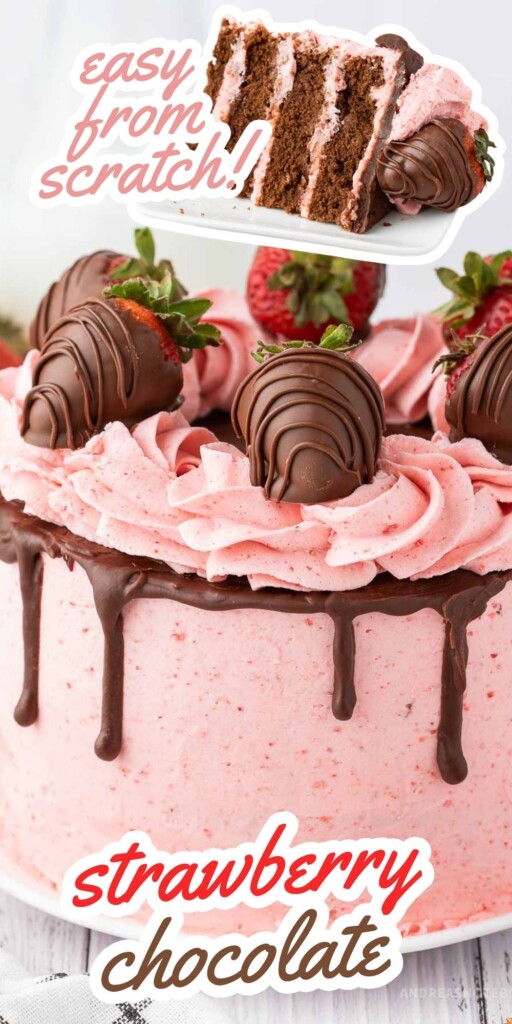
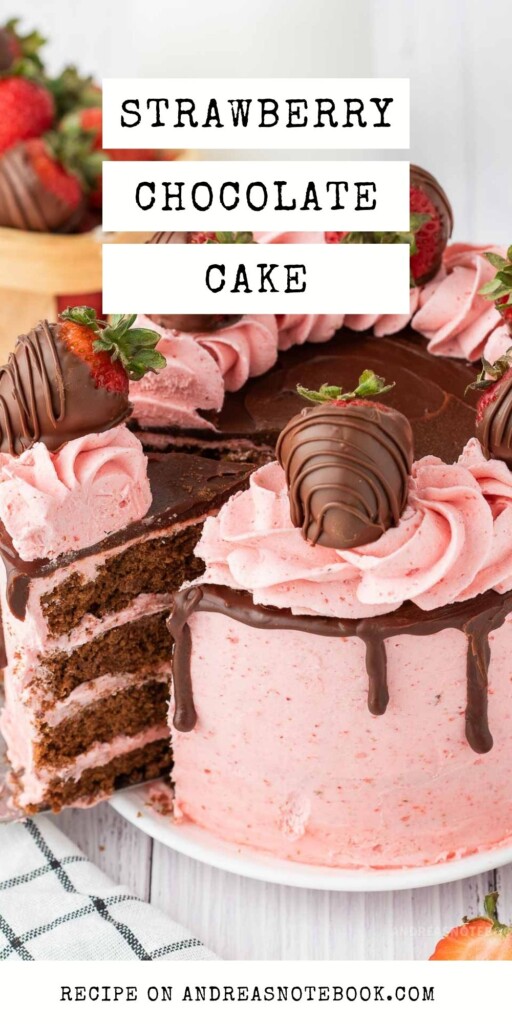
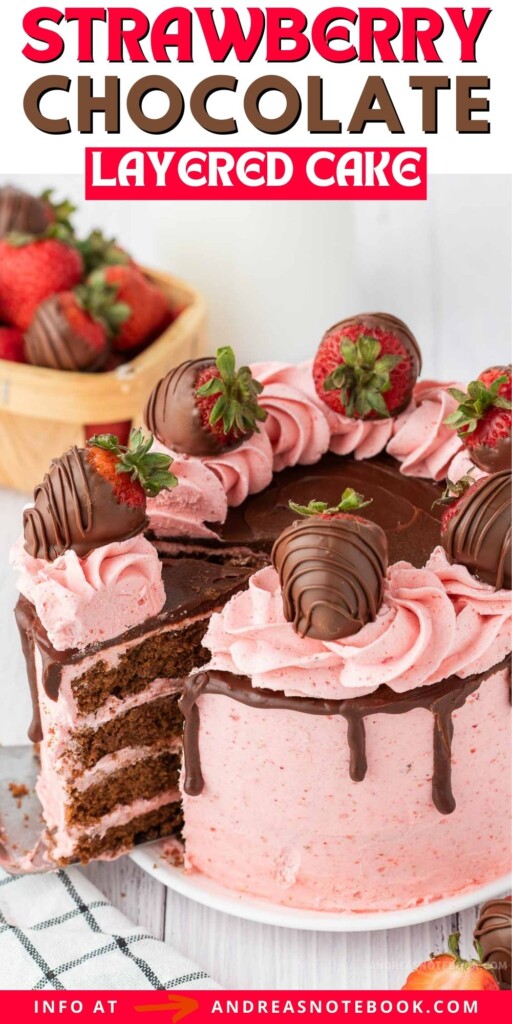
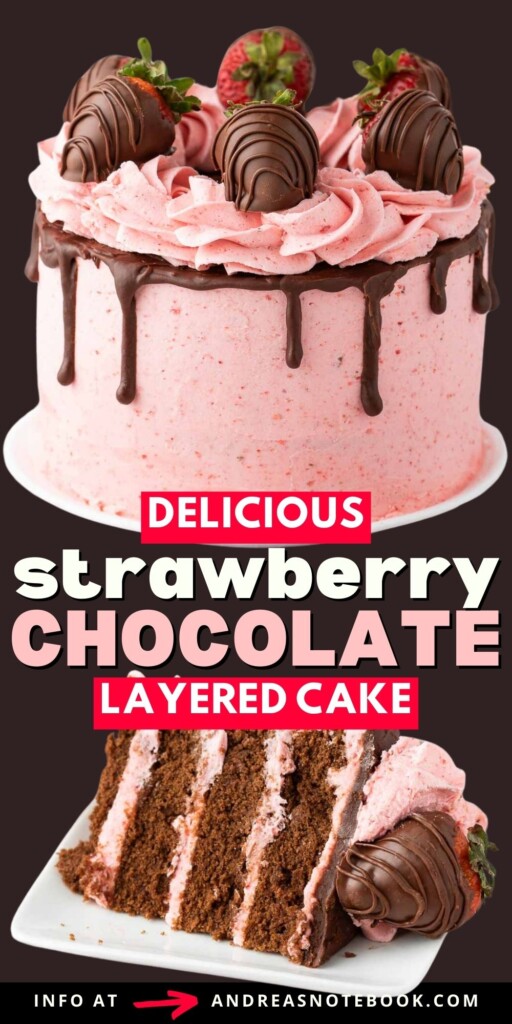
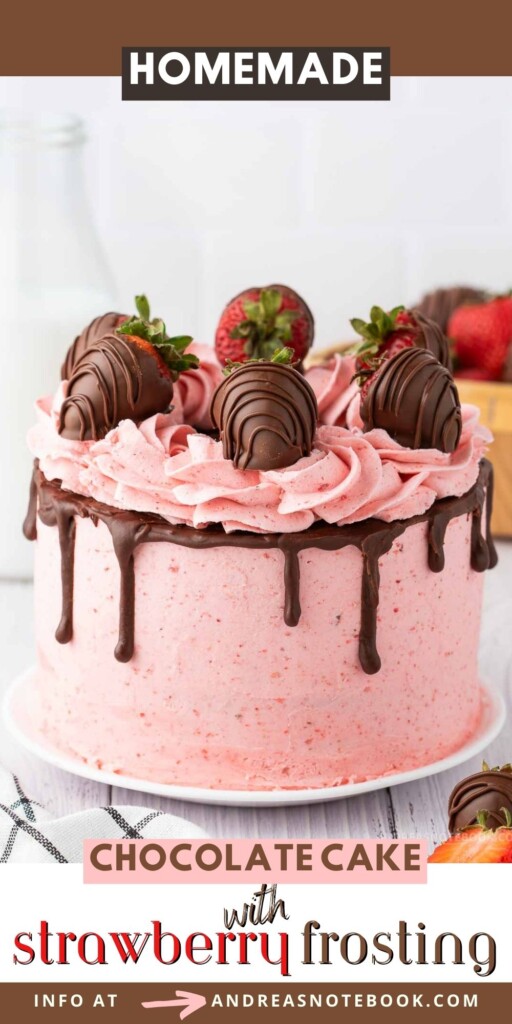
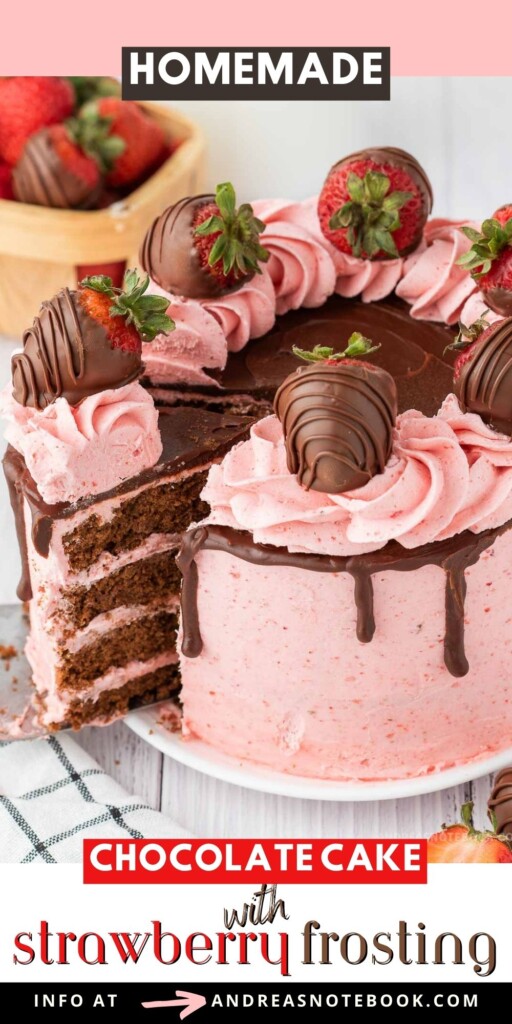
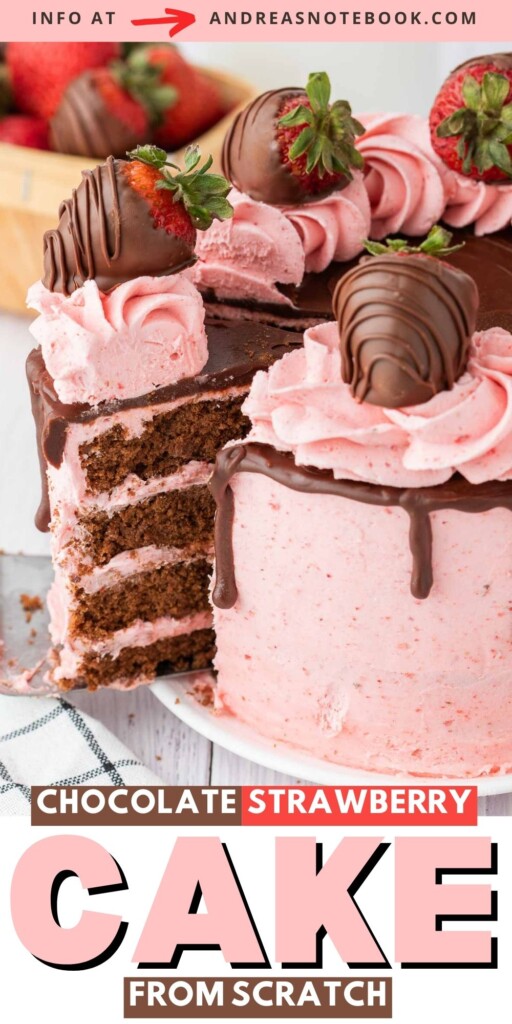
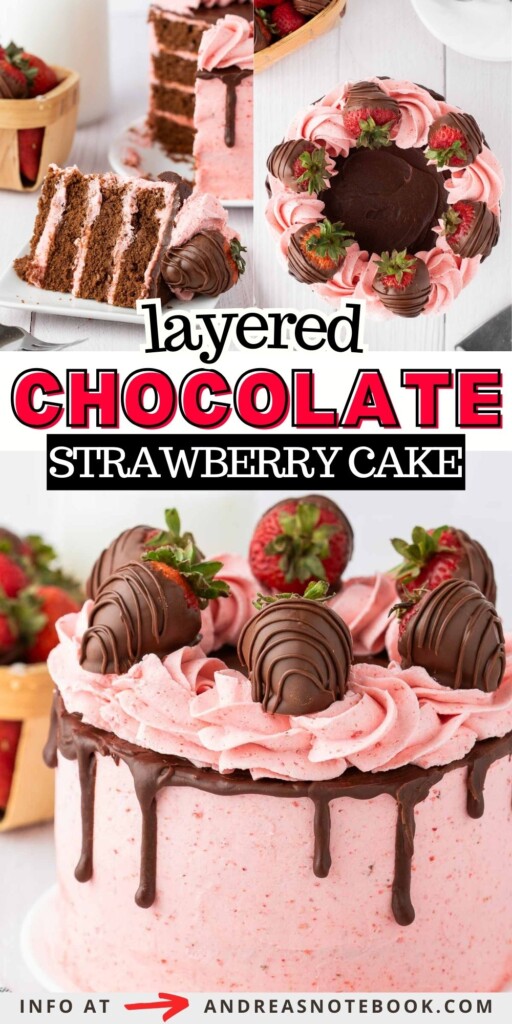
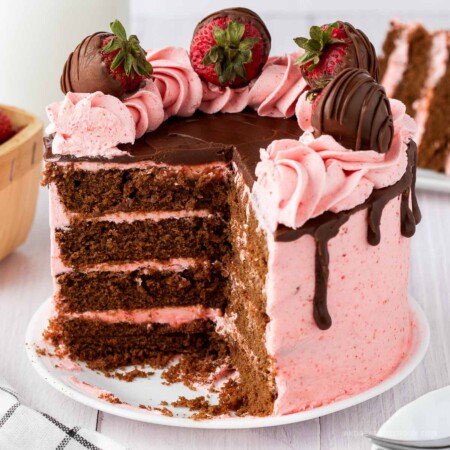
Learn how to make a homemade layered chocolate cake with strawberry frosting. This homemade strawberry buttercream frosting is made with freeze dried strawberries. The chocolate layered cake is layered with strawberry frosting and topped with a silky chocolate ganache and delicious chocolate-covered strawberries.
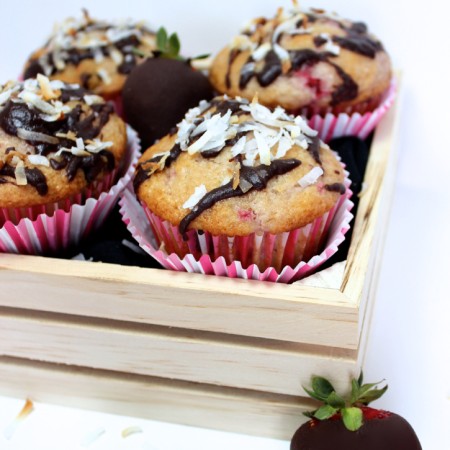
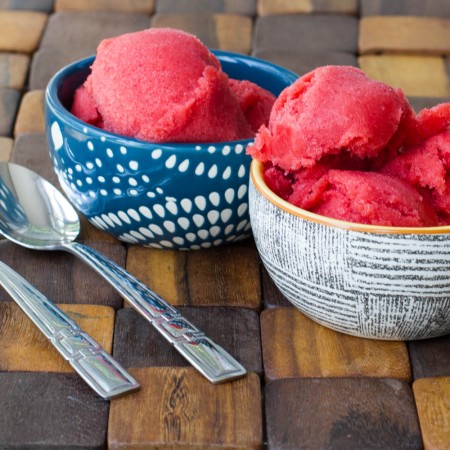
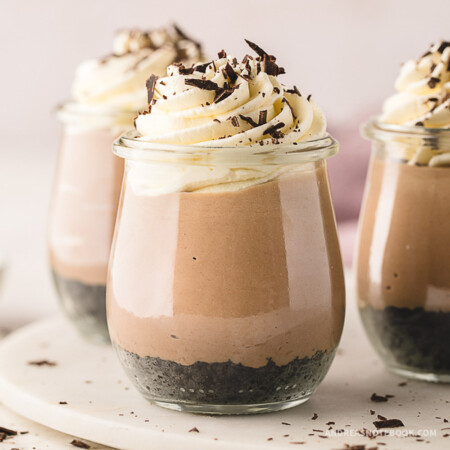
If you love chocolate and strawberries, make these Chocolate Covered Strawberry Muffins. And don’t miss this Strawberry Sorbet. If you love serving your cake with ice cream, consider making No-Churn Vanilla Bean Ice Cream.
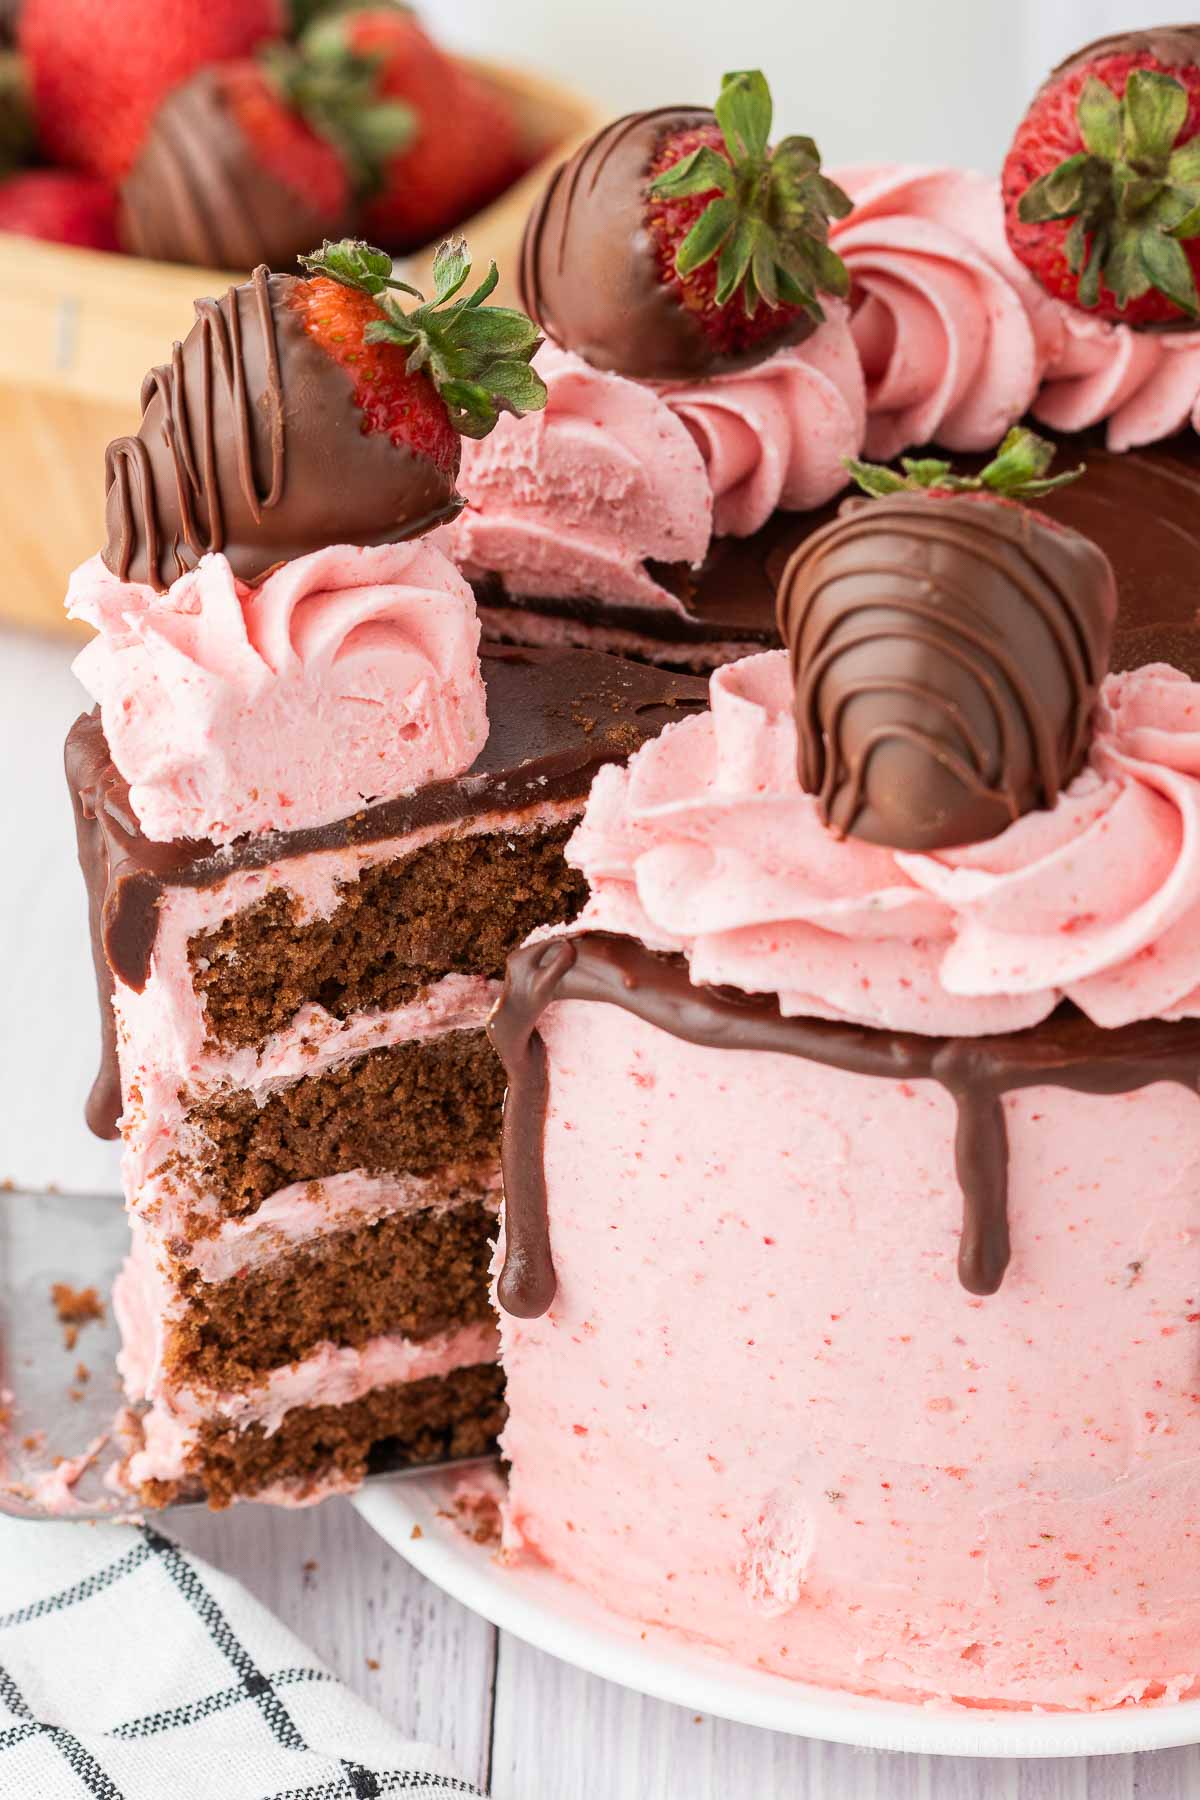
Why You’ll Love This Chocolate Cake Recipe
TASTE: Rich chocolate cake is deeply chocolatey, balanced with the sweetness of sugar and the subtle richness of butter and oil.
TEXTURE: Its texture is tender and moist, a result of the perfect blend of flour, cocoa, and other ingredients.
PROS: It’s a chocolate cake with chocolate covered strawberries, need I say more? The addition of the ganache makes it perfect.
CONS: Layered cakes take a bit more time than sheet pan cakes. This cake has the additional step of making the ganache (5 more minutes) and chocolate covered strawberries.
WOULD I MAKE THIS AGAIN? Yes. This is an excellent way to celebrate a special occasion. It’s perfect for birthdays, Valentine’s Day or an anniversary party.
DIET: Vegetarian
METHOD: Oven
Ingredients
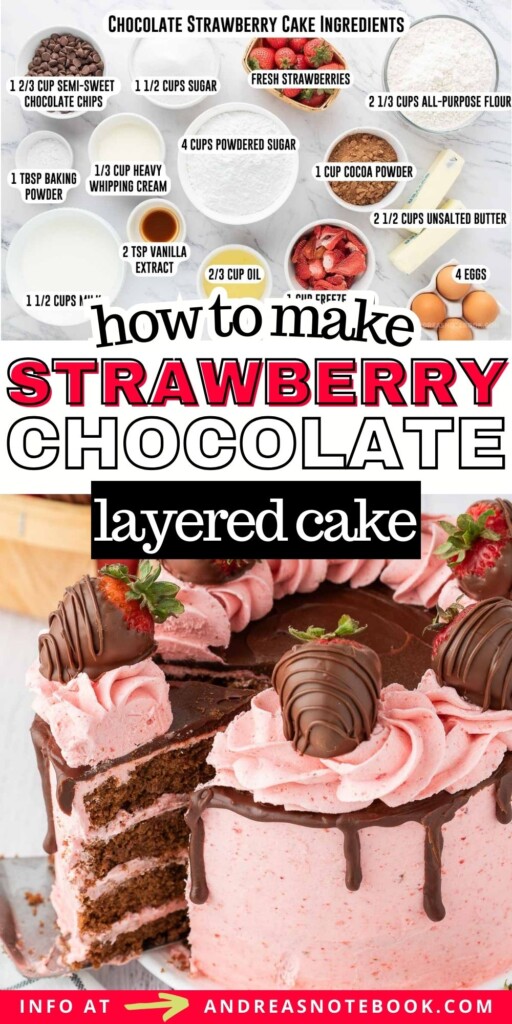
Full printable Chocolate and Strawberry Cake ingredients list and instructions are in the recipe card below.
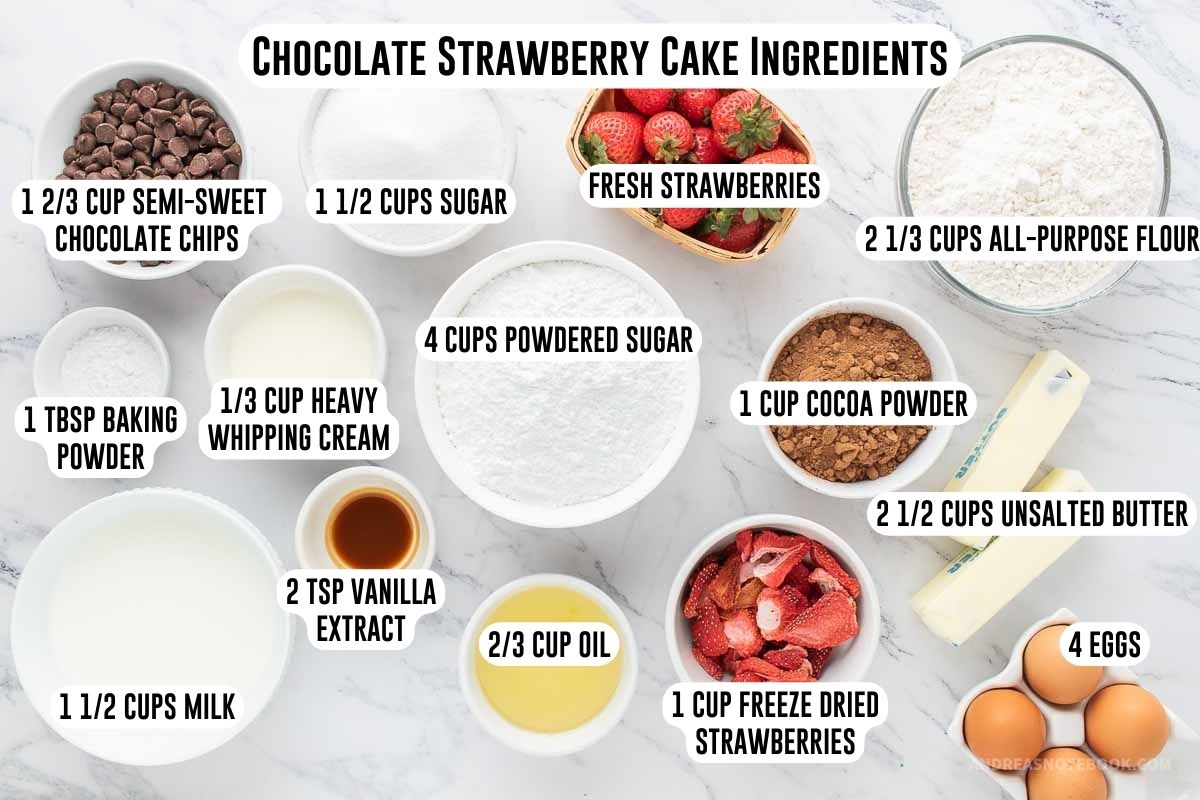
- Flour: Use all-purpose flour for this recipe.
- Cocoa Powder: Use unsweetened cocoa powder.
- Oil: This recipe was tested with vegetable oil. Substituting olive oil is not recommended.
- Butter: Use unsalted butter, softened.
- Sugar: Both granulated sugar and powdered sugar (confectioners sugar) are used.
- Milk: Use whole milk, if available. Otherwise use your preferred type of milk.
- Strawberries: Freeze dried strawberries are used to flavor the frosting. Whole fresh strawberries are used as decoration on top of the cake.
- Chocolate: The chocolate ganache and the chocolate dipped strawberries calls for semi-sweet chocolate. Use semi-sweet chocolate chips for ease. You can also chop baking chocolate into even sized pieces.
- Cream: Heavy whipping cream (heavy cream) is used to make the ganache.
Gluten Free Option
To make this gluten free simply substitute the all-purpose flour for King Arthur’s Gluten-Free Flour Mixture. Make sure all your work surfaces are contaminate free and your other ingredients are gluten free.
Variations
Chocolate Cupcake with Strawberry Frosting: Halve the cake recipe. Mix the cake batter as directed. Line a cupcake pan with paper cupcake liners. Preheat the oven to 350°F. Fill cupcake papers ⅔ full of cake batter. Bake on the center rack of the oven for 17-19 minutes, or until a toothpick inserted into the middle of the cupcake comes out clean or with a few crumbs on it.
Chocolate Cake with Cinnamon Frosting: Make the chocolate cake as directed but substitute this Cinnamon Cream Cheese Frosting for the strawberry frosting.
Instructions
Full step-by-step Strawberry Chocolate Cake instructions are in the recipe card below. You can print or save to Pinterest for later.
Chocolate Cake Instructions
In order to make your chocolate cake with strawberry frosting you’ll need to make a homemade chocolate cake, homemade strawberry frosting, homemade chocolate ganache and hand dipped chocolate strawberries. First, start by making the cakes.
Prep: Heat your oven to 350° F. Line 4, 8-inch cake pans with parchment circles and spray with cooking spray.
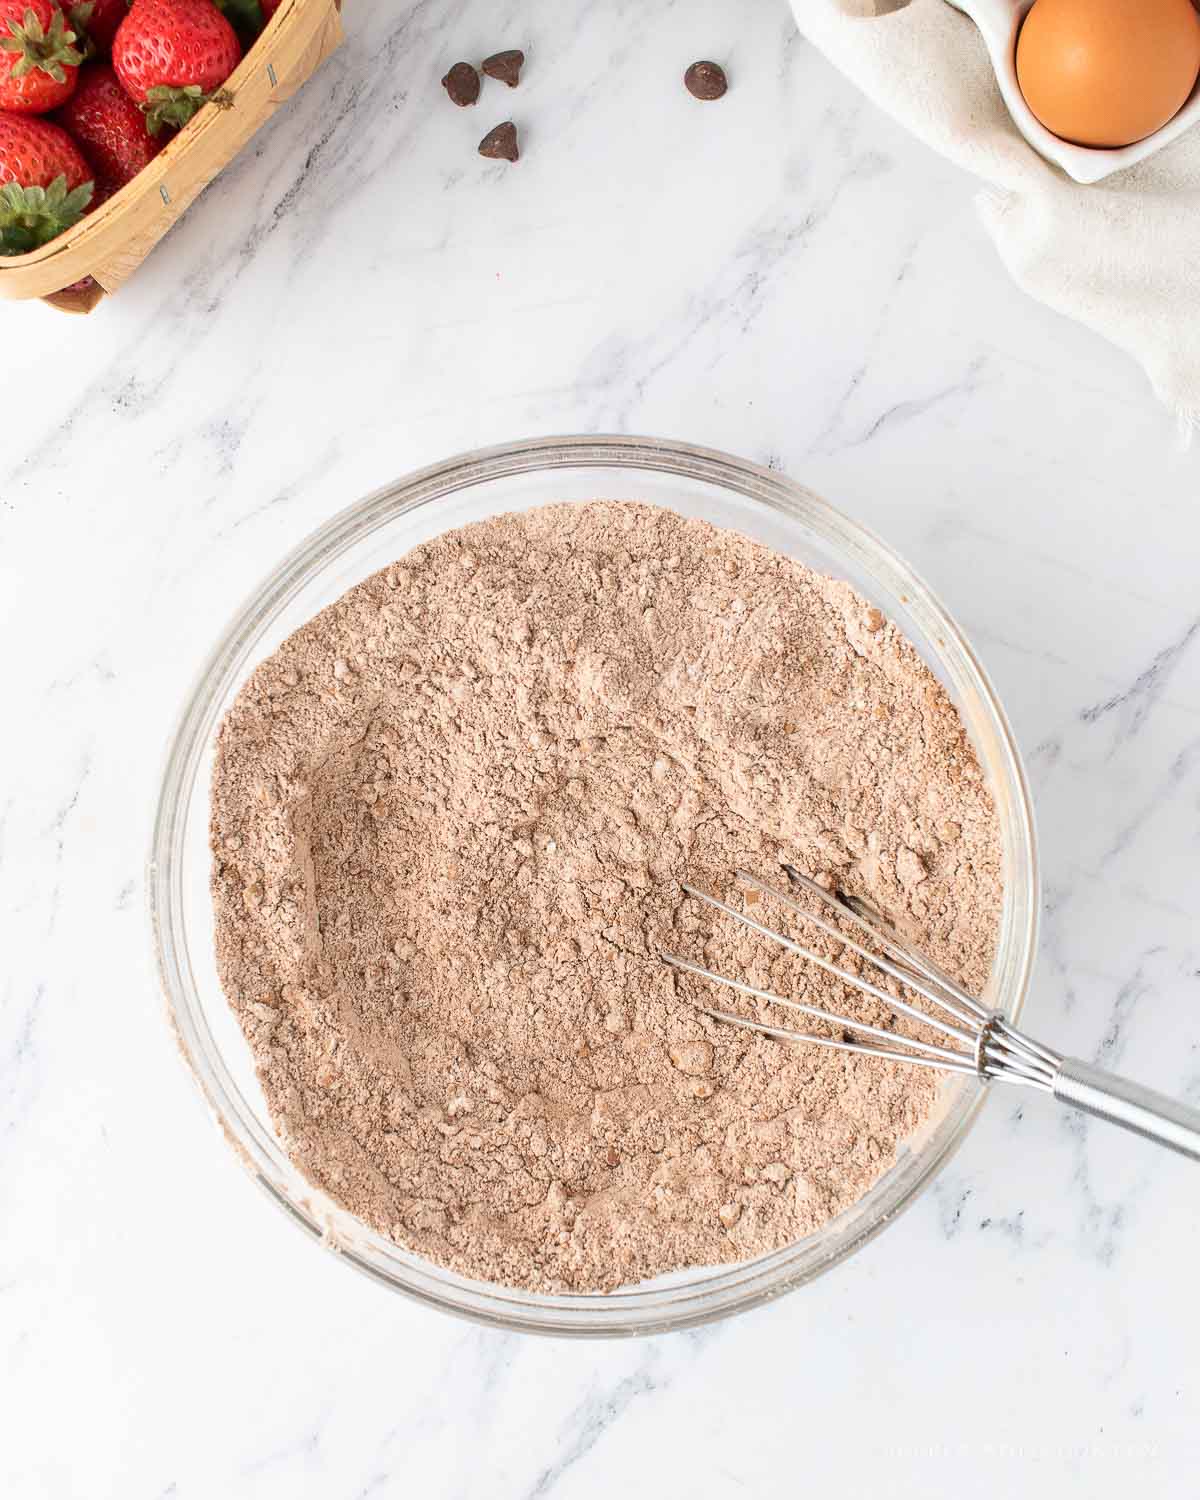
Step 1: Combine dry ingredients. In a medium bowl, whisk together flour, cocoa, baking powder, and salt. Set aside.
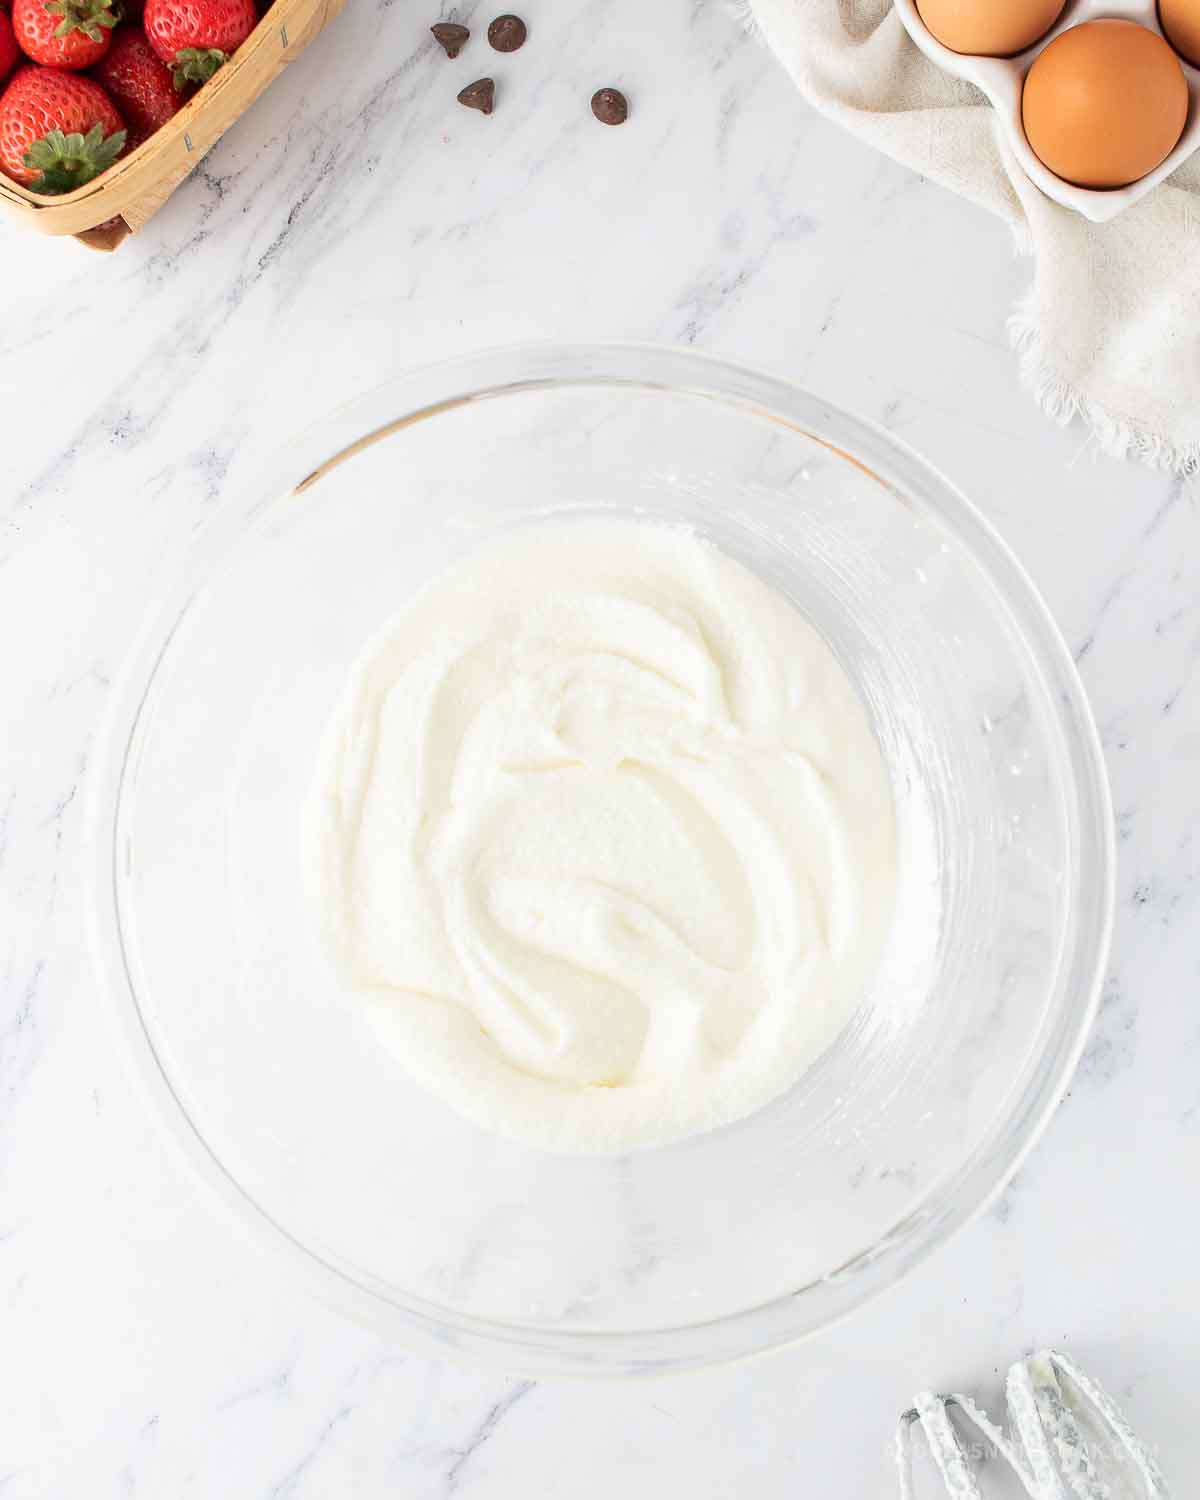
Step 2: Use a large bowl to mix together the wet ingredients. First, cream sugar. In a large bowl, beat butter, oil, and sugar until smooth and light. 2-3 minutes.
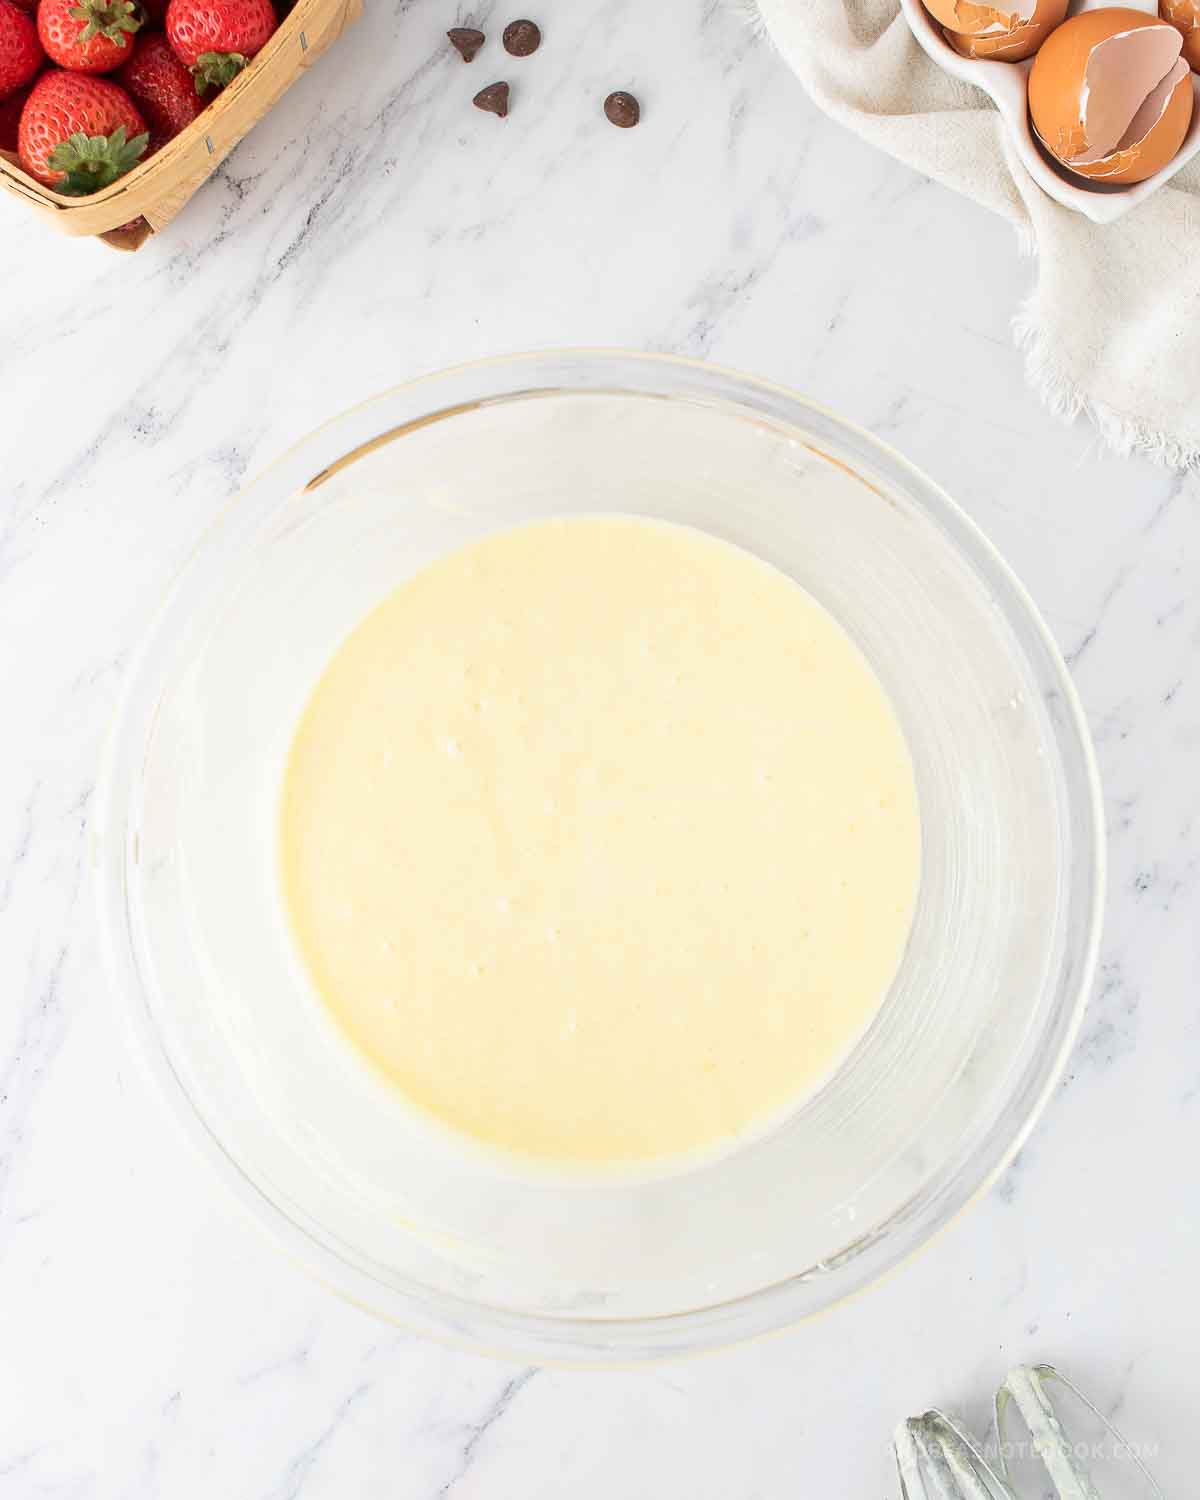
Step 3: Mix in eggs until well combined.
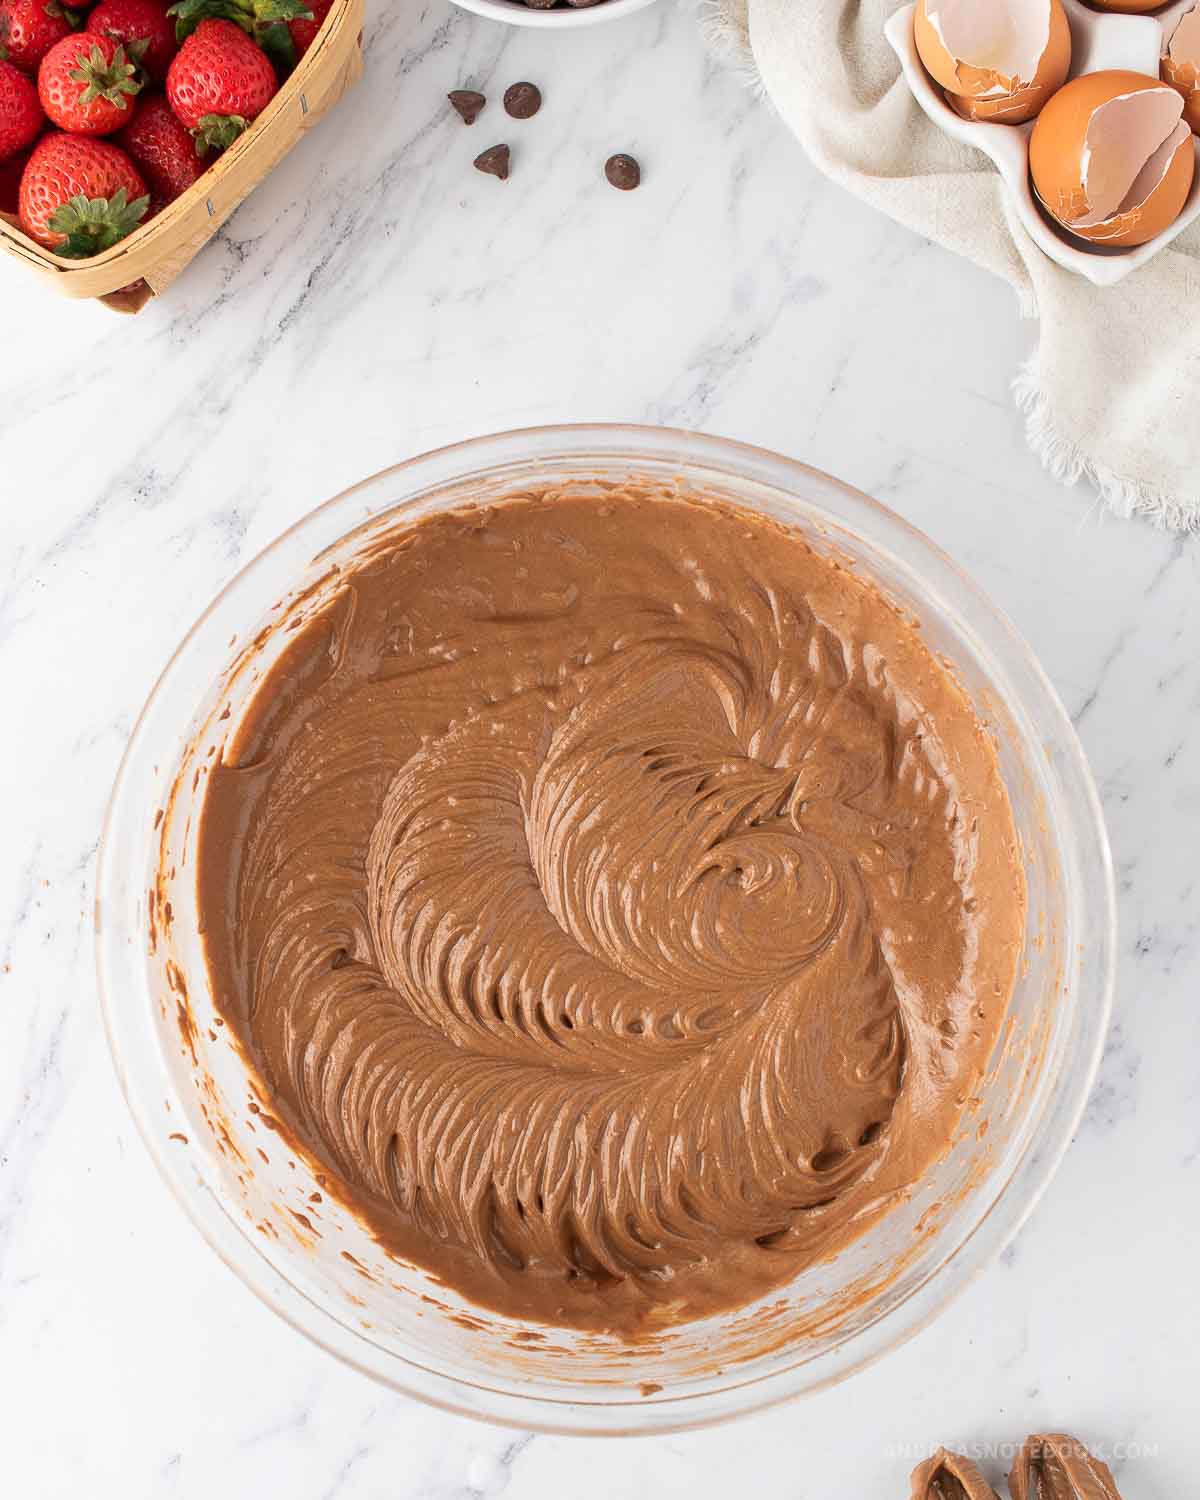
Step 4: Alternately add dry ingredients and milk to the mixture a little at a time until fully combined. Do not overmix.
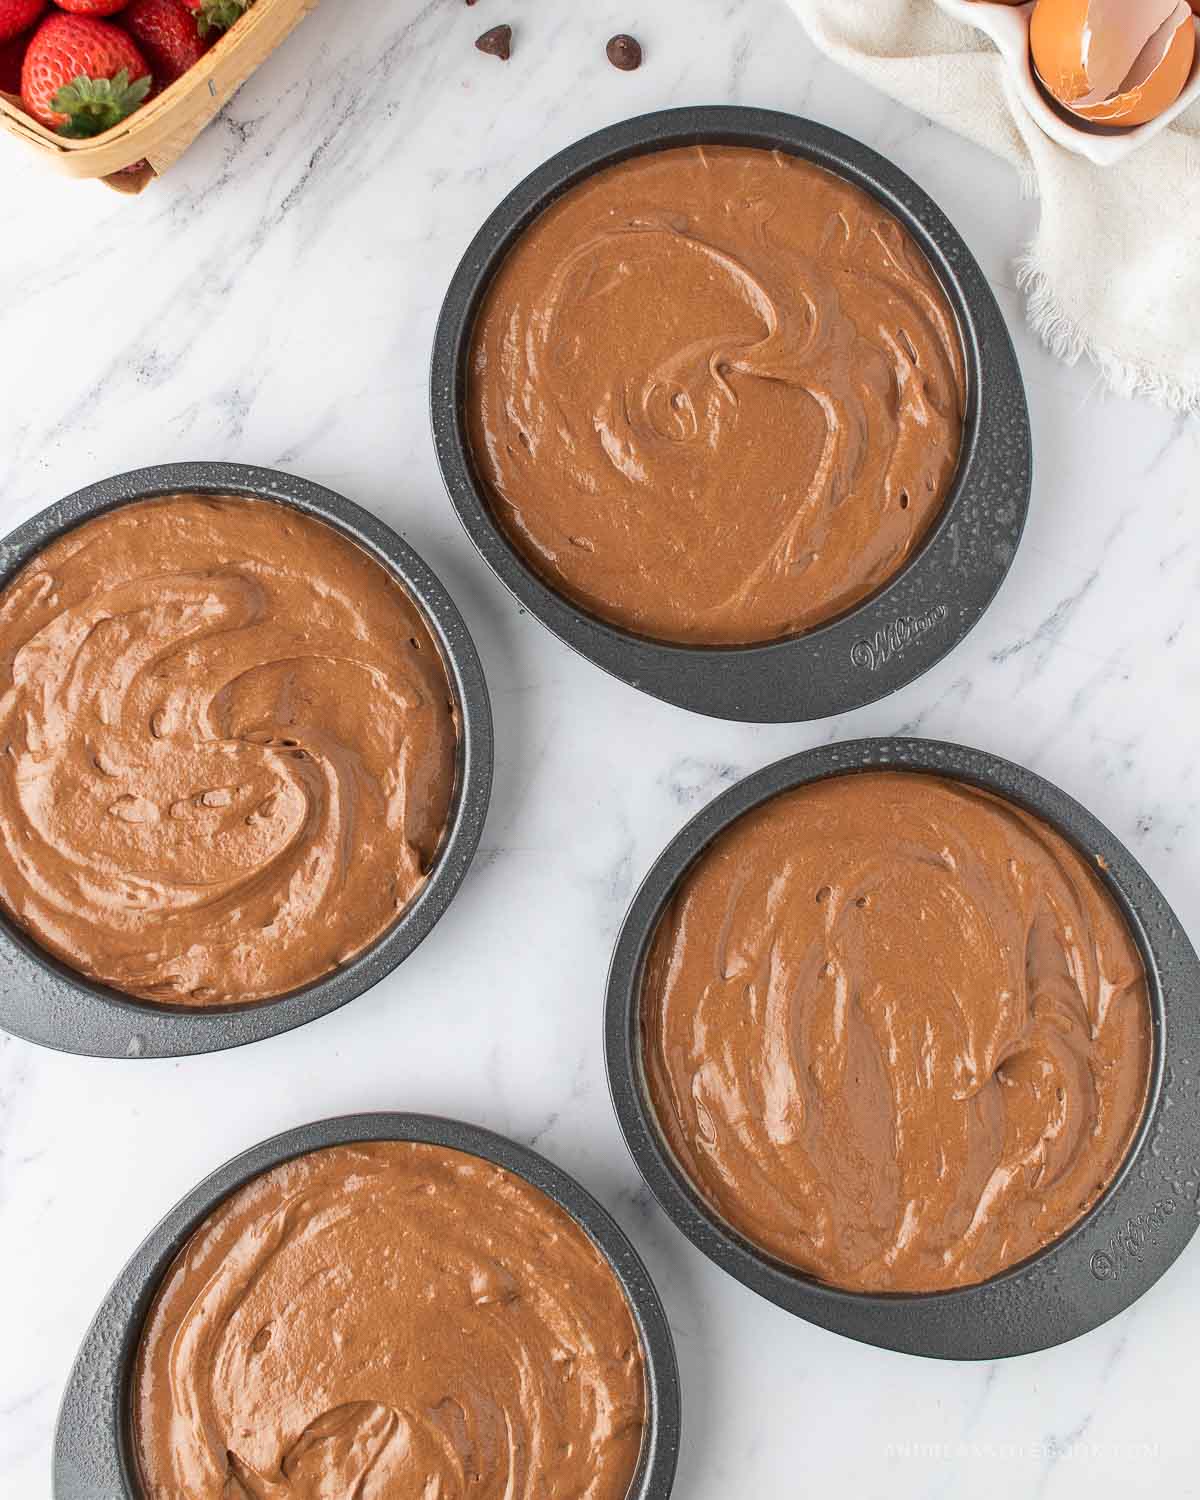
Step 5: Divide batter into the four prepared pans. Bake for 20-25 minutes or until a toothpick comes out clean.

Step 6: Let the cakes cool completely before making the buttercream. After cooling for about 10 minutes, remove the cakes and allow them to cool on a wire rack.
Strawberry Buttercream Frosting Instructions
Let the cake cool before making your frosting.
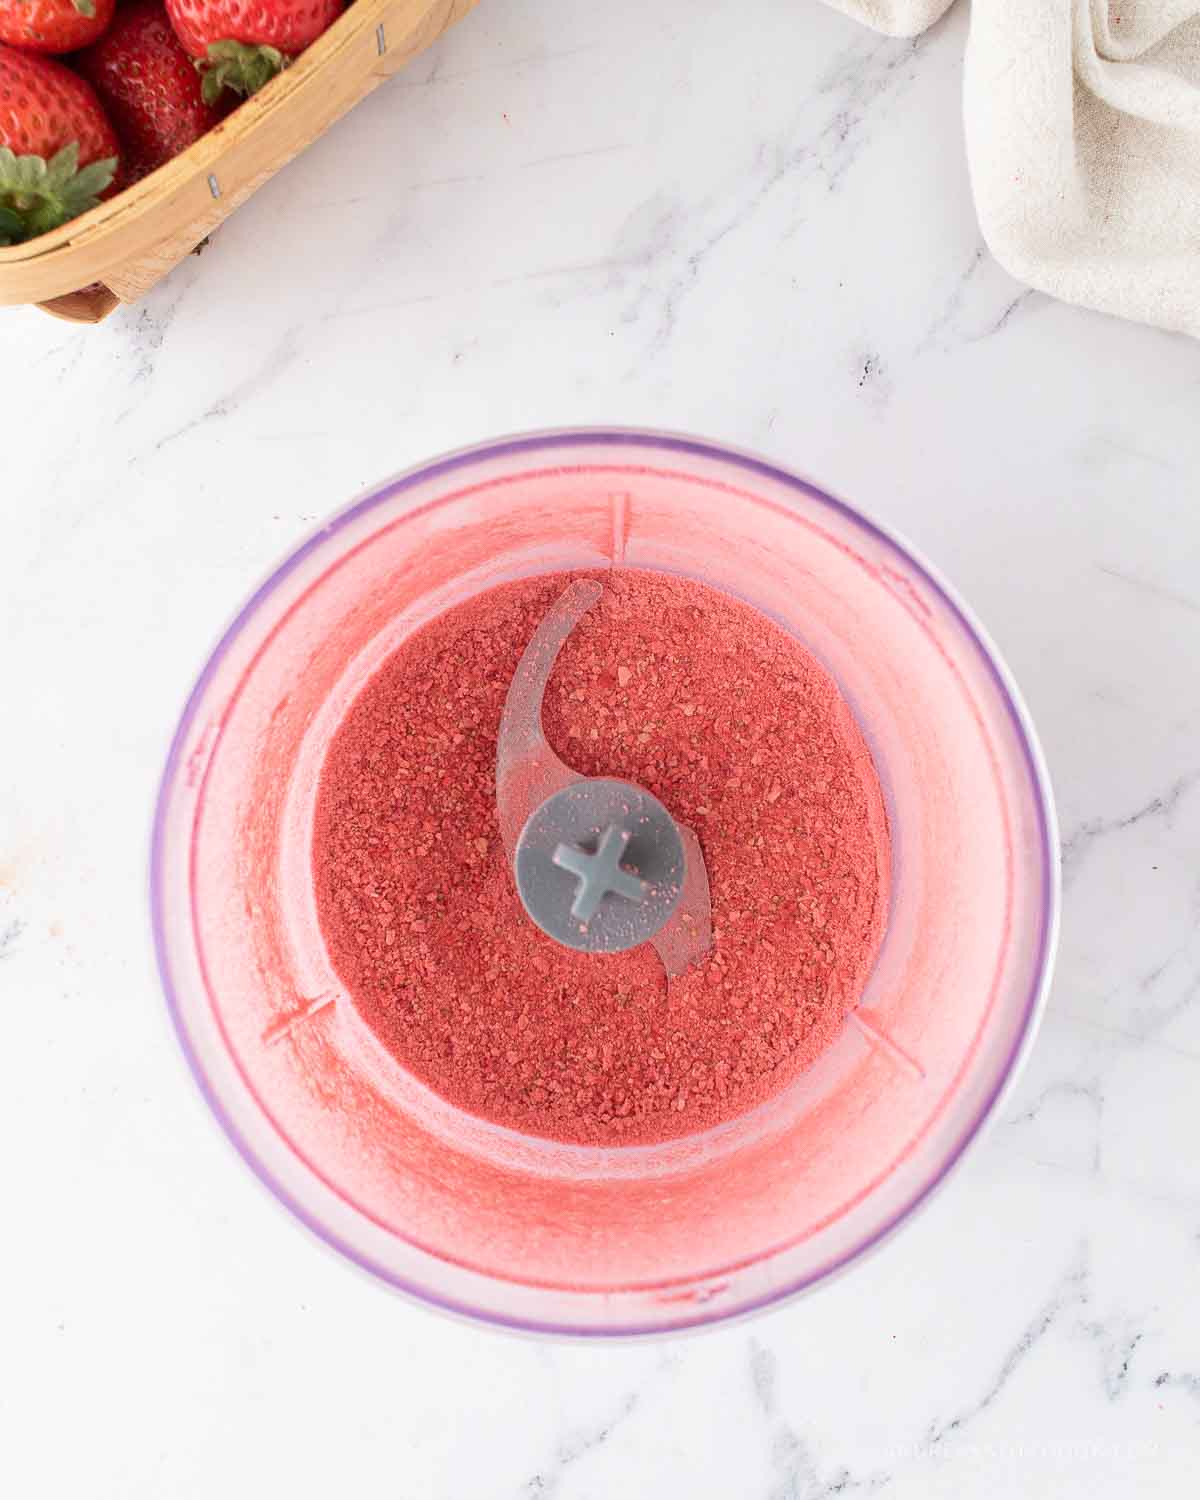
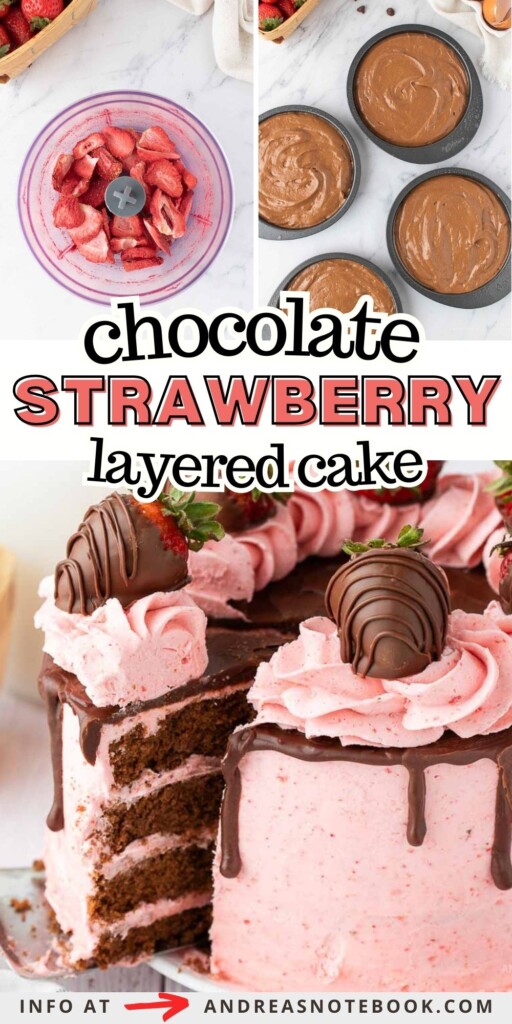
Step 1: Put freeze-dried strawberries in a food processor; blend into a fine powder. Set aside. This will provide the pink color and strawberry flavor for the icing.
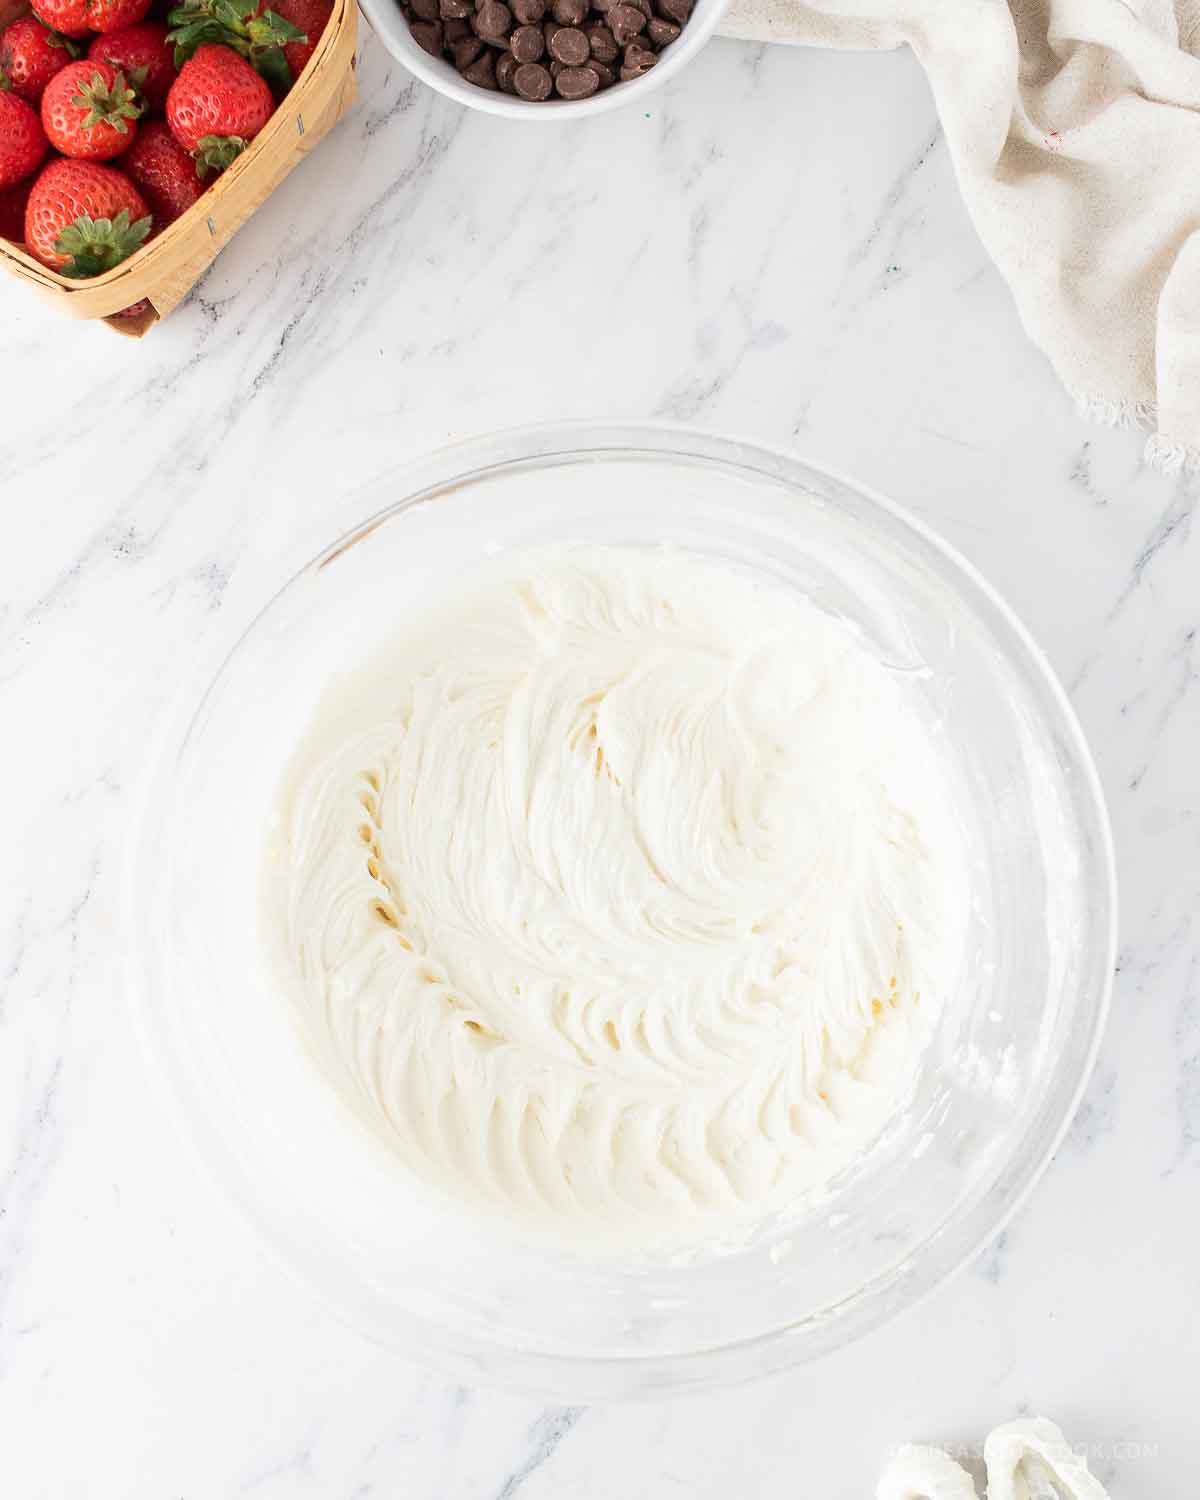
Step 2: Beat softened butter and vanilla in a large bowl with a hand mixer on medium speed until smooth and creamy.
Lower to low speed and gradually add powdered sugar, mixing until fully combined.
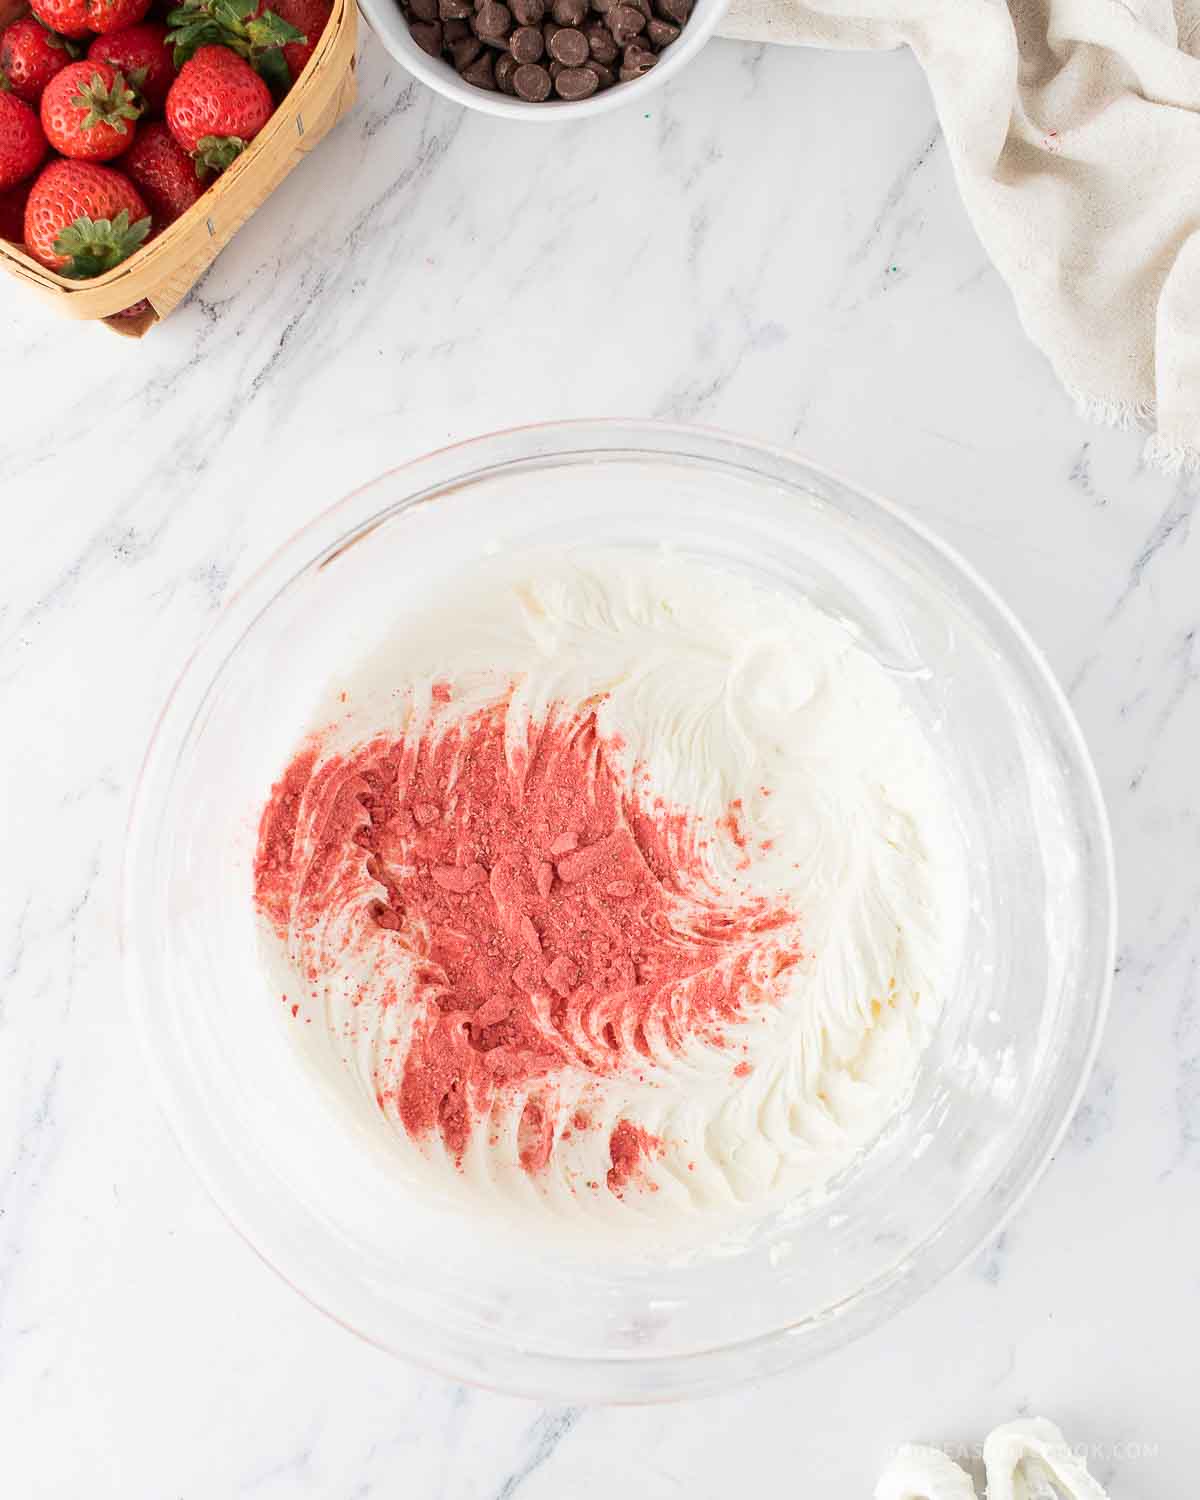
Step 3: Add strawberry powder to the frosting mixture.
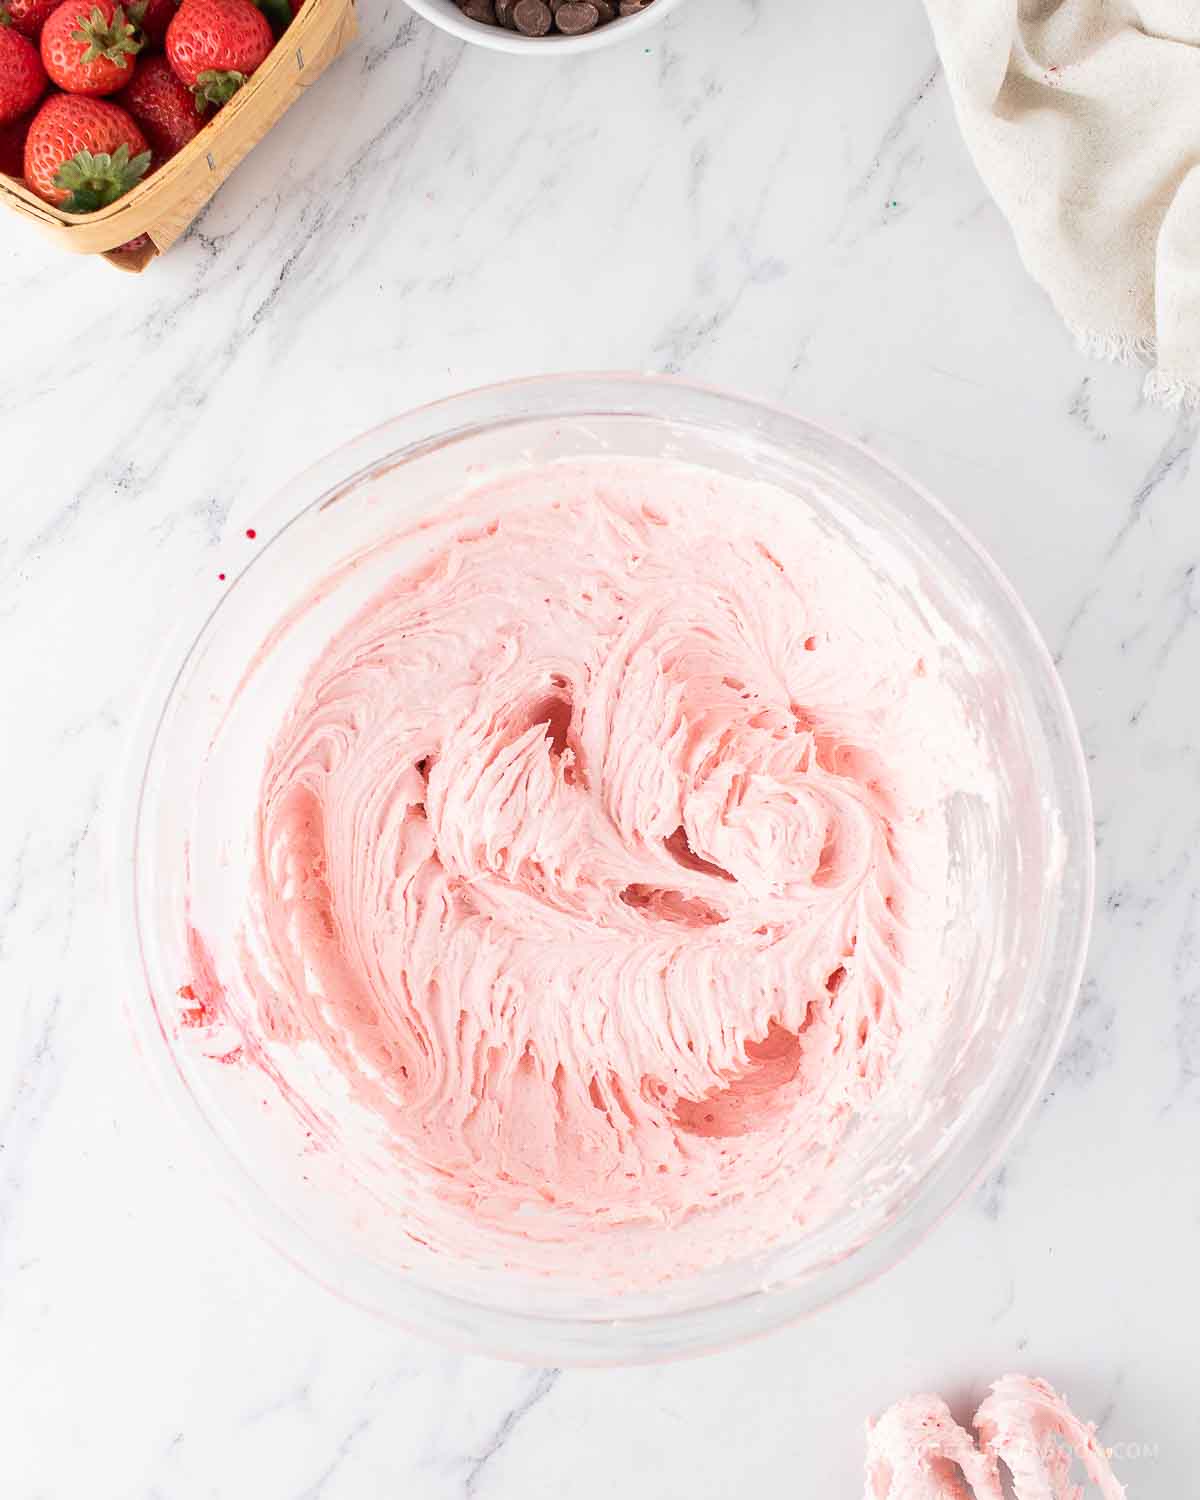
Step 4: Mix in the strawberry powder until combined.
Chocolate Ganache Instructions
Make the chocolate ganache for the top of the cake.
Step 1: Place chocolate chips in a microwave-safe bowl.
Step 2: Microwave heavy cream in a separate bowl until it just starts to boil (about 30 seconds). Do not overheat.
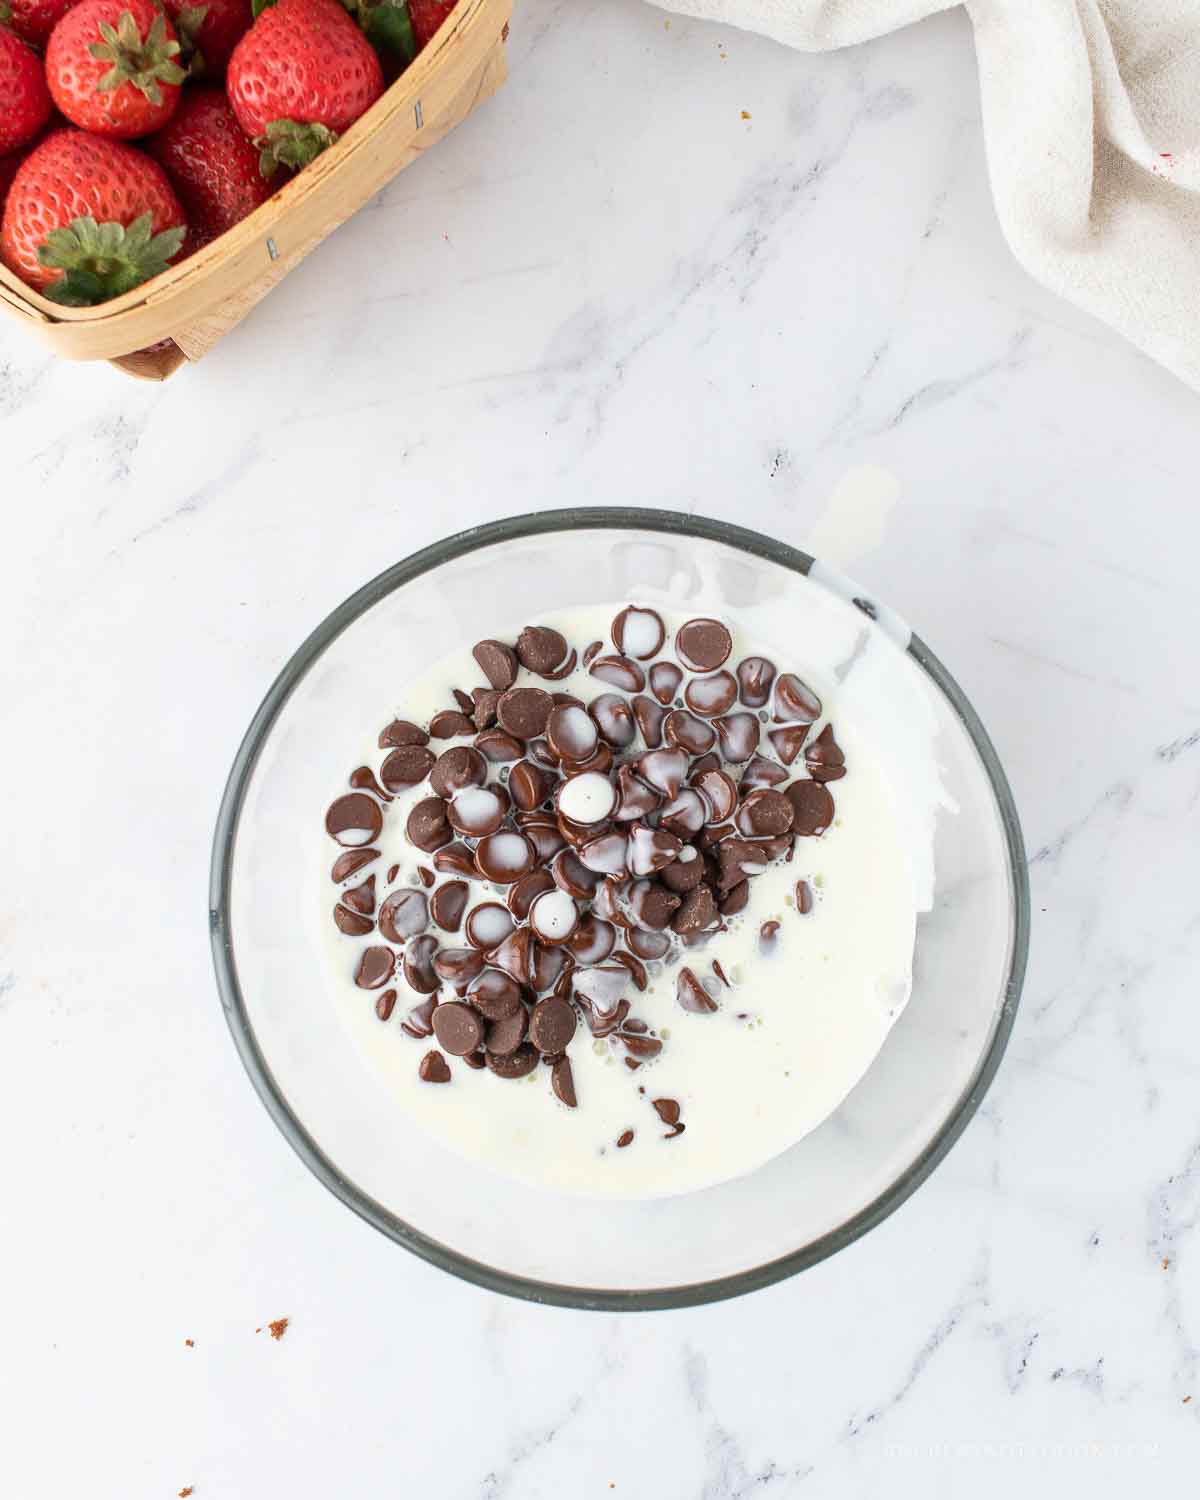
Step 3: Place chocolate chips in a microwave-safe bowl.
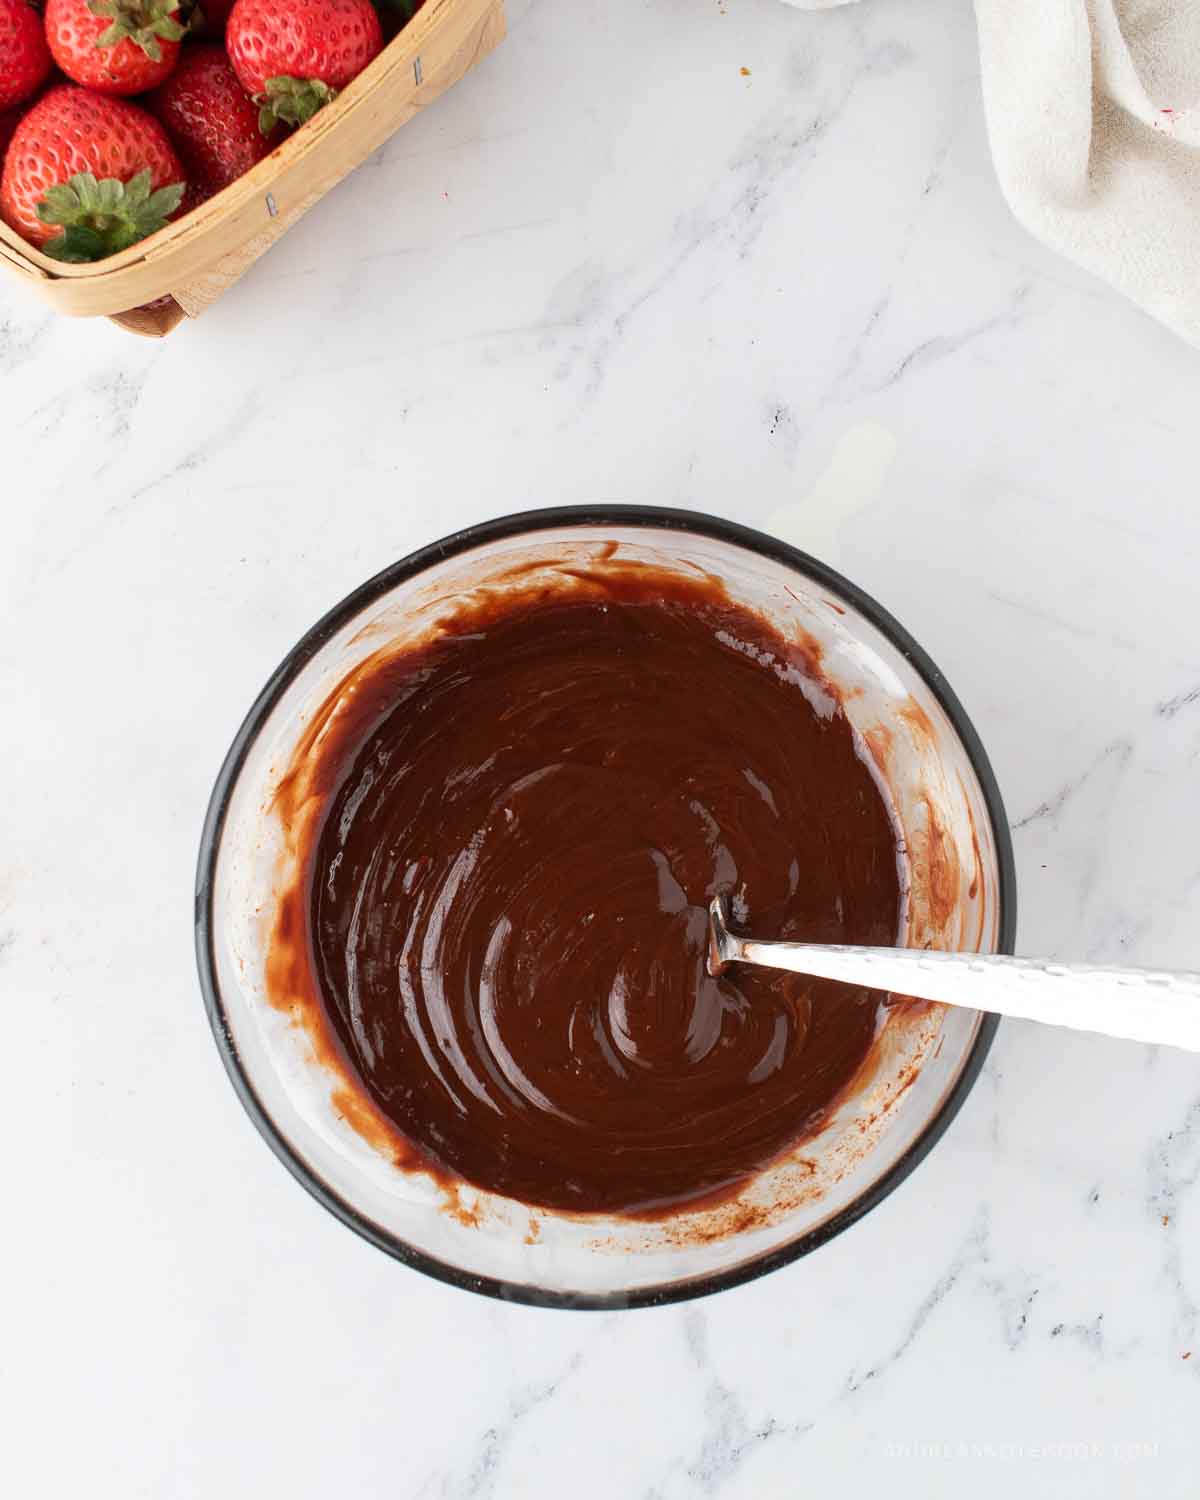
Step 4: Whisk until smooth and silky chocolate ganache. Let ganache cool to room temperature before using on cake.
Chocolate Covered Strawberries Instructions
Fresh berries are used to decorate the top of the cake and are totally optional. Chocolate-covered strawberries are a fun touch.
Step 1: Line a baking sheet with parchment paper.
Step 2: Heat chocolate chips in a microwave-safe bowl, stirring every 30 seconds until melted. Continue to heat until the chocolate is almost completely melted. Stir until it’s all melted.
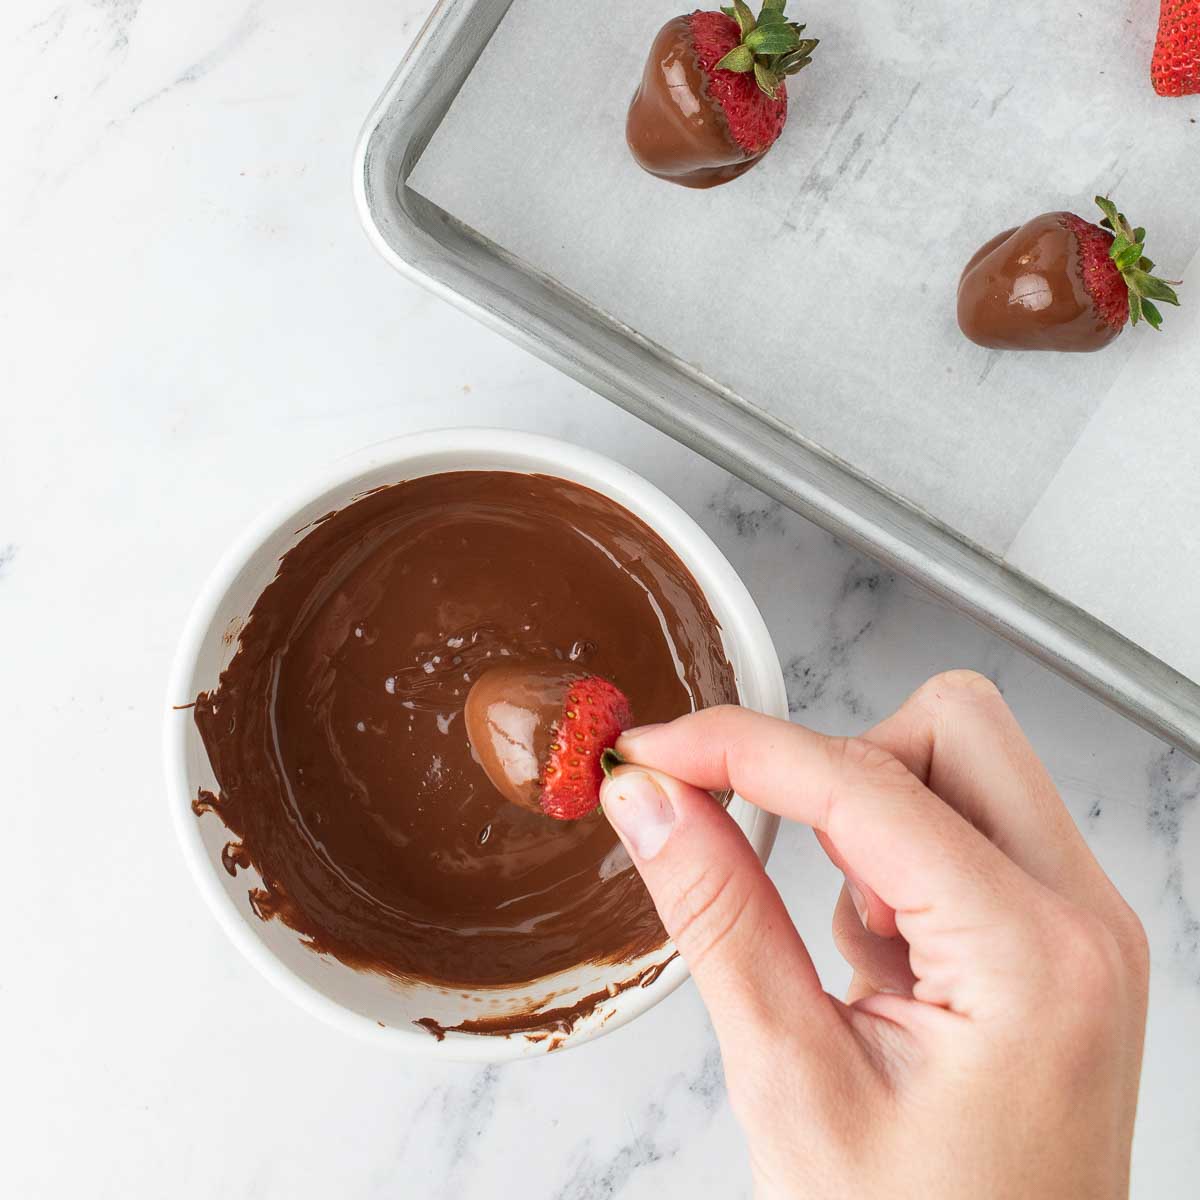
Step 3: Dip whole strawberries into melted chocolate, tapping off excess.
Step 4: Place on parchment paper and refrigerate until chocolate sets.
How To Assemble A Layered Cake
Now it’s time to assemble the chocolate strawberry cake! Follow these steps for a fool-proof layer cake.
Step 1: Level cakes with a large serrated knife for a flat surface.
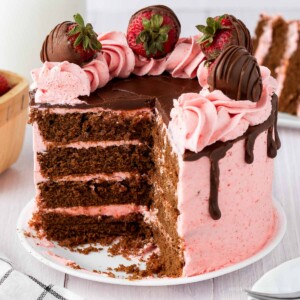
Step 2: Assemble the cake on the serving plate. Stack cakes, adding a layer of strawberry buttercream between each. The strawberry layer should not be too thick in order to prevent the cake layers from sliding.
Step 3: Spread a thin, even layer of strawberry buttercream on top and around the sides of the cake for a crumb coat.
Step 4: Freeze the cake for at least 15 minutes to harden the buttercream. This will help prevent crumbs.
Step 5: Frost the cake with the remaining buttercream.
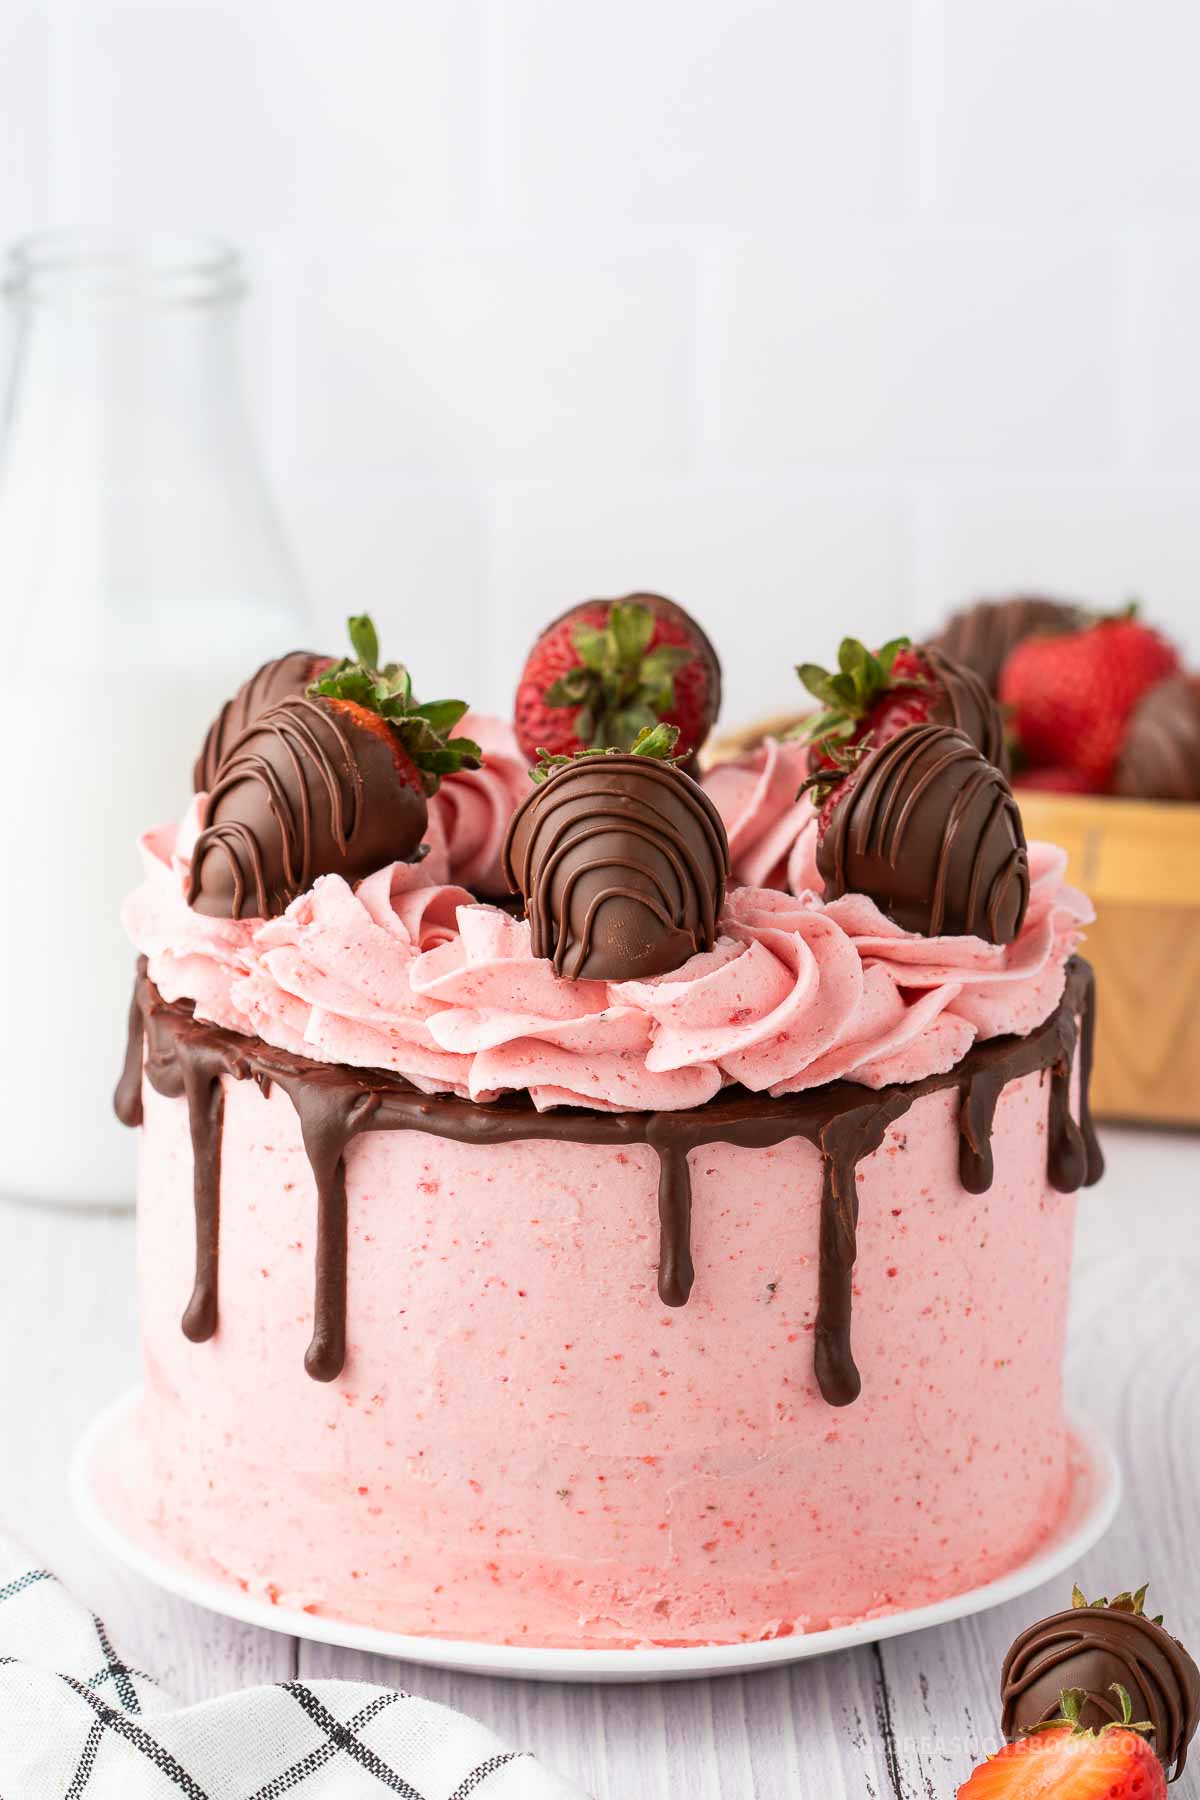
Step 6: Pour ganache over the cake, on top of the frosting, spreading evenly with an icing spatula; allow drips down the sides, if desired. The drips are not necessary but look fun.
Step 7: Use a piping bag for cleaner ganache drips on the sides.
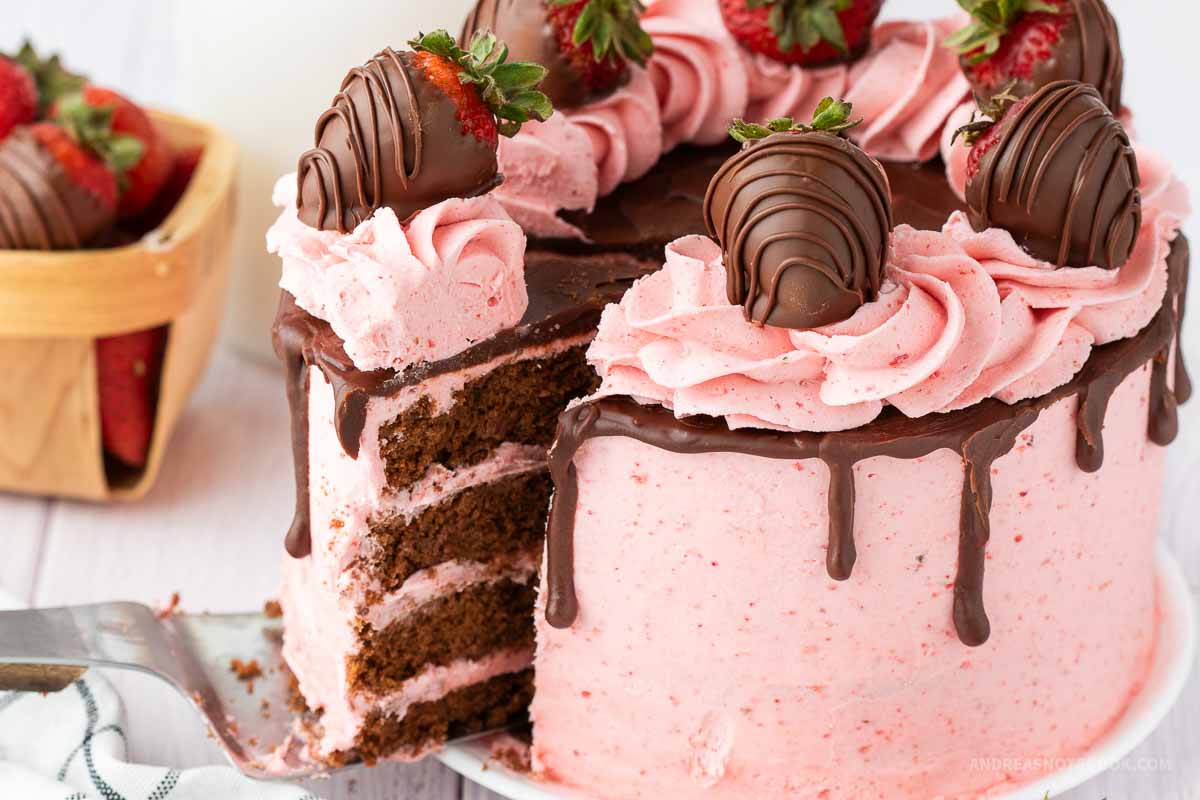
Step 8: Pipe remaining frosting on top for a border. Use a decorative piping tip for a fun look.
Step 9: Add chocolate strawberries to the top of cake on top of the strawberry frosting border.
See More Strawberry Recipes
Cake Flour vs. All-Purpose Flour
The main differences between cake flour and all-purpose flour lie in their protein content, texture, and the resultant effect on baked goods:
- Protein Content:
- Cake Flour: Has a lower protein content, usually around 7-9%. The lower protein content results in less gluten formation.
- All-Purpose Flour: Has a higher protein content, typically around 10-12%. This higher protein content leads to more gluten development.
- Texture:
- Cake Flour: Finely milled and usually bleached, which further breaks down the protein, resulting in a very soft, fine texture that produces tender and light baked goods.
- All-Purpose Flour: Has a coarser texture compared to cake flour and is usually unbleached. It’s more versatile for various types of baking, from bread to cookies.
- Effect on Baked Goods:
- Cake Flour: Ideal for making cakes (especially light and airy ones like angel food cake) because it creates a finer crumb and a softer texture.
- All-Purpose Flour: Suitable for a wide range of baked goods, including bread, cookies, and pastries. It provides more structure than cake flour, which is beneficial for items that require more support.
- Substitution:
- While they are not directly interchangeable, you can make a substitute for cake flour by removing two tablespoons of all-purpose flour from each cup and replacing it with two tablespoons of cornstarch, then sifting the mixture several times.
- Use in Recipes:
- It’s generally best to use the type of flour specified in a recipe for optimal results, as the flour type can significantly affect the texture and structure of the final product.
Storing
Storing a chocolate layer cake properly is essential to maintain its freshness and flavor. Here’s how you can store it:
- Before Frosting:
- If you’ve baked the cake layers but haven’t frosted them yet, wrap each layer tightly in plastic wrap.
- Store them at room temperature for up to two days, or freeze for longer storage (up to 2 months). Thaw in the refrigerator or at room temperature before frosting.
- After Frosting:
- If the cake is frosted with a buttercream or ganache, it can be kept at room temperature for up to three days. Ensure it’s covered with a cake dome or a large overturned bowl to protect it from dust and to prevent drying out.
- If it’s frosted with a cream cheese frosting, or if the frosting or filling is perishable, refrigerate the cake. Cover it with a dome or keep it in a cake box to prevent it from absorbing fridge odors.
- Refrigerating the Cake:
- When refrigerating, let the cake sit uncovered for about 15-20 minutes to let the frosting harden slightly. This helps prevent it from sticking when you cover it.
- Cover loosely with plastic wrap or place in an airtight container.
- Before serving, let the cake sit at room temperature for an hour or so to improve flavor and texture, as cold can mute flavors.
- Freezing the Cake:
- For longer storage, you can freeze the cake, either frosted or unfrosted. Wrap it well in plastic wrap and then in foil to prevent freezer burn. It can be stored frozen for up to 3 months.
- Thaw overnight in the refrigerator and then bring to room temperature before serving.
Remember, the storage method can depend on the specific ingredients and frosting used, so adjust accordingly.
Frequently Asked Questions (FAQs)
Here are some frequently asked questions (FAQs) about making a layered chocolate cake with strawberry frosting, topped with chocolate ganache and chocolate-covered strawberries, along with their answers:
Avoid over-mixing the batter. Also, don’t open the oven door frequently.
Wait until the ganache has cooled but is still pourable. Ensure the frosted cake is chilled so the ganache sets quickly.
Apply a thin crumb coat of frosting first and refrigerate the cake to set this layer. Then, add the final layer of frosting.
If too thin, add more melted chocolate. If too thick, gently reheat and add a small amount of warm cream.
Chocolate Layered Cake with Strawberry Frosting
Equipment
- 4 8-inch round cake pans
- electric mixer
Ingredients
Chocolate Cake
- 2 ⅓ cups all-purpose flour
- 1 cup cocoa powder
- 1 tablespoon baking powder
- ½ teaspoon salt
- ½ cup unsalted butter softened
- ⅔ cup vegetable oil
- 1 ½ cup granulated sugar
- 4 large eggs
- 1 ½ cups milk
Strawberry Buttercream
- 1 cup freeze dried strawberries
- 2 cups unsalted butter softened
- 2 teaspoon vanilla extract
- 4 cups powdered sugar
Chocolate Ganache
- 1 cup semi-sweet chocolate chips
- ½ cup heavy whipping cream
Chocolate-Covered Strawberries
- 6 strawberries fresh
- ⅔ cup semi-sweet chocolate chips
Instructions
Chocolate Cake
- Preheat the oven to 350° F. Prepare 4, 8-inch round cake pans with parchment paper circles and cooking spray.
- In a medium mixing bowl, combine the flour, cocoa powder, baking powder, and salt with a whisk. Set aside.
- In a separate large mixing bowl, beat the butter, oil and sugar until smooth and light. Add the eggs. Mix until combined.
- Add the dry mixture, alternating with the milk until completely combined.
- Divide the batter into the 4 cake pans. Bake for 20-25 minutes or until a toothpick can be inserted and come out clean.
- Allow the cakes to cool completely while making the buttercream.
Strawberry Buttercream
- Add the freeze dried strawberries to a food processor, blend until the strawberries become a fine powder. Set aside.
- In a large mixing bowl with a hand mixer, beat the softened butter and vanilla until smooth and creamy. Gradually add the powdered sugar until completely combined.
- Add the strawberry powder and mix until combined.
Chocolate Ganache
- Add the chocolate chips to a microwave safe bowl.
- In a separate bowl, microwave the heavy cream just until it begins to boil. (about 30 seconds)
- Pour the hot cream over the chocolate chips and let sit for a couple minutes to melt the chocolate. Whisk until smooth and combined.
- Allow the ganache to cool to room temperature before using it on the cake.
Chocolate-Covered Strawberries
- Line a baking sheet with parchment paper.
- Add the chocolate chips to a microwave safe bowl and heat, stirring every 30 seconds until completely melted. Dip each strawberry into the melted chocolate and tap off any excess.
- Place onto the parchment paper and allow the chocolate to set in the refrigerator.
Assemble
- Use a Large serrated knife to level the cakes and create a flat surface. Stack the cakes with a layer of strawberry buttercream between each cake layer.
- Use an icing spatula to spread a thin even layer of buttercream on top of and around the cake to create a crumb coat. Place in the freezer for at least 15 minutes to allow the buttercream to harden. Frost the entire cake with the remaining buttercream.
- Pour the ganache over the top of the cake and use an icing spatula to spread into an even layer, let some ganache drip down the sides. You can use a piping bag to get a cleaner drip down the sides.
- You can use a piping bag with the extra buttercream to create a border on top. Top with the chocolate strawberries.
Notes
- Ensure Even Layers: Use a serrated knife to level each cake layer. This creates flat surfaces that stack well.
- Chill Your Layers: Refrigerate or freeze cake layers before assembling. Cold cakes are less crumbly and easier to handle.
- Use a Cake Board: Assemble the cake on a sturdy cake board for easy transferring and stability.
- Apply a Crumb Coat: Spread a thin layer of frosting over the assembled cake to catch crumbs. Chill it to set before applying the final coat.
- Even Distribution of Frosting: Use an offset spatula to evenly distribute frosting or filling between layers.
- Avoid Overfilling: Too much filling can cause layers to slide. Keep it to a moderate amount.
- Smooth Sides: Use a bench scraper or icing smoother to create smooth sides. Rotate the cake turntable while holding the scraper steady.
- Decorate at Room Temperature: Decorate with final touches (like piping, flowers, etc.) when the cake and frosting are at room temperature for best results.
- Be Patient: Take your time and don’t rush the process. Patience is key to a beautifully assembled cake.
Nutrition
Love This Recipe?
Make sure to share it with me on Instagram @andreasnotebook and follow on Pinterest @andreasnotebook for more!

Comments & Reviews
Beth says
Oh. My. GAWD! This cake is so amazing! Chocolate and strawberry is a classic pairing, and this cake takes that to a new level. The moist cake and that creamy frosting are divine.
dana says
This is such a stunning cake! And it sounds approachable. Your instructions are super clear. So I’m going for it. Thank you!
Ann says
This is perfect for the season with everything pink and red. Thanks!
Gianne says
The rich and moist chocolate layers paired with the sweet and tangy strawberry frosting is a match made in dessert heaven. Absolutely delicious!
Jess says
Making this for valentine day! Love the valentine strawberries on top. Looks yummy.
DK Park says
The cake is immaculate, the sweetness is just at the right amount, and the flavor of the strawberry comes out and goes well with the frosting is the great thing to it, can’t wait to make this!
jamie says
This is strawberrylycious, having this freezing call will be loved by everyone this makes me crave this. I hope you can share more. Thank you very much!!!!!
Amy Liu Dong says
Oh my gosh, this chocolate layered cake is so beautiful and I am pretty sure it is also delicious.
This is a perfect cake to make for Valentine’s Day!