Let’s make our own homemade Nutella copycat. Picture this: a homemade chocolate hazelnut spread that’s all also happens to be vegan, gluten-free, and dairy-free. And guess what? We’re sweetening it with pure maple syrup and dates, so there is less sugar without losing any of that awesome flavor. If you’re all about that healthy Nutella life but don’t want to give up on yumminess, this is for you.
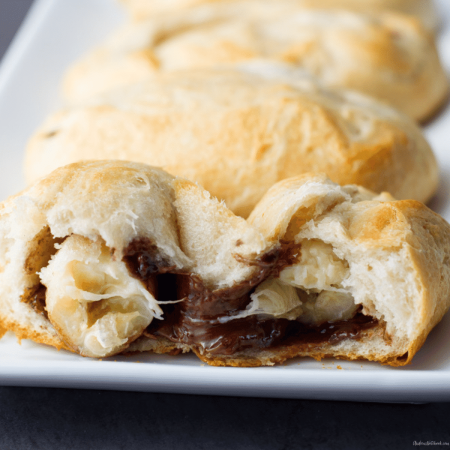
Once you’ve made your homemade Nutella you’ll want to use it in this Flaky Banana Nutella Croissant Recipe.
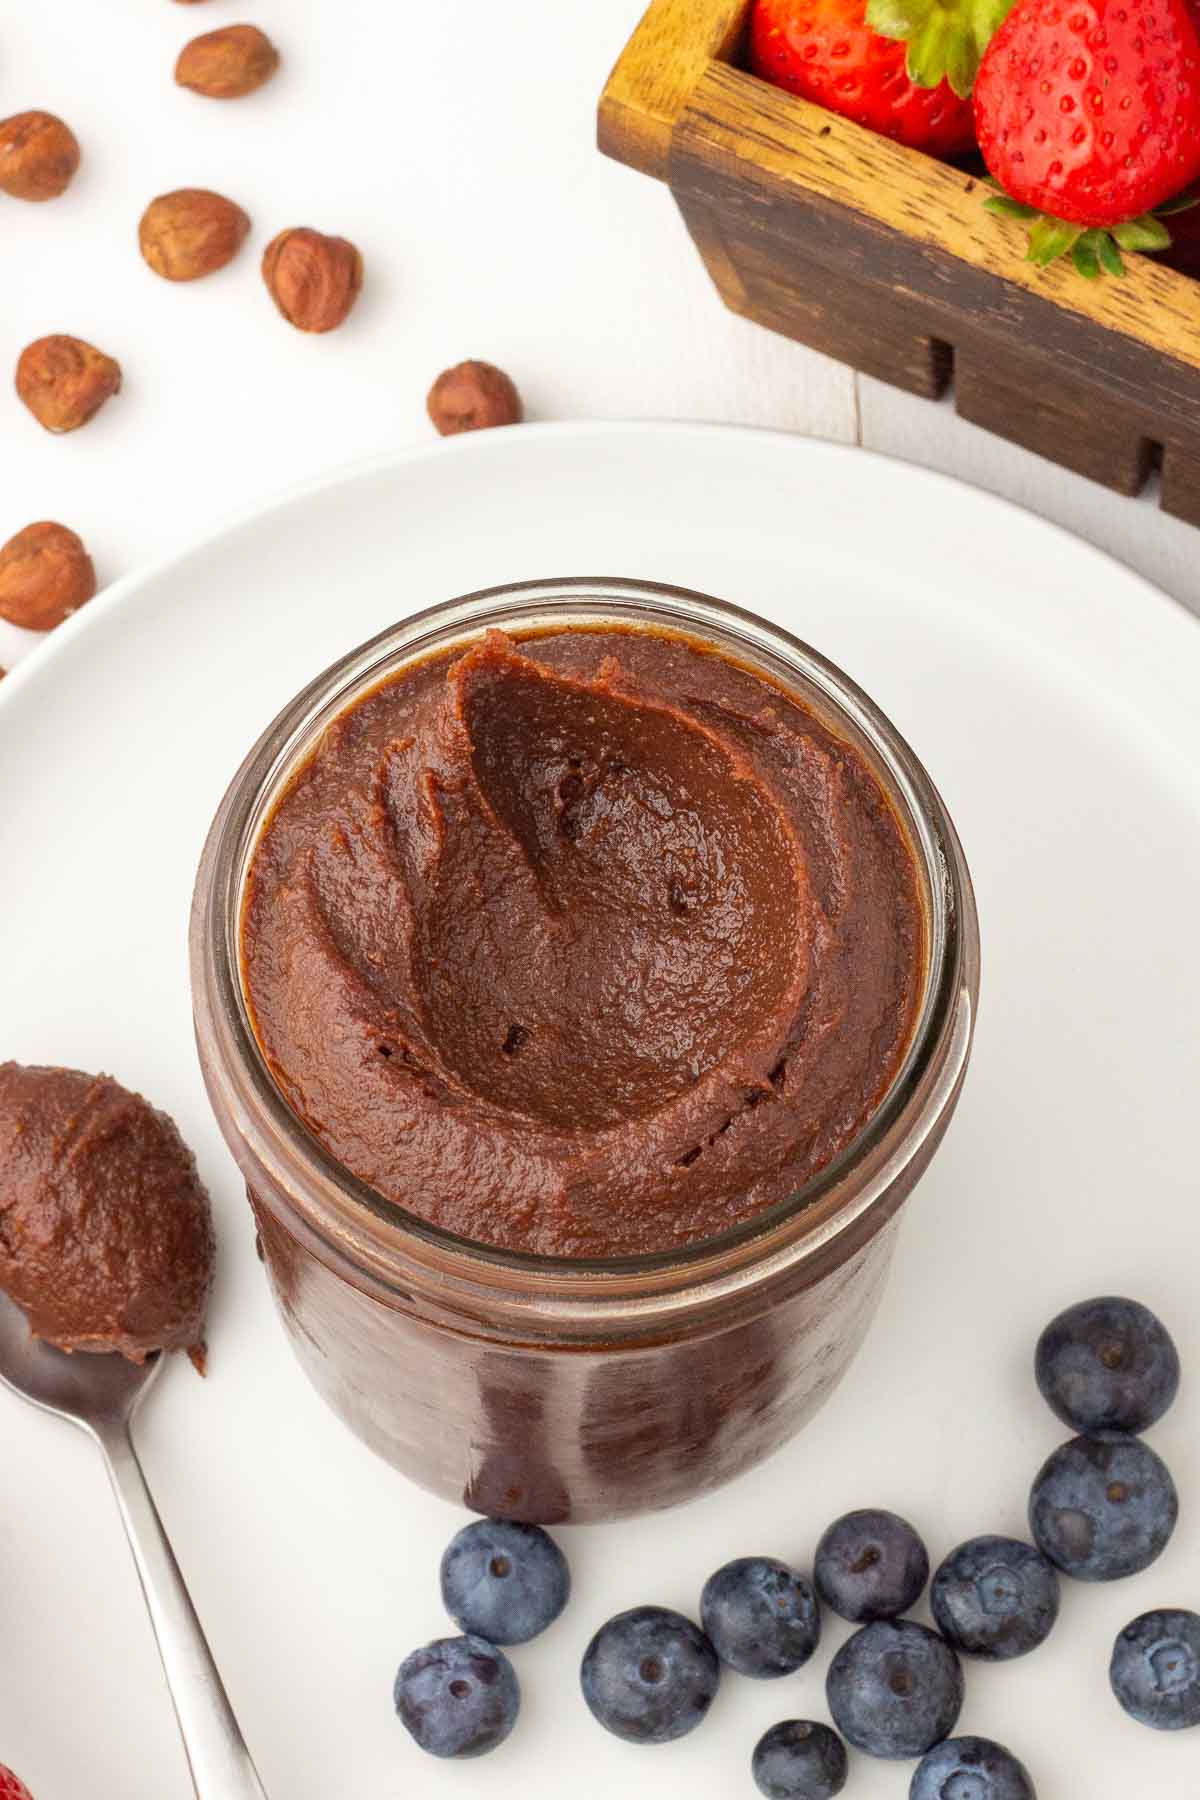
Why You’ll Love This Homemade Nutella
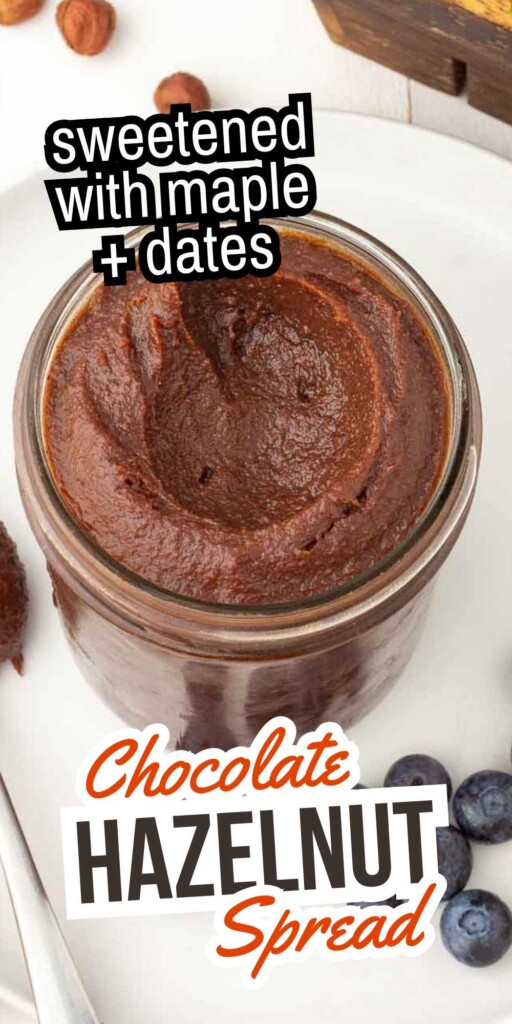
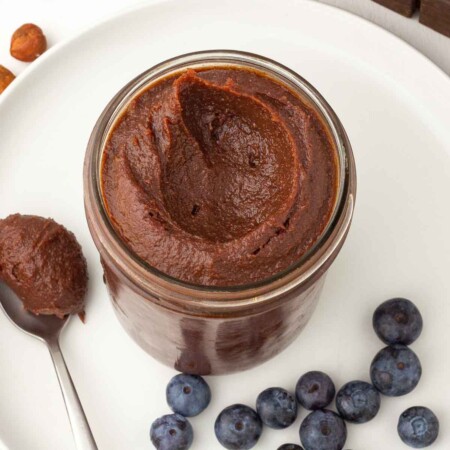
TASTE: Creamy chocolate hazelnut spread tastes like hazelnuts with a hint of cashew, cocoa and sweetness. It has a rich nutty hazelnut flavor that compliments so many other foods. The chocolate flavor is not overpowering.
TEXTURE: The more you blend this made-from-scratch rendition in a high speed blender, the creamier it will be. You can make it chunky, if you prefer, or smooth and creamy.
PROS:This healthier chocolate-hazelnut spread version sweetens with pure maple syrup and dates, using coconut oil for fat instead of palm oil, like the original. Critics have raised concerns over palm oil’s environmental impact and potential health issues. This version has less sugar and arguably healthier than the store-bought counterparts.
CONS: Making your own homemade Nutella is not as easy as opening a store-bought jar.
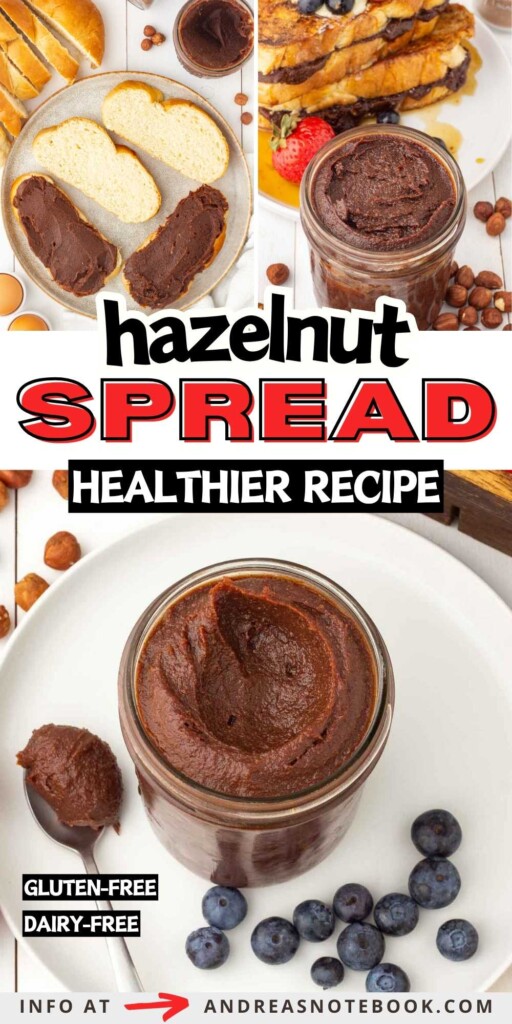
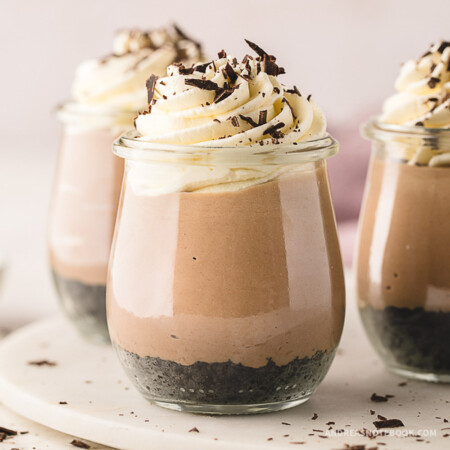
WOULD I MAKE THIS AGAIN? Yes. I love this spread, especially when adding to other recipes like Nutella Stuffed French Toast, No Bake Nutella Cheesecake in a Jar or some Banana Nutella Biscuits.
Ingredient Info and Substitutions
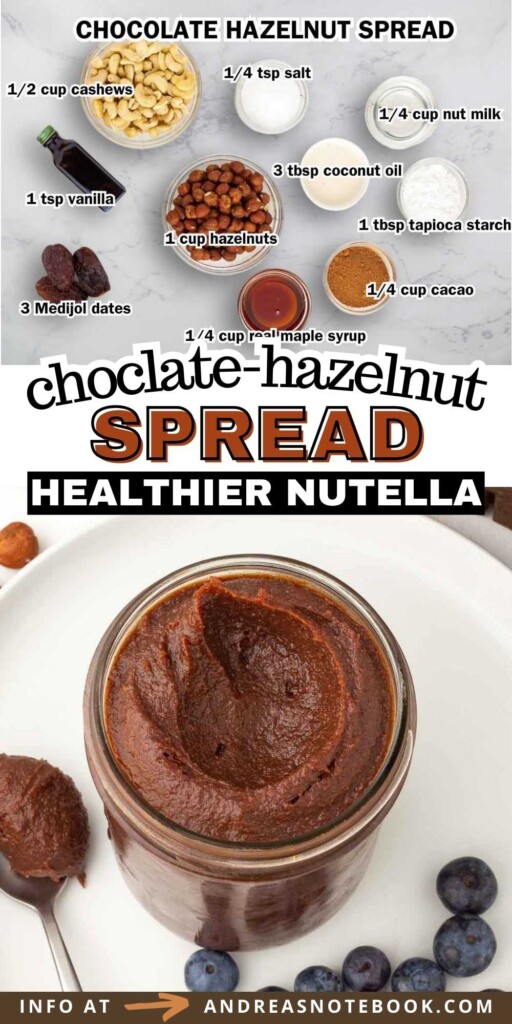
Full printable homemade nutella recipe ingredients list and instructions are in the recipe card below. This recipe uses simple ingredients that are, for the most part, less processed than those found in the store-bought version.

- Nuts: This recipe uses both raw hazelnuts and cashews.
- Sweetener: We used both pure maple syrup and medjool dates to sweeten this hazelnut butter recipe. You could also try honey as a substitute for maple syrup. Similar in consistency to maple syrup, honey can be used in a 1:1 ratio but is sweeter, so you may want to use less. You could also use agave syrup or molasses but you should use a bit less of those as they are sweeter than maple syrup.
- Milk: Use your favorite nut milk (almond milk, cashew milk, coconut milk or macadamia nut milk). You may use cow’s milk if you prefer.
- Chocolate: We used raw cacao powder, which is different than cocoa powder. Cacao powder is made from cold-pressed, unroasted cacao beans, preserving more nutrients and antioxidants than cocoa powder, which is roasted. Cacao tends to have a more bitter taste and a higher fat content than cocoa. When substituting, use a 1:1 ratio, but be aware that the flavor and texture might be slightly different.
- Starch: This recipe uses tapioca flour (tapioca starch). If you’re looking for a 1:1 substitute you could try cornstarch, arrowroot powder, or potato starch. I have not tried those.
- Oil: Unrefined coconut oil is preferred. You can substitute vegetable oil, olive oil, avocado oil, canola oil, hazelnut oil or other natural oils if you prefer.
- Flavorings: Salt and vanilla extract are used to add depth of flavor.
Gluten Free Hazelnut Spread
Great news! This nutty homemade nutella is already gluten free Nutella and safe for people with Celiac Disease. As always, please make sure your work surfaces are free from contaminants and your ingredients are gluten free. Sometimes, facilities that process ingredients might cause cross-contamination or add unexpected gluten. Always check your ingredients and remember that labels might not list “gluten” as an ingredient. Make sure any of your substitutions are still gluten-free.
Dairy Free Hazelnut Spread
More good news! This homemade chocolate hazelnut spread is a dairy free hazelnut spread! No need to make adjustments to the recipe.
Vegan Hazelnut Spread
This is vegan homemade Nutella. If you change the sugar source, make sure you use agave syrup, not honey.
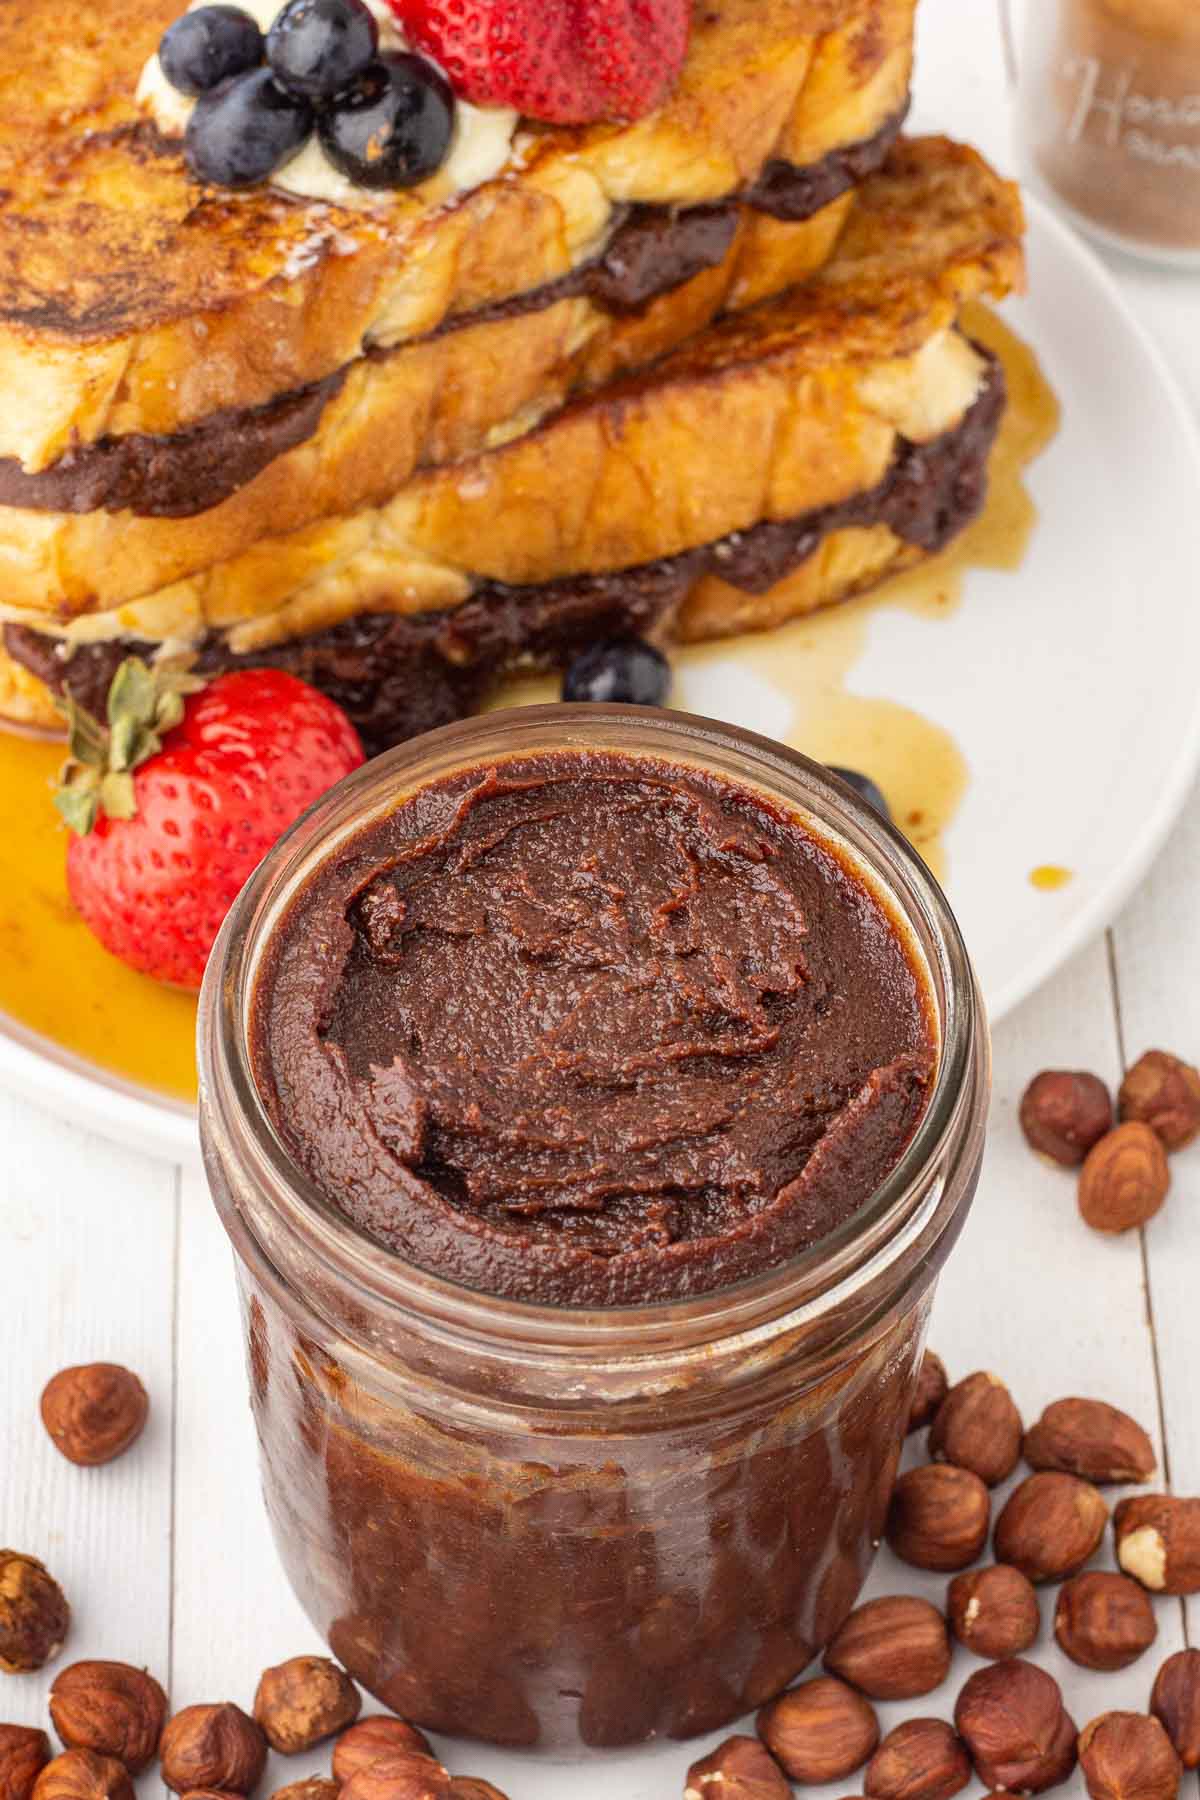
Can I Make This Homemade Nutella Creamier and Shinier?
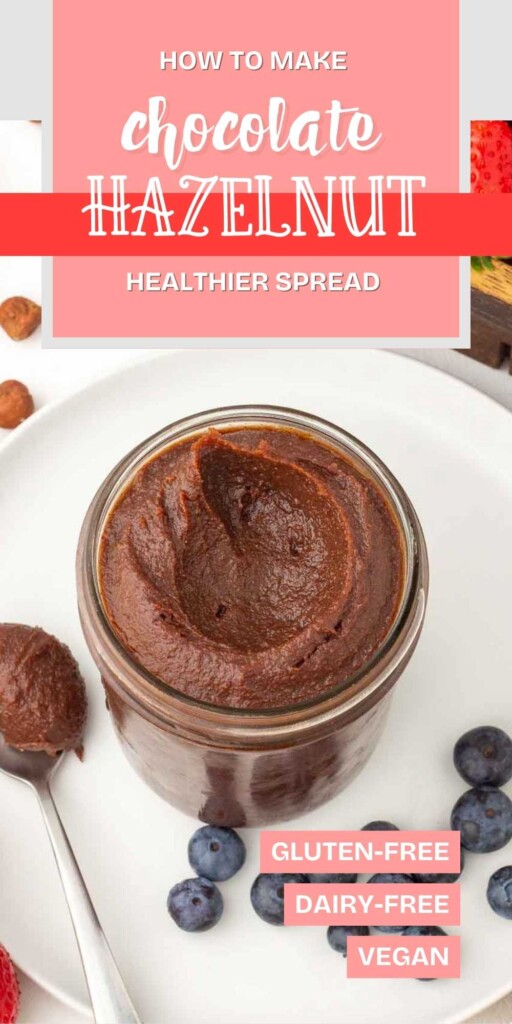
Absolutely! We’ve made this spread you see in the photos a bit chunkier because we like it that way. You can absolutely use your high speed blender or high speed food processor to grind your nuts into a finer paste. Then follow the instructions below to add additional coconut oil to thin out the chocolate-hazelnut spread to be a bit shinier like store-bought Nutella.
Step-by-Step Photo Instructions
Full printable step-by-step homemade vegan Nutella recipe instructions are in the recipe card below. You can print or save this homemade version of store-bought Nutella to Pinterest for later. Follow the ingredient suggestions and instructions for best results.
Roast Hazelnuts: Preheat your oven to 350°F (175°C). Spread the hazelnuts on a baking sheet in a single layer. Roast them in the preheated oven for about 10-12 minutes until the skins darken and start to crack. Once roasted, remove the hazelnuts from the oven and let them cool slightly.
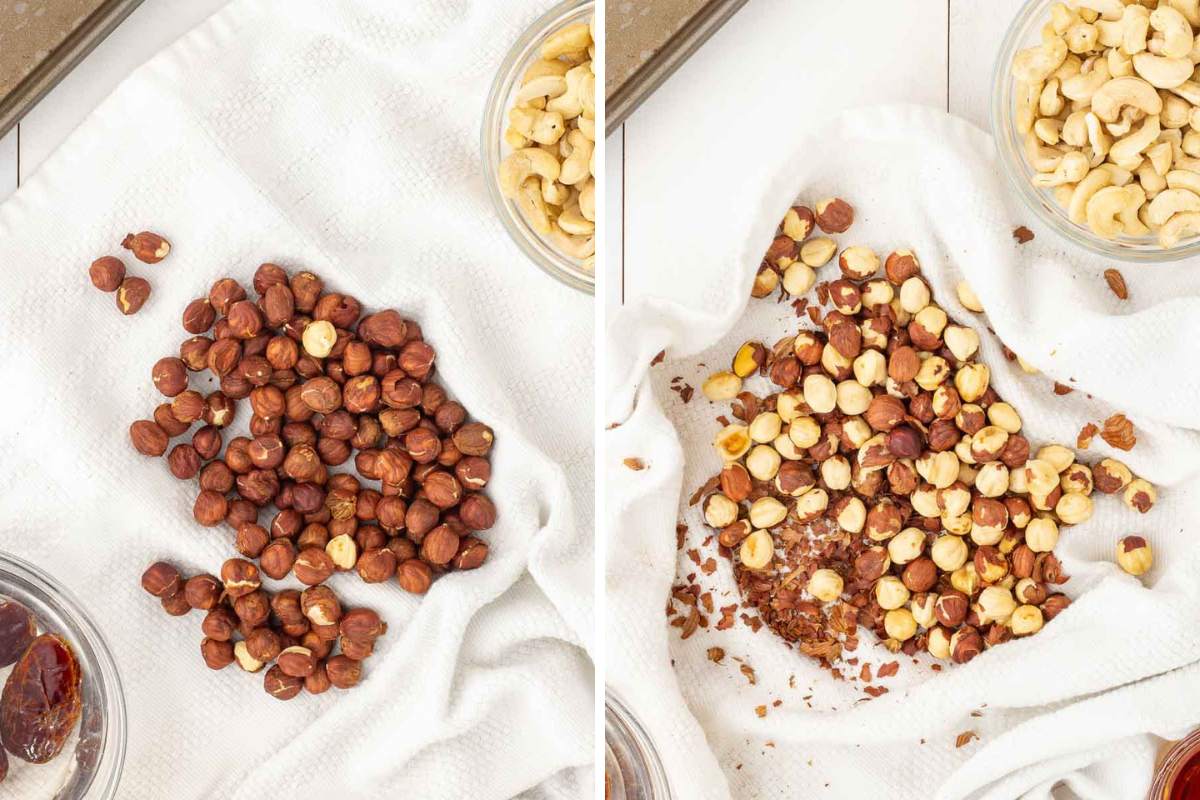
Step 1: After the hazelnuts have cooled a bit, place them in a clean kitchen towel and rub them together to remove the skins. Don’t worry if some skin remains—it adds a nice flavor.
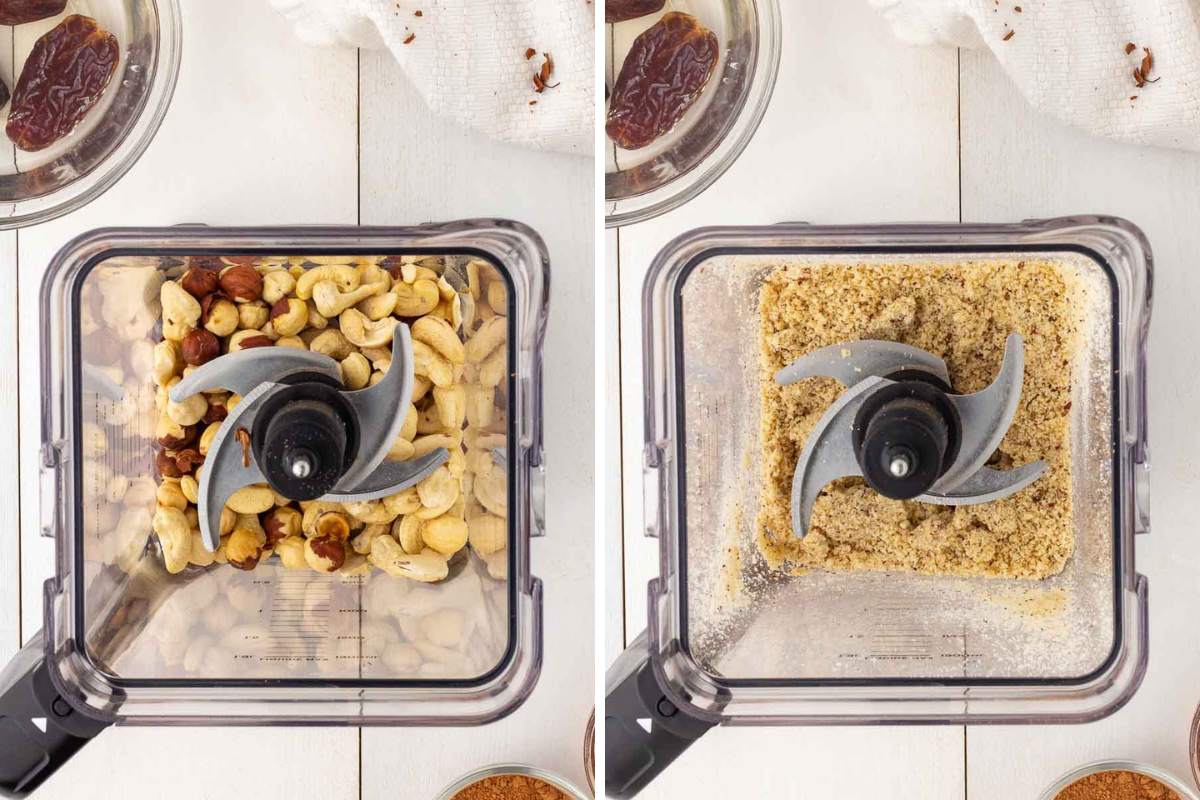
Step 2: In a high-speed blender or high-speed food processor, add the roasted hazelnuts, cashews and salt. Blend on high until the nuts start to break down and form a flour-like consistency. This might take a few minutes and you may need to scrape down the sides of the blender occasionally.
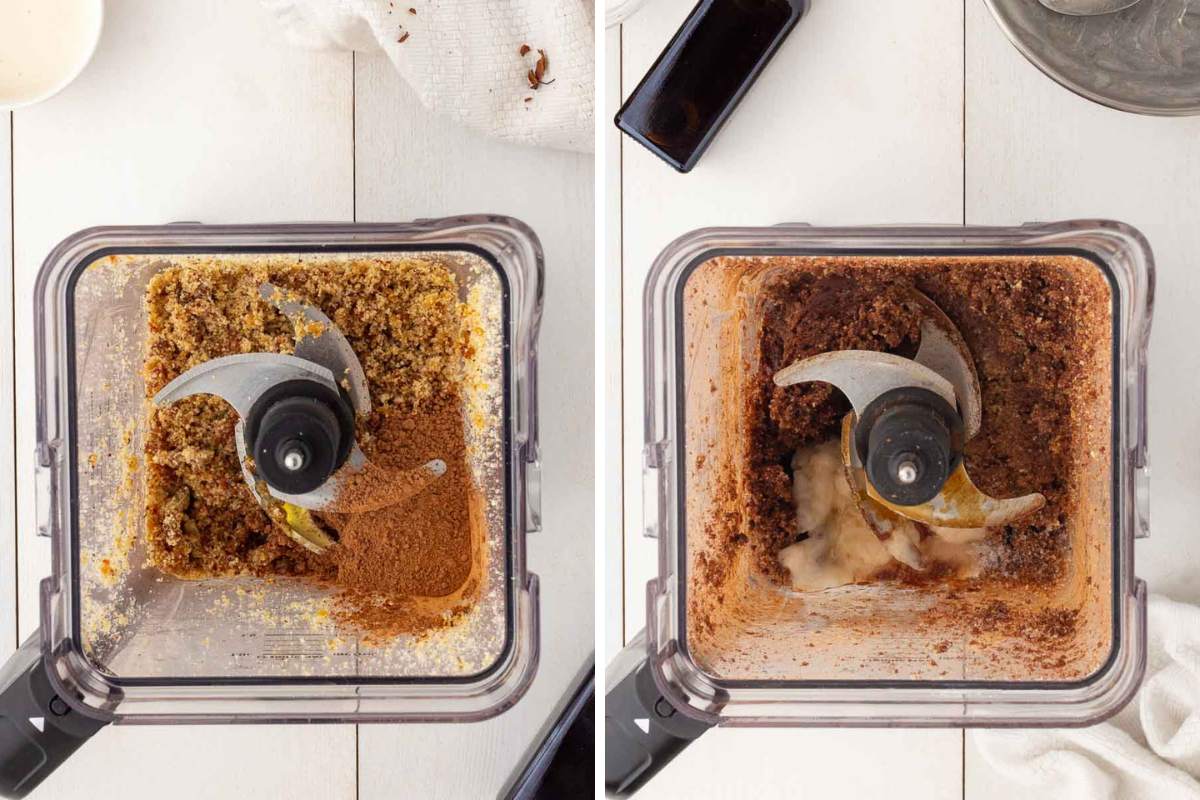
Step 3: After fully blending the nuts, add the cacao powder and maple syrup to the ground hazelnuts and cashews. Blend again until you achieve a well-combined mixture.Taste and adjust the sweetness by adding more maple syrup if needed.
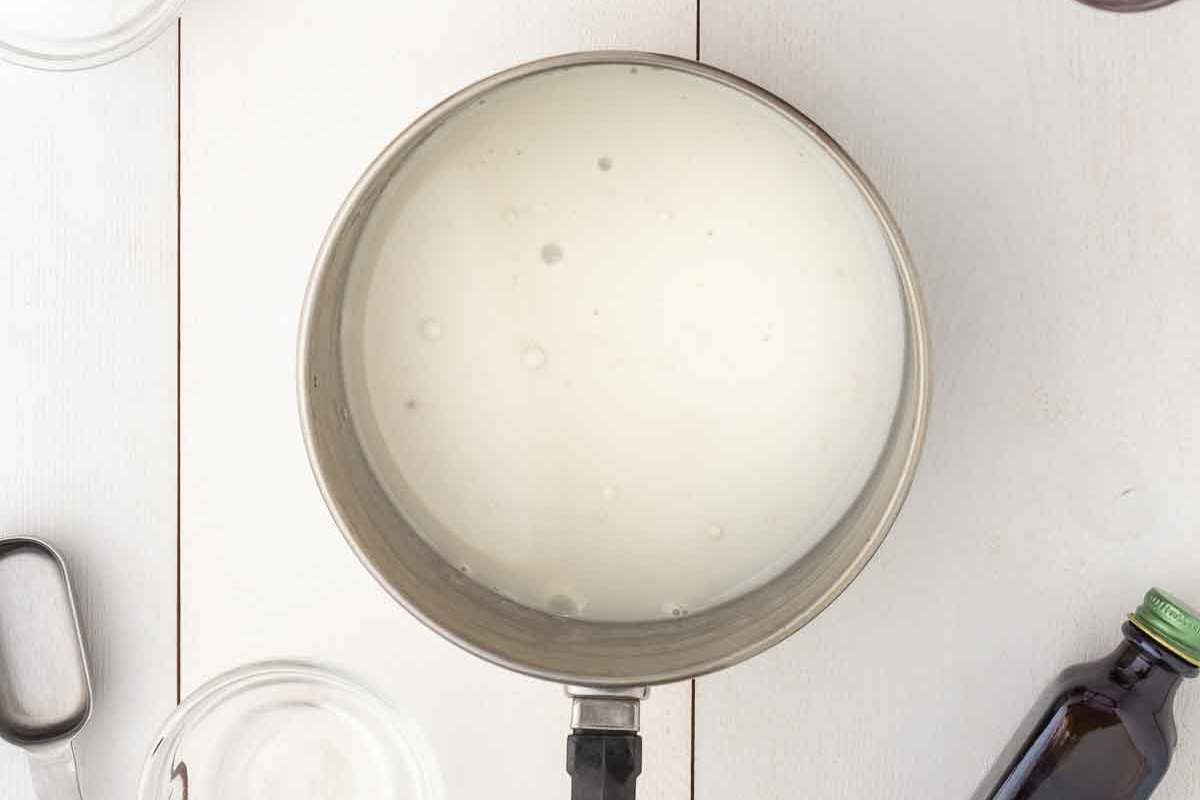
Step 4: In a small saucepan, gently heat the nut milk and coconut oil over low heat until you melt the coconut oil. Stir well to combine.
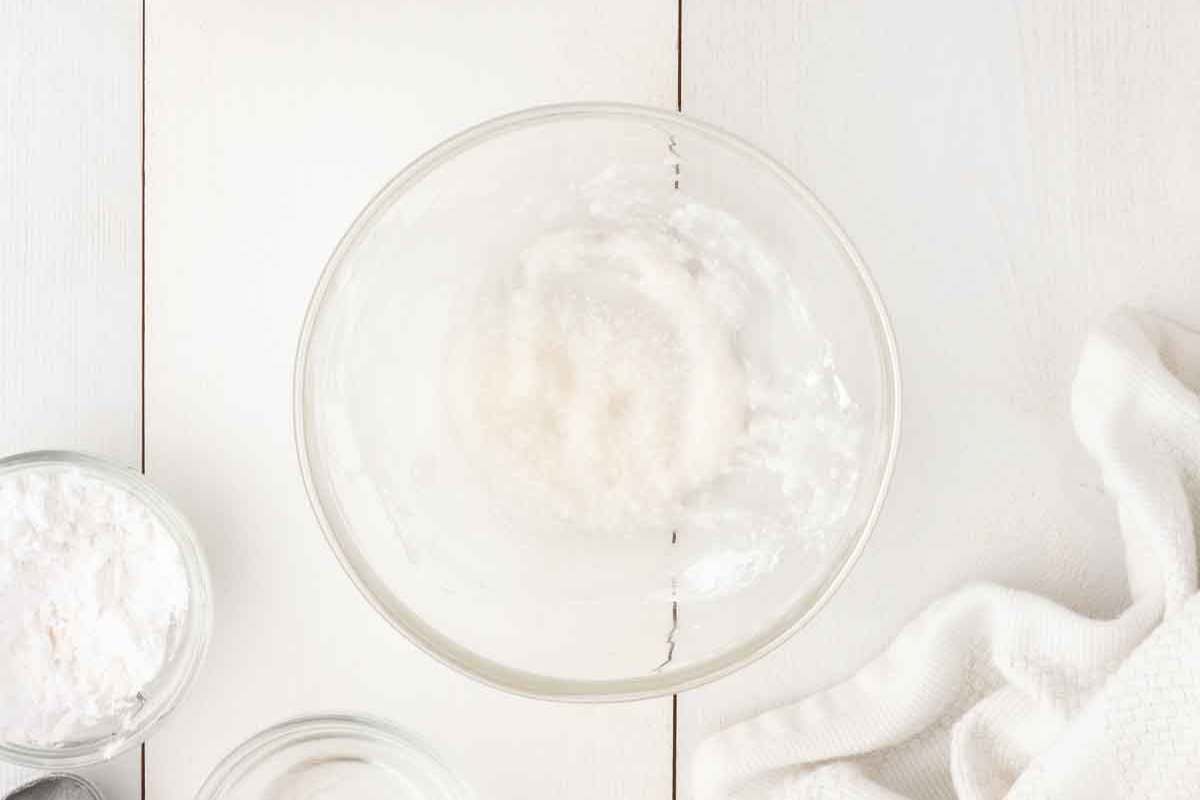
Step 5: In a small bowl, mix the tapioca flour with a couple of tablespoons of the warmed almond milk-coconut oil mixture. Stir until the starch is fully dissolved.
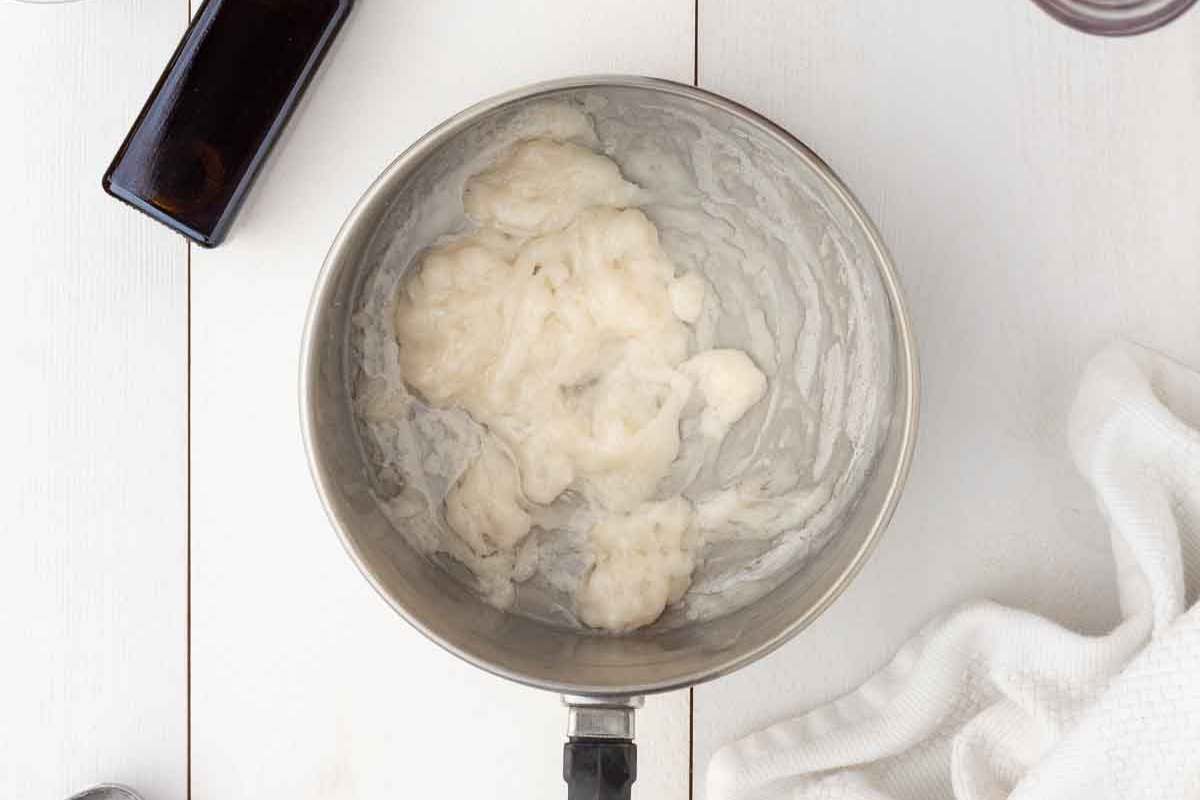
Step 6: Pour the tapioca starch mixture back into the saucepan with the remaining almond milk and coconut oil. Heat the mixture over low-medium heat, stirring constantly, until it thickens. This will help give the “Nutella” a smooth and spreadable consistency.
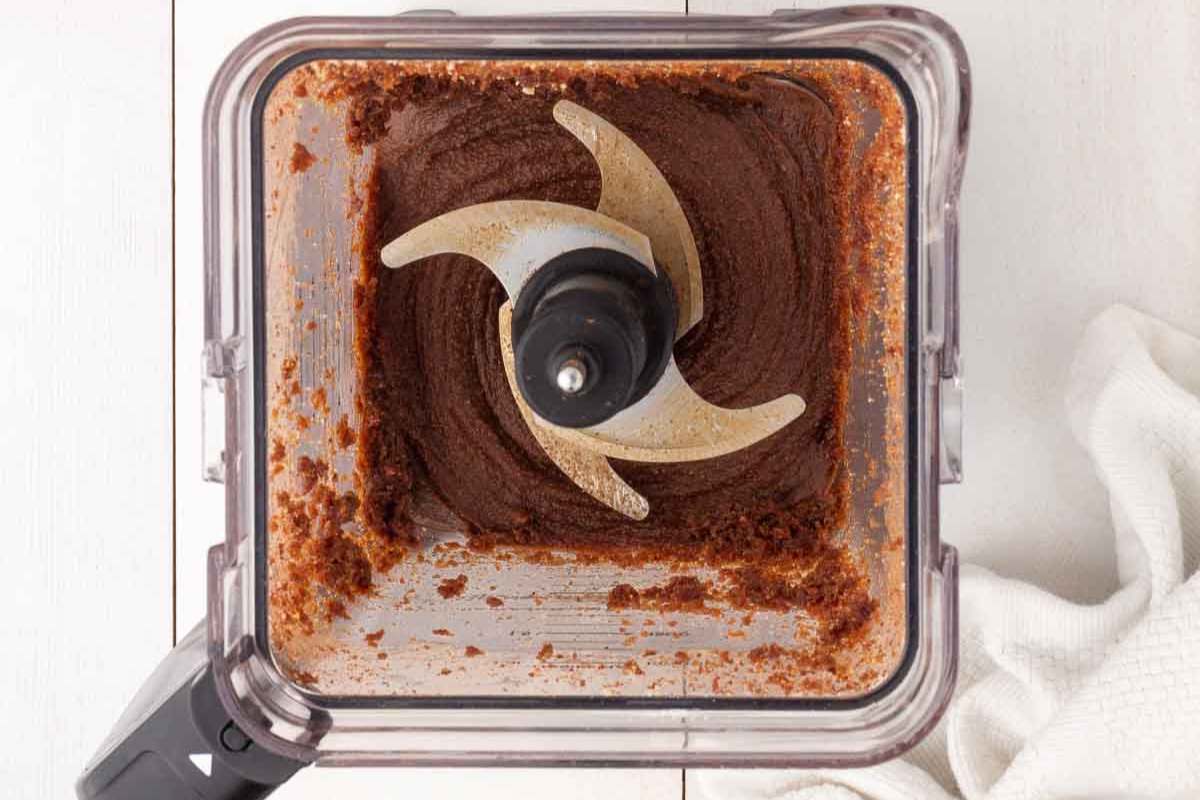
Step 7: Add the thickened mixture from the saucepan into the high-speed blender with the hazelnut mixture, along with the three soaked, pitted dates and vanilla. Blend again until everything is well combined, and you achieve a silky-smooth texture. Here, you can slowly drizzle more coconut oil (be sure to warm the oil again in order for it to become liquid) if you want the final result to have more of a sheen.
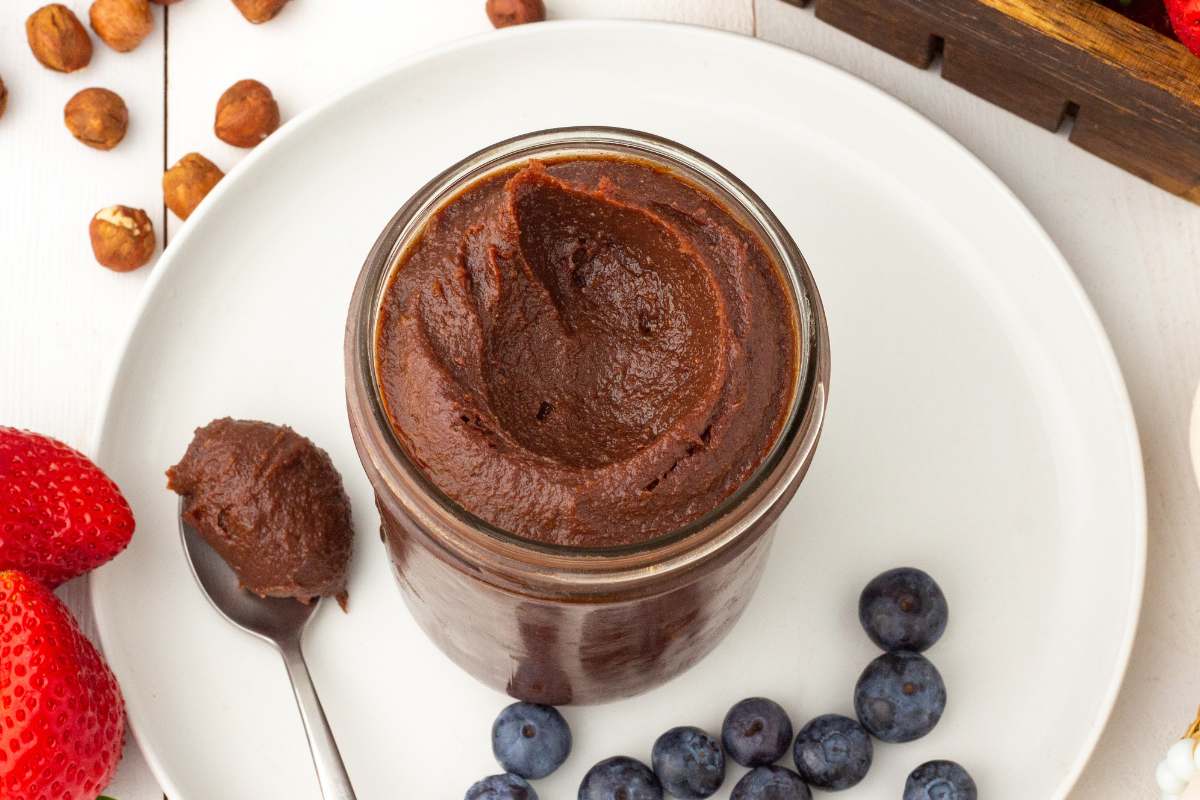
Step 8: If storing for later use, carefully pour your healthy “Nutella” into clean and dry glass jars.* Let it cool to room temperature before sealing the jars. Store in the refrigerator for up to 2-3 weeks.
Nutella Recipes
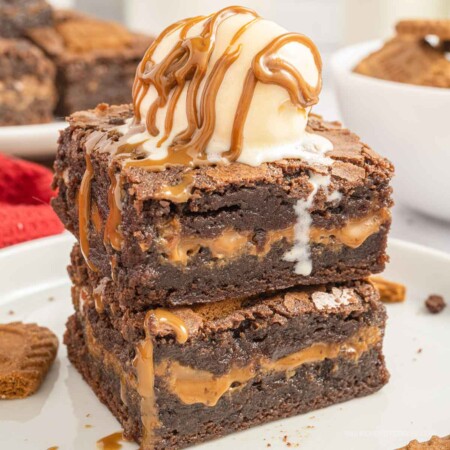
Check out these different recipes that require Nutella! Or maybe just drizzle a little on top of your ice cream with fresh fruit.
Is Homemade Nutella Healthier?
This homemade vegan Nutella copycat recipe offers several health advantages over traditional Nutella, primarily due to its ingredients and nutritional profile. Here’s why it’s considered healthier:
- Lower Refined Sugar: Traditional Nutella relies heavily on refined sugar, while the homemade version uses pure maple syrup and dates for natural sweetness. These natural sweeteners contain minerals and fiber, offering a healthier alternative. Maple has a lower glycemic index than refined sugar. Source
- Nutrient-Dense Nuts and Healthy Fats: Hazelnuts and cashews provide healthy fats, proteins, vitamins, and minerals. These nuts contribute to heart health and can help lower cholesterol levels, unlike the palm oil used in traditional Nutella. Coconut oil and coconut milk substitute unhealthy fats, such as palm oil in traditional Nutella, with medium-chain triglycerides (MCTs). The body metabolizes MCTs differently, potentially offering health benefits like weight management. Source
- Antioxidant-Rich Cacao: Using cacao powder instead of processed cocoa adds more antioxidants to the spread. Antioxidants are beneficial for reducing inflammation and protecting against disease. Source
- No Dairy: By using coconut milk, the homemade version is dairy-free, making it suitable for vegans, lactose intolerant individuals, and those looking to reduce dairy intake for health reasons.
- Control Over Ingredients: Making Nutella at home allows control over ingredient quality and quantities, enabling you to have control over the amount of sugar and fat and the elimination of additives and preservatives found in the commercial version.
- Fiber Content: Dates and nuts increase the fiber content in the homemade version, aiding digestion and health. Source
Overall, the homemade vegan Nutella copycat offers a more nutritious alternative by incorporating whole, unprocessed ingredients and reducing the intake of refined sugars and unhealthy fats.
Storing
To store homemade vegan Nutella, follow these steps to ensure it remains fresh and retains its quality:
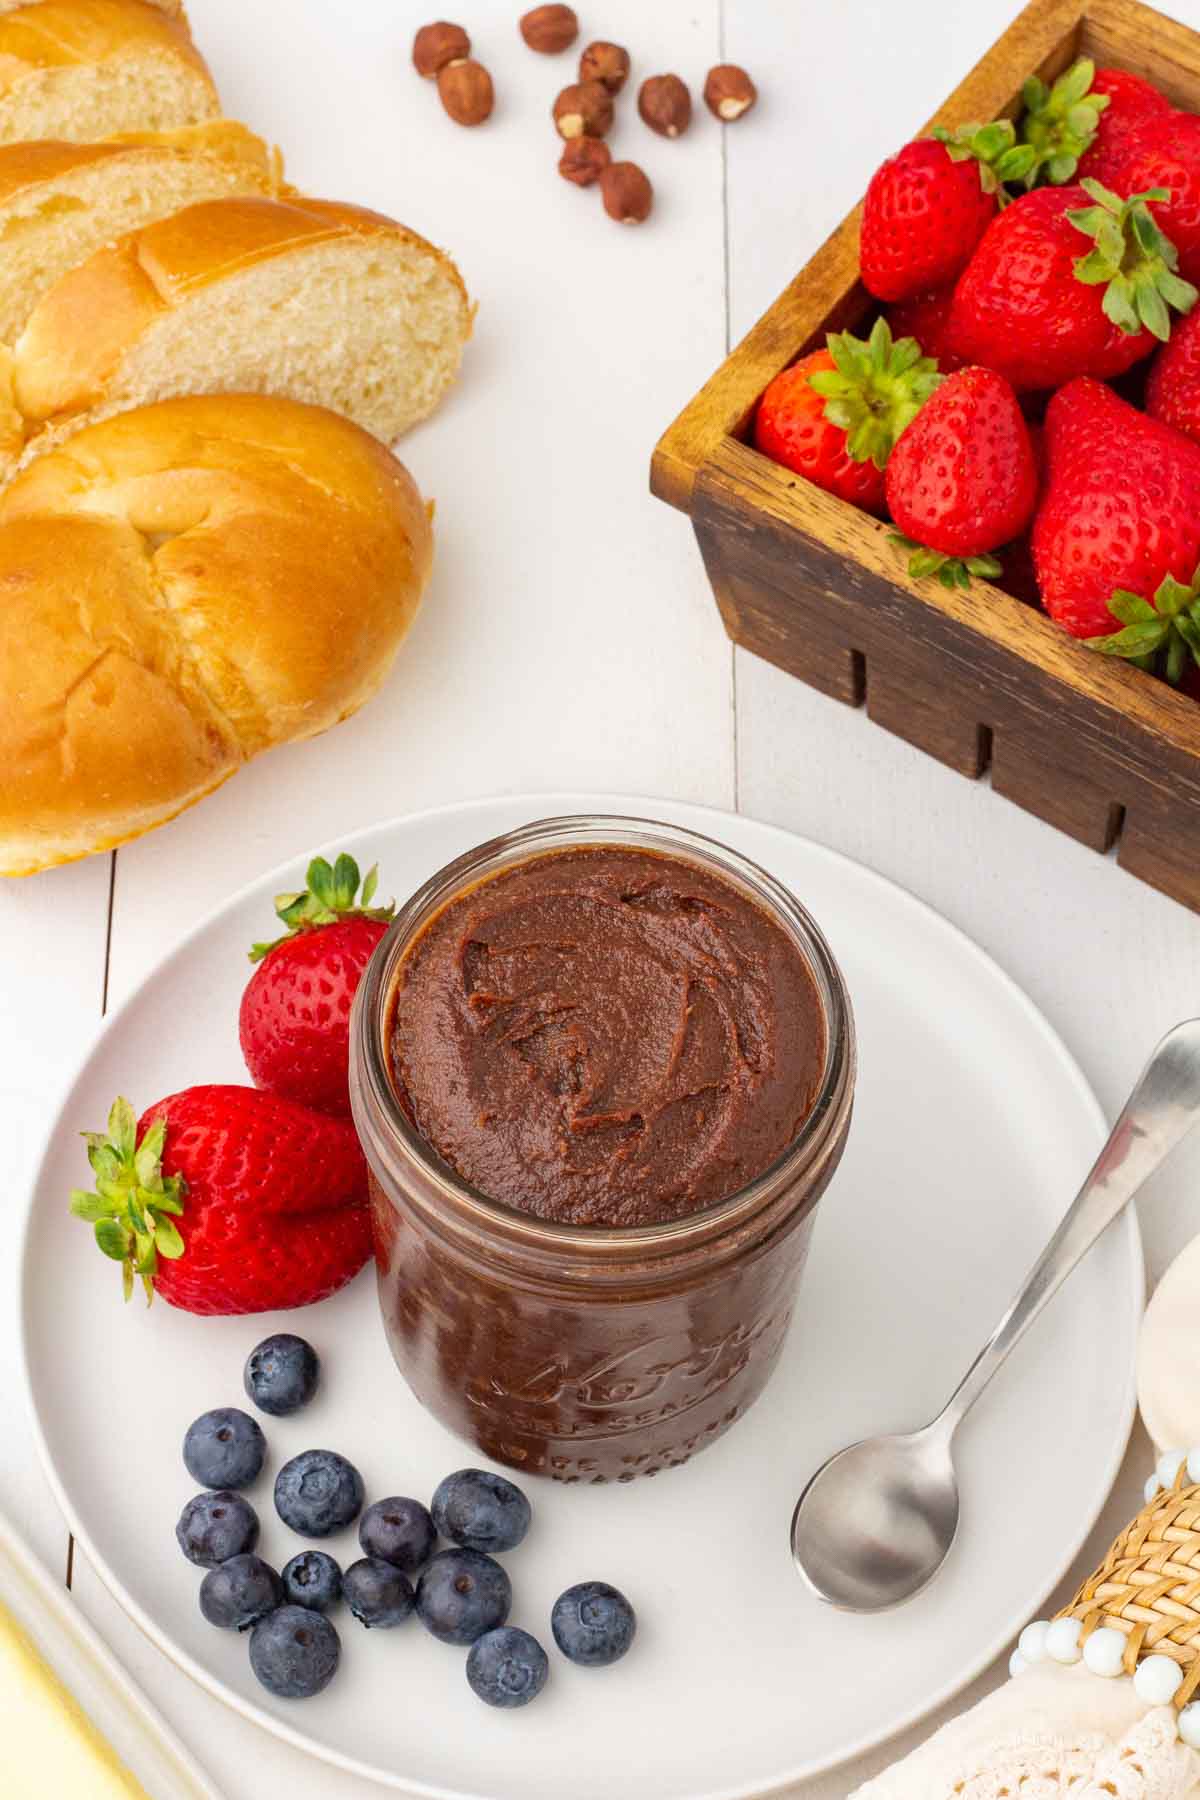
- Choose the Right Container: Transfer your homemade cashew-hazelnut spread into an airtight container. Use glass as it doesn’t absorb flavors and keeps the spread fresh.
- Refrigeration: Store the container in the refrigerator. The cool temperature helps maintain the spread’s consistency and prevents the oils from separating.
- Shelf Life: When stored properly in the refrigerator, homemade vegan Nutella can last for up to 2-3 weeks. The exact shelf life may depend on the freshness of the ingredients used and how clean the utensils and containers were during preparation.
- Before Use: Before using, you might want to let the Nutella sit at room temperature for a few minutes to soften, as it can firm up in the fridge. If the oils have separated, give it a good stir to reincorporate.
- Check for Spoilage: Always look for signs of spoilage, such as an off smell or mold, before consuming, especially after long storage periods.
Remember, since homemade vegan Nutella lacks preservatives found in commercial spreads, it’s important to handle and store it properly to extend its shelf life and ensure safety.
Frequently Asked Questions
Can I skip removing the hazelnut skins, or is it essential for the recipe?
While you can skip removing all of the hazelnut skins, it’s recommended to remove most of them. Rubbing the hazelnuts together in a clean kitchen towel helps remove the skins, but it’s okay if some bits remain as they add flavor. Removing the skins also contributes to the smoother texture of your “Nutella.”
How can I adjust the sweetness of the homemade “Nutella” to my liking?
You can easily adjust the sweetness of your homemade “Nutella” by adding more or less maple syrup. After blending in the cacao powder and maple syrup, taste the mixture and add additional maple syrup if you desire a sweeter taste. This allows you to customize the sweetness to suit your preference.
Can I make this creamy hazelnut butter without tapioca starch?
This recipe uses tapioca starch to thicken the “Nutella” and give it a smooth, spreadable consistency. If you lack tapioca starch, consider substituting it with cornstarch or arrowroot powder in a similar quantity. Nonetheless, incorporating starch is crucial for achieving the desired texture, so we recommend using it if possible.
What is the difference between cacao and cocoa?
The level of processing marks the key difference between cacao and cocoa. “Cacao” typically describes products that are less processed, more natural, and raw, whereas “cocoa” applies to cacao products that have been roasted and processed. However, manufacturers sometimes use these terms interchangeably, making it crucial to examine product labels or descriptions for a clear understanding of their specific characteristics and processing methods. For this recipe, we recommend cacao for its more natural, less processed qualities.

Homemade Nutella Recipe
Equipment
- high speed food processor or blender
Ingredients
- 1 cup hazelnuts
- ½ cup cashews
- ¼ teaspoon salt
- ¼ cup cacao powder
- ¼ cup pure maple syrup
- ¼ cup nut milk
- 3 tablespoon coconut oil
- 1 tablespoon tapioca flour
- 3 medjool dates soaked in water
- 1 teaspoon vanilla extract
Instructions
- Roast the hazelnuts: Preheat your oven to 350°F (175°C). Spread the hazelnuts on a baking sheet in a single layer. Roast them in the preheated oven for about 10-12 minutes until the skins darken and start to crack. Once roasted, remove the hazelnuts from the oven and let them cool slightly.
- Remove hazelnut skins: After the hazelnuts have cooled a bit, place them in a clean kitchen towel and rub them together to remove the skins. Don't worry if some skin remains—it adds a nice flavor.
- Blend nuts: In a high-speed blender or food processor, add the roasted hazelnuts, cashews and salt. Blend on high until the nuts start to break down and form a flour-like consistency. This might take a few minutes and you may need to scrape down the sides of the blender occasionally.
- Add cacao powder and maple syrup: Once the nuts are fully blended, add the cacao powder and maple syrup. Blend again until everything is well combined. Taste and adjust the sweetness by adding more maple syrup if needed.
- Heat nut milk and coconut oil: In a small saucepan, gently heat the nut milk and coconut oil over low heat until the coconut oil is melted. Stir well to combine.
- Add tapioca flour: In a small bowl, mix the tapioca flour with a couple of tablespoons of the warmed almond milk-coconut oil mixture. Stir until the starch is fully dissolved.
- Combine mixtures: Pour the tapioca starch mixture back into the saucepan with the remaining almond milk and coconut oil. Heat the mixture over low-medium heat, stirring constantly, until it thickens. This will help give the “Nutella” a smooth and spreadable consistency.
- Blend everything together: Add the thickened mixture from the saucepan into the high-speed blender or food processor, along with the three soaked, pitted dates and vanilla. Blend again until everything is well combined, and you achieve a silky-smooth texture. Here, you can slowly drizzle more coconut oil (be sure to warm the oil again in order for it to become liquid) if you want the “Nutella” to have more of a sheen.
- Transfer and store: If storing for later use, carefully pour your healthy “Nutella” into clean and dry glass jars.* Let it cool to room temperature before sealing the jars. Store in the refrigerator for up to 2-3 weeks.
Notes
Nutrition
Love This Recipe?
Make sure to share it with me on Instagram @andreasnotebook and follow on Pinterest @andreasnotebook for more!





Comments & Reviews
veenaazmanov says
This post is so informative and has so much of detailing. Thanks for all the tips and tricks to trying yummy recipes.
Colleen says
I love this recipe because there’s no refined sugar and it’s so much healthier. Thank you for sharing!
Dennis says
I never thought of making my own Nutella, but your recipe was easy to follow, and it came out great!
Carrie Robinson says
What a great idea to make your own homemade Nutella! 🙂 I am definitely going to have to try this recipe soon. My family would love this.
Lori | The Kitchen Whisperer says
You’re right it’s definitely easier just to open a jar from the store but OMG the flavor if yours is PHENOMENAL!!! Definitely make this all!!!! So so good!
LaKita says
Love how easy and simple this homemade chocolate hazelnut spread is to make. I’m sure I’ll be making this one often 🙂
Moop Brown says
I like nutella because of how versatile it is and that it can be paired with a variety of different recipes however I’ve never considered making it on my own. Looking forward to trying this though
Loreto and Nicoletta Nardelli says
I make homemade chocolate hazelnut spread, too, but I loved to try this healthy version! The dates, cashews, maple syrup, gave a wonderful flavor and a delightful texture. Will make again.
Hayley Dhanecha says
This homemade chocolate hazelnut spread is delicious and easy to make. Can’t wait to make this again.
Krysten says
My kids love Nutella; I can’t wait to make this homemade version. The hazelnut with the cacao powder is the perfect pairing. Excited to try it!