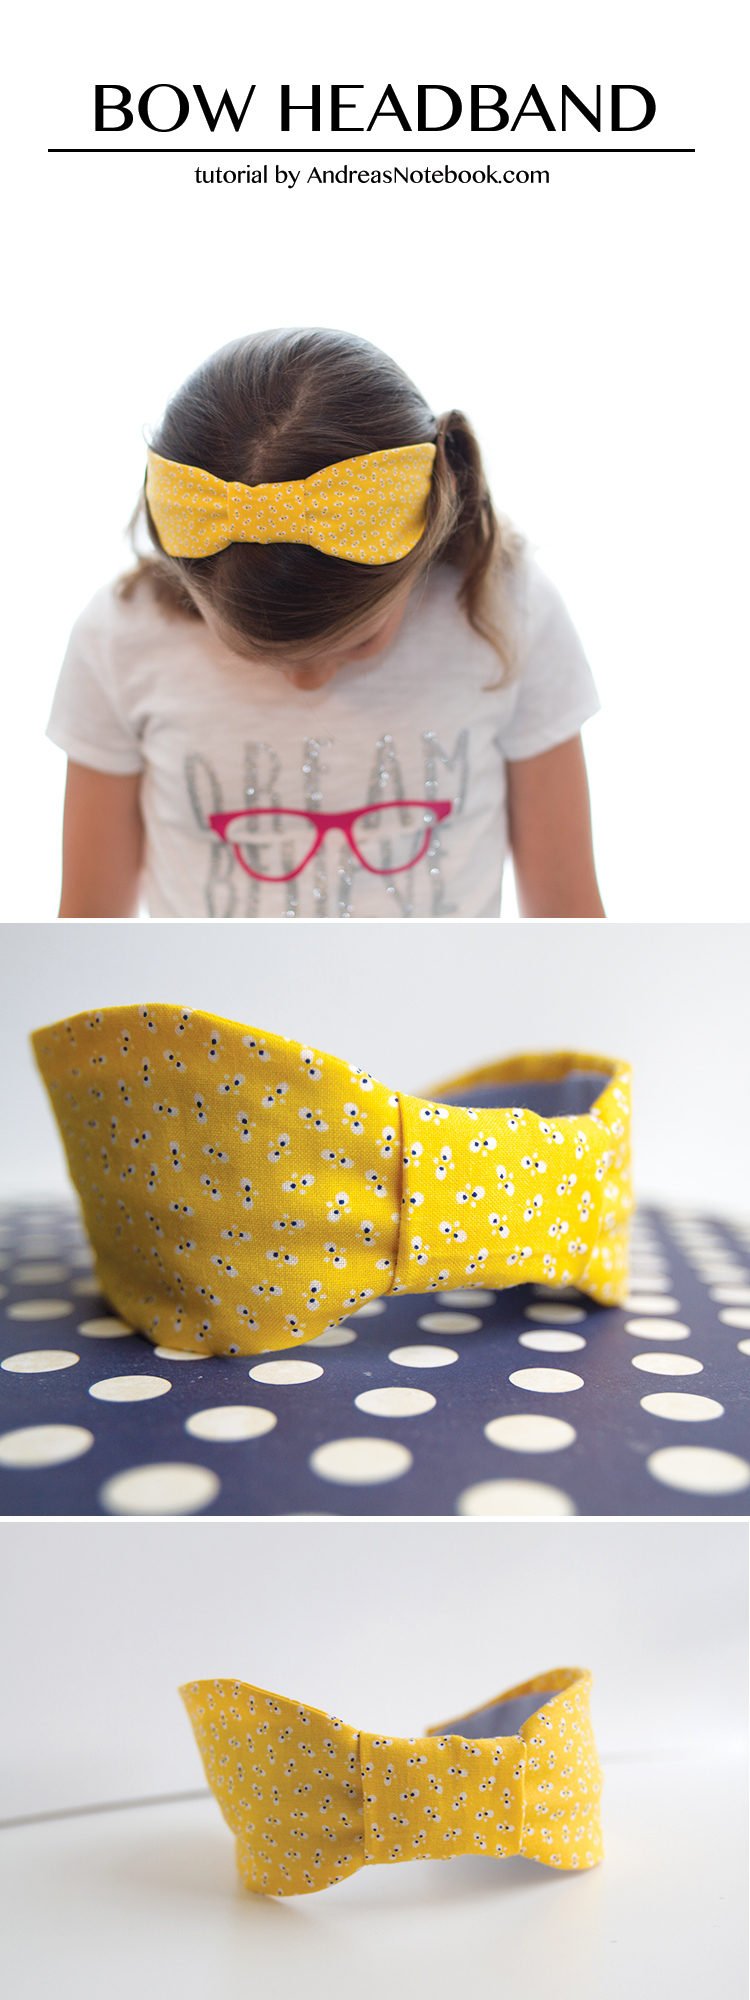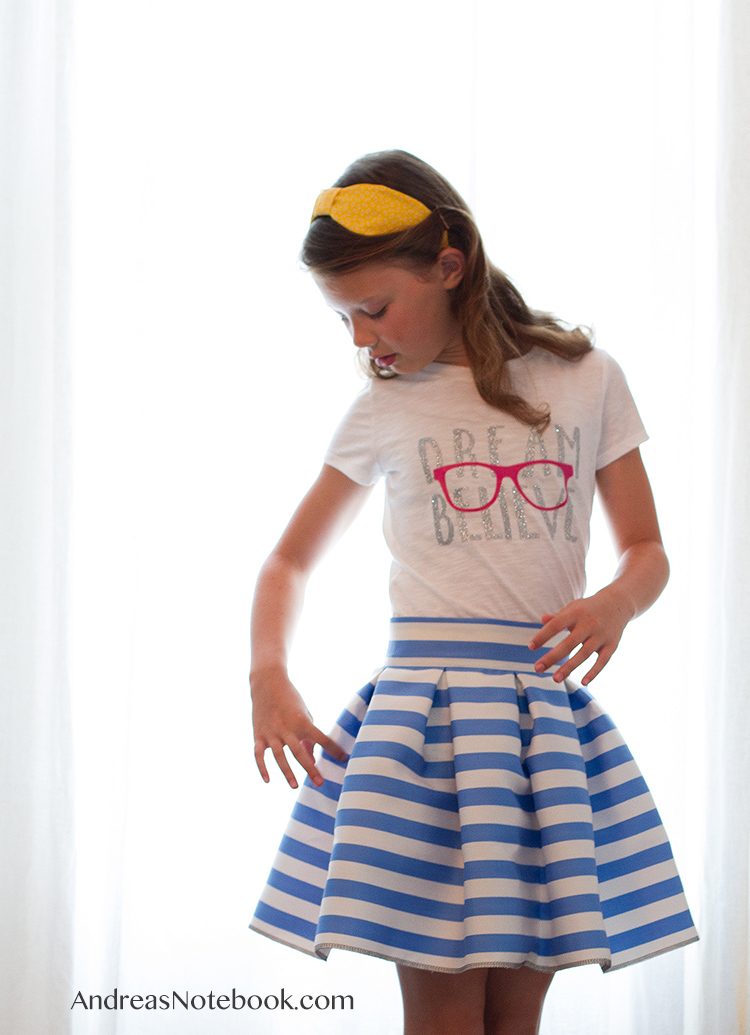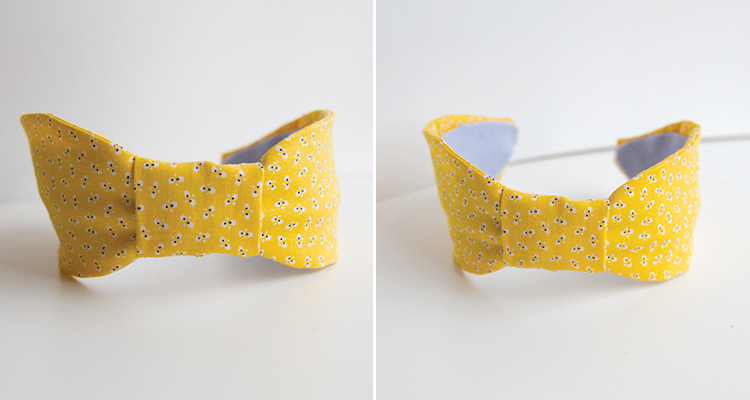
I love a cute headband for little girls. This bow headband tutorial takes about 10 minutes to make and is very cute. Perfect for making coordinating headbands with outfits! I love the simplicity of this particular headband. It’s girly but doesn’t overpower her. It’s a bow without being twice the size of her head.
Bow Headband Tutorial
Supplies
- fabric scraps
- felt
- narrow headband
- fabric glue
- sewing machine

Headband: tutorial // T-shirt: tutorial coming tomorrow // Skirt: tutorial coming Sunday
Instructions

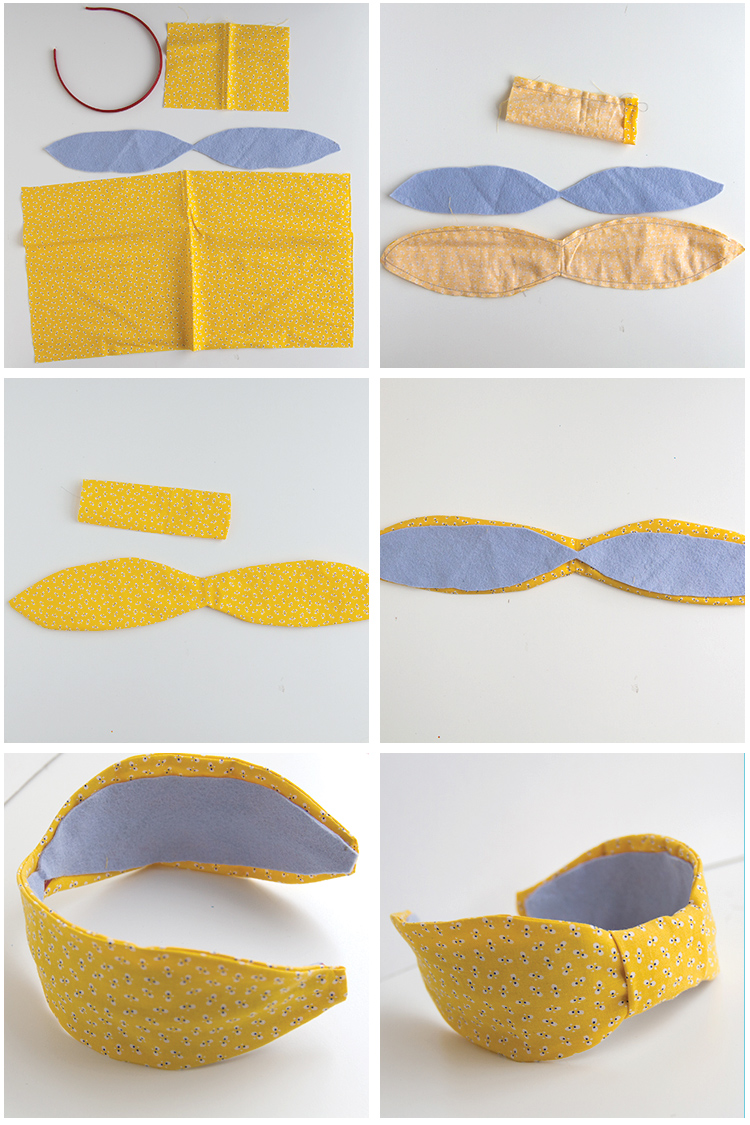
- Cut felt in figure 8-ish shape (see photo above) the length of the headband. Cut 2 pieces of fabric in same shape as felt, adding at least ½″ seam allowance around all sides. Cut small piece of fabric about 2″x3″.
- Place fabric right sides together. Sew ¼″ seam allowance around edges. Leave 1″ opening for turning. Fold small fabric piece right sides together. Sew 2 sides. Turn. Press fabric.
- Glue felt onto fabric as shown in photo. Leave channel for headband to be inserted once glue is dry.
- Wrap small piece around center. Tuck raw edges under and inside itself. Use fabric glue to secure.

Comments & Reviews
Dissertation writing services says
This post is especial for little girls because here you shared a detailed post about headband and its benefits. Girls can find many kinds of headbands according to their choice. Thanks for sharing this nice post.
Deep Brar says
This post is especial for little girls because here you shared a detailed post about headband and its benefits. Girls can find many kinds of headbands according to their choice. Thanks for sharing this nice post.
Guru says
This information is very good for my little girl, I will use this information today and make her a beautiful and lovely girl.
Susmitasen says
I think this thing is very good for young children and special girls. As a teacher, I would love for all my children by loving it with their hands and giving them gifts.