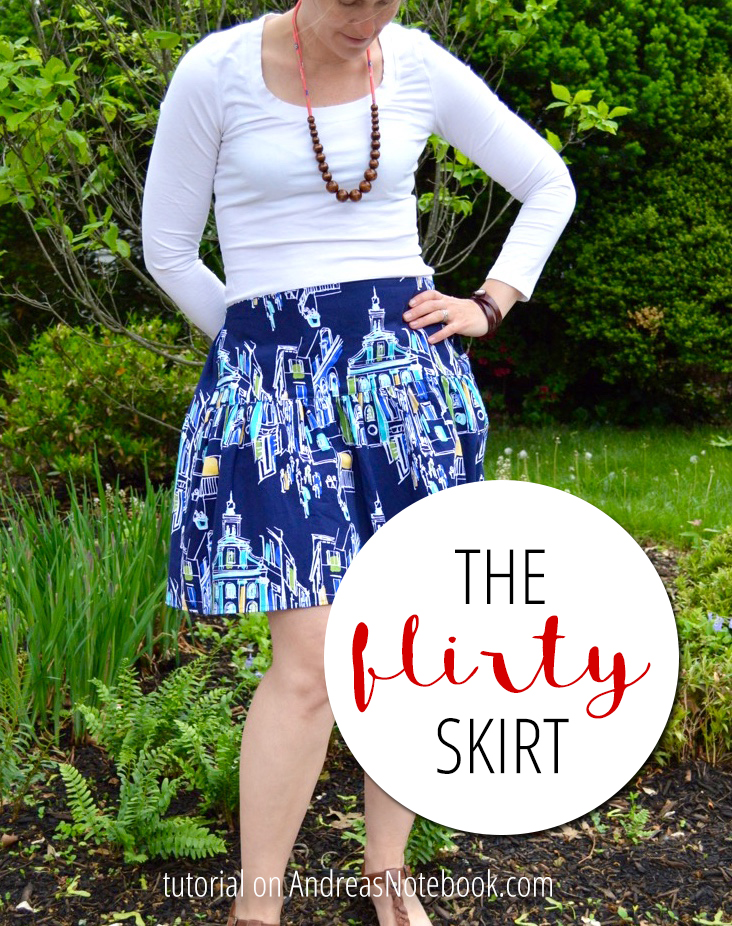
 This flirty little skirt maximizes flirtatiousness with gathers and volume and sass. But it also minimizes bulk at the hip area with a lovely flat front yoke. Perfect for twirling your hair over margaritas on a hot summer night before you hit the dance floor. Not only that! To make it we are going to dig into some basic pattern drafting. Now who wouldn’t be impressed by that?
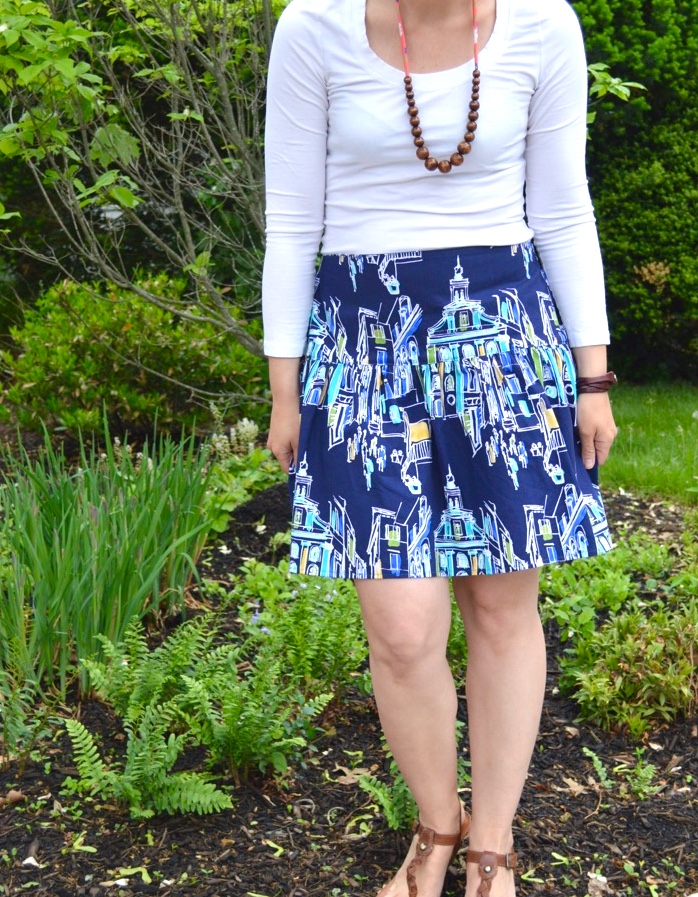
Supplies:
- One and a half yards cotton fabric
- Roll of 1″ elastic
- Matching Thread
- Roll of tracing paper to make the pattern
- pencil
- Measuring tape
Draft the Pattern:
1. First off, don’t let pattern drafting scare you! It opens up so many possibilities and this flirty skirt is the perfect place to start because the drafting is so simple. You got this!
2. Use your measure tape to measure the following places: waist, 6″ down from your waist (the upper hip) and your hips. When you measure be sure that the measuring tape is running parallel across your body. For your waist measurement, measure at the place you want the top of the skirt to sit on your body. Then measure down 6″ from there to find your upper hip. Finally, to measure the hip wrap the measure tape around your body at it’s juiciest point. Don’t be shy, get the true numbers and embrace the juicy!
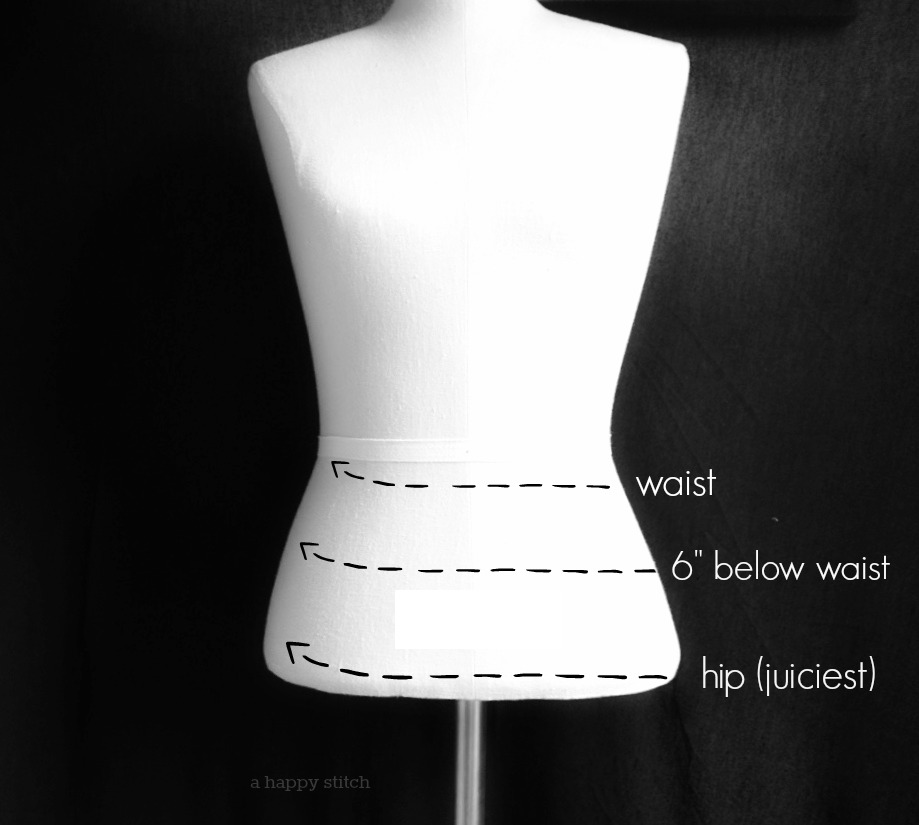 3. Write all of these numbers down and then divide them all in half. Now they will be referred to as the HALF-waist, HALF-upper hip and HALF-hip for pattern-making purposes. See, this is easy!
4. Create the skirt back pattern piece by drawing a rectangle 21 inches by (half-hip” + half-hip/2 ” + 1 “). By adding another 50% of the half-hip to the skirt back we add necessary volume and the 1” extra inch is for our seam allowance. If you want less flair in your skirt, add only ⅓ of your half-hip measurement.
5. Create the skirt front bottom portion by drawing a rectangle 13.25″ by (half-hip” + half-hip/2 ” + 1 “). This piece is nearly the same as the skirt back but it’s only 13.25” long.
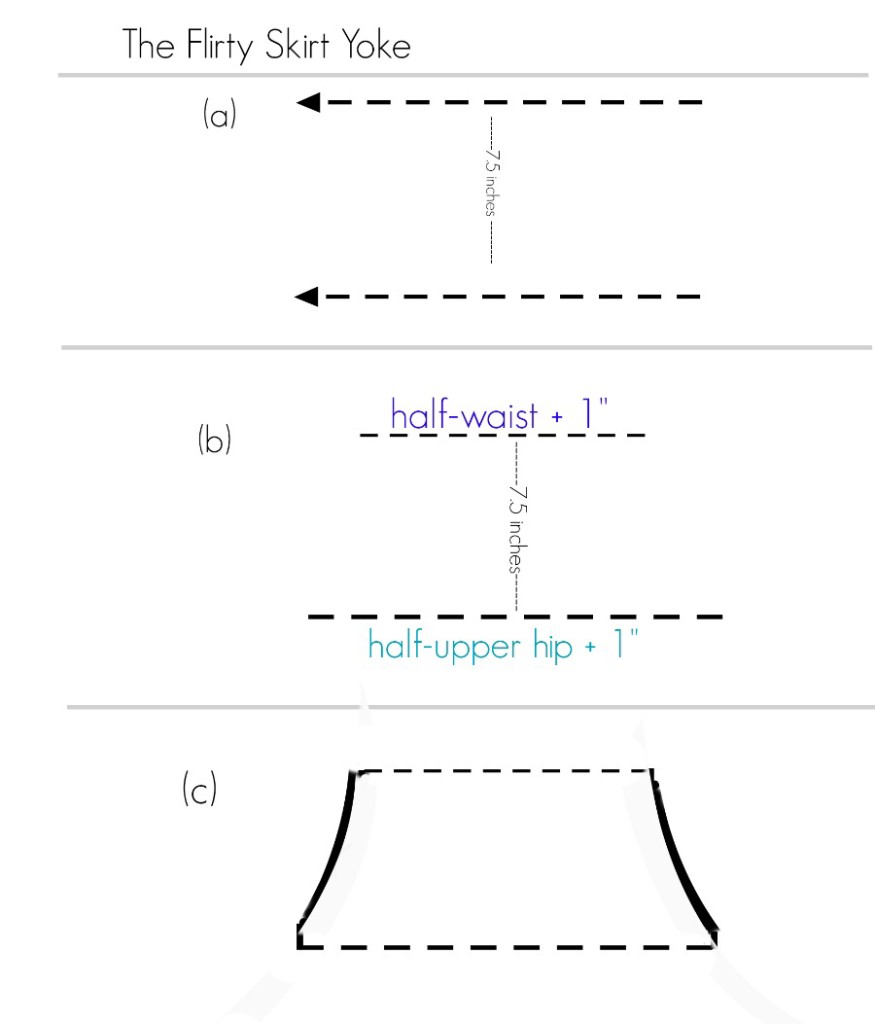 6. Create the yoke by (a) drawing two parallel lines that are 7.5″ apart, (b) make the top line the length of the half-waist plus 1″ and the bottom line the length of the half-upper hip + 1″. and (c) center the half-waist line by splitting the difference between the two. Mark 1″ down from both ends of the half-waist line and 1″ up from both ends of the half-upper hip line and connect those in a smooth line to each other. This is your yoke!
7. Cut out all the pattern pieces from the paper. You should have a skirt back, skirt front and skirt yoke.
Cut:
1. Cut into your fabric! Cut out 2 yoke pieces, one skirt front and one skirt back. If it’s easier, fold the rectangles that make up the front and back skirt pieces in half and place the fold of the paper on the fold of the fabric before you cut.
2. Cut one piece of elastic measuring the half-hip minus 2″.
Sew:
Now our pattern is drafted and our fabric is ready to stitch!
+ Create the Skirt Front
1. Baste two gathering stitches at the top of your skirt front at ⅜″ and ⅝″ and pull the top thread of both to gather until it is as long as the bottom of the skirt yoke.
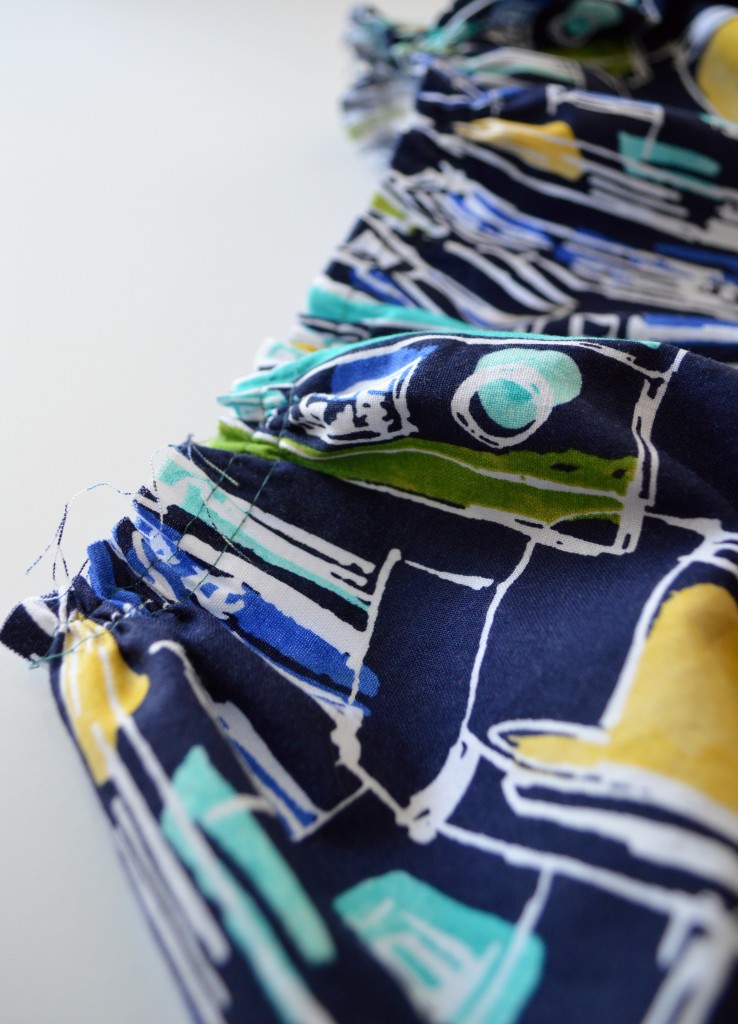
2. Place the right side of the bottom of one of the yoke pieces against the wrong side of the skirt front and the right-side of the the other yoke piece against the right side of the skirt bottom. This will sandwich the gathered skirt between bottom of both yokes. Stitch using a ½″ seam allowance. Press both yokes up such that they meet.
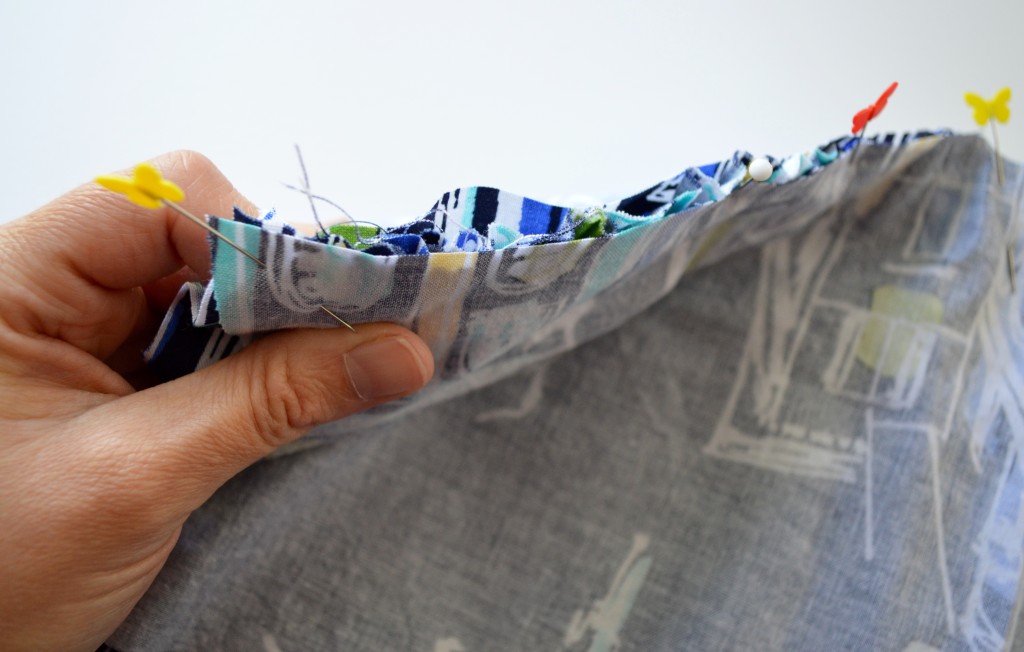
3. Iron a ½″ in at the top of both yokes and pin them such that the folds are facing each other.
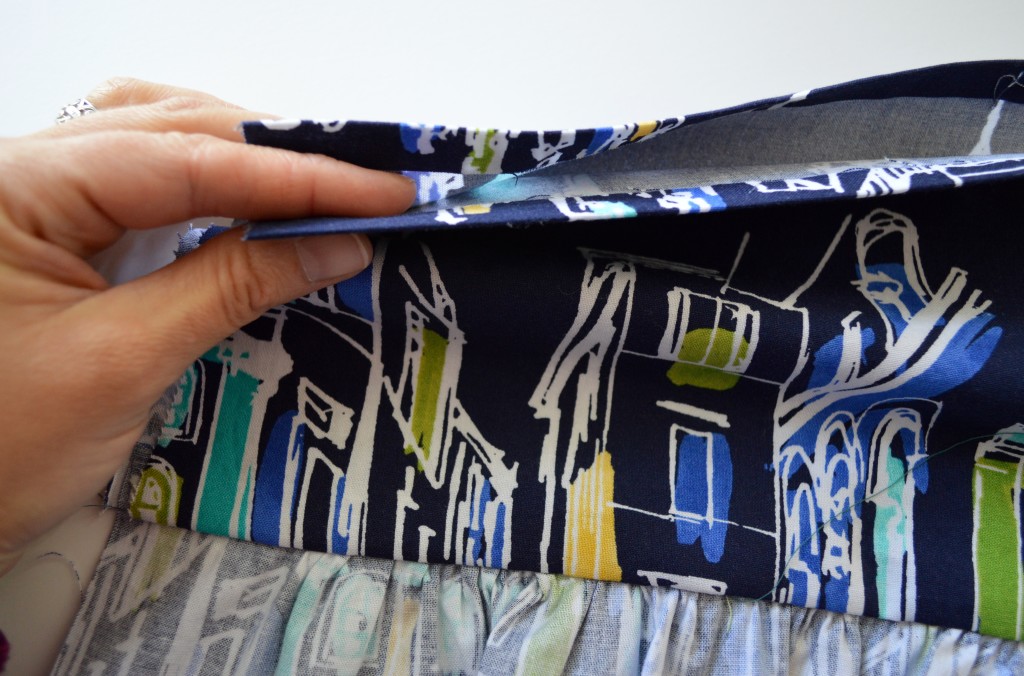
4. Topstitch at both the top and bottom of the yoke. We are finished making the skirt front and can set it aside.
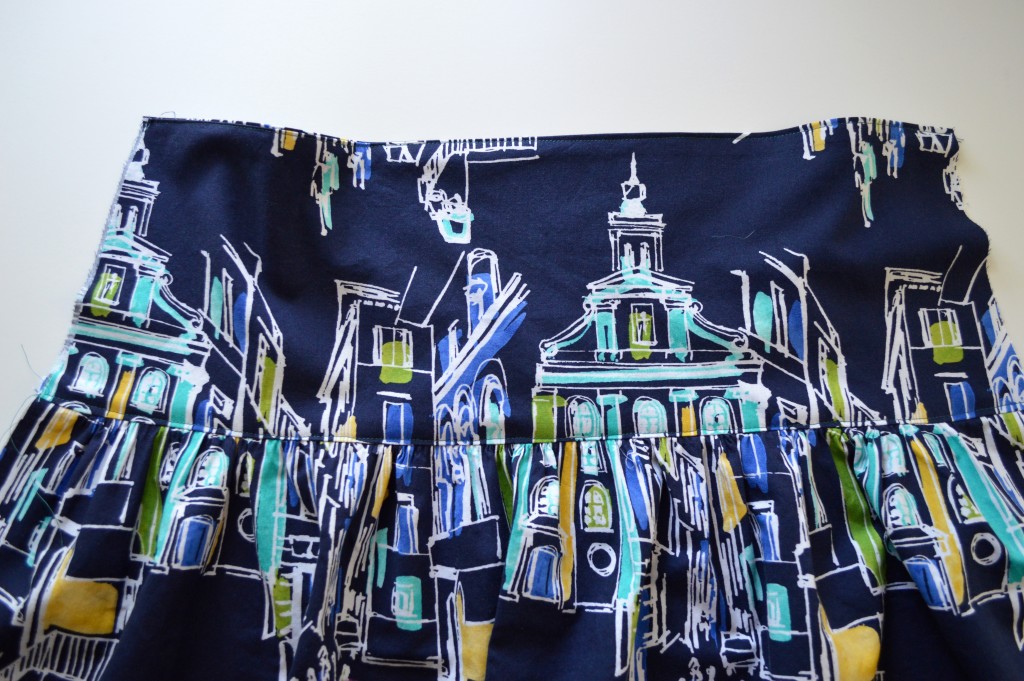
+ Create the Skirt Back
1. To create the skirt back we will be creating an elastic casing and securing elastic in the casing. Begin by pressing the top over by ¼″ and then over again by 1 ¼″. Stitch along the folded edge to create about a 1″ casing.
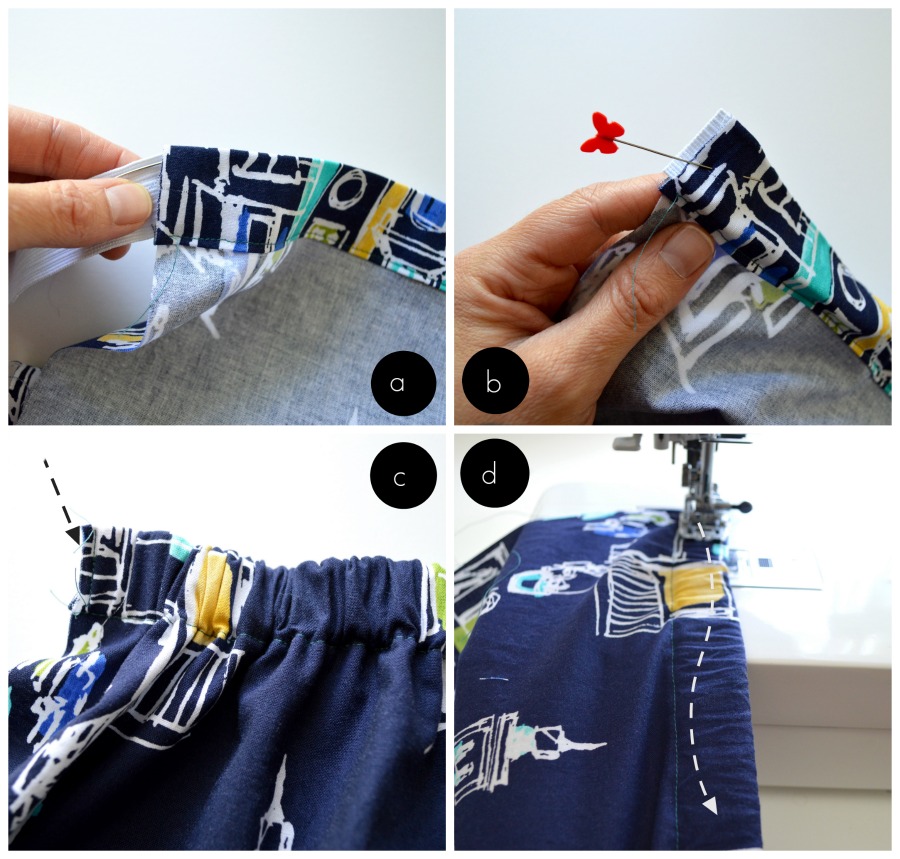
2. Secure the elastic in the casing by (a) attaching a safety pin to one end of your elastic and winding it through the casing, (b) once the other end of the elastic has reached your starting point, pin it to the end of the casing to be sure that it stays secure and doesn’t get lost, (c) once the elastic with the safety pin has reached the other end of the casing, remove the safety pin and pin it in place. The skirt back should be gathered. Stitch the each end of the elastic at both ends of the skirt to hold the elastic in place. The final step (d) is to stitch through the casing and through the elastic while stretching the elastic until the fabric is not gathered. By adding this final stitch, you will ensure the skirt can still stretch but your elastic won’t roll and twist inside the casing.
+ Put it together
1. We now have both a skirt front and skirt back! Pin and sew together the side seams at a ½″ seam allowance and finish the seams with a zigzag stitch.
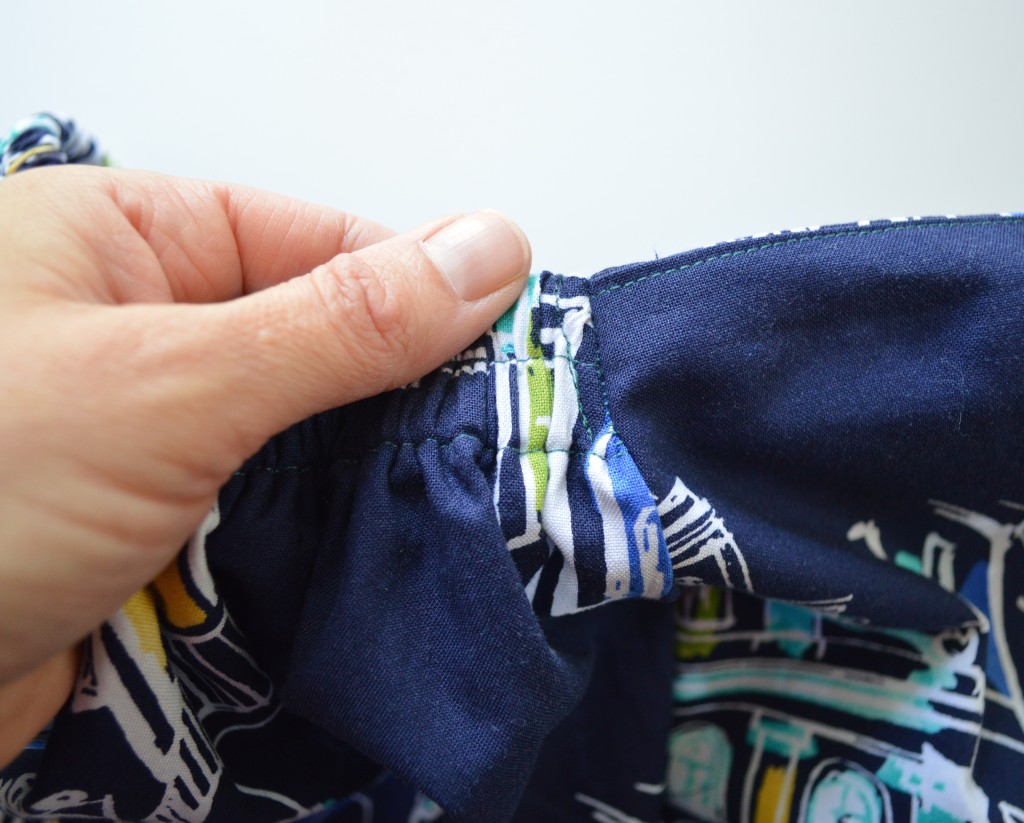
+ Anchor the side seams with a small stitch to secure the elastic portion to the back of the skirt. Press the side seam stitch to the skirt back.
+ Hem
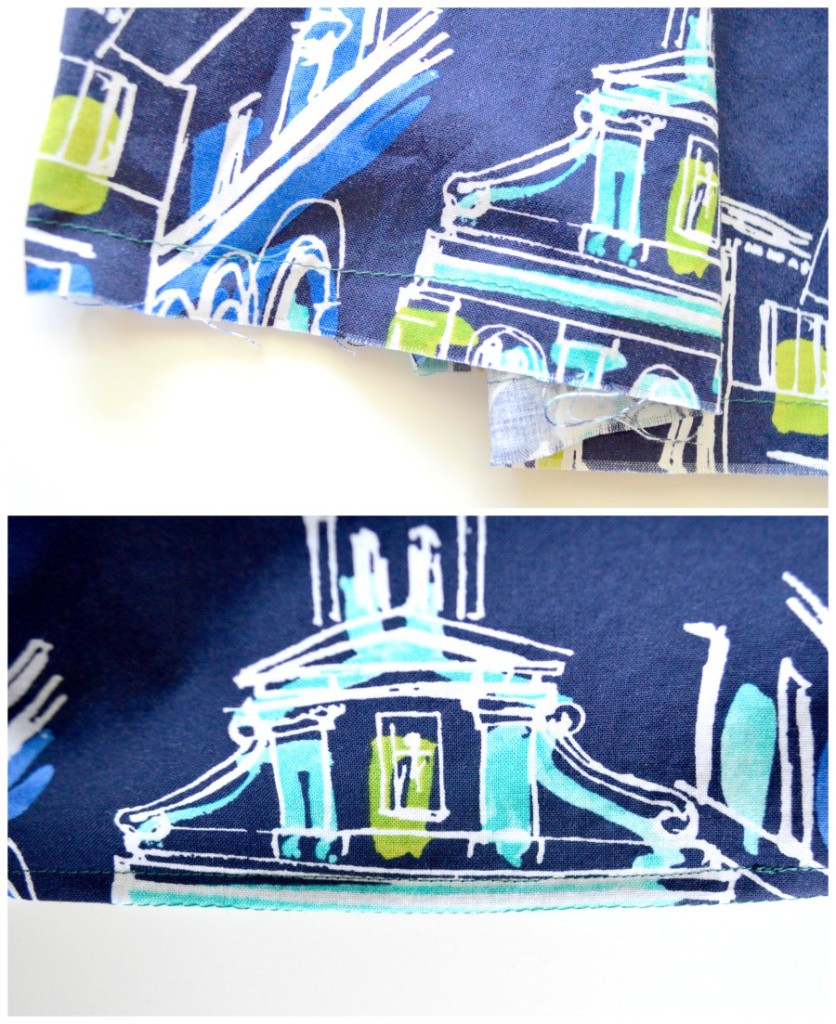
1. Stitch a basting stitch ⅝″ of an inch from the bottom of the skirt along the entire hem. Press with an iron along that stitch and then fold the raw edge of the fabric once more inside the fold to create a slim hem.
2. Stitch along the edge of the fold
3. Remove the original basting stitch and you are done!
+Get Flirting Already!
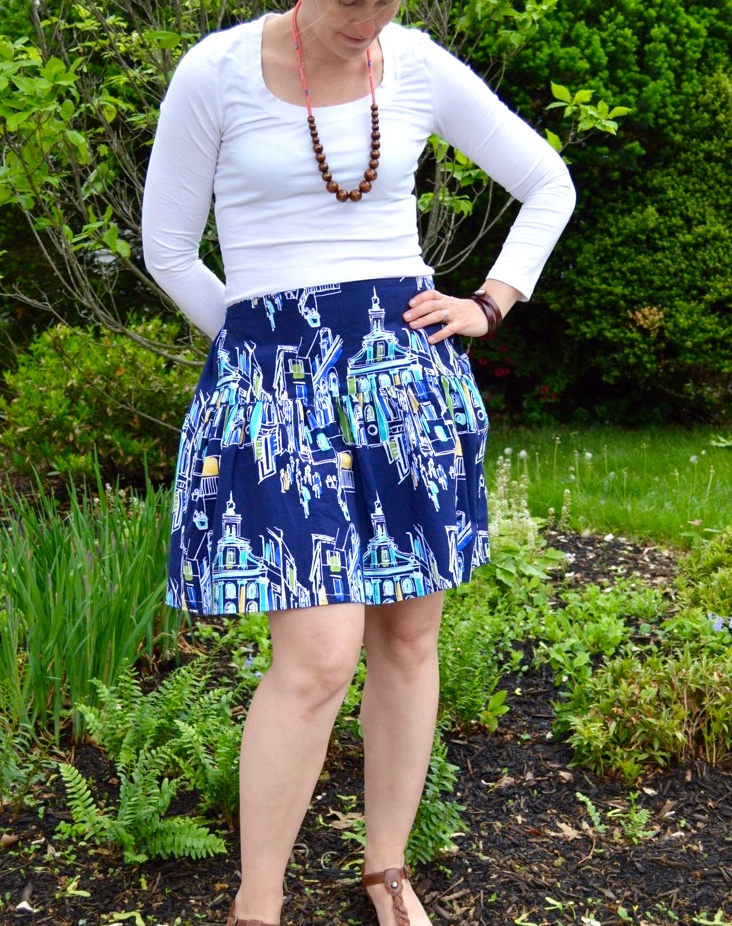
The fabric for this free pattern was generously provided by Michael Miller Fabrics from their On The Town line.
Comments & Reviews
Md Razaul Karim says
Wow ! This skirt is beautiful looking and i’m clear about this skirt. Thanks Melissa Quaal now am a skirt creator.
Melissa Quaal says
I’m so excited to hear that! I hope you share what you make!!
Md Razaul Karim says
Thanks….I’m always here and i would be share.
sorahart says
I love this! Thanks for sharing. I love to wear skirts all summer long.
Melissa Quaal says
So happy to hear it! Enjoy the pattern!
Rainbow Zomby says
Your model looks great. Very attractive.
PETA Rourke says
Thank you for this pattern but I can’t understand the way you work out the yoke measurements. I am trying to do this for daughter to make a long skirt but I am confused from step 2. I understand how and where to measure but you lose me in the calculations.
Sallie McDonald says
Hello, this is a really lovely pattern which I was thrilled to find after an age of trolling the internet looking for an elasticated waist, yoked, skirt. It looks like it fits very neatly. After printing it out I started reading and became confused. For the skirt back you say to draft a rectangle of 21 inches x (etc, etc). Which measurement is the 21 inches?
Please help. With kind regards
Sallie McDonald
gmail email login says
Thank you for the detailed tutorial! Thank you for sharing!
run 3 cool math says
Genuinely loved this kind of post. Although I want much more information on like precious subject matter.
meebhoomi says
ret wetr wer we
http://www.assignmenthelpfolks.com/finance/ says
Thanks a lot for sharing skirt new arrival patterns with us. I like this blog and I definitely bookmark this website so visit this website frequently.
check out this page says
Certain content is potentially harmful and children need to be protected from trolls and predators. Luckily, there are tools to help you do just that.
geburtstagswünsche says
nice post
https://thesisleader.com/revise-my-paper/ says
If you need to revise your paper there is no better place then this one. Fortunately, you have an opportunity to hire revision experts that can polish your essay amazingly