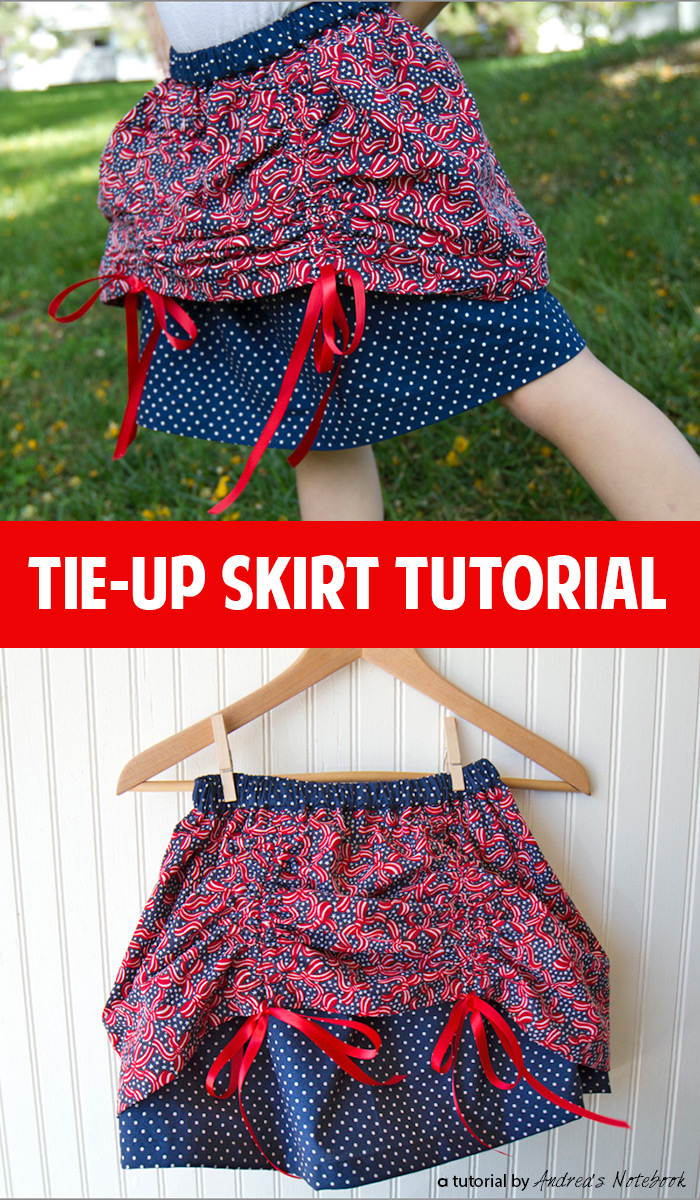
Supplies:
- Ribbon— 2-4 yards
- Fabric— 2 types of fabric. Amount depends on length of skirt. See below.
- ¾″ non roll elastic— See amount below.
- Coordinating thread
Cut your fabric, Ribbon & Elastic:
Measure from your child’s waist to where you want the skirt to fall. Cut that amount of fabric the full width of your fabric (usually about 44″). For the bottom fabric, cut 1 ⅞″ off the width of the fabric.
For the top fabric cut 1″ less on the length. For my skirt I cut 15″ of bottom fabric and 14″ of top fabric.
Cut the waistband the same width of your fabric by 3.25″.
Measure child’s waist. Cut that amount of elastic.
Cut 8 equal pieces of ribbon. I suggest cutting 5-10″ longer than your skirt. You can always trim later if you want them shorter.
Sew the bottom skirt:
Fold the bottom layer, right sides together, sew along selvege edge using ⅝″ seam allowance. Sew the hem by fold and pressing the bottom edge under ¼″ then another ¾″. Topstitch along the edge.
Sew the top skirt:
Hem the full piece as you did on the bottom piece.
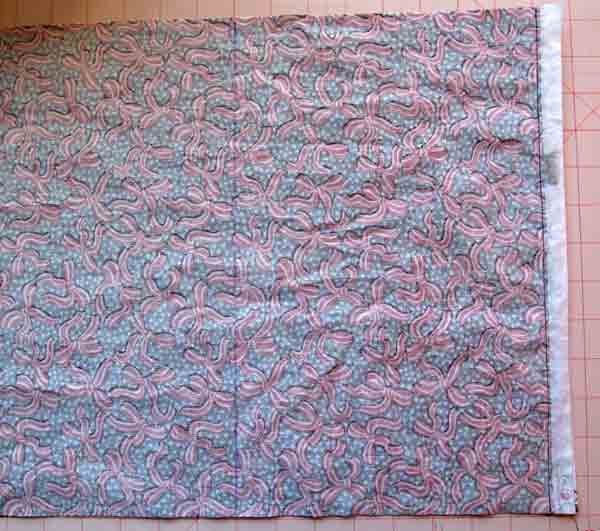
Next fold right sides together, matching the selvege edges. Sew using a ⅝″ seam allowance.
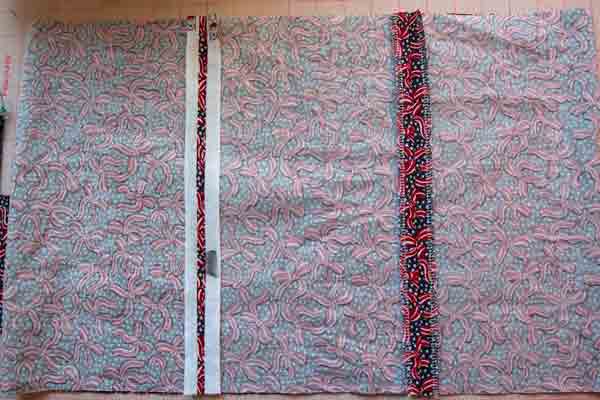
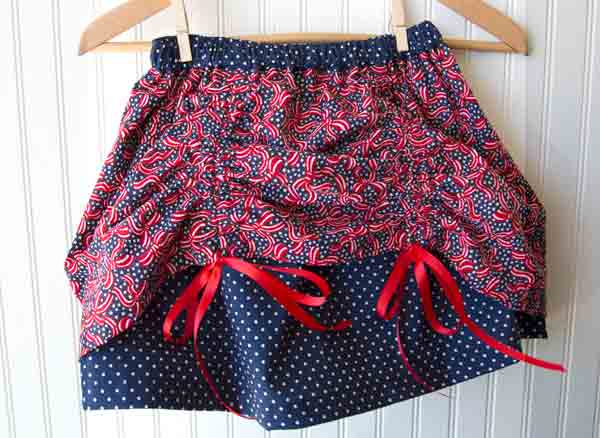
Next mark 3 lines for where you want the pick-ups to be (see purple line in photo below). I recommend making them equally spaced around the skirt but that is up to you!
Fold your fabric on that line you just drew, right sides still together. Make sure you are not catching more fabric in that fold. Sew a ⅝″ seam allowance then cut the fold open and press down. Finish edges by using pinking sheers or serging. (see photo below)
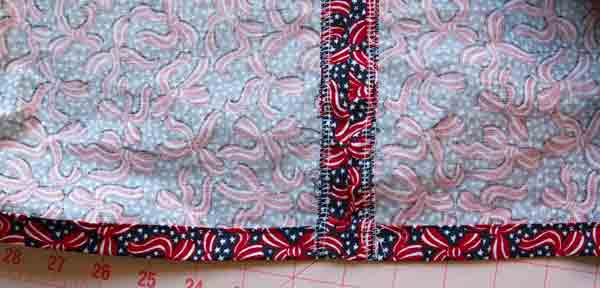
Continue for all 4 seams. Then stitch the seams down along each edge to make a casing for the ribbon.
Attach the ribbon to a safety pin on bodkin and thread through the casing.
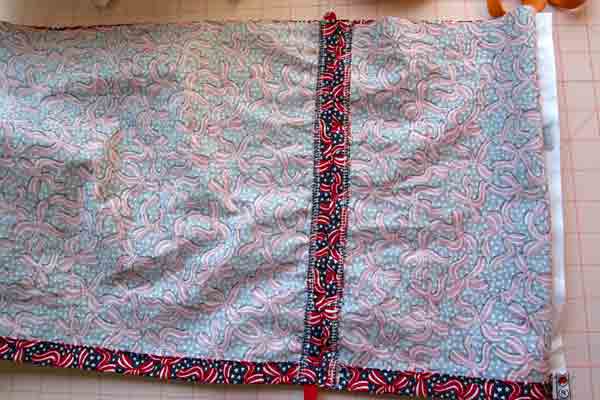
Sew the ribbon to the top but NOT the bottom.
Sew the waistband:
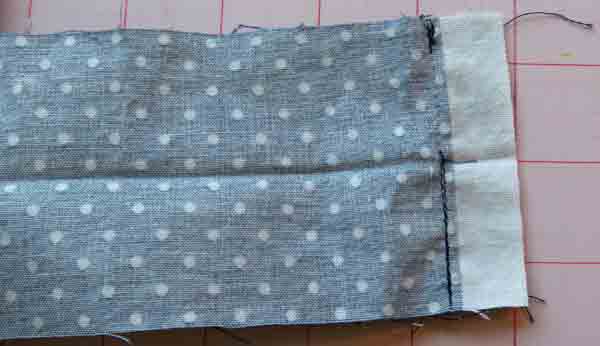
Fold the waistband, right sides together. Using a ⅝″ seam allowance sew a seam halfway, then leave a ⅜″ opening and sew the rest. Make sure to backstitch to secure the seams. See photo below for details.
Line up bottom and top layers of skirts, top layer on top. With waistband, right side facing the skirts, pin together. Make sure the opening in the waistband seam is on the bottom half of the waistband, away from where you are pinning. This will ensure the casing opening is inside the skirt when you are finished.
Sew then press the seam up toward the waistband. Iron the top of the waistband down ¼″. I added a ribbon here as a tag.
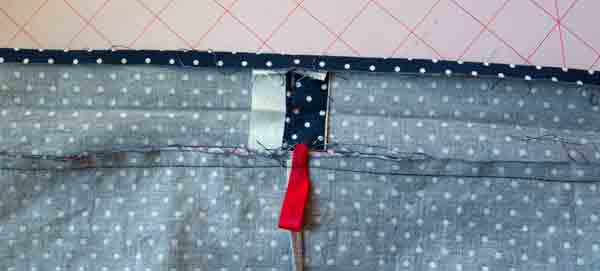
Fold and iron over so it meets the stitch line where you attached the waistband. Pin in place.
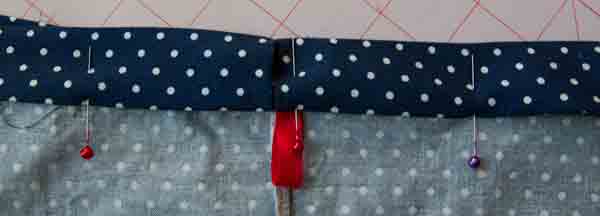
Topstitch ⅛″ from the edge. Insert elastic using a safety pin.

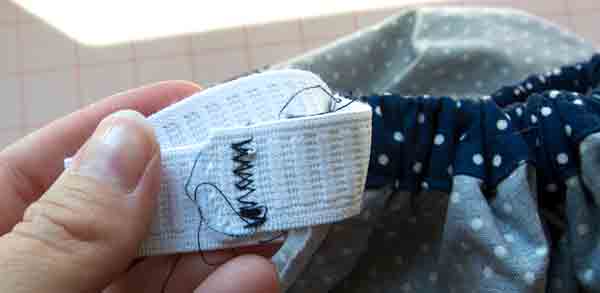
Secure the ends of the elastic together using a zig zag stitch. Then stretch the skirt so the elastic goes into the casing.
Voila!
I hope you enjoyed that tutorial! Stop by my blog to check out all the other projects and tutorials! Thanks for having me ladies!
Comments & Reviews
kate says
I’m so excited to dig through all your girly tutorials now! This is way cute!
Kim says
You have shared nice post.
mp3 youtube says
Still using the paid version of the youtube to mp4 converter then here on our website you will get the best converter that convert your video in just few seconds in with great output.
Rosa says
It’s amazing, I’m glad I read it. Super news.
sanam says
it is a nice post helpful for someone who likes stitching very good post
The Dubai Fountain says
It is a great website.. The Design looks very good.. Keep working like that!.