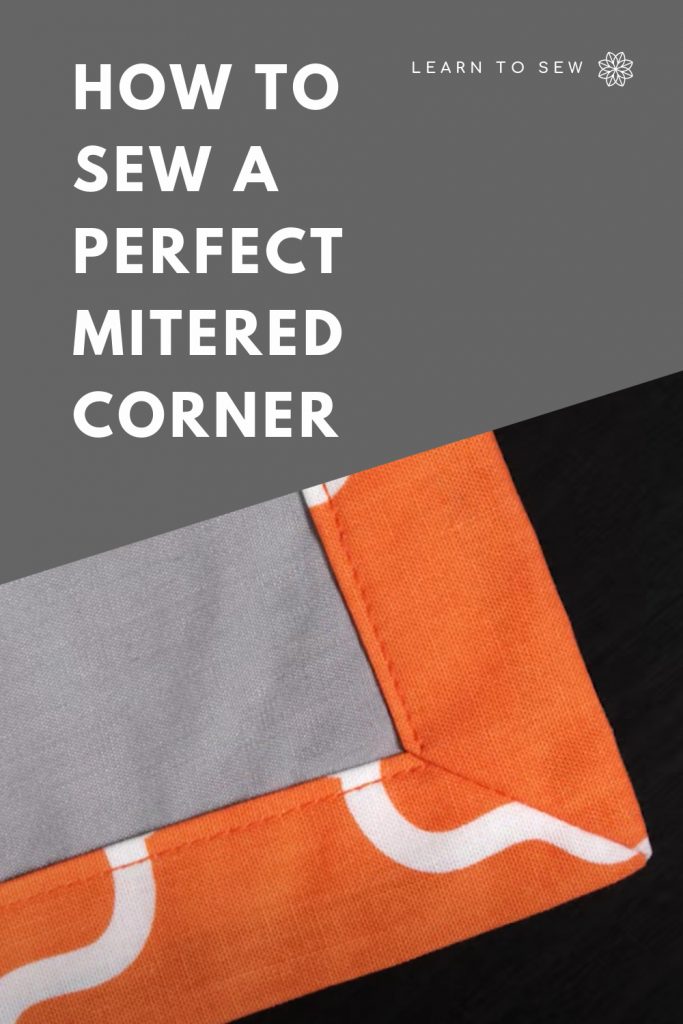
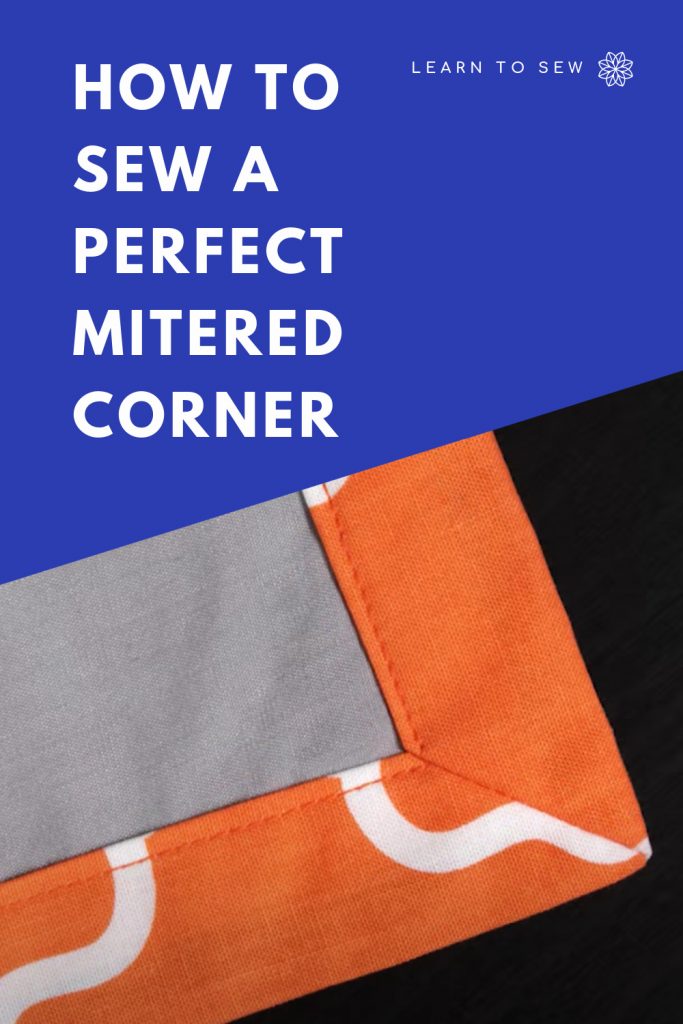


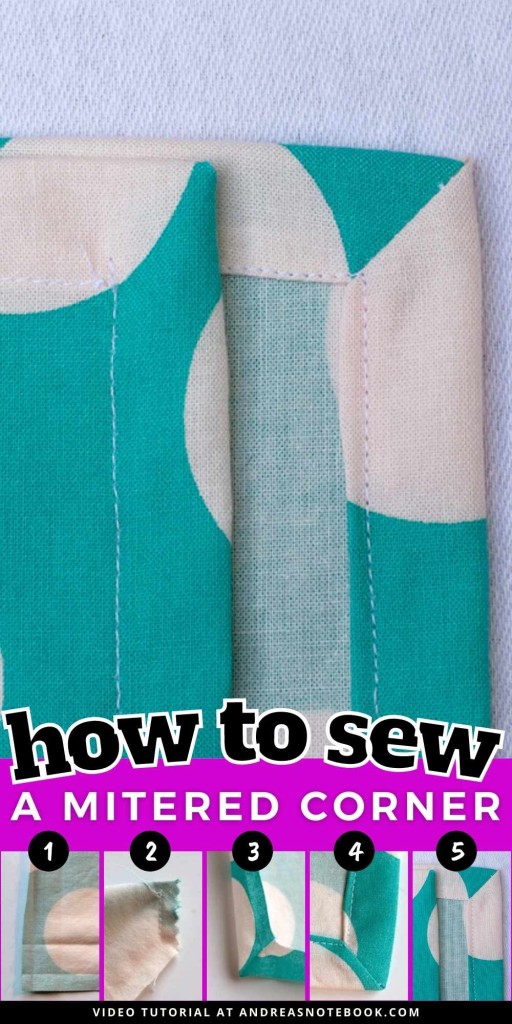
Learning how to sew a mitered corner is a must know sewing technique. The mitered corner is a beautiful way to finish a sewing project. The perfect corner seam looks professional but is easy to do.
A mitered corner on a quilt binding is one of the best ways to finish a quilting or sewing project that has a right angle. Keep reading to learn how to sew this finishing technique and see some fun ways to use it.

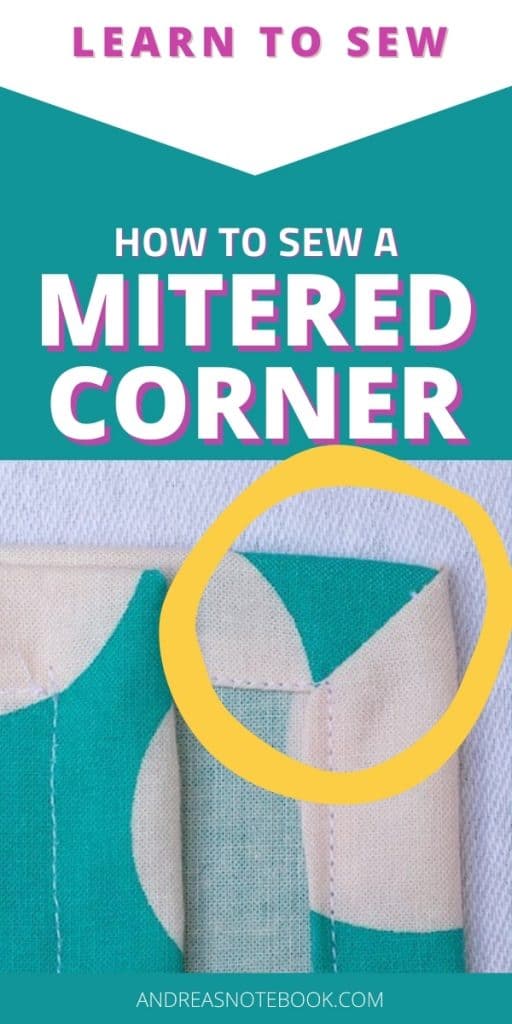
What is a mitered corner?
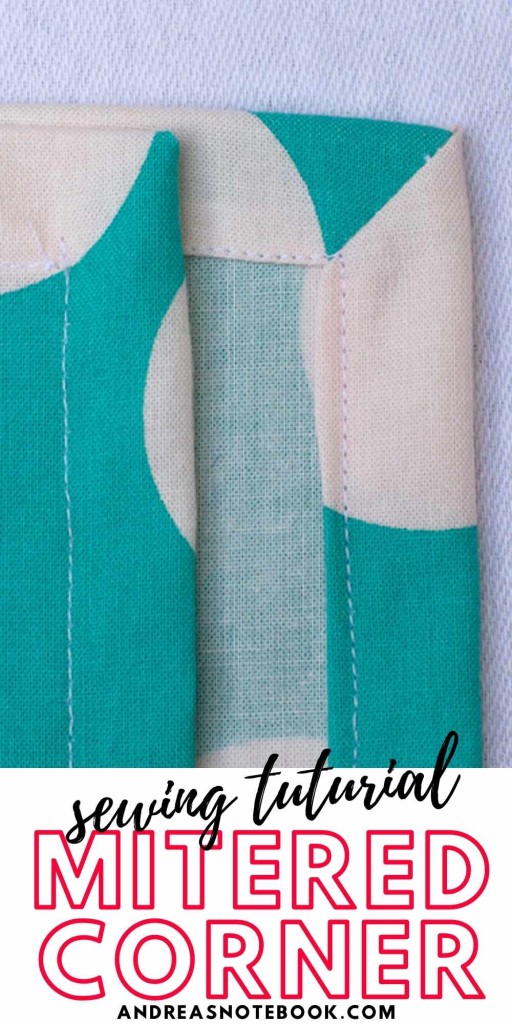
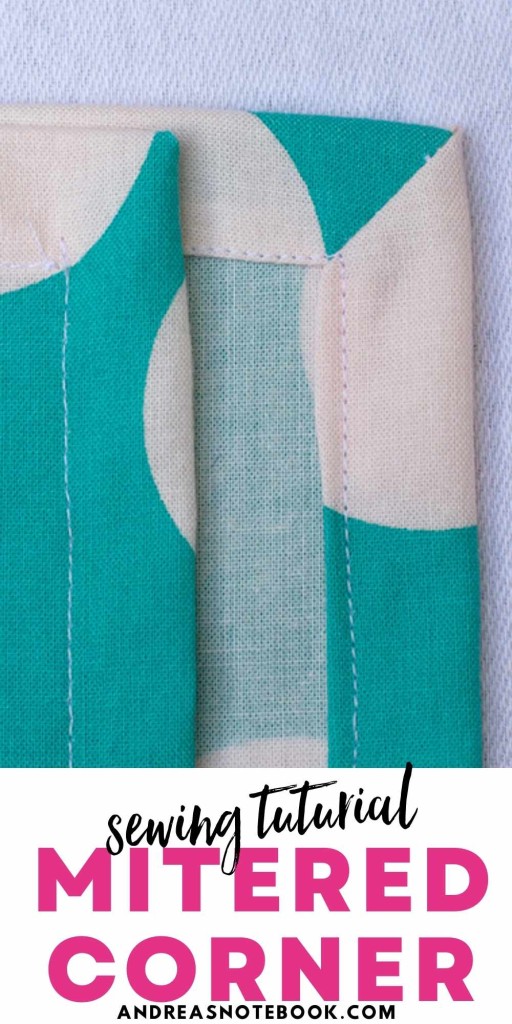
A mitered corner is when two sides come together at a 45 degree angle. They are a great way to create a polished look on a variety of sewing projects. When done well, they can make any project look like it’s professionally finished.
When sewing, you can use a mitered corner on any project that has a right angle. If it’s a rectangle or a square you can finish it with a mitered corner. It’s most commonly used in quilt bindings.
Supplies To Sew a Mitered Corner
- Sewing Machine
- Cutting set: acrylic ruler, self healing cutting mat, rotary cutter
- Sewing basics: Fabric Scissors, Pins, seam ripper
- Fabric Marker
How To Sew a Mitered Corner
Watch this short video tutorial or scroll below to read how to sew a mitered corner.
Tutorial
Time needed: 5 minutes.
Sewing a mitered corner is a quick way to finish your project. Each corner will only take a few minutes to complete.
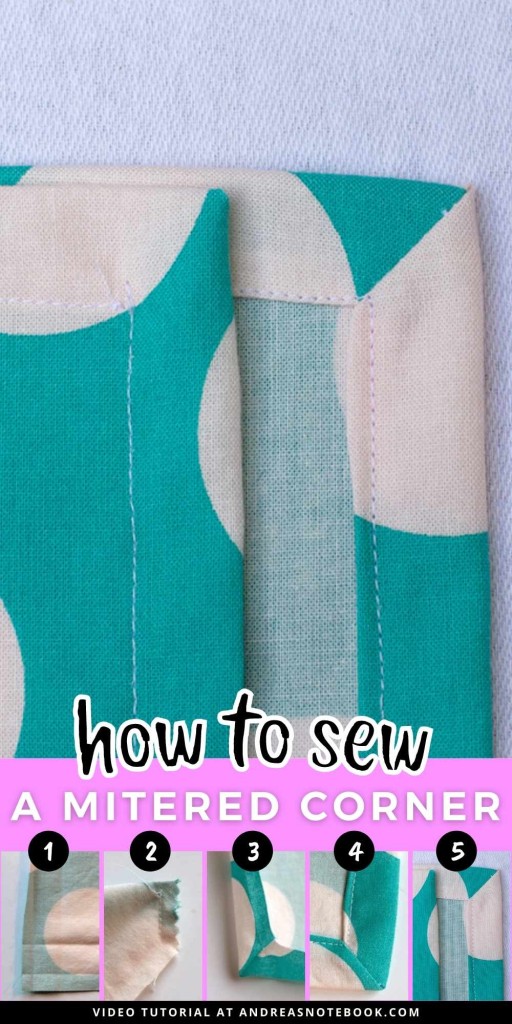
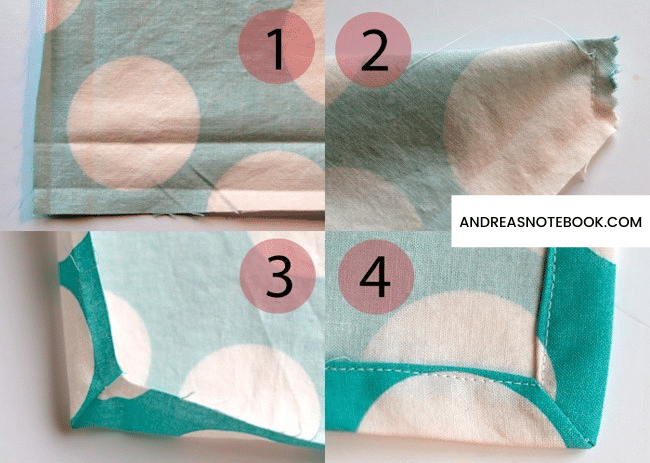
- Press fabric.
Press the fabric 1″ all the way around the edge. Open and press the edge under ¼″. You will see pressed marks ¼″ from the edge and 1″ from the edge. (photo 1)
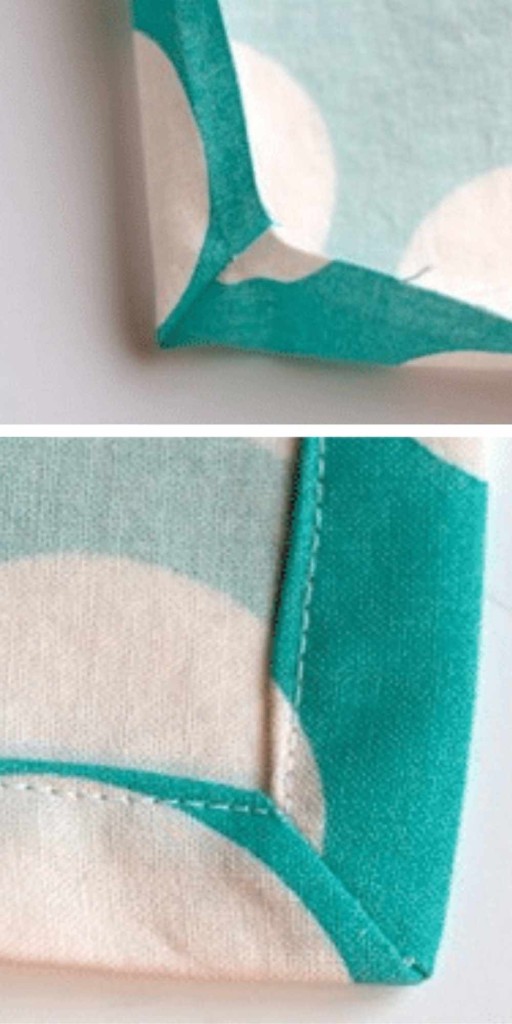
- Fold corners right sides together.
Ford your corners right sides together. Make sure the 1″ fold mark is folded exactly in the corner. Sew from the point where the 1″ mark is straight down to the ¼″ fold. Do not sew over the last ¼″. Trim the edges. I used pinking sheers. (photo 2)
- Turn right side out.
(photo 3)
- Finish.
Tuck edges under on the ¼″ fold line. Sew around the edges. (photo 4)
Popular Sewing Tutorials
Sew For Kids
These are some of the most popular tutorials on my blog right now.

70+ THINGS TO SEW FOR HOME

Comments & Reviews
Homeplace says
Very interesting and valuable article. Thanks for sharing.
Anil Kumar says
I am very impressed with your post because this post is very beneficial for me and provide a new knowledge to me