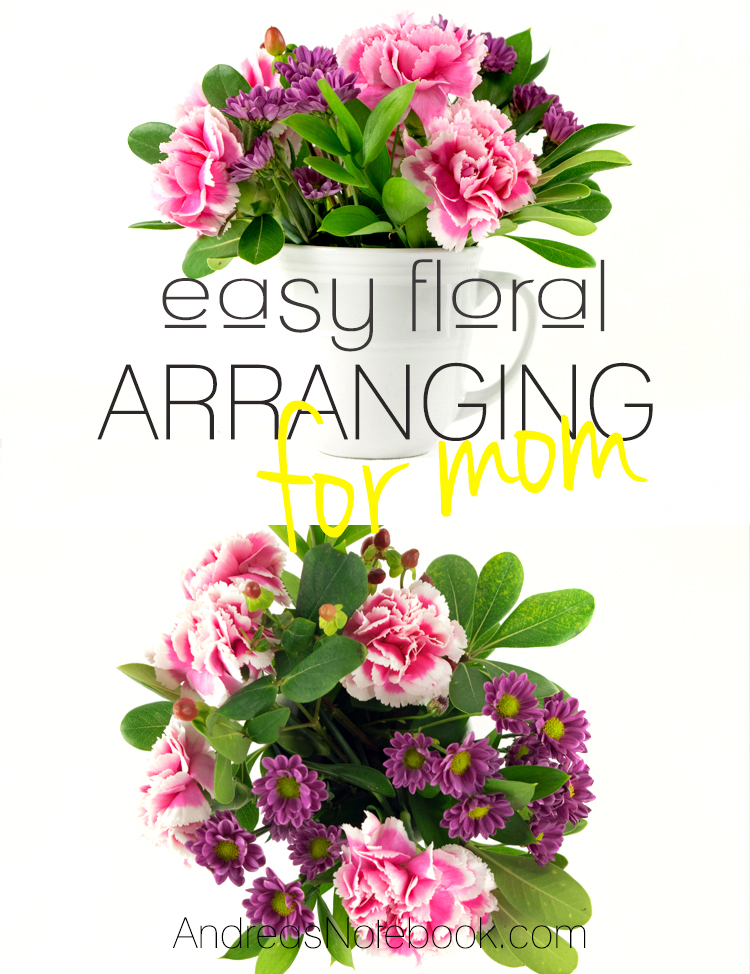
Do you have a shelf way-high up somewhere where stock flower vases go to die?
I LOVE getting flowers as a gift, but the containers they often come in are kind of the worst. Which is a shame, especially when you think how that not-so-cute vase will lurk in the dark corners of your cabinets forever.
When I create DIY flower arrangements, I really try to think beyond the occasion and create a theme around whatever I decide to put the flowers in. This can turn a ‘nice-but-boring’ gift into one they can use and enjoy for a long time.
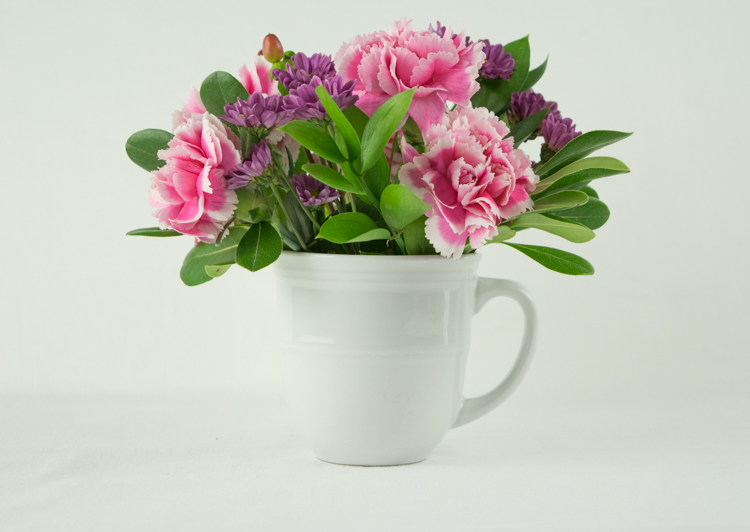
For the perfect Mother’s Day gift, don’t just order this year’s “Mom Bouquet.” Create a personalized mini-arrangement in a mug, instead! Pair it with a box of her favorite coffee or tea and a treat, (or simply a gift card to her favorite beverage spot,) and you have got the perfect thing to show Mom you think she’s amazing.
How To Make This DIY Flower Arrangement In A Mug
To create the project illustrated here, you will need:
Scissors – Find a sharp, clean pair of scissors.
Flowers – As a starting point, choose 2-3 types of sturdy greenery and branches, and 2-3 different blooming flowers. I picked up the flowers for this tutorial at our local Whole Foods, but grocery stores often have a selection as well. (Tip: Don’t forget to forage outside too – you would be surprised what pretty blooms and branches you can find for free in your own yard!)
A Big, Beautiful Mug – Choose a mug your Mom would love on its own. You can even get crafty and personalize it first!
A Mini Bag Of Coffee or Box Of Tea – To go with the mug, of course!
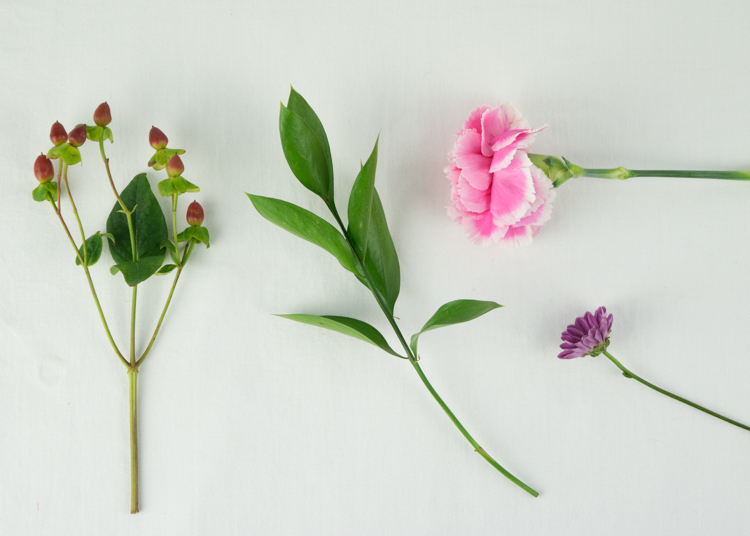
Start by pulling off any leaves that will be below the water line. Florists pull off all extra leaves up to the bottom of the bloom for leafy flowers. Also, Don’t be afraid to pull off dead or torn petals on the flowers. Professional florists do this too!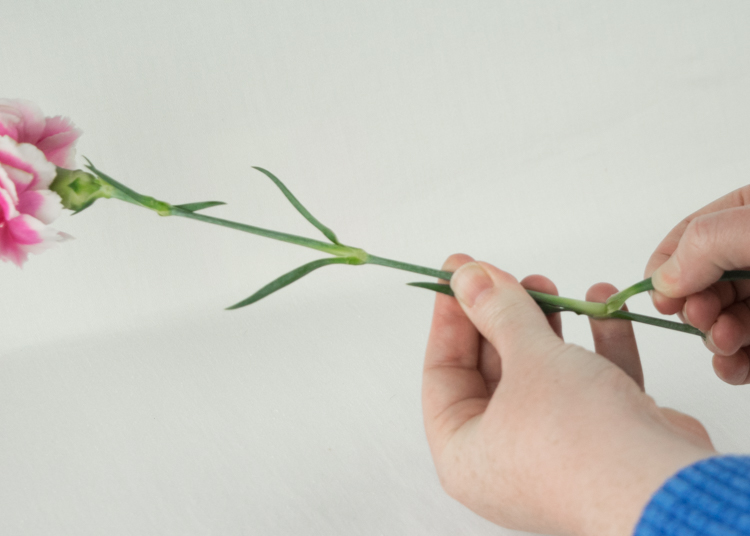
Before you cut the stems, be sure to measure. The stem should be about 1.5 to 2 inches taller than your mug, measuring to the bottom of the bloom. Remember, they will be siting in the mug diagonally, so you would like them a little longer than you might think. You can always cut them a bit shorter later if you need to. 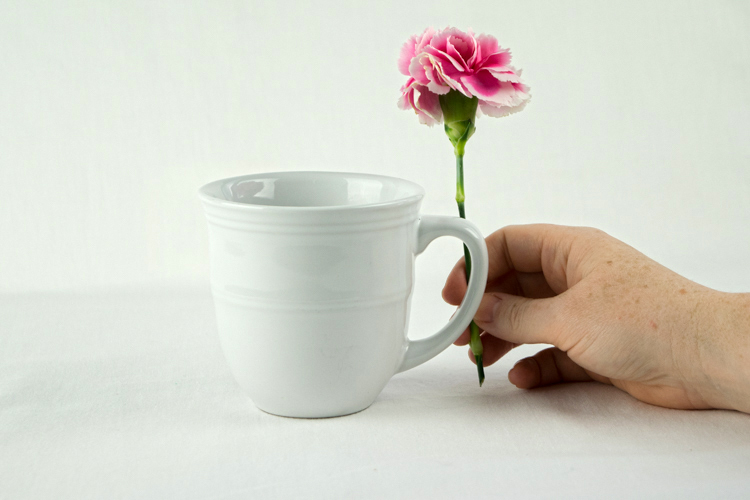
Now with a sharp scissors, cut the bottom of the stem to the desired height. Cut at a diagonal like this. 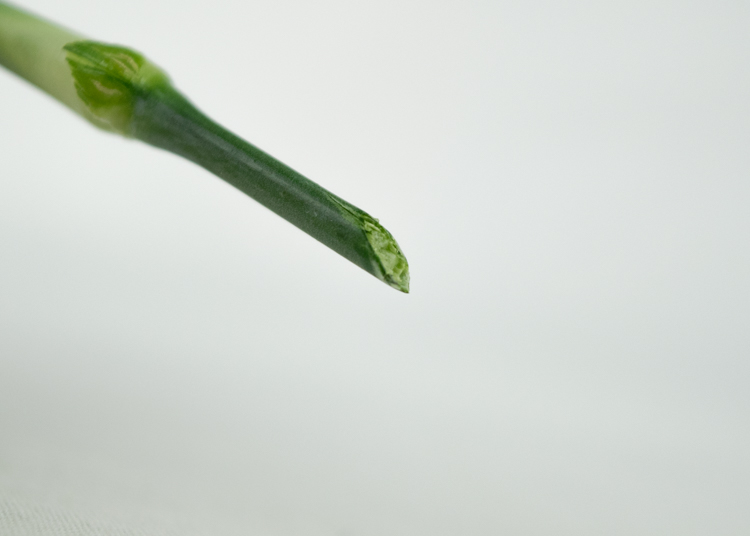
This arrangement doesn’t use a filler (like foam or a metal flower frog) to help keep its shape, but is given structure by the way you build it. First, use some of your sturdier greens to create a base for the other flowers to go in to. They should overlap like this with space in the center and edges to tuck in other flowers. Save your prettiest flowers for later in this process – you want them to be the stars of the show!
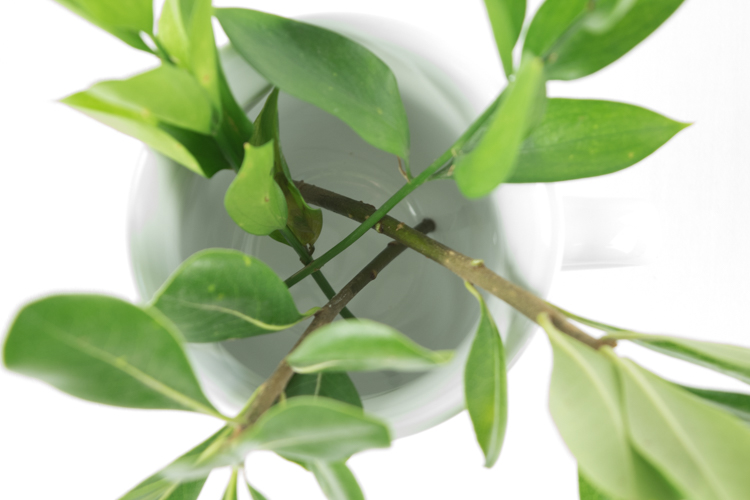
Now, begin tucking in more flowers and berries (if you are using them) at an angle. I turn my mug as I go and add things in a counter-clockwise direction so I can see things from all sides. 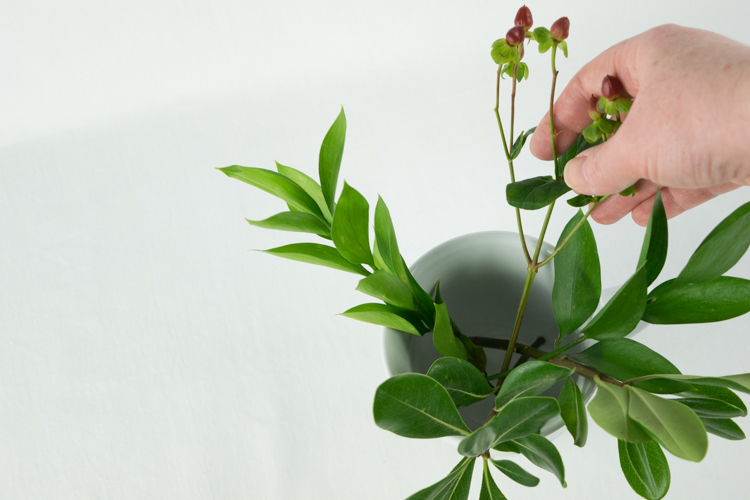
Add your focal blooms last. Make sure you are adding flowers all the way around to make things even. 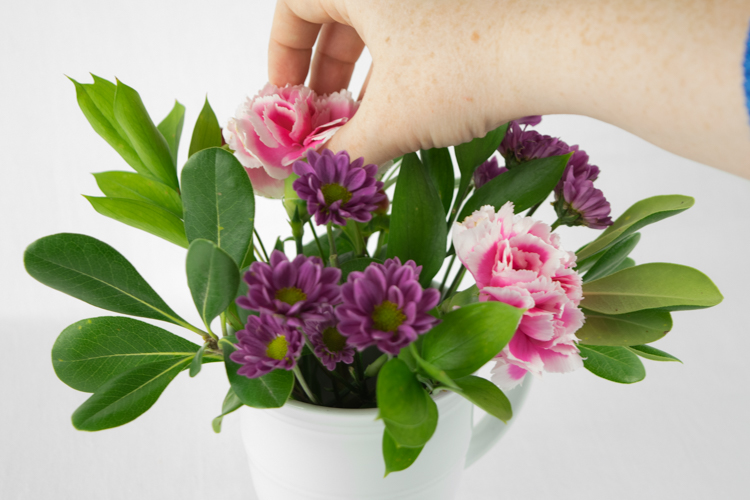
Once you are feeling like you like the overall shape and composition from the front, take a look from the top. Add greens and blooms to fill in that center hole. Also take a look around the whole arrangement one more time, and move things if they don’t look right.
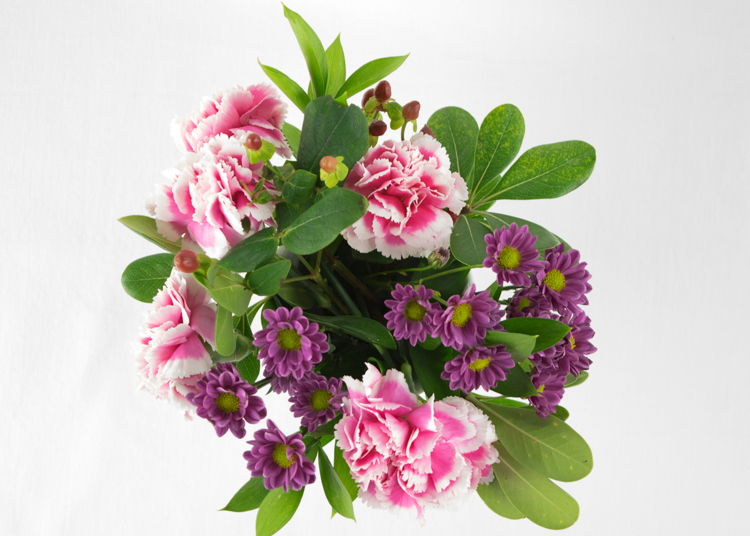
That was easy, right? Best of all, even with coffee and chocolate (or tea and cookies,) this gift cost me less than $20 to make! And when the flowers are done, Mom can wash out the mug and remember how much you love her every morning when she uses it.

Comments & Reviews
and intercom says
The Jewish Floridian – UFDC Home
the impossible quiz says
The flowers are so beautiful and well-planted
Peyton says
I wanted to thank you for your time.
Flowerhub says
Thank you for sharing this simple DIY flower arrangement. I think this is great in the office along with succulents. It adds beauty to the workstation plus positive vibes.