Tried and Tested Favorite Family Recipes
Enjoy our favorite family recipes! These easy recipes are tried and tested and have simple ingredients the entire family will love. From slow cooker recipes to Instant Pot and everything in between. Browse our favorite recipes!
Trending Recipes
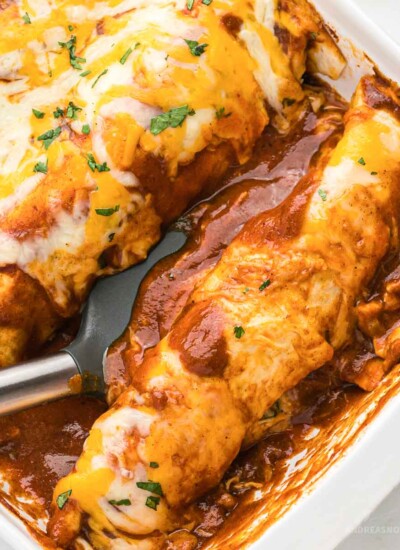
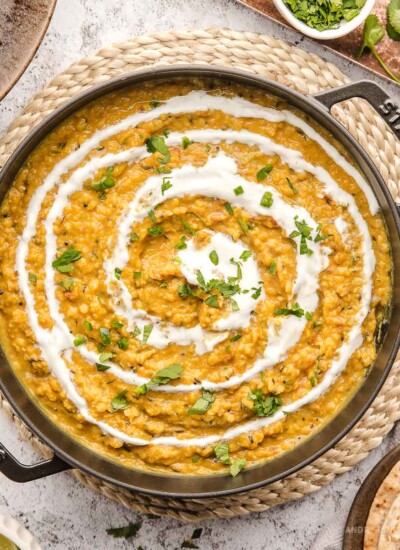
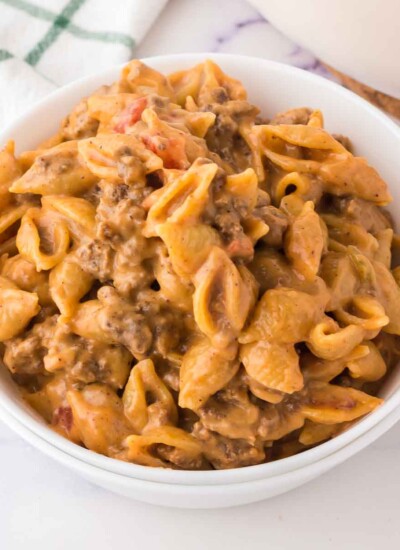
Browse my most popular recipes this week! From Chicken Parmesan Casserole Baked with Penne Pasta to Red Lentil Dal. For a family-friendly dinner idea try the Easy Homemade Chicken Taquitos. If you’re looking for a traditional recipe but are low on time, try my Chicken Enchiladas Recipe. They are the ultimate comfort food! Use rotisserie chicken to save even more time! And don’t miss the The Best Thick Crust Pizza Dough or Cast Iron Pan Pizza!


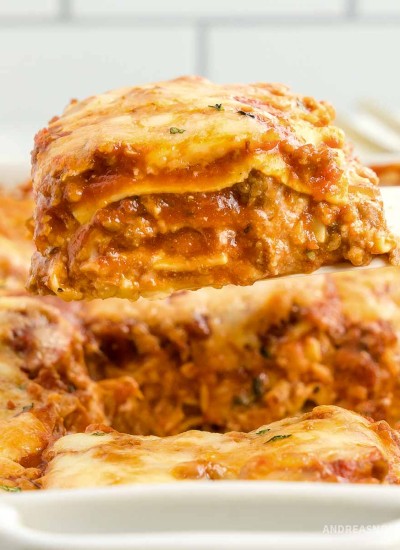
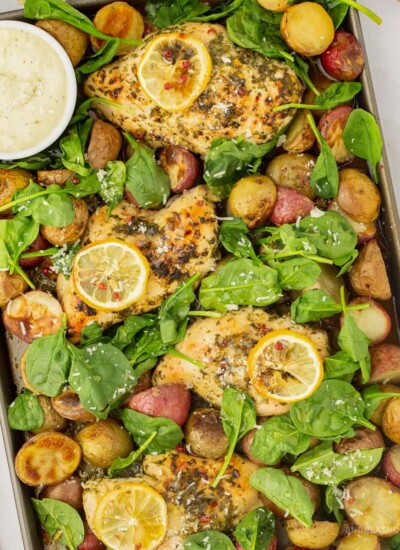
Main Dish Recipes
If you’re looking for mouth-watering meal ideas to impress your family and guests, then you’re in the right place. This collection of main dish recipes features a variety of dishes to suit every taste, including hearty meat-based meals, flavorful vegetarian options, and seafood delicacies. You’ll find recipes for busy weeknights or delicious Sunday night family dinners.
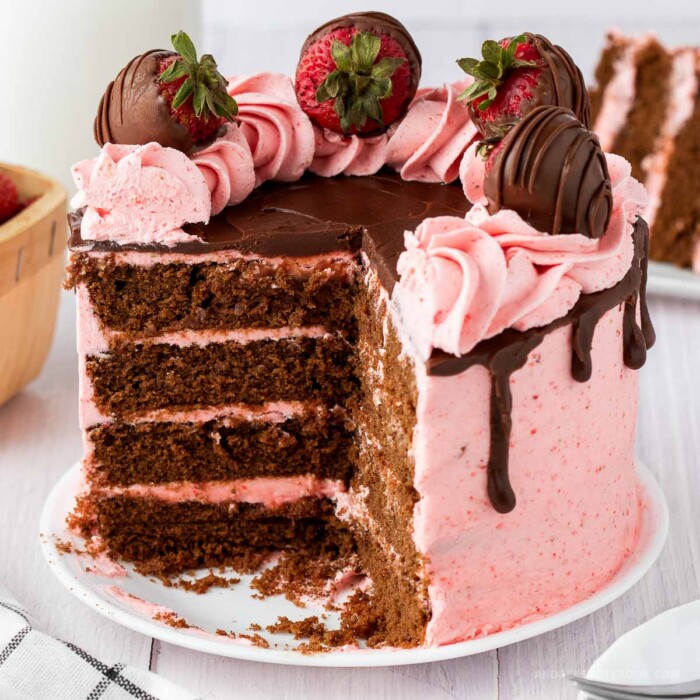
Layered chocolate cake with strawberry frosting
Get ready for Valentine’s Day with this delicious 4-layer rich chocolate cake with homemade strawberry buttercream frosting. Top it with ganache and chocolate covered strawberries.
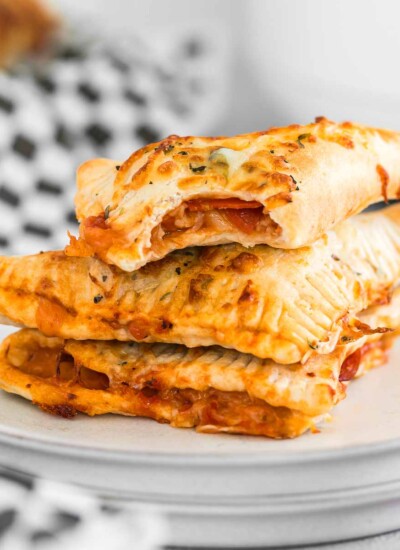
Quick + Easy Recipes
Life can get busy, and sometimes we need to whip up a tasty meal in no time. That’s why I’ve curated a collection of quick and easy recipes that can be prepared in just a few simple steps. Whether you’re making Banana Boat S’mores or Cheesy Garlic Rolls you’ll find recipes that take less than 30 minutes. Try our soups! They are a great way to make an easy complete meal and sneak in some extra veggies.
hey there!
Meet Andrea
Welcome. I started this blog in 2007, when I was sharing mostly daily life, crafts and food. I took a blog hiatus between 2016-2022.
I’m back full time sharing my family favorite recipes and kitchen gems. I hope you enjoy!


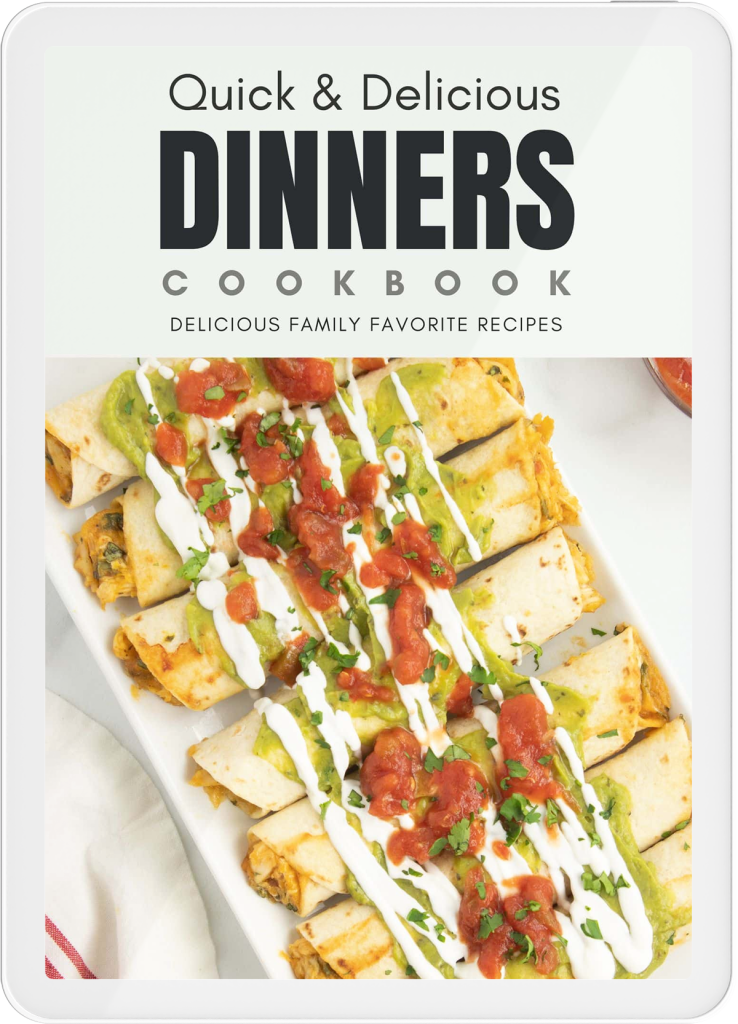
ebook
Quick & Delicious Dinners
Whip up tasty meals in a flash with our quick and delicious dinner cookbook! Easy recipes to help you get dinner on the table in a pinch.
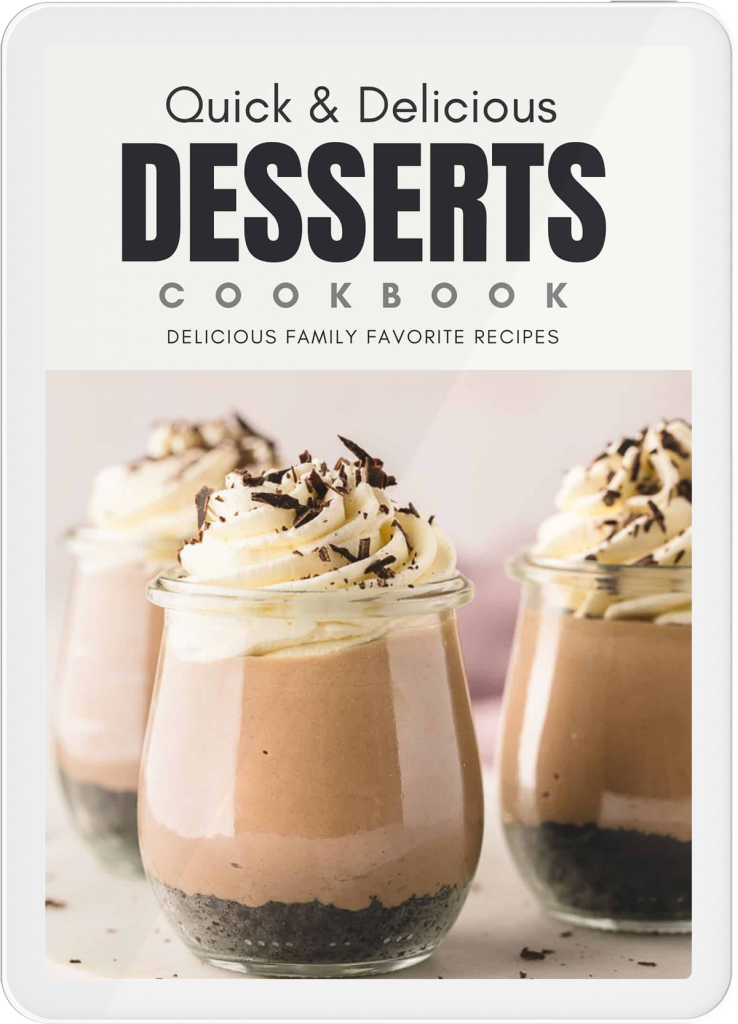
ebook
Quick & Delicious Desserts
Indulge in sweet treats with our quick and delicious dessert cookbook! Easy recipes for cakes, cookies, and more. Perfect for any occasion.
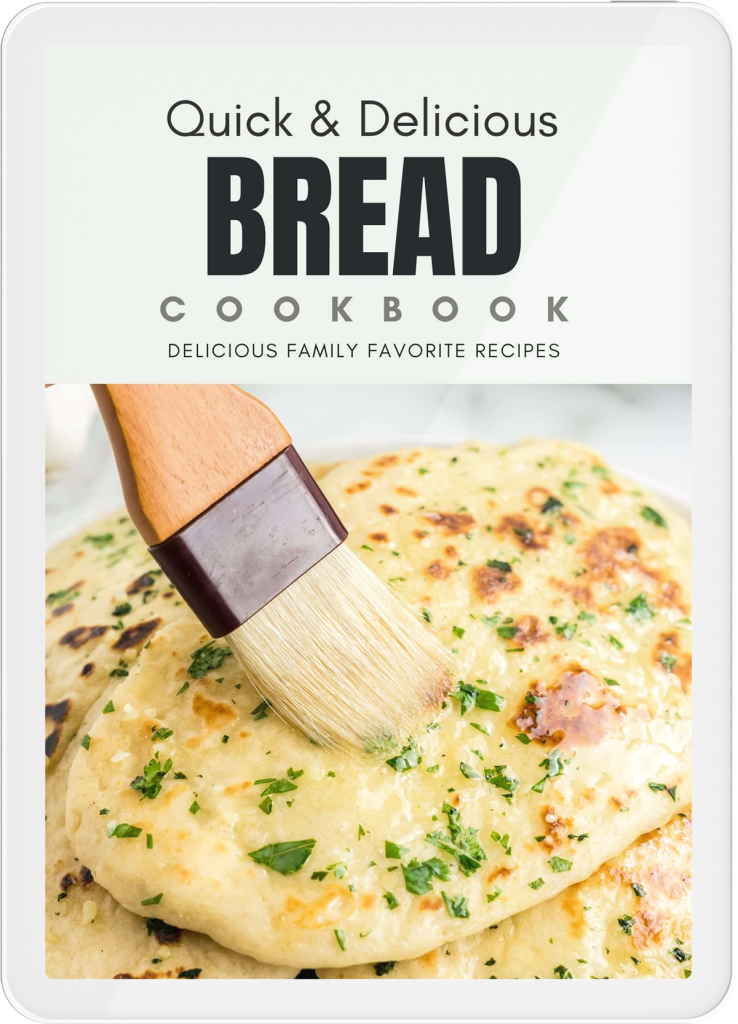
ebook
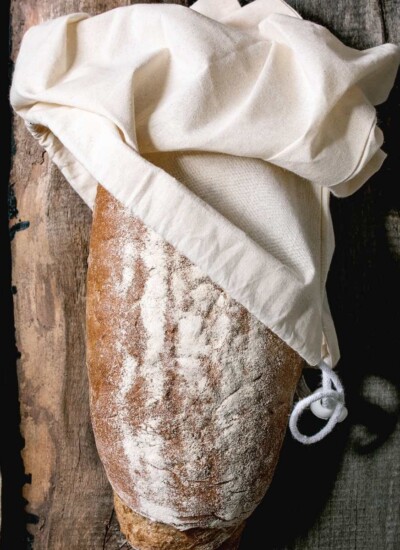
Quick & Delicious Bread
Bake fresh bread in no time with our quick and delicious bread recipe cookbook! Easy recipes for beginners and experienced bakers.
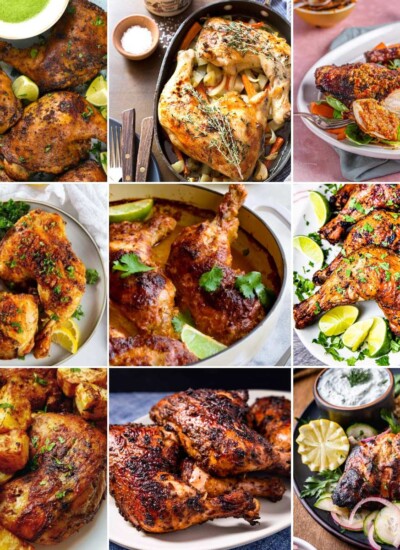
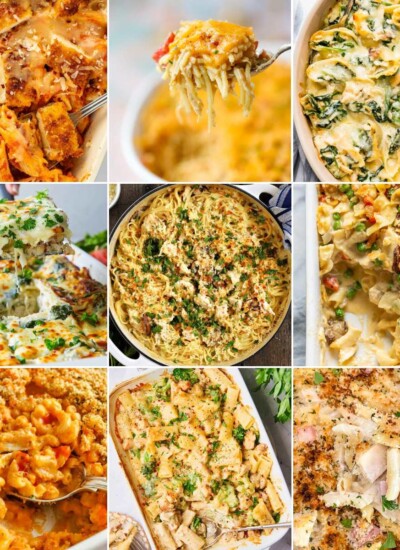
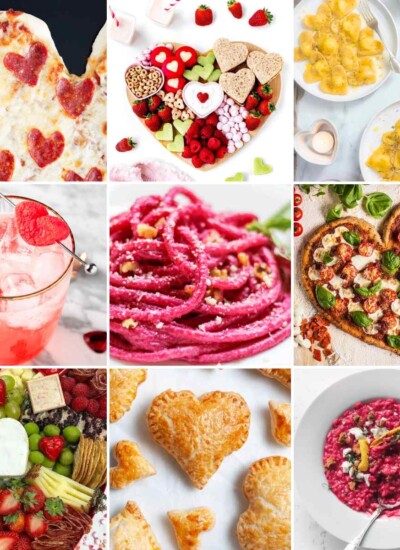
Recipe Roundups
I’ve compiled some of the best recipes and grouped them into easy-to-navigate lists. Whether you’re looking for a specific type of cuisine, occasion, or dietary preference, my recipe roundup category has got you covered.

Kitchen Tips
In this section, I share some of my favorite hacks, tips, and tricks for making the most of my time in the kitchen. From simple shortcuts to more advanced techniques, my tips are designed to help you become a more efficient and confident cook.