

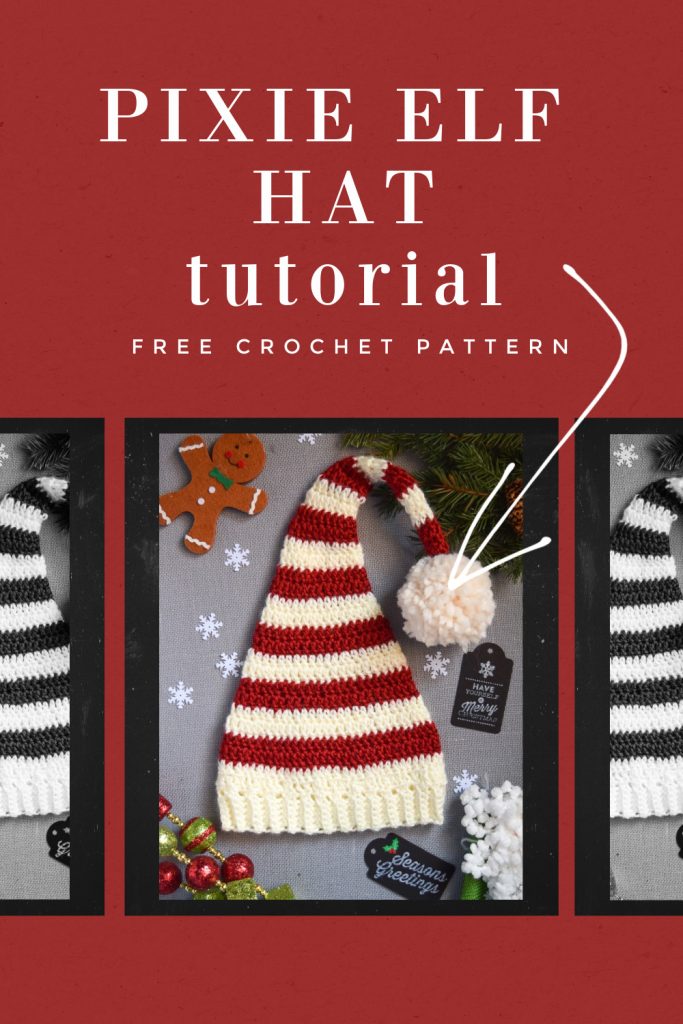

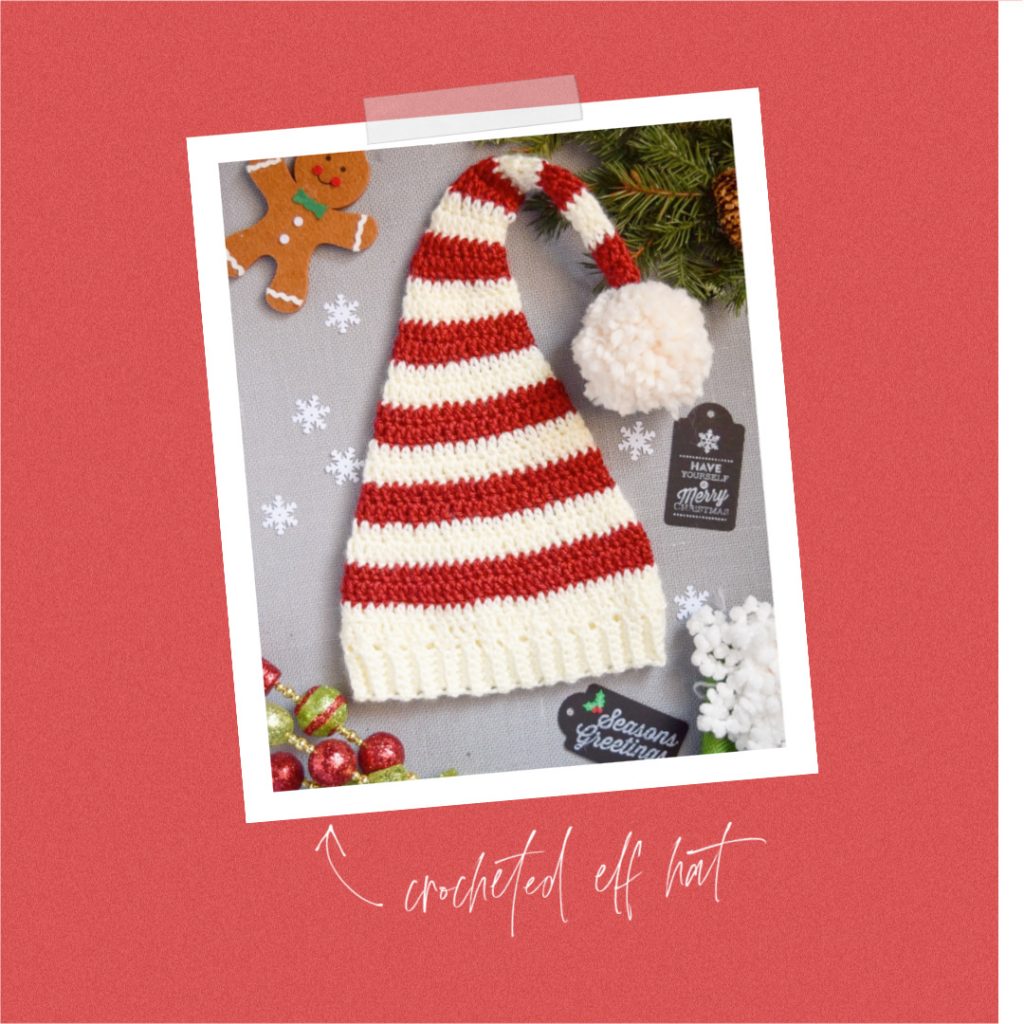
Winter is a time for cold weather fun, friends, and lots of giggles. So, what’s the perfect accessory for all this holiday fun? A warm and silly hat, of course! This easy crochet hat makes the perfect holiday gift for a new Mom or Dad and is so wonderfully fast to make. Even if you are a beginner at crochet, go for it! The only skills you need to make this are double crochet, crocheting in the round using a magic loop, and seaming. This pattern is for a newborn baby-sized, long-tailed hat. For additional sizes of this hat, please check out this post.
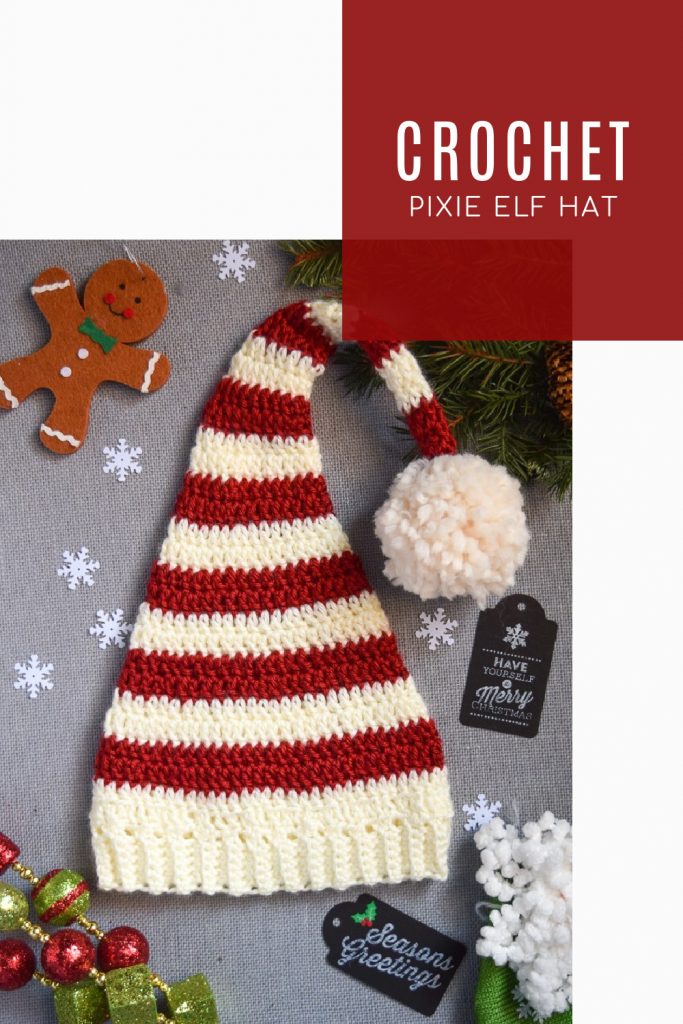
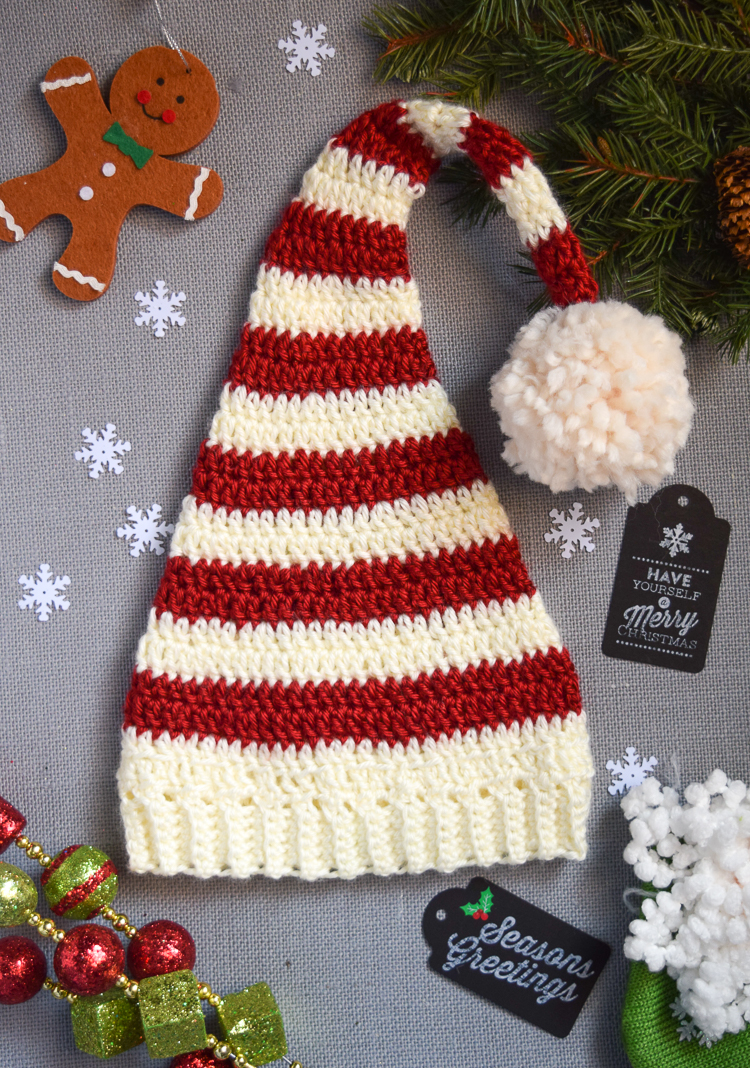
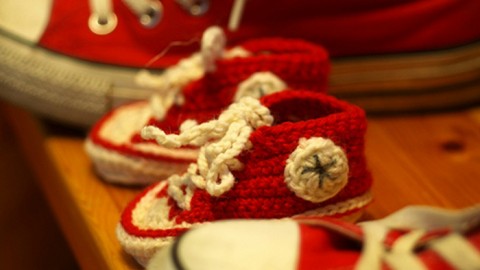
This hat is designed in antique dark red and off-white for a vintage effect. If you prefer to have a bright red and white stripe, substitute other shades from the Caron ‘Simply Soft’ line or other similarly-weighted yarn and it will turn out great!
This newborn hat crochet pattern is made up of three parts: The body, the band, and the pom pom. You will stitch the pieces together at the end.
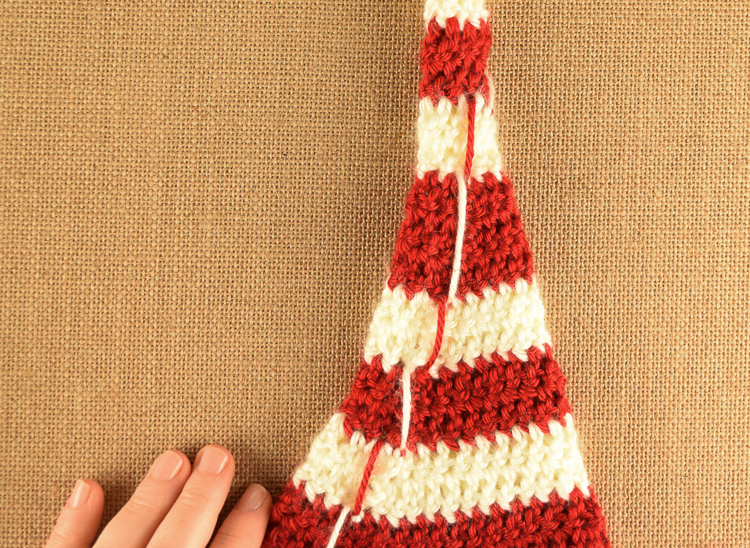
A note about crocheting stripes for this hat: The color change is completed by simply dropping the color and letting it hang until you need to pick it up again. To change color, you will complete the round and slip stitch in the old color, then use the new color to chain two, and begin the next round of double crochet in the new color. The transitions will look weird on the outside as you work, but don’t worry. You will turn the whole thing inside out before assembling.
Pixie Elf Newborn Hat Crochet Pattern
Tools:
1 – crochet hook, Size U.S. H/8 – 5.00MM or size needed to obtain gauge
Blunt Needle for finishing
Yarn:
(For Hat)
Caron Simply Soft in Autumn Red (100% Acrylic, Worsted Weight #4)
— 1.5 oz or approximately ¼ of a ball —
Caron Simply Soft in Off White (100% Acrylic, Worsted Weight #4)
— 1.5 oz or approximately ¼ of a ball —
(For Pom Pom)
Lion Brand Yarn Thick and Quick Wool-Ease in Fisherman (80% Acrylic, 20% Wool, Twisted Weight #6)
—
Abbreviations:
Ch = Chain
Dc = Double Crochet
Rep = Repeat
Sl St – Slip Stitch
St(s) – Stitch(es)
(R) = Red Yarn
(W) = White Yarn
(T) = Thick and Quick Yarn
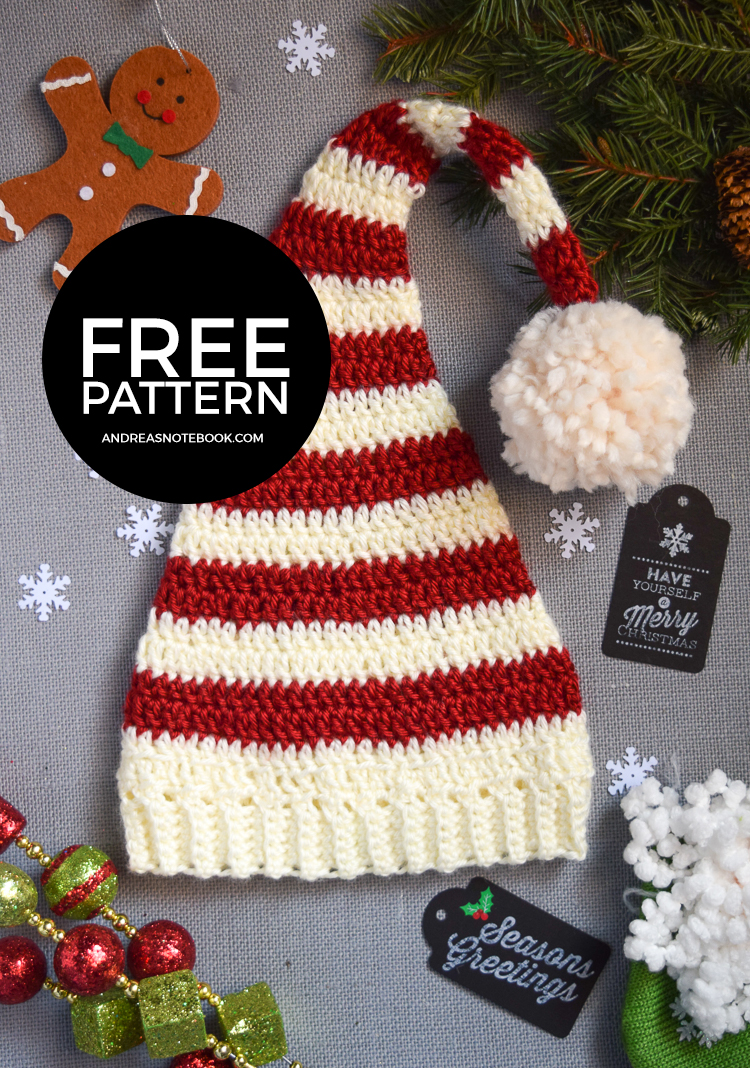
Finished Measurements:
20 inches tall x 6 inches wide
The patterns for additional sizes of this hat are available on CraftWeekly.com
Gauge: 3.5 st per inch x 2 st per inch tall
—-
Instructions:
– (For the body of the hat) –
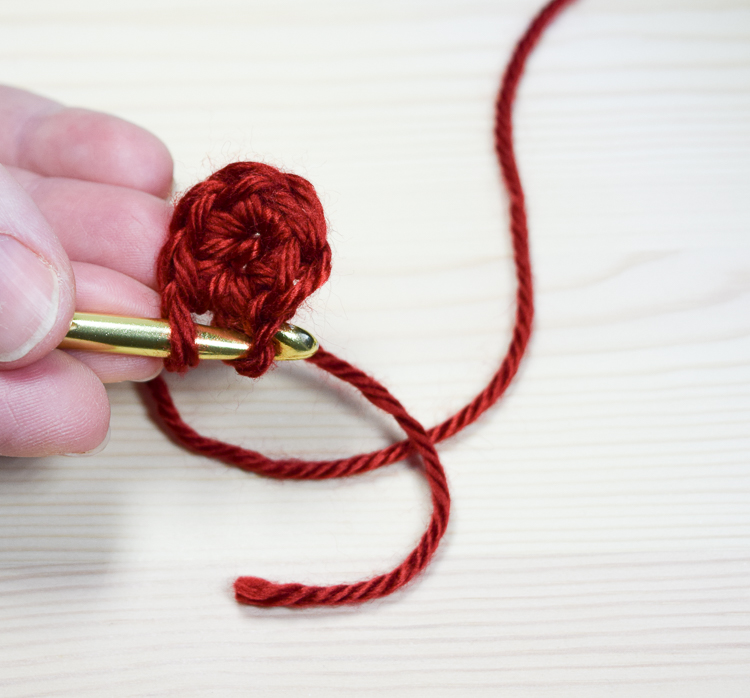
Row 1: With (R), Chain 3 and join the 1st and 3rd stitch to create a magic loop. St 6 dc into the loop. Sl st and ch 2.
Row 2 – 3: With (R), continue to dc 6 stitches in each row. Sl st to complete row, drop red and pick up white to chain 2.
Row 4 – 5: With (W), double crochet 6 stitches around each row. Sl st to complete row, drop (W) and pick up (R) to chain 2.
Row 6-11: Repeat steps for rows 2-3 and 4-5, alternating colors like this for the rest of the hat body.
Rows 12-15: Increase by 1 double crochet for each row.
Rows 16-27: Increase by 3 double crochet stitches for each row. You should have a total of 42 stitches in row 27.
– (To make the ribbed band) –
Ch 7, begin sc into the 2nd ch. sc to the end of the row and turn. Rep until you have 42 rows. Making sure you don’t twist it, fold in half and use mattress stitch or whip stitch to sew the ends of your rows together to create a band. Knot it off to finish and leave a long tail of yarn. You will use this yarn to attach the band to the body of the hat.
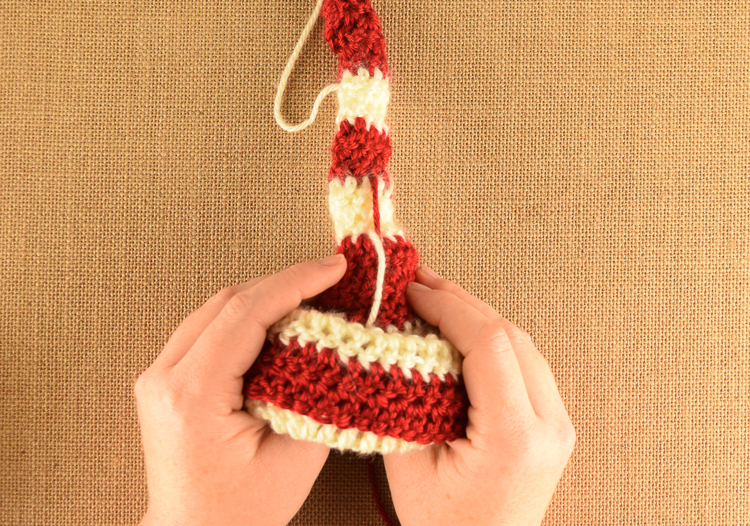
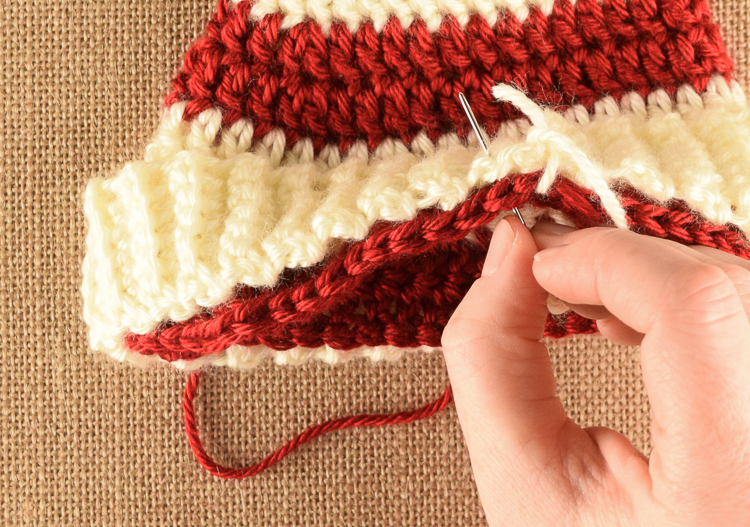
– (Attaching the ribbed band) –
Align the inside top of the band with the bottom of the hat body as shown. Whip stitch them together all the way around and knot off at the end. Pull the band down so the seam is not visible.
– (To make the pom pom) –
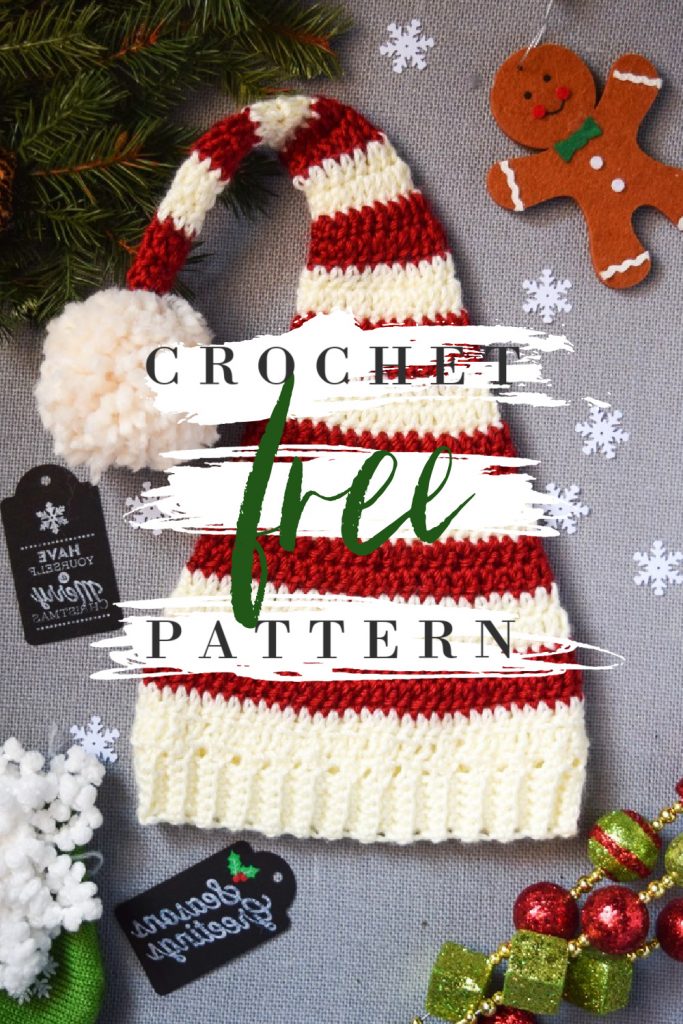
When I make these, I choose a thick yarn for the pom pom because I love the way it looks and swings on the long tail of this hat. You can use any yarn you like best. 🙂
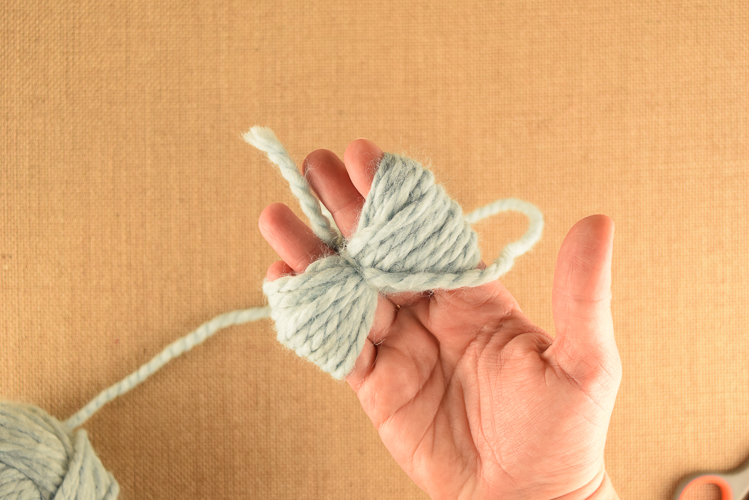
Cut a strand of (T) about 7-8 inches long. Take the ball of (T) and wrap yarn securely (but not too tightly) around your hand about 25 times. Pull the yarn through the bottom of the yarn bunch between your 3rd and 4th fingers. Pull hard and knot it twice. Tie this tightly and keep your tie strands long – you will use them for shaping your pom pom and attaching it to the hat.
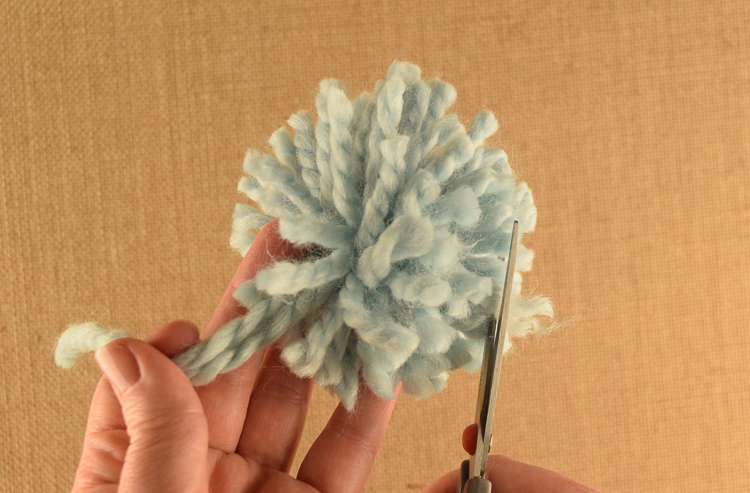
Shape the pom pom by holding the longer strands and cutting around it in a sphere. Turn it in every direction and cut little by little. (Learn more about making pom poms by hand here.)
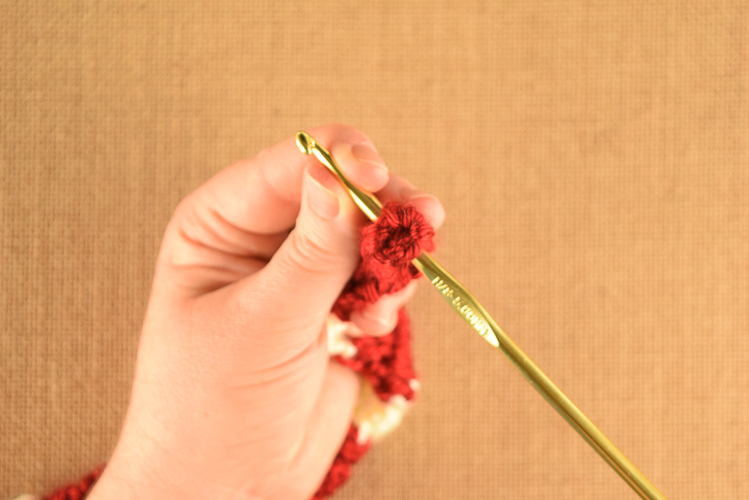
– (Attaching the pom pom) –
Find the magic loop you created at the beginning. Slip your crochet hook under the magic loop, between the six stitches you created. Pull one of the long strings through with your crochet hook. Secure with a double knot using your long yarn pieces and then trim them to the length of the other strands in your pom pom.
—-
Finishing:
Weave in loose ends. Block if desired. Enjoy all of the cuteness!
*Mom note – Because of the long tail, leaving your baby in this hat for naps or while you can’t monitor them is not recommended.*
Comments & Reviews
Janine Evans says
We will have some babies in our family in time for Christmas. Need to make a start on these. They are delightful. Thanks for sharing.
Jessica Buritica says
The band instructions don’t make sense, I DC 42 rows, and the band was way bigger than the rim of the hat, did you mean to say SC?
Andrea says
Fixed!
Helen says
How do I down load this Pattern I cannot find anywhere to click. I know sometimes I can be very dumb but I have read and looked but cannot find, please help as I would love to make this for Christmas
Andrea says
Hi Helen. We don’t have a download option but you can probably cut and paste the text and save it for yourself. Sorry!
Casey says
Precious hat! If I wanted to make this for older children or adults, how would I do that?
Jennifer Murray says
What do you mean by increasing by adding double crochets? Where would you add the extra double crochet? I’m confused
Lolo says
Me too!! Did you happen to figure out where u added the double crochet to increase?
Jennifer says
I’m curious also as to where to add the dc’s.
Felicia says
I need to make for my 7 month old daughter. How would i make it bigger?
Heidi Young says
I’m confused on making the ribbed hat band. ch 7 begin sc into 2nd ch end the row and turn?? How do you end the row? So I end up with 6 sc then turn, sc 6 more then turn, and do on???
Caroline Jones says
Hi Molly
I love the look of this pattern, and would love to give it a try, but don’t really understand the increasing part – please could you explain in more detail how and where you make the increases? If I count it up I would end up with 46 stitches and not 42.
I am quite new to crochet, so any help would be much appreciated.
I look forward to hearing from you (or anyone else who has figured it out!).
Many thanks
Caroline
Kristy says
This pattern is confusing. There are at least 33 rows on the hat pictured. Following the instructions get you to a point at row 25 that there are already 40st. So that would end up 46st if I keep adding 3dc per round. I’m going to search out a different pattern because I can’t get this to work.
Diane Parks says
I totally agree and was about to comment the very same thing. The instructions are not detailed enough for a relative newbie and the number of stitches do not add up correctly. I did not add the separate ribbing; I found another pattern and just added it to my last row. By the way, I added several extra rows, as the hat looked way too short. No instructions for what to do with the yarn where you change from red to white: leave it like it is, or cut and weave in? Please, for others, rewrite with more detailed instructions! Thank you for the patter; it is very cute!
router login says
Nice hat, if only I could give the baby a gift this Christmas
Tonie Acosta Young says
I count 46 stiches as well by row 27. Very confusing on where to add the DCs as well. I’m a newbie and pattern doesn’t give enough details.
Samantha says
Making this for a baby coming next month and after using my 5mm hook and crocheting the 42 sc in BLO I think it may be a tad smaller than newborn size. Do you happen to know the required length of the band in inches?
Teresa says
For the increase 3 DC I just added 3 extra DC to each row. One at the beginning, one almost half way through, and close to the end. My 27th row had 42.
Patti Hollingworth says
My Great Grandson was 1 in Sept weights 25 lbs will this pattern be good or need larger size?
devast io says
I have read through other blogs, but they are cumbersome and confusing more than your post. I hope you continue to have such quality articles to share with everyone! I believe a lot of people will be surprised to read this article!
Carole says
very misleading – advertise as a free pattern (which you find out is only for the infant size when you scroll through) and it says pattern for other sizes at webiste (inferring the other sizes are also free) – but when you go there, the other sizes are not free.
Jackie Hogue says
I count more rows in the picture. Following the instructions I get more than 42 stitches. Help!
Caitlin Carter says
I wanted to clear up any confusion on the ribbed band part. Single crochet into the back loops only.
Diana says
I come up with more stitches at row 27
Caitlin Carter says
Also for those confused about adding double crochets- you can add them anywhere in the row. I usually space them evenly. You would just do two double crochets in the same stitch.
Deskgram says
Thank you very much for this great post. Using Deskgram you can upload photos to instagram from PC/MAC, like and comment on post, follow unfollow profile, check news feed and many more.
Jason Allen says
We are a new local magazine and blog dedicated to bringing more awareness to local businesses that deserve to be in the spotlight. We will continue to feature great restaurants, boutiques, shops, and services in and around Austin. We look for local companies, businesses and mom and pop shops who are making Austin a better and unique place through their products and services.
Randi says
HI I tried to purchase the pattern with all the sizes thru the link you have and paypal keeps sending me back to blueprint to view there shipping times. It will not allow me to purchase it. Is there another way that I can purchase the pattern.
Randi says
HI when doing the bigger sizes do you still do 4segments before starting the increase
Melanie says
I’m wondering if I can sell these hats when i crochet them?
Diana says
When I get to row 27 I have more then 42 stitches